Adobe Stock is a fantastic resource for all creatives, providing access to millions of high-quality images, videos, and templates. Whether you're designing a website, creating promotional materials, or simply looking for inspiration, Adobe Stock has you covered. But sometimes, the perfect image isn’t perfect enough. You might want to remove elements that don’t fit your vision, and that’s where image editing comes into play. Let’s dive into the tools you can use to tweak those stock images.
Understanding the Tools for Image Editing
When it comes to editing images from Adobe Stock, there are several powerful tools at your disposal. Whether you're a beginner or a seasoned pro, understanding these tools can help you achieve stunning results. Here are some popular options:
- Adobe Photoshop: The gold standard for photo editing, Photoshop offers a plethora of features to manipulate images. You can use selections, layers, and masks to remove unwanted elements effectively.
- Adobe Illustrator: Ideal for vector-based images, Illustrator allows you to edit images with precision. You can use the “Pathfinder” tool to cut out elements or merge shapes seamlessly.
- Online Editors: Tools like Canva or Pixlr offer user-friendly interfaces for quick edits. They provide basic features like cropping, background removal, and filters, which can be handy for quick adjustments.
Now, let’s break down some of these tools a bit further:
Adobe Photoshop
Photoshop is renowned for its advanced capabilities. If you're looking to remove an object, you can use the Clone Stamp Tool or the Content-Aware Fill feature. Here’s a quick step-by-step:
- Open your image in Photoshop.
- Select the Patch Tool or Clone Stamp Tool.
- Carefully select the area around the element you wish to remove.
- Use the tool to paint over the unwanted object.
- Refine your edits using the Healing Brush to blend everything seamlessly.
Adobe Illustrator
For vector images, Illustrator is your best friend. To remove an element:
- Open the image in Illustrator.
- Use the Selection Tool to select the element you want to remove.
- Hit Delete or use the Pathfinder Tool to merge shapes and eliminate unwanted areas.
- Don’t forget to save your work in an editable format!
Online Editors
If you need quick edits without the learning curve of professional software, online editors can be a lifesaver. For example:
- Canva: Offers background removal with a simple click, plus easy-to-use templates and design elements.
- Pixlr: Provides advanced features similar to Photoshop, without the hefty price tag, making it accessible for casual users.
In summary, whether you choose Photoshop for its depth or an online editor for its simplicity, understanding these tools can make your Adobe Stock images truly yours. Happy editing!
Also Read This: Printing Large Images Across Multiple Pages
3. Step-by-Step Guide to Removing Elements
Ready to dive into the nitty-gritty of removing unwanted elements from your Adobe Stock images? Let’s break it down step by step. Whether you're a beginner or someone who has dabbled in image editing, these steps will help you achieve a cleaner and more professional-looking image.
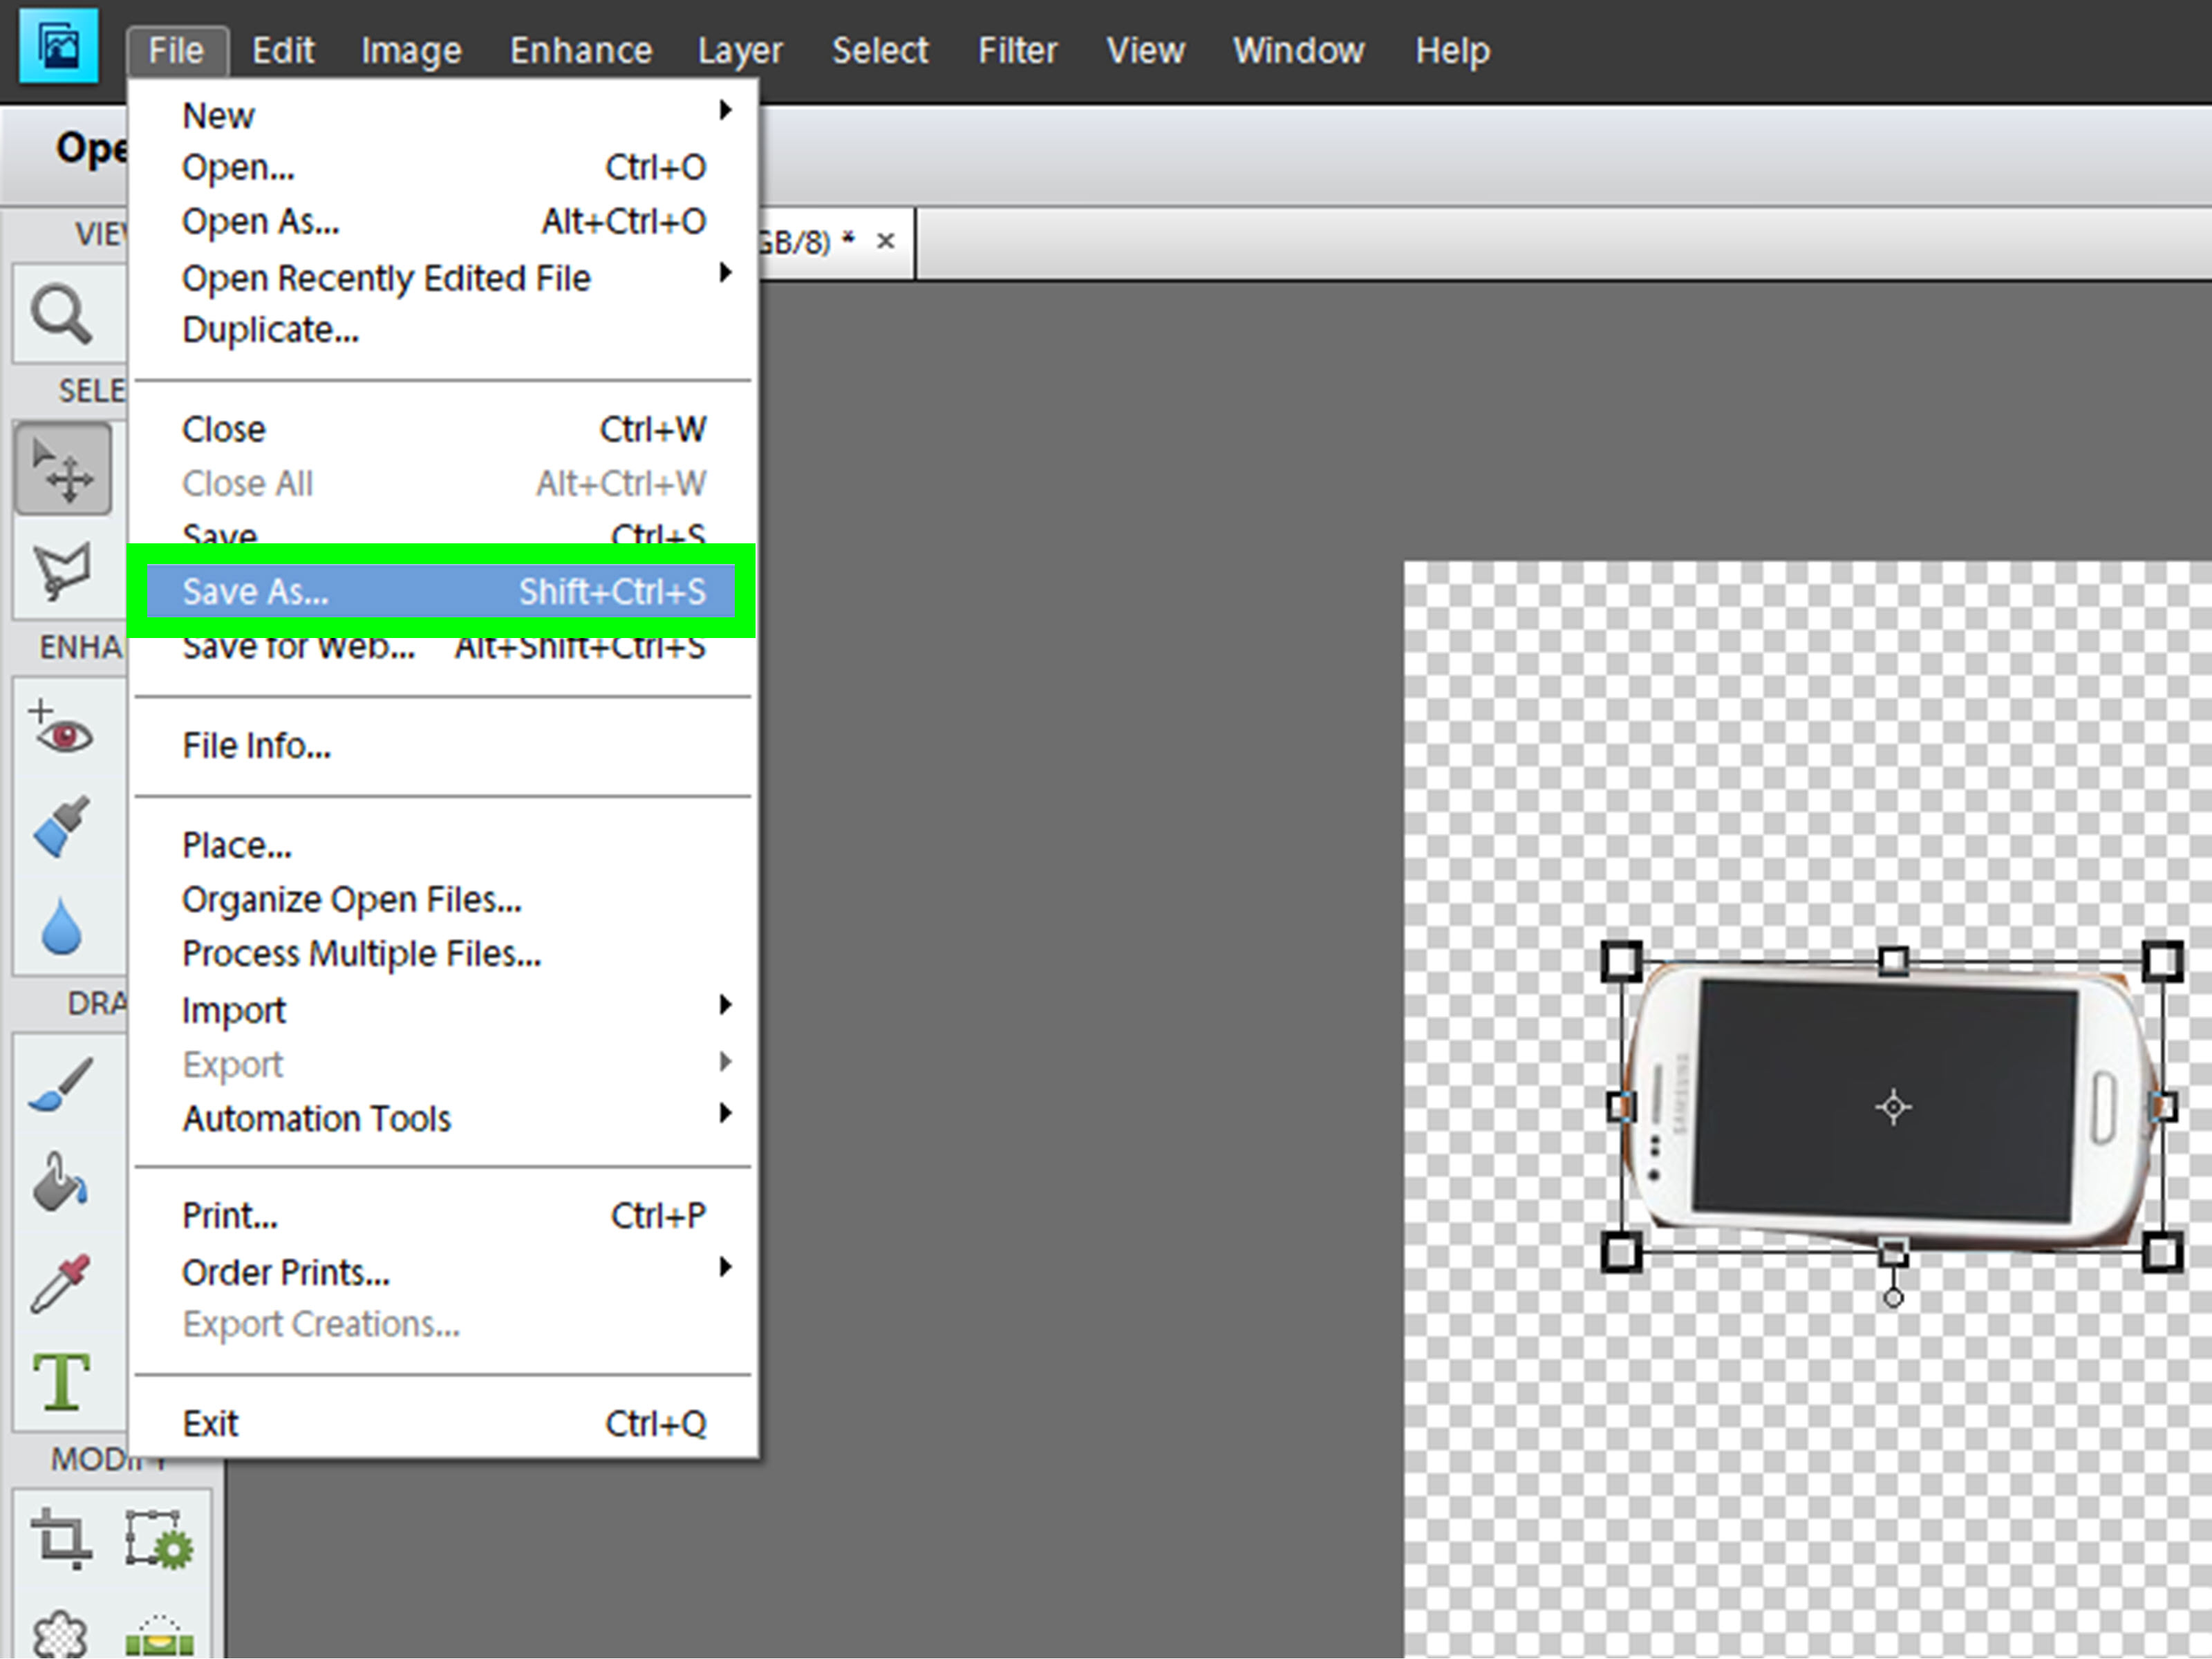
- Open Your Image in Photoshop: Start by launching Adobe Photoshop and opening the stock image you want to edit. Simply go to File > Open, and select your image.
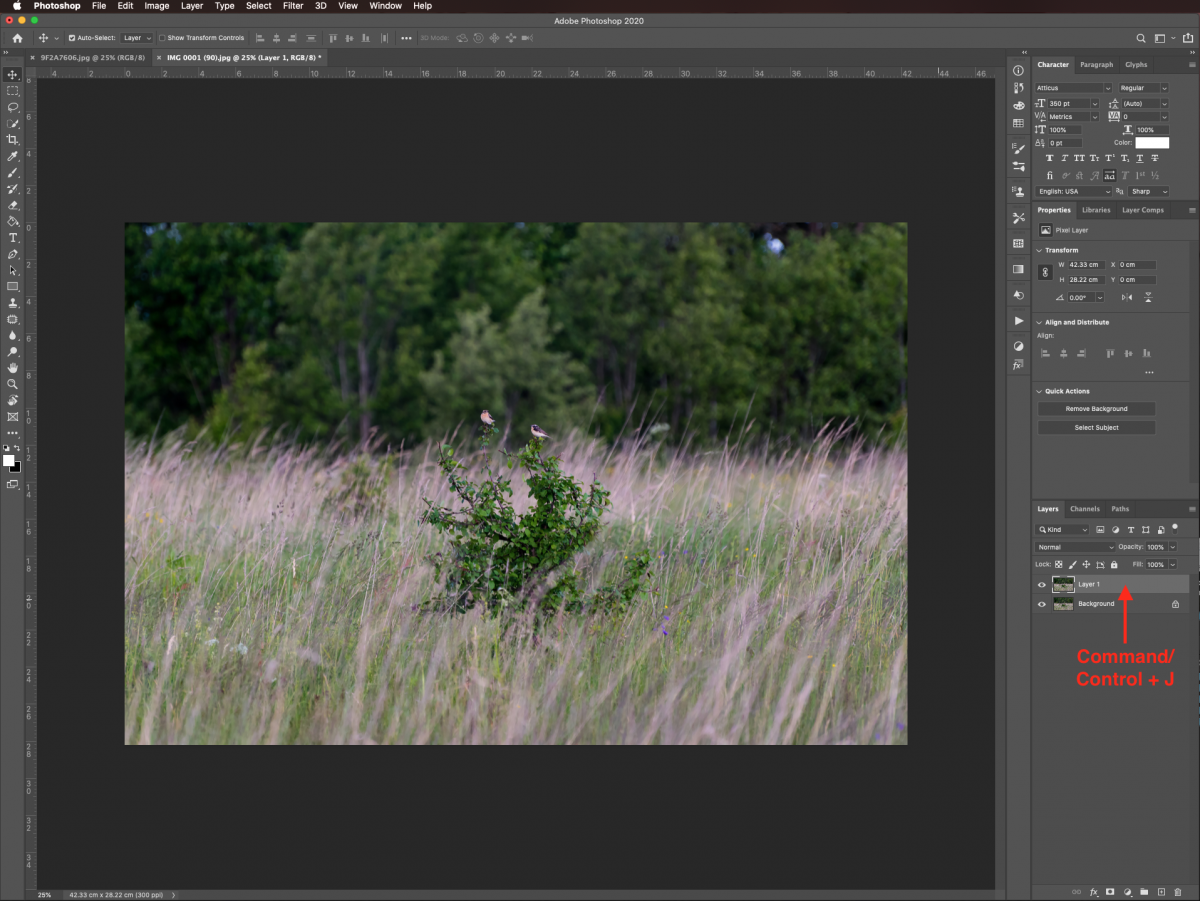
- Duplicate the Layer: To keep your original image intact, right-click on the layer in the Layers panel and select Duplicate Layer. This way, you can always revert back if you need to.
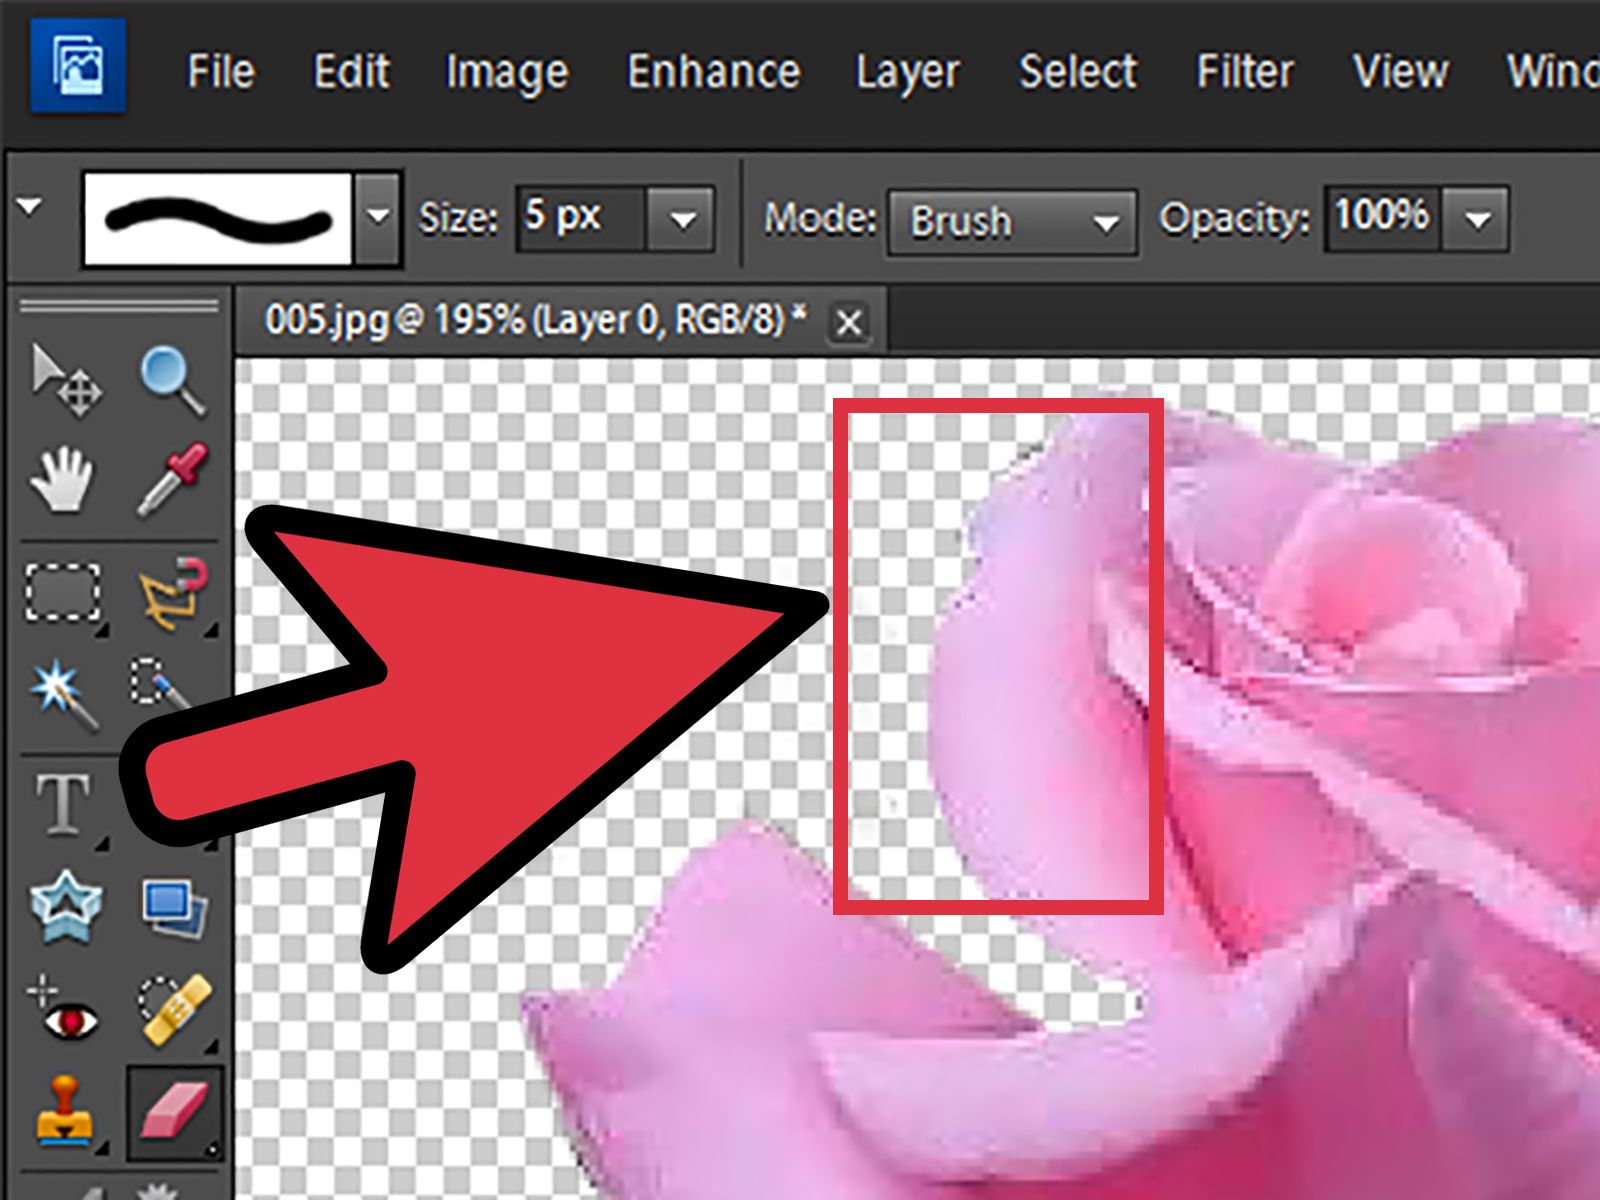
- Select the Element to Remove: Use the Lasso Tool or Pen Tool to carefully outline the element you wish to remove. Make sure to be as precise as possible to avoid affecting surrounding areas.
- Use the Content-Aware Fill: With the unwanted element selected, go to Edit > Content-Aware Fill. Photoshop will analyze the surrounding pixels and fill in the area seamlessly. You’ll see a preview of the changes before you apply them.
- Refine Your Edits: Sometimes, Content-Aware Fill isn’t perfect. Use the Clone Stamp Tool or Healing Brush Tool to clean up any rough edges. Remember: Zoom in for more precise work!
- Adjust Lighting and Color: After removing the element, check if the lighting or colors seem off in the edited area. Use adjustment layers (like Brightness/Contrast or Hue/Saturation) to make it blend seamlessly with the rest of the image.
- Save Your Image: Once you’re satisfied with the edits, save your work. Choose File > Save As to create a new file, preserving your original just in case.
And voilà! You’ve successfully removed an unwanted element from your Adobe Stock image. Practice makes perfect, so don’t hesitate to try out these steps on various images to hone your skills!
Also Read This: How to Successfully Promote Your Work on Behance for Increased Views and Engagement
4. Using Adobe Photoshop for Effective Edits
Adobe Photoshop isn’t just a tool; it’s a powerhouse for any image editing task. When it comes to removing elements from stock images, a few tricks and tools can significantly enhance your results. Here’s how to make the most of Photoshop for effective edits:
- Familiarize Yourself with the Toolbar: Knowing where to find tools is crucial. Spend some time exploring the toolbar, especially the Selection, Retouching, and Adjustment tools.
- Master the Pen Tool: This tool allows for precise selections. If you're dealing with tricky edges, the Pen Tool can help create smooth, clean paths around the element you want to remove.
- Utilize Layer Masks: Instead of deleting parts of your image, use layer masks to hide them. This non-destructive method allows you to bring back elements if the removal doesn’t look right.
- Experiment with Blending Modes: Sometimes, the area left behind can look a bit off. Trying different blending modes can help integrate your edits more naturally into the existing image.
- Keep It Subtle: When removing elements, less is often more. Make sure the changes don’t draw attention to themselves. The goal is to make the edit look so natural that viewers don’t even notice it!
By mastering these techniques, you’ll be well-equipped to tackle any unwanted elements in your images. Remember that practice is key, so continue experimenting with different images to refine your skills!
Also Read This: How to Share a YouTube Video on Instagram the Complete Guide
5. Alternative Tools for Image Manipulation
When it comes to removing elements from an Adobe Stock image, while Adobe Photoshop is a go-to tool, there are several alternative options you might find handy. Here’s a list of some popular tools that can help you achieve great results:
- GIMP - This free, open-source software is a fantastic alternative to Photoshop. It offers many powerful image manipulation features, including advanced healing tools and layer management. With a bit of practice, you can easily remove unwanted elements from your images.
- Canva - Ideal for those who prefer a more user-friendly interface. Canva’s background remover tool is straightforward and effective, allowing you to erase distractions quickly. It’s perfect for social media graphics and quick edits.
- Pixlr - A web-based application that’s easy to use and offers many features similar to Photoshop. With Pixlr, you can use the clone stamp and healing brush to remove objects from your images without much hassle.
- Fotor - An online photo editor that offers a simple and clean interface. Fotor's object removal feature lets you erase background elements effortlessly, making it a great option for beginners.
- Inpaint - Specifically designed for removing unwanted elements, Inpaint uses smart algorithms to fill in areas seamlessly after you’ve erased an object. This tool is perfect if you need a quick fix without diving deep into complicated software.
Each of these tools has its unique features and benefits. Depending on your comfort level with technology and the complexity of your project, you might find one of these alternatives better suited for your needs. Experimenting with a few can also give you a better feel for which tool aligns best with your creative workflow!
Also Read This: How to Add Motion Templates in Adobe Stock
6. Tips for Seamless Image Restoration
Once you’ve chosen your tool and removed the elements from your Adobe Stock image, the next step is ensuring that the restoration looks natural. Here are some valuable tips to help you achieve a seamless finish:
- Zoom In - Always zoom in on the area you’re working on. Working at a closer view helps you see tiny details and make more precise adjustments, ensuring a more polished outcome.
- Use Layers - If your software allows it, work with layers. This way, you can make changes without affecting the original image. Layers also give you the flexibility to experiment and revert changes if needed.
- Blend Colors and Textures - Pay attention to the surrounding colors and textures. Use the clone or healing tools to blend these areas into the space you’ve cleared. This creates a more cohesive look.
- Adjust Lighting - Sometimes, the lighting in the area where you made changes can look off. Make sure to adjust brightness, contrast, and shadows to match the rest of the image. This can significantly improve the overall appearance.
- Take Breaks - Stepping away from your work can often give you a fresh perspective. After some time, when you return to the image, you might spot areas that need more adjustment.
Remember, practice makes perfect! The more you experiment with image manipulation and restoration, the more skilled you'll become at creating visually appealing edits. Don’t hesitate to explore different techniques until you find what works best for you!
Also Read This: How to Create My Portfolio Free on Behance Building a Professional Portfolio Without Cost
7. Common Mistakes to Avoid When Editing Images
Editing images can be a fun and creative process, but it’s easy to make mistakes that can diminish the quality of your work. Here are some common pitfalls to steer clear of when you're removing elements from an Adobe Stock image:
- Over-editing: One of the most frequent mistakes is to overdo the edits. Keep in mind that subtlety is key. If your changes are too obvious, it can result in an unnatural look. Aim for a seamless integration with the rest of the image.
- Ignoring Image Resolution: Always ensure that your edits maintain the original resolution of the image. If you zoom in too much while editing, you might lose detail, leading to a pixelated final product.
- Not Saving a Copy: Before diving into major edits, always save a copy of the original image. This way, if your edits don’t turn out as expected, you have a backup to fall back on.
- Neglecting Lighting and Shadows: Removing an object without adjusting the lighting or shadows can make the edited area look flat and unrealistic. Pay attention to how light interacts with the surrounding elements to create a consistent look.
- Forgetting About Composition: Sometimes, in the effort to remove distractions, we forget about the overall composition. Make sure that the focal point remains balanced in the frame after your edits.
By being aware of these mistakes, you can enhance your editing skills and create stunning images that retain their professional quality.
8. Conclusion and Best Practices for Image Usage
In conclusion, removing elements from an Adobe Stock image can elevate your design work, but it requires careful consideration and technique. Here are some best practices to keep in mind:
- Understand the License: Always check the licensing agreements for any images you use. Adobe Stock images come with specific usage rights, so make sure you comply with their terms to avoid legal issues.
- Keep It Simple: Sometimes less is more. If an image feels cluttered, consider removing just a few elements rather than going for a complete overhaul. This can enhance focus without losing the essence of the image.
- Experiment with Tools: Familiarize yourself with different editing tools, such as the Clone Stamp or Healing Brush in Adobe Photoshop. Each tool has its strengths and can offer unique results depending on the situation.
- Seek Feedback: Don’t hesitate to ask for a second opinion on your edits. Sometimes, a fresh set of eyes can spot things you might have missed.
- Practice Regularly: Like any skill, practice makes perfect. Regularly experimenting with different images will help you become more comfortable and proficient in your editing techniques.
By applying these best practices, you can ensure that your image edits not only look professional but also respect the original art. Happy editing!
 admin
admin


