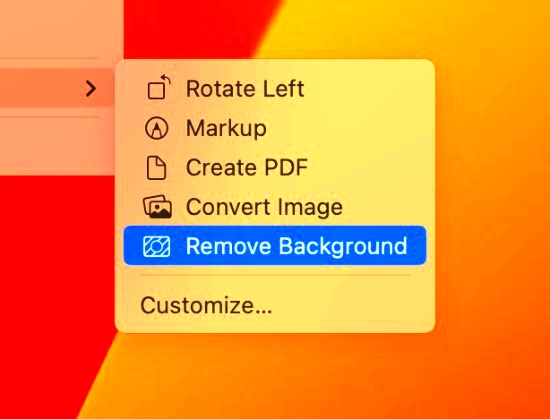
Removing backgrounds from images is a common task for anyone working on designs, whether for personal or professional use. On a Mac, you can remove backgrounds easily without needing advanced skills or software. In fact, with the right tools, it can be done in just a few simple steps. Whether you want to make an image stand out, create transparent backgrounds for logos, or prepare visuals for presentations, removing the background is often the first step to creating a polished, professional result. In this guide, we'll show you how to do it quickly and easily on your Mac.
Why You Might Want to Remove Image Backgrounds
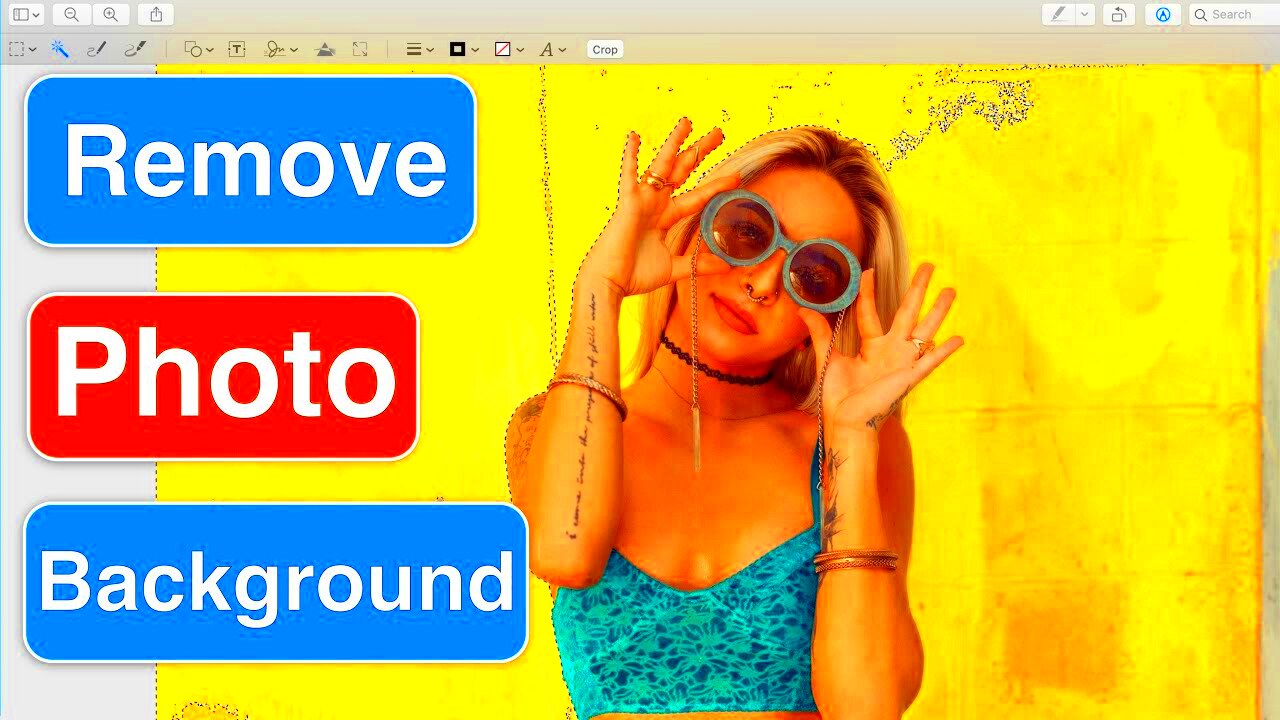
There are many reasons why you might need to remove the background from an image on your Mac. Here are some common scenarios:
- Product Photography: If you run an online store, clear and clean product images are essential. Removing the background helps highlight the product and makes it more appealing.
- Marketing and Social Media: When creating advertisements or social media posts, a cluttered background can distract from the message. Removing it ensures your content is the focal point.
- Graphic Design: Designers often need to isolate subjects or objects for use in brochures, websites, or banners. Removing the background helps in seamlessly placing these images in different designs.
- Personal Projects: Whether you’re creating custom greeting cards, photo collages, or other personal projects, removing the background can enhance your work.
In each case, the goal is the same: to make the image cleaner, more focused, and professional. Luckily, with the tools available on a Mac, this task can be done effortlessly.
Also Read This: Why YouTube Darkens My Videos
Step by Step Guide to Removing Background from an Image on Mac
Removing the background from an image on a Mac can be done in a few simple steps using various tools. Whether you use built-in apps or third-party software, the process remains easy to follow. Here’s a step-by-step guide:
1. Using Preview (Built-in Tool)
Preview, the default image viewer on Mac, allows you to remove backgrounds without installing additional software. While it’s not as advanced as other tools, it’s simple and effective for basic background removal:
- Open the image with Preview.
- Select the "Markup" toolbar by clicking the toolbox icon.
- Use the "Instant Alpha" tool by clicking and dragging over the background.
- Press "Delete" to remove the selected area.
- Save the image as PNG for a transparent background.
This method works best for images with simple backgrounds or clear contrast between the subject and the background.
2. Using Third-Party Apps
If you want more control over the background removal, third-party apps like Photoshop or online tools are a great option. Here’s a quick overview of the process:
- Open your image in the app.
- Use the “Magic Wand” or “Quick Selection” tool to select the background.
- Refine the edges to ensure a clean cutout of the subject.
- Delete or mask the background.
- Save the image in PNG format for transparency.
Third-party apps offer advanced features like edge refining and better handling of complex backgrounds.
3. Using Online Background Removal Tools
For those who prefer not to download apps, online tools like remove.bg make the process very straightforward. Here’s how to use them:
- Visit the background removal website.
- Upload your image.
- The tool automatically detects and removes the background.
- Download the image with a transparent background.
This method is quick, but the results may vary depending on the complexity of the image. For more complex backgrounds, manual adjustments may be needed in another tool.
In conclusion, removing backgrounds on a Mac is not only possible but also very easy. Whether you choose to use built-in tools like Preview, third-party software like Photoshop, or online platforms, you can achieve clean and professional results with just a few clicks.
Also Read This: How to Create an Eye-Catching Carousel Post on LinkedIn
Using Preview on Mac to Remove Background from Images
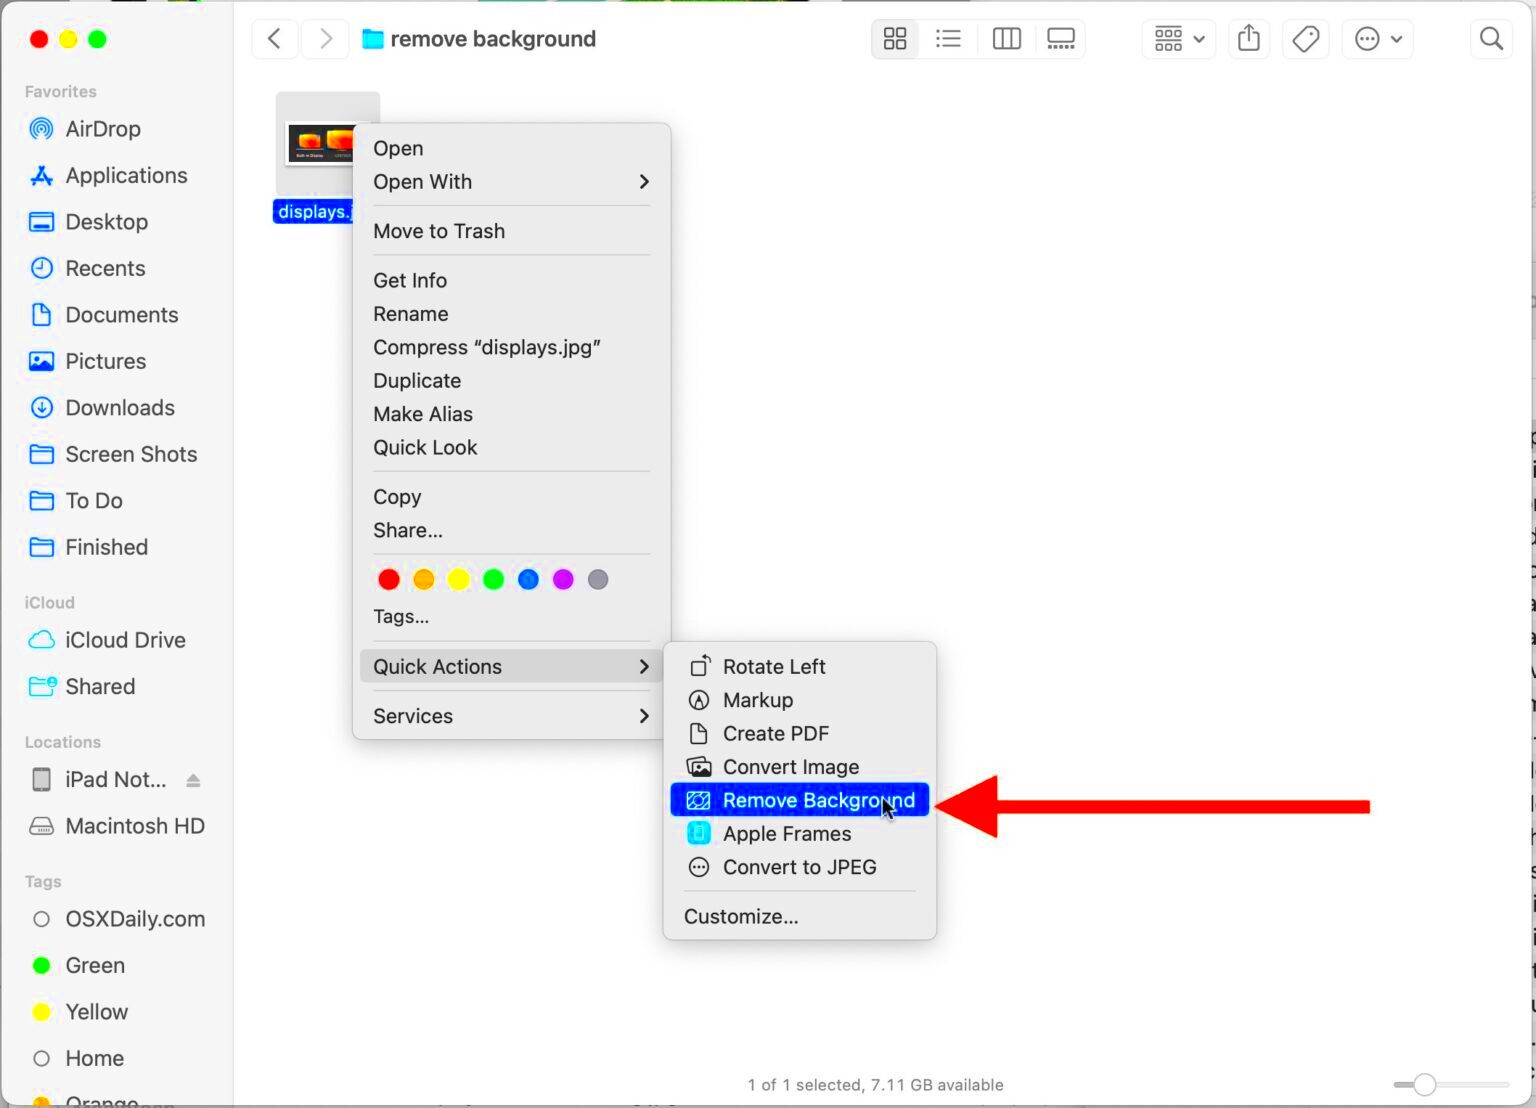
One of the easiest ways to remove the background from an image on a Mac is by using the built-in Preview app. While it may not have the advanced features of professional design tools, Preview offers a simple and efficient method for basic background removal. Whether you're working with a product image or creating a design for social media, Preview allows you to quickly isolate your subject and remove unwanted backgrounds. Here’s how to do it:
Steps to Remove Background Using Preview
- Open the image in Preview – Start by double-clicking the image file, and it will open in Preview by default.
- Select the Markup Toolbar – Click the toolbox icon to access the Markup Toolbar, which provides the tools needed for background removal.
- Use the Instant Alpha Tool – Select the "Instant Alpha" tool, which allows you to click and drag over the background area. The tool will automatically highlight areas that are similar in color.
- Delete the Background – Once the background is selected, press the "Delete" key on your keyboard to remove it. If the selection is not perfect, you can refine the selection by adjusting the area.
- Save the Image – Once the background is removed, save your image as a PNG to preserve the transparency.
This method works best for images with a clear contrast between the subject and the background. For more complex images, Preview may not provide the fine-tuned results you need, but it’s a great quick option for simple tasks.
Also Read This: how do i find adobe stock contributor named storm
Removing Backgrounds with Third-Party Apps on Mac
If you’re looking for more advanced tools to remove backgrounds from your images on a Mac, third-party applications like Adobe Photoshop, GIMP, or other specialized software are the way to go. These apps give you greater control over the selection process, allowing you to handle more complex images with ease. Below, we’ll explain how to remove backgrounds using some of the most popular third-party apps available on Mac.
Using Adobe Photoshop
Photoshop is one of the most powerful tools for removing backgrounds from images. Here’s a step-by-step guide to doing it:
- Open Your Image – Launch Photoshop and open the image you want to edit.
- Use the Magic Wand Tool – Select the Magic Wand Tool from the toolbar. Click on the background to select the area you want to remove.
- Refine the Selection – Use the "Refine Edge" or "Select and Mask" options to improve the selection, especially around intricate edges like hair or fur.
- Delete the Background – Once you’re happy with the selection, press "Delete" to remove the background.
- Save Your Image – Save the edited image as a PNG to maintain the transparent background.
Using GIMP (Free Option)
GIMP is a free and open-source alternative to Photoshop, offering powerful tools for background removal:
- Open Your Image – Open the image in GIMP.
- Use the Fuzzy Select Tool – Select the Fuzzy Select Tool from the toolbar and click on the background to select it.
- Refine the Selection – Adjust the selection to ensure only the background is selected. You can also use the "Select by Color" tool for complex backgrounds.
- Delete the Background – Press "Delete" to remove the selected background area.
- Export the Image – Export your image as a PNG to keep the transparency.
Both Photoshop and GIMP offer high levels of control and precision, making them ideal for removing backgrounds from complex images with detailed edges.
Also Read This: How to Make an Image 1024 by 576 Pixels
Tips for Achieving Clean Designs After Removing Background
Once you’ve removed the background from your image, it’s important to make sure your design looks polished and professional. Here are some useful tips to help you achieve clean, sharp results after removing backgrounds:
1. Smooth the Edges
When you remove a background, you might notice jagged edges or a hard line where the background used to be. To create a cleaner transition, use tools like the "Feather" or "Refine Edge" feature (available in most advanced apps) to soften the edges and make the subject blend smoothly into its new environment.
2. Use a Transparent Background for Flexibility
Save your image as a PNG file to preserve transparency. This allows you to place the image on any background without worrying about unsightly edges or borders. Transparency also gives you more flexibility when incorporating the image into different designs, such as websites, social media posts, or promotional materials.
3. Add a Shadow or Outline
Sometimes, adding a subtle shadow or outline to the image can help it stand out and look more natural. A soft shadow behind the subject can give the impression that the object is floating, while an outline can help define its edges.
4. Match the Image to Its New Background
If you're placing the image on a new background, make sure the lighting, colors, and shadows are consistent. A mismatch between the subject and background can make the image look out of place. You can adjust the brightness, contrast, or saturation of the image to help it blend seamlessly with the new background.
5. Test Your Image in Different Designs
Once you’ve removed the background and made any necessary adjustments, test how your image looks in various design contexts. Whether it’s on a website, a flyer, or a social media post, checking your image in different settings will help you spot any issues that need to be fixed.
By following these tips, you can ensure your images look clean, polished, and ready for use in your designs. Proper background removal is just the first step—attention to detail can make a huge difference in the final result!
Also Read This: How to Create 3D Pictures on Paper Using Dailymotion’s Easy Methods
Common Issues and How to Solve Them
Removing backgrounds from images can be a straightforward task, but there are a few common issues you might encounter. These challenges can occur regardless of the tool you're using, whether it's Preview, Photoshop, or an online service. Here are some of the most frequent problems and solutions to help you get the perfect result:
1. Jagged Edges
Jagged edges around the subject can occur after removing the background, making the image look rough or unnatural. This usually happens when the selection is not smooth, especially around detailed areas like hair or fur.
Solution: Use the "Feather" tool or "Refine Edge" feature in Photoshop or GIMP to smooth out the edges. Preview users can adjust the Instant Alpha tool selection to improve the edges.
2. Background Left Behind
Sometimes, after deleting the background, small remnants of the original background remain, leaving unsightly spots or a blurry outline around the subject.
Solution: Zoom in on the image and carefully erase any leftover background using the Eraser tool or refine your selection using the Magic Wand or Lasso tool for more accuracy.
3. Inaccurate Selection of Complex Backgrounds
Complex backgrounds with similar colors or intricate patterns can be hard to select. Tools like Instant Alpha or the Magic Wand may struggle to isolate the subject correctly.
Solution: Use manual selection tools, like the Lasso or Pen tool, to trace around the subject. This provides greater control and accuracy. In Photoshop, using the "Quick Selection" tool can help refine the edges for a cleaner cutout.
4. Image Doesn’t Have Transparency After Saving
Sometimes, even though you’ve removed the background, the saved image still has a solid background or a white box around it.
Solution: Ensure you save the image in the right format (PNG or TIFF) to preserve the transparency. Avoid saving as JPG, which doesn't support transparent backgrounds.
By understanding and addressing these common issues, you can achieve smoother, more professional results when removing backgrounds from your images.
Also Read This: Creating Edible Images for Oreos
Conclusion: Create Better Designs with Clean Images
Removing backgrounds from images is a vital step in creating clean, professional designs. Whether you’re working with product photos, social media posts, or graphic design projects, background removal ensures that your images stand out. While there are various tools available on Mac to help you with this task, it's important to choose the one that suits your needs. Whether you go for the simplicity of Preview, the versatility of third-party apps like Photoshop, or an online tool, each method can yield great results if used correctly.
By following the right steps and refining your skills, you can elevate your images, making them more versatile and visually appealing. Remember to pay attention to detail, such as smoothing edges, ensuring transparency, and blending images into their new environments. With practice, removing backgrounds will become a quick and easy task that leads to high-quality, professional-looking designs.
FAQ
1. What is the best tool to remove backgrounds from images on Mac?
The best tool depends on your needs. Preview is a quick and easy option for basic background removal, while Photoshop and GIMP offer more advanced features for complex images. Online tools like remove.bg are also great for fast results without installing any software.
2. Can I remove the background from any type of image?
Yes, you can remove the background from almost any type of image. However, images with complex textures or intricate details (like hair or fur) may require more effort and refined selection tools to achieve a clean result.
3. Why is my image not saving with a transparent background?
If your image isn’t saving with a transparent background, make sure you’re saving it in a format that supports transparency, like PNG or TIFF. Formats like JPG do not support transparent backgrounds.
4. How do I fix jagged edges after removing the background?
Jagged edges can be fixed by using the "Feather" or "Refine Edge" tool in Photoshop or similar tools in other apps. This softens the transition between the subject and the transparent area, giving a cleaner look.
5. Can I remove backgrounds online without any software?
Yes, online tools like remove.bg allow you to remove backgrounds easily without any software installation. These tools are perfect for quick edits but might not provide the same level of control as professional apps like Photoshop.
