Introduction to SD Card Data Recovery
Have you ever experienced the sinking feeling of losing precious photos from your SD card? You're not alone! Many of us rely on SD cards for storing memories, and losing them can feel devastating. But don’t worry; recovering those images isn’t as complicated as it seems. In this guide, we'll walk you through the steps to recover your lost images and give you some handy tips to help prevent future losses. So, let’s dive in!
Also Read This: Can I Edit a LinkedIn Post? A Comprehensive Guide to Editing Your Posts
Common Reasons for Image Loss on SD Cards
Understanding why images get lost from your SD card is the first step to preventing it. Here are some of the most common reasons:
- Accidental Deletion: It’s easy to mistakenly delete images, especially when you're trying to free up space.
- Card Corruption: SD cards can become corrupted due to improper ejection or power interruptions while transferring files.
- File System Errors: Sometimes, the file system may malfunction, making images inaccessible.
- Formatting the Card: Whether intentional or accidental, formatting erases all data on the card, including images.
- Physical Damage: Dropping your camera or SD card can cause physical damage, leading to data loss.
Each of these situations can be frustrating, but knowing the cause can help you better prepare for recovery. Let’s explore these reasons further:
Accidental Deletion
We've all been there. One moment you’re scrolling through your cherished vacation photos, and the next, you’re hitting the delete button instead of the back arrow! Thankfully, many recovery tools can help retrieve these deleted files, as they often remain on the card until overwritten.
Card Corruption
Corruption can happen for various reasons, including improper ejection of the card from your device. Always make sure to safely eject your SD card before removal. If you're facing corruption issues, the first step is to stop using the card immediately to avoid overwriting any recoverable data.
File System Errors
File system errors can occur due to sudden power loss during data transfer or abrupt removal of the card. If you encounter this issue, running a check disk on your computer may help you repair the file system and recover access to your images.
Formatting the Card
Formatting can be a lifesaver for managing space, but it’s a double-edged sword. If you format your SD card, don’t panic! Recovery software can often retrieve images even after formatting, especially if they haven't been overwritten.
Physical Damage
Finally, physical damage is a serious concern. If your SD card has been dropped or exposed to water, it’s advised to seek professional data recovery services to avoid further damage. Always handle your cards with care!
Understanding these common pitfalls will not only help you recover your lost images but also avoid future mishaps. Remember, prevention is key, so it's best to back up your files regularly!
Also Read This: Best Practices and Legal Considerations for Recording Music from YouTube
3. Tools Needed for Image Recovery
Before diving into the recovery process, it’s essential to gather the right tools that will help retrieve your lost images from an SD card. You’ll need a combination of software and hardware solutions that are user-friendly and effective. Here’s what you should consider:
- Image Recovery Software: There are several programs available that specialize in recovering deleted files from SD cards. Some of the popular ones include:
- Recuva: A free tool that’s easy to use and effective for basic recovery tasks.
- PhotoRec: Open-source software that works well with many file formats, great for tech-savvy users.
- EaseUS Data Recovery Wizard: A user-friendly option with a free version that allows for quick recoveries.
- Disk Drill: Known for its intuitive interface, it helps recover lost data swiftly.
- Card Reader: A reliable card reader is crucial. Make sure it’s compatible with your SD card type (SD, SDHC, or SDXC) and connected to your computer via USB. This will facilitate a direct connection for data recovery.
- Computer or Laptop: You’ll need a device to install the recovery software and run the recovery process. Ensure your computer has enough storage space to save recovered images.
- Backup Storage: Once you recover your images, it’s wise to have an external hard drive or cloud storage ready to back them up. This ensures you don’t lose them again in the future!
With these tools at your disposal, you’re well-prepared to tackle the recovery process. Let’s move on to the step-by-step guide to ensure you recover your precious memories without a hitch!
Also Read This: Guide to Cutting a Large Image for Cricut Projects
4. Step-by-Step Guide to Recovering Images
Now that you’re equipped with the necessary tools, let’s walk through the recovery process step-by-step. Follow these straightforward instructions, and you’ll have a good chance of recovering your images:
- Insert the SD Card: Start by inserting your SD card into the card reader connected to your computer. Make sure your computer recognizes the card.
- Launch the Recovery Software: Open the image recovery software you chose earlier. For example, if you’re using Recuva, you’ll be guided through a simple wizard.
- Select the SD Card: In the software, select your SD card from the list of drives. Ensure you choose the correct drive to avoid recovering data from the wrong device.
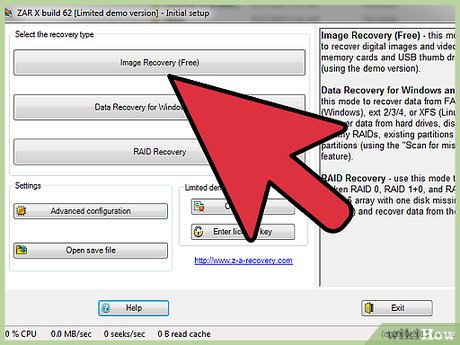
- Choose Recovery Mode: Most recovery software will offer options like “Basic Search” or “Deep Scan.” If you’re not getting results with the basic mode, opt for a deep scan for a more thorough search.
- Start the Scan: Hit the “Scan” button. The software will begin scanning your SD card for recoverable files. This might take some time depending on the card’s size and the number of files.
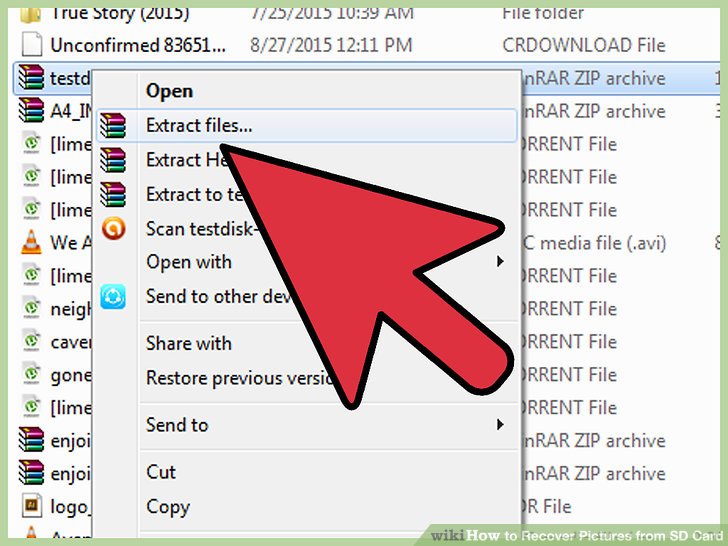
- Preview and Select Files: Once the scan is complete, the software will provide a list of recoverable files. You can usually preview images before recovery. Select the ones you want to restore.
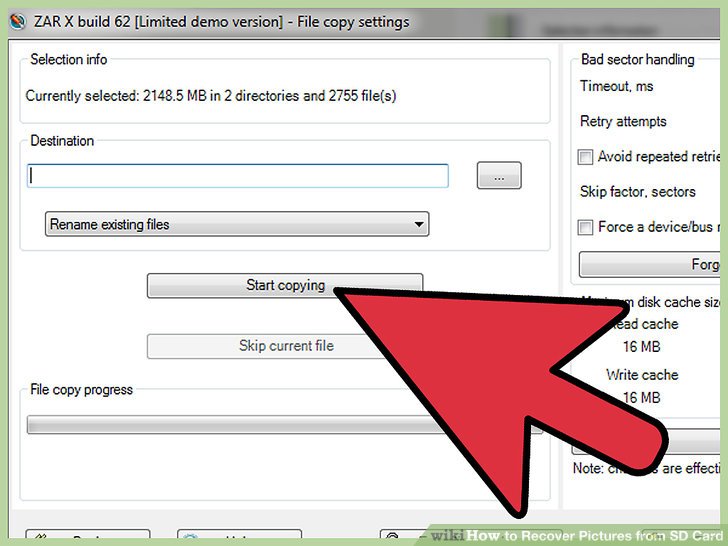
- Recover the Images: Click on the “Recover” button. Choose a destination on your computer or backup storage where you want to save the recovered images. Avoid saving them back to the SD card immediately to prevent data overwriting.
- Check Your Files: After recovery, navigate to the saved location and open the images to ensure they’ve been successfully restored.
And there you have it! Follow these steps, and you’ll be well on your way to retrieving those cherished photos from your SD card. Remember, patience is key, and if one software doesn’t work, don’t hesitate to try another!
Also Read This: Quick Explained Answer: How to Use AI for Logo Design
5. Using Recovery Software: A Detailed Overview
So, you've accidentally deleted some precious photos from your SD card, and panic sets in. Don't worry; recovery software can be your best friend in this situation! Let’s dive into how these tools work and which ones you might want to consider.
Recovery software uses powerful algorithms to scan your SD card for lost files, allowing you to restore them even after deletion. Here’s how to go about it:
- Choose the Right Software: Some popular options include:
- Recuva: A user-friendly option that’s great for beginners.
- EaseUS Data Recovery Wizard: Offers a free version and is highly effective for various recovery scenarios.
- PhotoRec: A more advanced tool that works well but has a steeper learning curve.
It’s important to remember that while recovery software is powerful, success rates can vary. The sooner you attempt recovery after losing files, the higher the chances of success. So don’t put it off!
Also Read This: How to Change the Shape of an Image in Photoshop
6. Manual Recovery Methods for Advanced Users
If you’re feeling adventurous and have some technical know-how, manual recovery methods can be another option. These can sometimes yield results when software fails or in specific scenarios. Here are a few manual techniques to consider:
- Check for Backups: Before diving into complicated procedures, check if you have backups on cloud services like Google Photos or Dropbox. Sometimes, photos are automatically backed up without you realizing it!
- Use Command Prompt (Windows): If you’re comfortable with command-line interfaces, you can recover files using the Command Prompt:
- Open Command Prompt and type chkdsk X: /f (replace X with your SD card letter).
- This command scans the card for errors and attempts to fix them, which might recover some lost files.
Manual methods can be risky and time-consuming, so proceed with caution and only if you’re confident in your skills. If this seems daunting, recovery software might be the more straightforward route!
Also Read This: Collections from Imago Images That Will Spark Creativity for Your Next Project
7. Preventing Future Data Loss on SD Cards
Recovering images from an SD card can be a stressful experience, but it’s even more frustrating when it happens repeatedly. To safeguard your precious memories in the future, consider these simple yet effective strategies:
- Backup Regularly: Make it a habit to back up your files regularly. Cloud services like Google Drive or Dropbox are great for automatic backups, or use external hard drives for a more hands-on approach.
- Use Multiple SD Cards: Instead of storing all your photos on one card, use multiple SD cards. Distributing your data minimizes the risk of losing everything at once.
- Proper Ejection: Always eject your SD card safely from devices. Removing it while files are transferring can corrupt the data.
- Format Before Use: If using an SD card for the first time, consider formatting it in your device. This clears out any previous data structures that might cause issues.
- Keep It Dry and Safe: Water and extreme temperatures can damage SD cards. Store them in a dry, cool place, and consider using a protective case when traveling.
By implementing these practices, you not only enhance the longevity of your SD card but also reduce the likelihood of encountering data loss in the future. Remember, a little precaution goes a long way!
8. Conclusion and Final Tips for SD Card Recovery
Recovering images from an SD card can feel like an uphill battle, but with the right approach, you can increase your chances of retrieving those lost files. Here’s a quick recap of what we’ve discussed:
- Assess the Situation: Identify the cause of data loss and whether the card is physically damaged or just corrupted.
- Utilize Recovery Software: Programs like Recuva or PhotoRec can be lifesavers, but remember to act quickly and avoid writing new data to the card.
- Seek Professional Help: If the data is extremely valuable and recovery attempts fail, consider reaching out to professionals.
In closing, while data loss can be daunting, being prepared and informed can turn a stressful situation into a manageable one. Here are a few final tips:
- Stay Calm: Panicking won’t help. Take a deep breath and follow the steps methodically.
- Document Everything: Keep a record of what you’ve tried. This can help you or a professional diagnose the problem more effectively.
- Learn from Mistakes: Use this experience to strengthen your data management practices. Apply the preventive measures we discussed to avoid future issues.
With these insights and a proactive approach, you can take control of your digital memories and ensure they stay safe. Happy recovering!
 admin
admin


