If you're looking to capture audio from a YouTube video, you’re not alone! Many people want to extract fan-favorite songs, informative tutorials, or captivating speeches for personal use or study. Fortunately, there are simple methods to get the job done. However, before diving into the how-to's, it’s crucial to understand the legal landscape surrounding sound recording from YouTube. In this article, we’ll walk you through the essentials of copyright and legal issues before you hit that record button.
Understanding Copyright and Legal Issues

Before you start recording sound from a YouTube video, it’s important to grasp the concept of copyright. Copyright laws protect the rights of creators by preventing unauthorized distribution and usage of their content. Here’s what you need to know:
- Ownership: The original creator of the video or audio holds the copyright. This means you cannot simply take their content and use it as your own, even if you give credit.
- Personal Use: Generally, creating a personal copy for private use may fall under fair use in some jurisdictions, but this is a gray area and can vary widely.
- Commercial Use: If you plan to use the audio for commercial purposes, such as including it in a video, podcast, or any monetized content, you need explicit permission from the copyright owner.
To navigate these waters, consider these steps:
| Action | Recommendation |
|---|---|
| Use Copyright-Free Content | Look for music or audio labeled under Creative Commons or public domain. |
| Seek Permission | Reach out to the copyright holder for permission if you're unsure. |
| Citing Sources | Always credit your sources, even if it's not legally required. |
In summary, while it can be tempting to capture audio from YouTube videos, it’s crucial to proceed with caution and respect copyright laws to avoid any legal hiccups down the road.
Also Read This: How to Upload Your Images to Getty with Ease
3. Tools You Will Need

Before diving into the wonderful world of recording sound from YouTube videos, it’s essential to gather the right tools. Luckily, most of what you’ll need is likely already at your fingertips. Let’s break it down:
- Computer or Laptop: This will be your primary device for accessing YouTube and the recording software.
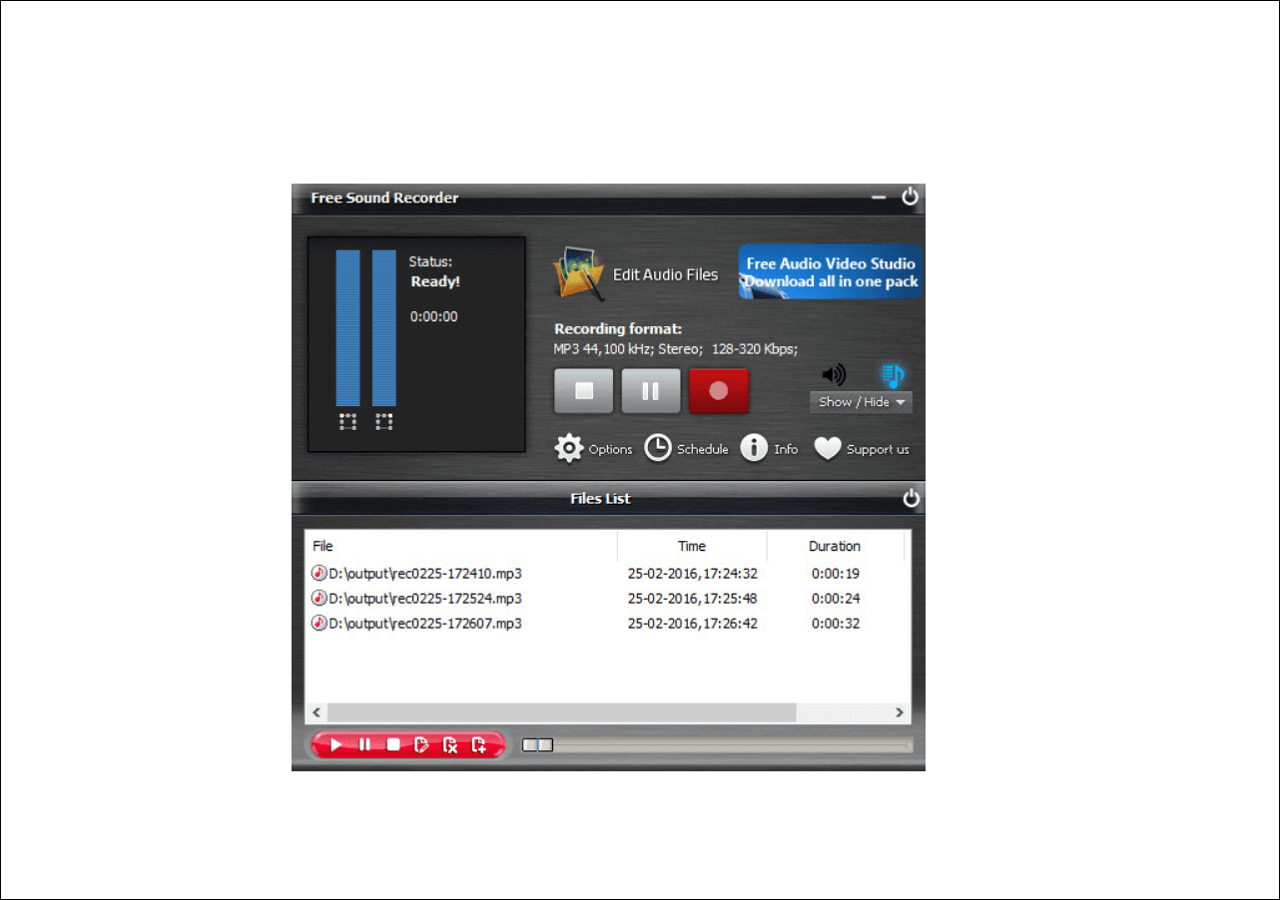
- Audio Recording Software: You’ll need software to capture the sound. Here are a few popular options:
- Audacity: A free and open-source tool that’s great for beginners.
- GarageBand: Perfect for Mac users aiming for a polished sound.
- OBS Studio: Excellent for screen recording, but it also records audio effortlessly.
- Headphones: Wearing headphones can help you monitor the sound while recording, ensuring quality and clarity.
- Internet Connection: A stable internet connection is crucial to stream the YouTube video without interruptions.
- Optional – External Microphone: While it’s possible to record audio directly from your computer, an external microphone can enhance the quality, especially if you're also capturing voiceovers.
With these tools at hand, you’re all set to capture sound from any YouTube video you fancy!
Also Read This: Can Behance Be Used for Video Editing? Everything You Need to Know
4. Step-by-Step Guide to Recording Sound

Now that you’ve got your tools ready, let’s move on to the actual process of recording sound from a YouTube video. Follow these easy steps, and you’ll have your audio in no time!
- Choose Your YouTube Video: Start by identifying the video from which you want to record sound. Make sure you have the legal right to use that audio for your intended purpose.
- Open Your Audio Recording Software: Launch the software you’ve selected (like Audacity or GarageBand) and set it up for recording.
- Select the Recording Source: In your software settings, choose the appropriate audio input. For example, select “Stereo Mix” in Audacity to capture all sound from your computer.
- Hit Record: Once your software is set up and the YouTube video is ready, click the record button in your audio software.
- Play the YouTube Video: As soon as you start recording, switch over to the YouTube video and play it. Make sure the sound is loud enough to be picked up clearly!
- Stop the Recording: Once you’ve captured the desired audio, return to your recording software and hit stop. Voila! You have equipped the audio from the video!
- Save Your File: Finally, choose a suitable format (like MP3 or WAV) from the “File” menu, and save your recording. Make sure to name it appropriately for easy access later.
And there you have it! With these steps, you can effortlessly record sound from any YouTube video. Enjoy your newly acquired audio, but remember to respect copyright laws and give credit where it's due!
Also Read This: The Ultimate Guide on Tiktok Photo Download in High Quality
Tips for Better Audio Quality
When recording sound from a YouTube video, achieving high audio quality can enhance the overall listening experience significantly. Here are some valuable tips to help you get the best results:
- Choose the Right Equipment: Using a good microphone can make a noticeable difference. Consider a USB microphone for clear sound, or even a headset microphone for convenience.
- Reduce Background Noise: Make sure to record in a quiet room. Close windows, turn off noisy appliances, and try to minimize any sounds that might interfere.
- Adjust Volume Levels: Before you start recording, play the YouTube video and adjust the volume to a level that is not too loud or too quiet. Ideally, it should be loud enough to pick up details but not so loud to cause distortion.
- Use a Stable Connection: Ensure that your internet connection is stable while streaming the video. A fluctuating connection might cause audio dropouts.
- Record at a High Bitrate: If possible, use software that allows you to choose the bitrate. A higher bitrate generally means better audio quality.
- Monitor the Recording: If your setup allows it, listen to a small section of the recording in real-time to identify any potential issues.
Following these tips can really enhance the quality of the audio you record from YouTube videos, making it clearer and more enjoyable to listen to later.
Also Read This: How Much Do You Get Paid for Adobe Stock?
Saving and Editing the Recorded Audio
Once you have recorded the audio from a YouTube video, the next steps involve saving and possibly editing your audio file. Here’s how you can do it:
- Choose the Right Format: When saving your recording, consider the file format. Some popular ones include:
- MP3: Great for general use, compatible with most devices.
- WAV: Larger file size but higher quality, suitable for professional use.
- AAC: Similar to MP3, with better quality at lower bitrates.
- Name Your Files Wisely: Use a clear and recognizable naming convention. You can include the video title, the date, or the subject matter.
- Use Editing Software: If you want to polish your audio, consider using software like Audacity, GarageBand, or Adobe Audition. You can trim unwanted sections, adjust volume levels, and add effects.
- Export Your Edited Audio: Once you’re satisfied with any edits, export your file in the desired format and save it in an easily accessible location.
By following these steps, you’ll not only retain quality in your recordings but also be able to create polished audio that’s ready for use, whether for personal enjoyment or professional projects.
How to Record Sound from a YouTube Video Using a Simple Method
Recording sound from YouTube videos can be a practical way to capture music, sound bites, or any other audio content for personal use. Whether you're creating a playlist or need sound for a project, this task is quite simple with the right tools and methods. Below, we will outline a straightforward approach that requires minimal technical skill.
Step-by-Step Guide
Here’s how you can easily record sound from a YouTube video:
- Choose Your Recording Software
- Common applications include:
- Audacity (Free)
- OBS Studio (Free)
- Snagit (Paid)
- Install and Setup
Once you've chosen your recording software, download and install it. Follow the installation wizard and open the application.
- Configure Audio Settings
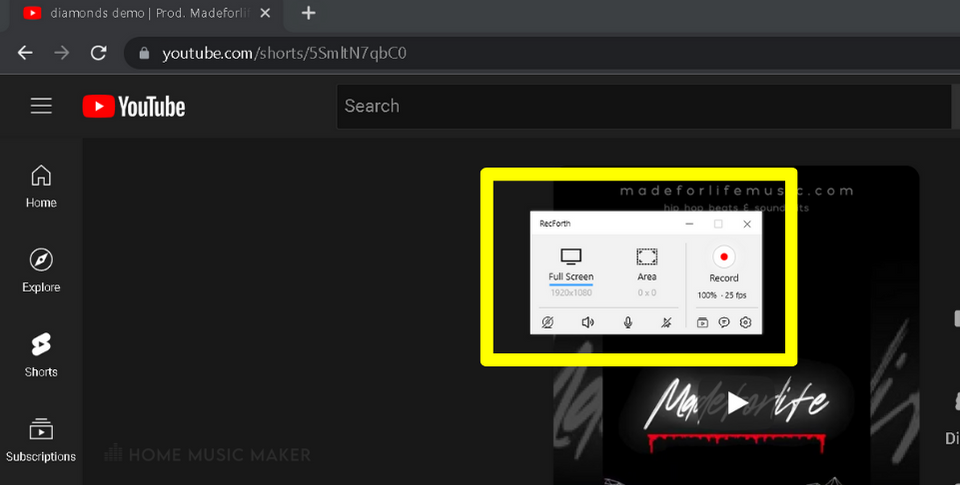
In the software, set your input device to either 'Stereo Mix' or your system's audio output. This allows the program to capture all sound played on your computer.
- Start the Recording
Open the YouTube video you wish to record and press the record button in your software just before playing the video. Make sure to monitor the levels to avoid distortion.
- Stop and Save
Once you’ve captured the desired clips, stop the recording and save your audio file in your preferred format (e.g., MP3, WAV).
Tips for Better Quality
- Use headphones to avoid feedback.
- Record in a quiet environment to minimize background noise.
- Ensure the volume levels are adjusted for best clarity.
Table of Software Comparison
| Software | Price | Features |
|---|---|---|
| Audacity | Free | Multi-track editing, effects |
| OBS Studio | Free | Screen recording, streaming |
| Snagit | Paid | Screen capturing, editing |
Recording sound from YouTube is an easy and efficient process with the right software and approach. By following the steps outlined above, you can obtain high-quality audio recordings straight from your favorite videos, enhancing your projects and personal playlists.
 admin
admin


