Hey there, fellow content creators! Have you ever wanted to save your favorite YouTube videos for offline viewing or editing? Whether you're looking to create reaction videos, keep tutorials handy, or simply collect inspiring content, this guide is here to help you. We’ll explore the ins and outs of recording YouTube videos, making it easy for you to have access to that content anytime, anywhere. Let’s dive in!
Understanding the Benefits of Recording YouTube Videos
Recording YouTube videos can be a game-changer for several reasons. Let's break down some of the key benefits:
- Convenience: Imagine being able to access your favorite tutorials or inspiring talks without needing an internet connection. Recording videos allows you to watch them anytime, whether you're on a plane or in a remote area with poor connectivity.
- Edit for Your Needs: By recording videos, you can edit them down to the most relevant parts. Want to extract the best tips from a long seminar? You can trim the video to highlight only the key moments that resonate with you.
- Learning and Retention: Studies suggest that taking notes while watching videos enhances learning. By recording them, you can pause, rewind, and take notes without missing a beat. This active engagement can significantly boost your retention of the material.
- Creating Compilations: If you're a fan of a particular channel or topic, recording videos allows you to create compilations. Gather your favorite clips and compile them into themed videos for a personal touch or shareable content.
- Content Curation: For educators or content creators, recording videos can help curate a library of resources. You can build a repository of useful videos that you can reference in future projects or share with your community.
Of course, it's essential to remember the legal and ethical implications of recording. Always seek permission if you plan to share or repurpose someone else's content. Respecting content creators’ rights is paramount in maintaining the integrity of the YouTube community.
So, whether you're looking to save a video for personal use or create content that engages your audience, understanding these benefits can help you make the most out of your recording endeavors. Ready to get started? Let’s explore the tools and techniques available for recording those YouTube videos!
Also Read This: How Much GB Video Can Be Uploaded on YouTube? Understanding Upload Limits
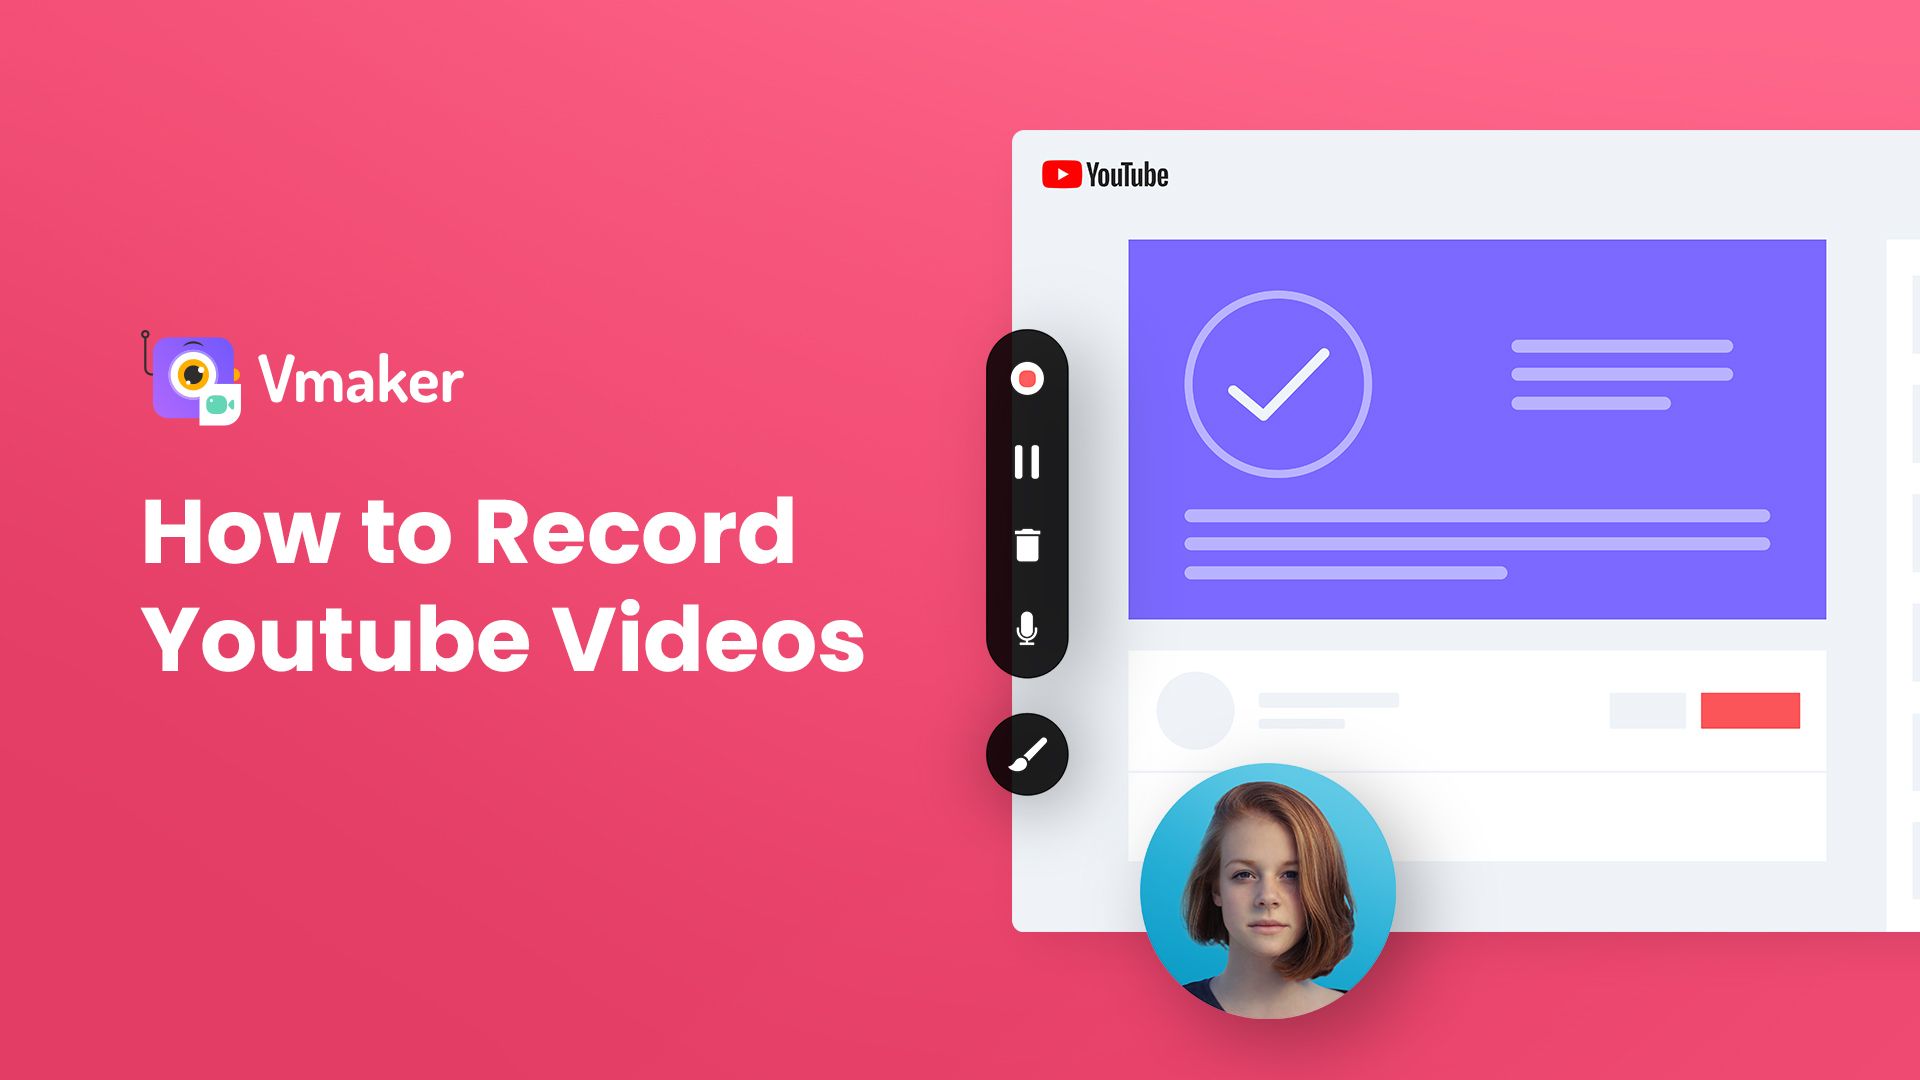
3. Tools and Software for Recording YouTube Videos
When it comes to recording YouTube videos, choosing the right tools and software can make all the difference. Whether you're a seasoned content creator or just starting out, having the right gear can enhance your recording quality significantly. Here’s a breakdown of some recommended tools:
- Screen Recording Software: A must-have for capturing video content directly from your screen.
- OBS Studio: This is a free, open-source software that's highly customizable and widely used for both recording and live streaming.
- Camtasia: A user-friendly option that provides powerful editing features, perfect for beginners.
- Screencast-O-Matic: An affordable choice that offers essential features without overwhelming complexity.
For those who prefer a more physical approach:
- Microphones: Audio quality is just as important as video quality. Consider a good USB microphone like the Blue Yeti for crisp sound.
- Cameras: While many opt for webcams, DSLRs or mirrorless cameras provide higher video quality. Canon EOS M50 is a popular choice among YouTubers.
- Lighting: Proper lighting can drastically improve video quality. Softbox kits or ring lights are great investments.
Finally, you’ll need editing software to polish your videos:
- Adobe Premiere Pro: A professional-grade software that offers extensive editing tools.
- Final Cut Pro: Perfect for Mac users looking for advanced features and seamless integration.
- DaVinci Resolve: A free option that doesn’t skimp on features, especially for color correction.
With these tools in your arsenal, you're well-equipped to start recording high-quality YouTube videos!
Also Read This: Why Does YouTube Lag When I Play Games and How to Improve Performance
4. Step-by-Step Process to Record YouTube Videos
Now that you’ve got your tools ready, let’s dive into the process of recording YouTube videos. Follow these steps to ensure a smooth recording session:
- Plan Your Content: Before hitting the record button, outline what you want to say. Having bullet points can keep you on track.
- Set Up Your Equipment: Position your camera and microphone in a well-lit area. Ensure your background is clean and visually appealing.
- Configure Your Software: Open your chosen recording software and select the appropriate settings. For OBS, make sure you select the right audio and video sources.
- Test Your Setup: Record a short test clip to check audio levels and video quality. Adjust settings as necessary.
- Start Recording: When you feel ready, hit that record button. Speak clearly and confidently, and remember to engage your audience!
- Monitor Your Recording: Keep an eye on your recording software to ensure everything is running smoothly. Look for any distortions in audio or video.
- Stop and Save Your Recording: Once you’re done, stop the recording and save your file in a designated folder for easy access.
Recording YouTube videos can be a fun and rewarding experience. Follow these steps, and you’ll be well on your way to creating engaging content that resonates with your audience!
Also Read This: How to Install YouTube on Old Samsung Smart TVs: Getting Access to YouTube on Older Models
5. Editing Recorded Videos for a Professional Finish
So, you've recorded your YouTube video, and now it's time to make it shine! Editing is where the magic happens, transforming your raw footage into a polished masterpiece. Here are some key steps to ensure your video looks professional:
- Choose the Right Software: Depending on your skill level and budget, you can opt for software like Adobe Premiere Pro for advanced editing, or iMovie for simpler tasks. Free options like DaVinci Resolve can also deliver great results.
- Trim the Fat: Review your footage and cut out any unnecessary parts. Keep your content tight and engaging. Aim for clarity—if it doesn’t add value, consider removing it.
- Add Visuals and Effects: Enhance your video with transitions, titles, and graphics. But remember, less is often more! Use effects to guide your audience, not distract them.
- Incorporate Background Music: Music can set the tone and keep viewers engaged. Use royalty-free tracks from platforms like Artlist or AudioJungle to avoid copyright issues.
- Color Correction: Adjust the colors and lighting to give your video a consistent look. Tools like the Lumetri Color panel in Premiere Pro can help you achieve that professional finish.
- Sound Editing: Clear audio is essential! Use audio editing tools to reduce background noise and balance sound levels. Don’t forget to sync your audio with the visuals, especially if you’re using external microphones.
Finally, before exporting, preview your video multiple times. Look for any last-minute tweaks and ensure everything flows smoothly. Once satisfied, export in the best quality possible—consider using formats like MP4 for optimal compatibility on YouTube.
Also Read This: How to Redeem YouTube Premium Code from Discord for Free Access
6. How to Store and Access Recorded Videos Offline
Now that you've edited your video, you'll want to store it safely for future access. Here’s a practical guide on how to keep your recordings organized and easily accessible:
- External Hard Drives: Invest in a reliable external hard drive. Brands like Western Digital and Seagate offer great options. These drives provide plenty of space for high-quality videos and can be easily connected to your computer.
- Cloud Storage: Services like Google Drive, Dropbox, or OneDrive not only back up your videos but also allow you to access them from anywhere. Just keep in mind your internet speed when uploading or downloading large files.
- Organize Your Files: Create a clear filing system for your videos. Use folders labeled by date, project, or content type. This makes it easier to locate specific videos when you need them.
- Backup Regularly: Don't rely on just one storage solution. Make backups on different devices—like an external drive and a cloud service—to ensure your videos are safe from accidental loss.
Lastly, remember to periodically review your stored videos. Clear out any outdated or unnecessary files to free up space and keep your storage system efficient. With the right tools and organization, accessing your recorded videos offline will be a breeze!
Also Read This: What Should My First Video on YouTube Be About? Ideas to Kickstart Your Channel
7. Legal Considerations When Recording YouTube Content
When diving into the world of recording YouTube videos, understanding the legal landscape is crucial. You want your content to shine, but you also need to avoid any pitfalls that could lead to copyright issues or other legal troubles. Here are some key considerations:
1. Copyrighted Material: Always be cautious about using copyrighted content. This includes music, images, video clips, and even certain logos. If you want to use a popular song in your background, make sure you have the right license or opt for royalty-free music. Websites like Bensound and Epidemic Sound offer great options for royalty-free tracks.
2. Fair Use Doctrine: While the Fair Use Doctrine allows for limited use of copyrighted material without permission for purposes like criticism, comment, news reporting, teaching, or research, it’s a bit of a grey area. If you’re uncertain whether your use qualifies as fair use, it’s wise to consult a legal expert. For instance, using a short clip for commentary can be fair use, but using a significant portion of a film probably isn’t.
3. Permissions and Licenses: If you plan to feature someone else’s work, whether it’s a guest star or a clip from another creator, always ask for permission. Clear recorded consent can save you from future headaches. A simple email or message can go a long way.
4. Trademarks: Be careful when featuring branded products or logos in your videos. While showing a product in passing might be fine, directly promoting a brand without permission can lead to trademark infringement claims. If you’re partnering with a brand, ensure you understand the terms of your agreement.
5. Content Policies: Familiarize yourself with YouTube’s Community Guidelines and Terms of Service. Violating these can lead to your content being removed or your channel being penalized. For example, using misleading titles or thumbnails can result in a strike against your account.
In short, being aware of these legal considerations can protect your creative efforts and ensure that your passion for creating YouTube content remains enjoyable and stress-free. Take the time to do your research, and don’t hesitate to seek professional advice if needed!
8. Conclusion and Best Practices for Recording YouTube Videos
As we wrap up this guide, it’s clear that recording YouTube videos can be a thrilling journey filled with creativity and expression. However, a few best practices can help streamline the process and elevate your content. Here’s a quick summary:
- Plan Ahead: Prior to hitting record, outline your video’s key points. This will help keep your content focused and engaging.
- Invest in Good Equipment: While you don’t need to break the bank, decent audio and video equipment can significantly improve the quality of your content. Consider microphones and cameras that suit your budget and needs.
- Edit Thoughtfully: Editing is where the magic happens. Use software like Adobe Premiere Pro or Final Cut Pro to polish your videos, but also consider simpler options like iMovie if you’re just starting out.
- Engage with Your Audience: Build a relationship with your viewers. Respond to comments, ask for feedback, and create content based on their suggestions. This fosters a loyal community.
- Stay Consistent: Consistency is key to growing your channel. Develop a posting schedule that works for you and stick to it.
- Learn and Adapt: Use YouTube Analytics to track what works and what doesn’t. Don’t be afraid to evolve your content based on data and audience engagement.
- Have Fun! Above all, enjoy the process! Your passion will shine through in your videos, making them more authentic and relatable.
Recording YouTube videos can be a fulfilling experience that allows you to share your voice and creativity with the world. By following these best practices, you’ll not only enhance your skills but also create content that resonates with viewers. So grab your camera, start recording, and let your creativity flow!
 admin
admin


