Creating videos to share on YouTube can be an exciting and rewarding experience. Whether you want to share your hobbies, teach a skill, or express your creativity, YouTube provides an ideal platform to reach a global audience. For beginners, though, the process can feel overwhelming at first. But don't worry! In this blog post, we'll break down the necessary steps to record your first video on
Setting Up Your YouTube Account

Before you can start recording and uploading videos, you'll need a YouTube account. Here’s how to get started!
- Create a Google Account:
If you don't already have a Google account, you'll need to create one. Just visit the Google sign-up page and fill out the required information.
- Sign in to YouTube:
Once your Google account is set up, head over to YouTube. Click the “Sign in” button at the top right corner and log in with your Google credentials.
- Create Your YouTube Channel:
Once logged in, you can create your channel by clicking on your profile icon and selecting “Your Channel.” Follow the prompts to set up your channel name and customize your channel art.
- Add a Channel Description:
A well-crafted channel description helps viewers understand what your content is about. Don’t hesitate to share your interests, the type of videos you plan to create, and when they can expect new uploads.
- Customize Your Channel:
Take some time to personalize your channel. You can upload a profile picture, add channel art, and arrange your uploads into playlists. A clean, attractive channel design can make a great first impression!
That's it! You’re now ready to explore the exciting world of video creation on YouTube. Once your channel is set up, we can move on to recording your first video. Stay tuned for more tips!
Also Read This: Adobe Stock Images Remove Watermark: Online and Offline Methods
Choosing the Right Equipment

When it comes to creating engaging YouTube videos, the right equipment can make all the difference. But don’t worry! You don’t need to break the bank to get started. Let’s explore what you need and why it's important.
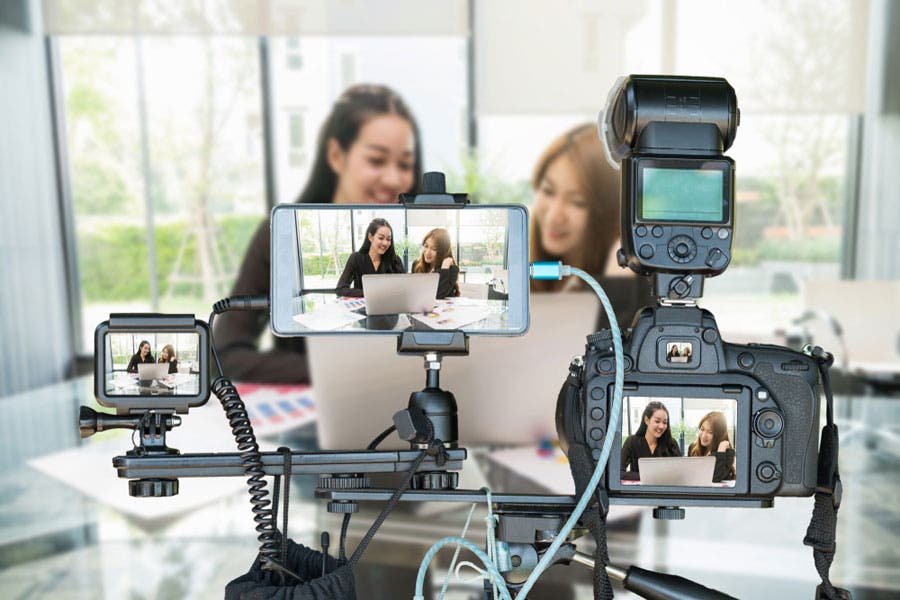
Camera: First off, a good camera is crucial. While DSLR cameras and camcorders are popular choices for seasoned creators, smartphones also deliver stunning quality nowadays. If you're just starting out, consider using:
- Smartphones (iPhone, Samsung)
- DSLR cameras (Canon, Nikon)
- Webcams (Logitech C920)
Microphone: Clear audio is just as important as high-quality video. Viewers are more likely to tolerate mediocre video quality than poor sound. Here are some options:
- Lavalier (lapel) microphones for interviews
- USB microphones for voiceovers
- Shotgun microphones for vlogging
Lighting: Good lighting can transform your video. Natural light is great, but if you're filming indoors, consider investing in:
- Softbox lights
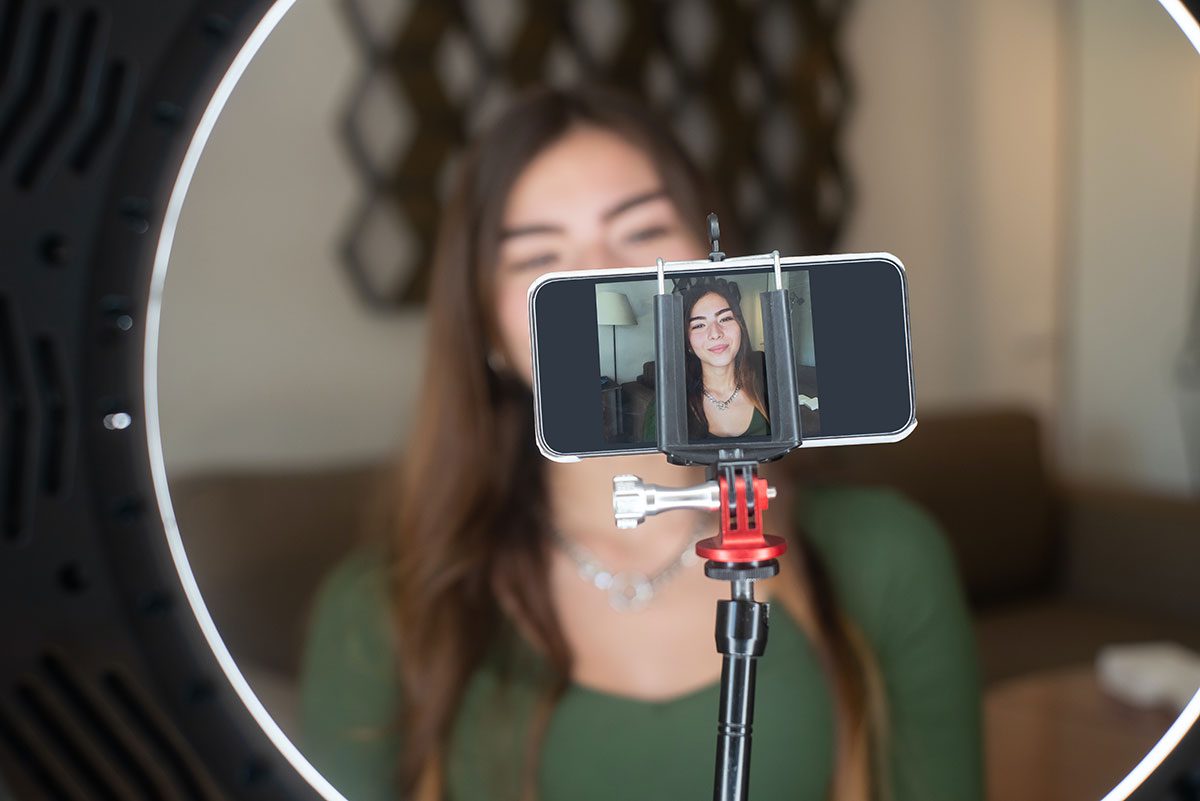
- Ring lights for face-focused shots
Editing Software: Don’t forget about editing! It’s where the magic happens. Start with user-friendly software like:
- iMovie (Mac)
- DaVinci Resolve (PC/Mac)
- Adobe Premiere Pro (more advanced option)
With the right tools, you’ll feel more confident in your video-making journey. Just remember, it’s not always about having the best gear, but how you use what you have!
Also Read This: Understanding the Lack of Views on YouTube and Improving Engagement
Planning Your Video Content

Before you hit that record button, it's crucial to plan your video content. A little bit of brainstorming can elevate your video from average to absolutely captivating! Here’s how to get started:
Defining Your Niche: What do you love? Find a niche that resonates with you. This way, you're more likely to attract an audience who shares your interests. Consider:
- Gaming
- Cooking
- Travel vlogging
- Education
Creating an Outline: Outlining not only keeps you organized but ensures you cover all essential points. A rough structure might look like:
| Section | Content |
|---|---|
| Introduction | Hook audience with a question or intriguing fact. |
| Main Content | Discuss your topic; include tips, examples, or personal experiences. |
| Conclusion | Summarize key takeaways and include a call to action (like subscribing). |
Writing a Script: While some creators prefer a spontaneous approach, scripting your video can help you convey your message clearly. Just remember to keep it conversational, as if you’re chatting with a friend.
Visual Planning: Think about what visuals or B-roll footage you'll need to complement your main content. This could include:
- Graphics
- Stock footage
- On-screen text or statistics
Taking the time to plan your video content will not only make your filming process smoother but also improve your final product. So grab your notepad and start brainstorming—you’re one step closer to producing amazing content!
Also Read This: How to Import Images in Blender
5. Recording Your Video
Alright, you’re ready to dive in and get your video recorded! Recording your video can be both exciting and a little nerve-wracking, especially if it’s your first time. But don't worry, we'll walk through the process together.
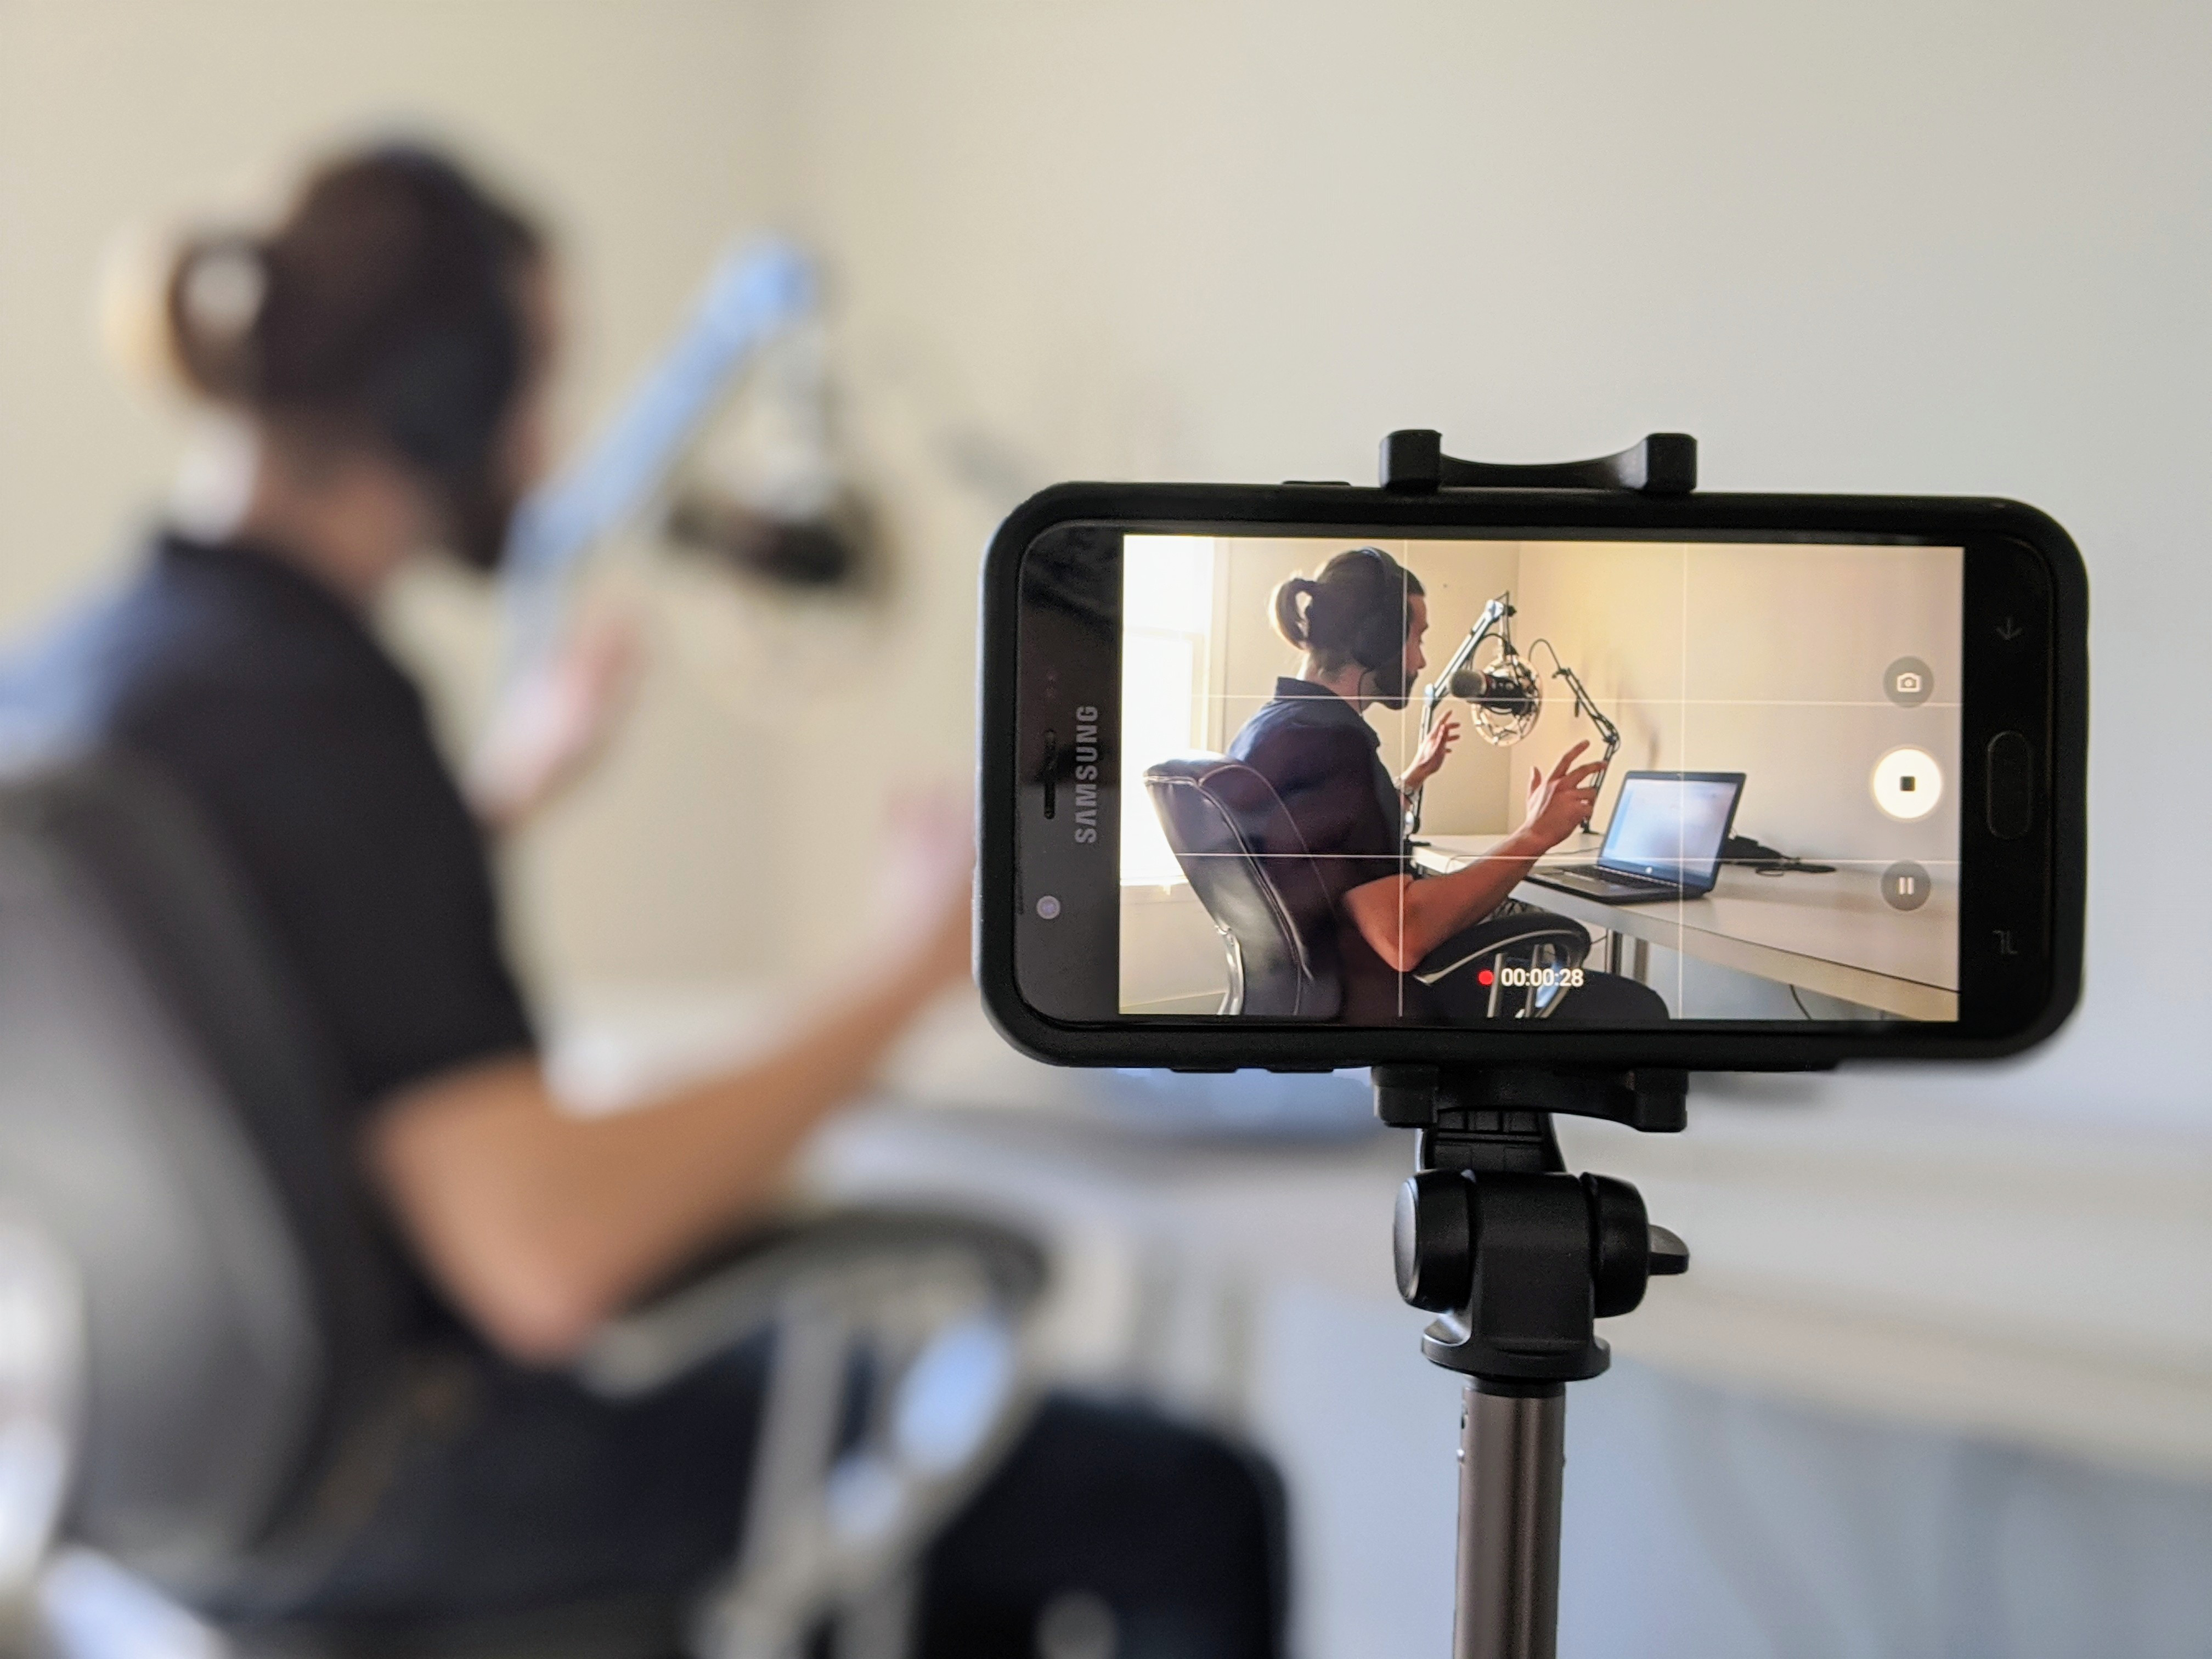
First things first, let’s talk about your setup. Make sure you have a quiet space where you won’t be interrupted. Natural light is your best friend, so if you can, try to record during the day. Here are some quick tips for a good recording:
- Choose the Right Equipment: You don’t need a fancy camera; a smartphone can do the job just fine! Just ensure that it has a decent camera and microphone.
- Stable Support: Use a tripod or a stable surface to keep your shot steady.
- Frame Your Shot: Make sure you’re centered in the frame and that the background isn’t too distracting.
- Check Your Audio: Clear audio is crucial, so consider using a separate microphone if you have one.
- Practice Makes Perfect: Do a few test recordings to get comfortable in front of the camera.
Once you feel ready, hit that record button! Don’t worry if you make mistakes; you can always edit them out later. Speaking naturally and being yourself will resonate more with your audience than trying to be overly polished. Remember to smile and have fun!
Also Read This: How to Check Adobe Stock Metadata
6. Editing Your Video
Editing can feel daunting, but it’s where the magic really happens. This is your chance to refine your content, cut out the fluff, and present your best self! Let’s go through a few simple steps to make your editing process smoother.
First, choose an editing software you're comfortable with. Some popular options for beginners include:
- iMovie: Great for Mac users with a user-friendly interface.
- Windows Movie Maker: Perfect for Windows users wanting something straightforward.
- DaVinci Resolve: A bit more advanced but offers a free version with robust features.
- Shotcut: Another free and open-source option that works on multiple platforms.
Now, here are some editing tips to keep in mind:
- Trim and Cut: Remove any unnecessary segments to keep your video engaging.
- Add Text: Introduce your topics with on-screen text. It can enhance understanding.
- Incorporate Background Music: A subtle background track can set the tone, just be sure to use royalty-free music.
- Color Correction: Adjust the lighting and color to make your video visually appealing.
Once you've done your edits, preview your video to ensure everything flows well. Finally, export it in a suitable format, and you’ll be ready for the next exciting step: uploading to YouTube!
Also Read This: Understanding Why Your YouTube Quality is Bad and How to Fix It
7. Uploading Your Video to YouTube
So, you’ve created an amazing video and you're super excited to share it with the world! But wait—how do you actually upload it to YouTube? Don't worry; it’s a piece of cake. Here’s a step-by-step guide to get your video live:
- Sign In to Your Account: First things first, log in to your YouTube account. If you don’t have one yet, you’ll need to create it.
- Click on the Upload Icon: Once logged in, look for the camera icon with a "+" sign (usually found in the upper right corner of the screen). Click on it, and select “Upload Video.”
- Select Your Video File: Hit the “Select files” button to browse your computer. Grab that stunning video you want to share and click “Open.”
- Add Title and Description: Enter a catchy title and a detailed description to let viewers know what your video is about.
- Choose Your Thumbnail: You can either pick one of the auto-generated thumbnails or upload a custom one. Stand out with a great image!
- Set Visibility Settings: Decide whether you want your video to be public, unlisted, or private. For maximum exposure, go for public!
- Publish: Click “Publish,” and voilà! Your video is now live on YouTube.
See? Easy peasy! Just follow these simple steps, and you’ll be sharing your creativity in no time.
Also Read This: Easy and Safe Methods to Convert YouTube Videos to MP4 Files
8. Optimizing Your Video for Maximum Reach
Now that your video is up on YouTube, let’s talk about how to make sure it gets the attention it deserves. Optimizing your video for maximum reach is crucial, and here’s how you can do it:
- Utilize Keywords: Research keywords related to your video topic and sprinkle them throughout your title, description, and tags.
- Create Engaging Thumbnails: First impressions matter—design an eye-catching thumbnail that makes viewers want to click!
- Write Compelling Descriptions: Use your description to not only summarize your video but also include additional information, links, or social media handles.
- Include Call-to-Actions: Encourage viewers to like, comment, and subscribe. Engaging with your audience boosts visibility!
- Use End Screens and Cards: Promote other videos or playlists directly in your video using YouTube's end screens and cards for cross-promotion.
- Share on Social Media: Don’t keep it to yourself! Share your video on your social media profiles to tap into your existing audience.
By following these optimization tips, you’ll increase your chances of reaching a wider audience and growing your YouTube community. So go ahead, give it a shot!
Also Read This: How to Crop Images Using CSS for Clean and Precise Designs
How to Record a Video on YouTube for Beginners
Creating and sharing content on YouTube has become a popular way to express creativity, share knowledge, or promote a business. If you're a beginner eager to dive into the world of video creation, this guide will help you navigate the process of recording your first video on YouTube.
Here are the essential steps to get you started:
- Prepare Your Content:
Before pressing record, outline your video's topic. This will help keep you focused and make the filming process smoother. Consider questions like:
- What is the main message of your video?
- Who is your target audience?
- What visuals will enhance your message?
- Choose Your Recording Device:
You can use various devices to record your video, including:
Device Type Pros Cons Smartphone Portability, ease of use Lower image quality compared to cameras Digital Camera Higher image quality More expensive, less portable Webcam Great for live streaming Limited video quality - Set Up Your Recording Environment:
Ensure you have proper lighting and a quiet location. Natural light works well, or you can invest in softbox lights for a professional look.
- Record Your Video:
Hit that record button! Remember to speak clearly and maintain eye contact with the camera. Don't worry if you make mistakes; you can edit later.
- Edit Your Video:
Use editing software to enhance your video. Add transitions, music, and text overlays to make it more engaging. Popular editing tools include:
- iMovie
- Adobe Premiere Pro
- Filmora
- Upload to YouTube:
Once your video is edited, it’s time to upload. Create a compelling title, description, and add tags to help users find your video.
With these steps, you are well on your way to recording your first YouTube video! Remember, practice makes perfect, and the more you create, the better you will become at it.
Conclusion
Recording a video on YouTube as a beginner can be a straightforward and enjoyable process if you follow the right steps, from preparation to uploading. Keep experimenting and refining your process, and soon you'll be sharing great content with a wider audience.
 admin
admin


