Have you ever stumbled upon a captivating song or a podcast episode on YouTube that you wished you could listen to anytime, anywhere? Recording a CD from YouTube audio can be a fun and practical way to create your personal compilation of favorite tracks. In this guide, we’ll walk you through the process step-by-step, making it easy for you to enjoy your favorite content offline.
Understanding Copyright and Legal Considerations
Before diving into the technical aspects of recording a CD from YouTube audio, it’s crucial to understand the legal landscape surrounding this practice. Copyright laws protect the rights of creators, and music and video content on YouTube is no exception. Here’s what you need to know:
- What is Copyright? Copyright is a legal protection that gives creators exclusive rights to their original works. This means they control how their content is used, distributed, and reproduced.
- YouTube's Terms of Service: According to YouTube’s policies, downloading content without permission is generally against their terms. However, there are exceptions for certain types of content, like those marked under Creative Commons licenses.
- Fair Use Doctrine: In some cases, you might be able to use short excerpts of copyrighted works under the fair use doctrine. This typically applies to educational, commentary, or news contexts, but it's a gray area and should be approached with caution.
When considering recording a CD from YouTube, here are a few scenarios to think about:
| Scenario | Legal Standing | Recommendation |
|---|---|---|
| Personal Use | Often considered acceptable but not legally guaranteed. | Stick to your personal library; avoid distributing copies. |
| Sharing with Friends | Potentially infringing unless you have permission. | Consider sharing a playlist instead of a physical CD. |
| Commercial Use | Definitely illegal without a licensing agreement. | Don't use copyrighted material for profit unless licensed. |
As you navigate the process, keep in mind that respecting the rights of content creators not only fosters creativity but also ensures a healthy ecosystem for artists. It’s always a good idea to explore alternative options—like purchasing music legally or supporting creators directly through platforms like Patreon or Bandcamp.
In summary, while the allure of recording a CD from YouTube audio is strong, it’s essential to tread carefully and be aware of the legal implications. After all, respecting copyright is vital for ensuring that artists can continue to produce the content we love!
Also Read This: How Much Do ASMR YouTubers Earn
3. Tools and Software Needed for Recording
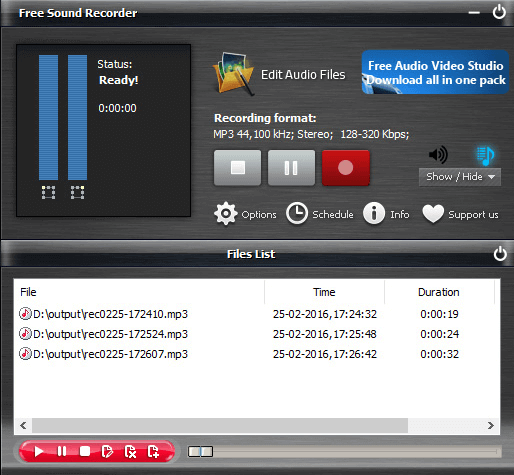
Before diving into the exciting world of recording YouTube audio, you'll need a few essential tools and software. Don’t worry; most of them are user-friendly and accessible!
1. Audio Recording Software: You’ll need a reliable audio recording program. Here are a couple of popular choices:
- Audacity: This free, open-source software is perfect for beginners and pros alike. It supports multiple audio formats and offers various editing features.
- GarageBand: If you're a Mac user, GarageBand is a fantastic option. It’s intuitive and packed with features that make recording and editing a breeze.
2. YouTube Downloader: To get the audio from YouTube, you'll need a reliable downloader. Some popular ones include:
- 4K Video Downloader: This tool allows you to download audio and video in high quality from YouTube.
- YTD Video Downloader: Another solid choice that enables you to extract audio in various formats.
3. Headphones: Quality headphones can make a significant difference in your recording experience. They help you monitor sound accurately while you edit.
4. Microphone: If you plan to add voiceovers or additional audio, consider investing in a good microphone. Options like the Blue Yeti or Audio-Technica AT2020 are excellent for clear sound.
With these tools at your disposal, you're well-equipped to start recording audio from YouTube. Now, let’s get into the nitty-gritty of the recording process!
Also Read This: Rewinding Time: Playing YouTube Videos Backwards for Fun
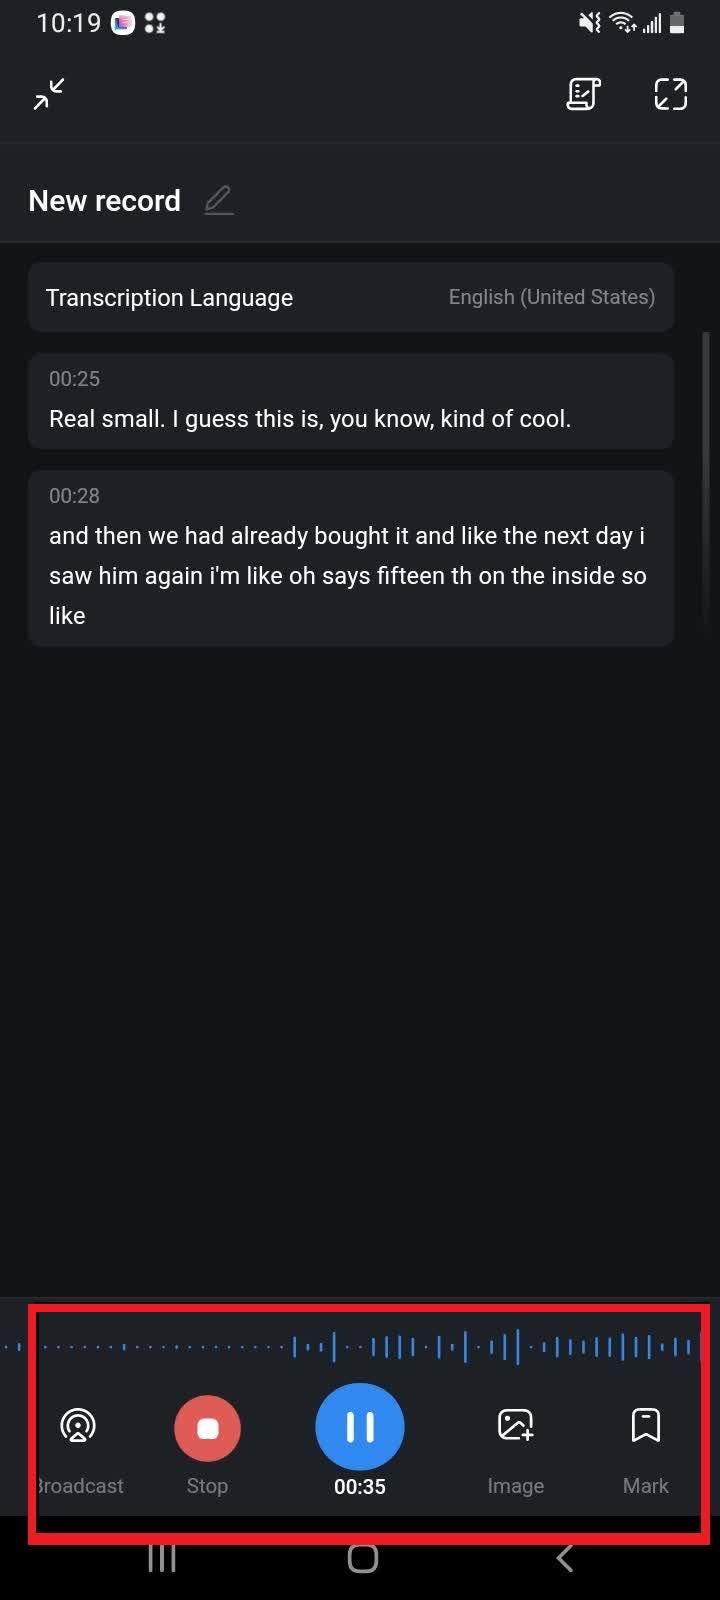
4. Step-by-Step Guide to Recording YouTube Audio
Now that you have your tools ready, let’s walk through the steps to record audio from YouTube. It’s easier than you might think!
Step 1: Choose Your YouTube Video
Begin by selecting the YouTube video from which you want to capture audio. Make sure it’s something you have permission to use!
Step 2: Download the Audio
Using your chosen YouTube downloader, paste the video link and select the option to download audio only. Choose a format like MP3 for compatibility with most audio software.
Step 3: Import the Audio into Your Software
Once the audio file is downloaded, open your audio recording software (like Audacity or GarageBand). Import the downloaded audio file into the software.
Step 4: Edit the Audio (Optional)
If you want to make any edits—like trimming unwanted sections or adding effects—now’s the time. Play around with the tools to get the sound just right!
Step 5: Add Voiceovers or Additional Sounds (Optional)
If you’re looking to enhance your recording, consider adding voiceovers or sound effects. This is where your microphone comes in handy! Record any additional audio directly into your software.
Step 6: Export Your Final Product
Once you’re satisfied with your recording, it’s time to export it. In Audacity, simply go to “File” and select “Export.” Choose your desired format and save your file.
Step 7: Enjoy Your Recorded Audio!
Congratulations! You’ve successfully recorded audio from YouTube. Use it in your projects or just enjoy it as part of your personal library.
Recording audio from YouTube can open up a world of creative possibilities. With the right tools and a bit of practice, you’ll be a pro in no time!
Also Read This: How to Connect YouTube Music to Alexa: Step-by-Step Instructions
5. Burning the Recorded Audio onto a CD
Now that you've successfully recorded your favorite audio from YouTube, it’s time to take the next step: burning that audio onto a CD. This process is quite straightforward, and with the right tools, you’ll have your own custom CD ready in no time!
Here’s a quick guide to help you through the burning process:
- Gather Your Tools: You’ll need a CD burner, blank CDs (preferably CD-R for audio), and your recorded audio files. Make sure your computer has a CD/DVD drive!
- Choose Your Burning Software: You can use free software options like CDBurnerXP, BurnAware, or even built-in applications like iTunes or Windows Media Player.
- Open the Software: Launch your chosen burning software and look for the option to create an audio CD. Most programs have an intuitive interface that guides you through the process.
- Add Your Audio Files: Locate the recorded audio files you saved earlier. Drag and drop them into the burning software. Make sure to arrange the tracks in the order you want them to play!
- Final Adjustments: Before starting the burn, check if the software allows you to add titles, artist names, and album artwork. This step is optional but makes your CD look professional.
- Burn the CD: Click the burn button and sit back while the software does its magic. The duration will vary depending on the number of tracks and their length.
Once the burning process is complete, the software will usually notify you. Eject the CD and give it a listen to ensure everything has been recorded correctly. If you encounter any issues, don’t worry; we’ll cover some common problems and solutions in the next section!
6. Troubleshooting Common Issues
Even though burning a CD is generally a smooth process, sometimes things don't go as planned. Here are some common issues you might face and how to troubleshoot them:
- Issue: CD Won’t Play in a CD Player
Solution: Ensure you’ve burned an audio CD, not a data CD. Audio CDs are compatible with standard CD players. If it’s a data CD, try playing it on a computer instead. - Issue: Insufficient Space for Tracks
Solution: If your audio files exceed the CD’s capacity (around 700 MB or 80 minutes), remove some tracks, or consider using a larger capacity CD, like a CD-RW. - Issue: Errors During Burning
Solution: Make sure your CD drive is clean and functioning properly. Sometimes, a dirty lens can result in burning errors. Also, check that your software is up to date. - Issue: Audio Quality Issues
Solution: If the audio sounds distorted or has glitches, check the original recording quality. Make sure it's saved in a high-quality format (like WAV or high-bitrate MP3) before burning.
If you continue to experience issues, consider reaching out to the support team of the software you’re using. They often have a wealth of information and can provide specific troubleshooting tips!
Now that you know how to burn your audio and troubleshoot common issues, you’re well on your way to creating your own CDs from YouTube audio. Enjoy your music collection!
 admin
admin


