T-shirt printing is a fun and creative way to express your personality. Whether you're designing for a business, an event, or personal use, it’s important to know a few basics. This will help you create designs that not only look good but also last long on fabric.
There are several methods available for printing on T-shirts, each with its own pros and cons. Here’s a quick look at the most common ones:
- Screen Printing: Best for bulk orders and simple designs. It offers great durability but is less cost-effective for small batches.
- Direct to Garment (DTG): Allows for highly detailed and colorful prints, but works best on cotton fabrics.
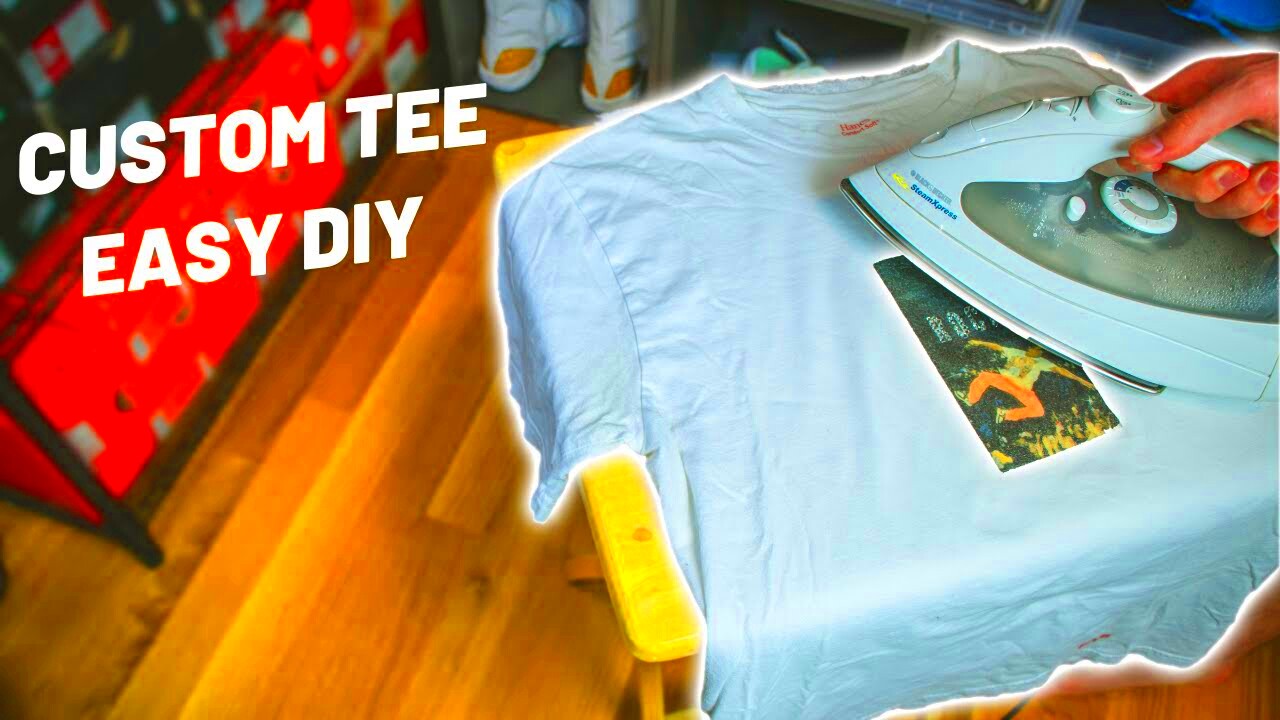
- Heat Transfer: A budget-friendly option that uses heat to transfer designs onto the fabric. It’s quick but might not be as long-lasting as other methods.
Each of these techniques can affect the outcome of your T-shirt design, so understanding which one to use based on your project needs is crucial for getting the best results.
Choosing the Right Image for Your T-Shirt

The image you choose plays a major role in the overall look and feel of your T-shirt. Here are a few tips for picking the right one:
- High resolution: Always opt for high-quality images (at least 300 DPI). This ensures that your design looks sharp, especially when printed.
- Simplicity is key: Sometimes, less is more. Complex images with too many colors or details can be difficult to print clearly.
- Contrast and Colors: Make sure your design contrasts well with the T-shirt color. For example, dark designs on a dark T-shirt won’t stand out.
- Personal or Business: Choose images that align with the message you want to send. For personal use, go for something fun or meaningful. For business, ensure it reflects your brand.
A well-chosen image can make your T-shirt stand out and become a piece you’ll love wearing or sharing.
Also Read This: Understanding YouTube’s Black and Orange Theme
Using Canva for T-Shirt Design

Canva is a great tool for creating custom T-shirt designs. It's user-friendly and doesn’t require any design experience, making it accessible to everyone. Here’s how you can use it to design a T-shirt:
- Start a new project: Open Canva and search for “T-shirt design” or create a custom size that matches your printing requirements.
- Select a template or start from scratch: Canva offers many pre-made templates, but you can also start with a blank canvas if you have a specific vision in mind.
- Upload your own images or use Canva’s library: You can either upload your own high-quality images or choose from Canva’s vast selection of graphics, photos, and icons.
- Customize your design: Adjust colors, fonts, and sizes to match your style. Don’t forget to add text or logos if needed.
- Save and download: Once you're satisfied, download your design in a high-quality format (such as PNG with a transparent background) for printing.
Canva makes it easy to experiment with different designs and layouts. Plus, its intuitive drag-and-drop features allow you to try multiple ideas before settling on the perfect one.
Also Read This: How to Resize Adobe Stock Photos for Upload
How to Download Your Design from Canva
Once you’ve created your T-shirt design in Canva, downloading it in the right format is the next crucial step. Canva offers several download options, but you want to choose the best one for printing. Here’s how you can do it:
- Finalize your design: Double-check your design for any errors, such as typos, misaligned elements, or unintended background colors. Make sure everything looks exactly the way you want it.
- Click the download button: At the top right of the Canva window, you’ll find the download button (a downward arrow). Click it to see the available options.
- Select the right format: For T-shirt printing, choose PNG for high-quality images with transparent backgrounds, especially if you want the design to seamlessly blend with the shirt color. If you're using a colored background, you can also opt for JPG, which compresses the file size without too much quality loss.
- Check the resolution: Ensure the resolution is set to at least 300 DPI (dots per inch) for sharp, print-ready images. Canva usually defaults to a lower resolution for screen use, so manually adjust it if necessary.
- Download the file: Once you’ve selected the right format and resolution, hit the download button. Your design will be saved to your device, ready for printing.
By following these steps, you’ll have a high-quality file that’s perfect for transferring onto your T-shirt.
Also Read This: Exploring Revenue Opportunities: Making Money from 123RF Images
Preparing Your Image for Printing
Before you print your design onto a T-shirt, you’ll need to ensure that the image is properly prepared. This step is key to avoiding common mistakes that can affect the final print quality. Here’s how to get your design print-ready:
- Resolution: Make sure your image is at least 300 DPI. Anything lower can result in a blurry or pixelated print.
- Image Size: The design should fit the printable area of your T-shirt. You can check with the print provider for the exact dimensions they recommend, but generally, designs are about 12 inches wide for adult T-shirts.
- Color Mode: Convert your image to CMYK (Cyan, Magenta, Yellow, Black) instead of RGB. CMYK is used in printing and will give you more accurate color representation.
- Transparent Background: If your design isn’t a full rectangle (like a logo or text), make sure the background is transparent. This will ensure that only the design gets printed, not the white box around it.
- Margins: Keep enough space around the edges of your design to avoid cutting off important elements when printed.
By taking care of these details, you’ll ensure that your T-shirt design looks exactly how you envisioned it once printed.
Also Read This: Pixelating Images for Privacy and Style
Printing Methods: Which One is Best?
When it comes to T-shirt printing, there are several methods available, each offering different benefits. Choosing the right one depends on your needs, such as budget, design complexity, and the type of T-shirt material. Below are the most common printing methods and what they’re best for:
| Method | Best For | Pros | Cons |
|---|---|---|---|
| Screen Printing | Bulk orders, simple designs with few colors | Durable, vibrant colors | Not cost-effective for small orders, limited colors |
| Direct to Garment (DTG) | Detailed designs, small orders | Great for complex images and full-color prints | Best on cotton, slower process |
| Heat Transfer | Low-cost, short-term use | Affordable, quick setup | Less durable, can crack or peel over time |
| Sublimation | Polyester fabrics, full-color designs | Produces vibrant prints, no texture | Only works on light-colored synthetic fabrics |
Each method has its strengths, so consider your design, fabric type, and budget when deciding. For most people, DTG is a great choice for small orders with detailed designs, while screen printing is perfect for large runs of simple graphics.
Also Read This: Creating Curved Images in Canva
FAQs About T-Shirt Printing with Images
When creating custom T-shirts with images, many people have questions about the process, materials, and methods. Here are some common FAQs to help guide you:
1. What resolution should my image be for printing?
Your image should be at least 300 DPI (dots per inch). Lower resolution images can appear blurry or pixelated when printed on fabric.
2. Can I print any image on a T-shirt?
While you can technically print any image, it's best to use high-quality images with strong contrast. Also, ensure you have the legal rights to use the image, especially if it’s not your own work.
3. What’s the best fabric for T-shirt printing?
Cotton is the most commonly used fabric for T-shirt printing, especially for methods like screen printing and DTG. For sublimation printing, however, polyester is required. The fabric choice can affect the print’s vibrancy and durability.
4. How long do printed T-shirts last?
The lifespan of a printed T-shirt depends on the method used. Screen printing and DTG prints tend to last longer, especially if the shirt is washed inside out and in cold water. Heat transfer prints may fade or crack over time.
5. Can I print on both sides of the T-shirt?
Yes, most printing services offer the option to print on both the front and back of the T-shirt. Keep in mind that printing on both sides may increase the cost.
6. Is it possible to remove or change a print after it’s applied?
Once a design is printed on a T-shirt, it cannot be removed or changed easily. If you need to make edits, it's best to adjust your design before printing.
Conclusion: Creating a Unique T-Shirt Design Easily
Designing and printing a custom T-shirt is a rewarding and straightforward process when you understand the basics. From choosing the right image to selecting the best printing method, every step plays a role in creating a piece that is uniquely yours. By using tools like Canva and ensuring your design is print-ready, you can bring your vision to life on fabric with ease.

 admin
admin


