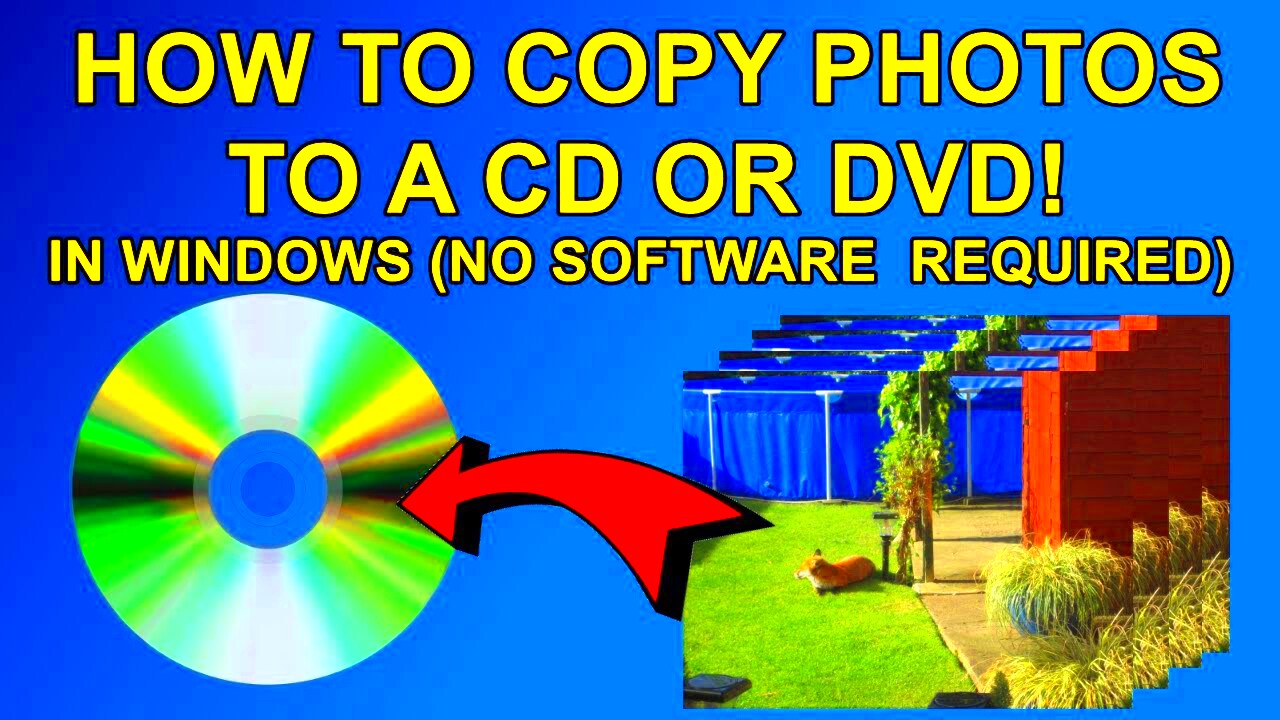
Burning an image onto a CD may seem like an old-fashioned method, but it's still a reliable way to store and share images. Whether you're preserving memories or sharing digital artwork, knowing how to put an image on a CD is a handy skill. In this guide, we’ll walk you through the process of transferring an
Why You Might Want to Put an Image on a CD

There are several reasons you may want to put an image on a CD:
- Long-term storage: CDs are a great way to store images for long periods of time without worrying about losing files to hard drive crashes.
- Sharing with others: It's a simple way to share images with people who may not have access to the internet or cloud storage.
- Creating a physical backup: If you want a physical copy of your digital images, a CD is a perfect option.
- Organizing photos: Burning images onto a CD allows you to keep a tidy and organized collection without cluttering your computer or online storage.
- Making gift CDs: You can create personalized CD albums for friends and family as gifts, with images and even a custom label.
While there are many digital options available today, CD storage remains a straightforward and reliable method for keeping your images safe.
Also Read This: How to Print Two Images on a Single Page
Preparing the Image for the CD

Before you burn an image to a CD, you need to make sure the file is ready. Here's how to prepare your image for the best results:
- Choose the right format: Ensure your image is in a common format like JPEG, PNG, or TIFF. These are widely supported and provide good quality without taking up too much space.
- Resize if needed: If the image is very large, consider resizing it. This will help you save space on the CD and make the burning process faster. You can use image editing software to adjust the resolution and dimensions.
- Check the image quality: Before burning, review the image quality. If necessary, enhance it using photo editing tools. Fix any issues with color, brightness, or contrast to make sure the final product looks great on the CD.
- Organize your files: If you're burning multiple images, it’s a good idea to organize them into folders. This makes it easier to manage and find your images later.
- Label your image: Adding metadata or a descriptive file name can help you identify the image later. This will be helpful when browsing through many files stored on a CD.
Once your image is prepared, you're ready to start the burning process. Taking these steps ensures the image will be properly stored and easily accessible on the CD.
Also Read This: How to Edit Text in JPEG Images Online
Choosing the Right CD for the Image

Choosing the right CD is crucial to ensure your image is stored properly and remains accessible over time. Not all CDs are created equal, and the wrong choice can lead to compatibility issues or poor storage quality. Here’s what you should consider when selecting a CD for burning your images:
- CD-R vs CD-RW: CD-R (Compact Disc-Recordable) is a one-time write CD, meaning you can burn data to it only once. CD-RWs (Compact Disc-Rewritable) are reusable, but they may not be as compatible with older devices. For permanent storage of your image, CD-R is the better choice.
- Capacity: Most CDs have a storage capacity of around 700 MB. Check the size of the image files you want to burn. If you have a collection of images, make sure the total file size does not exceed the capacity of the CD.
- Quality of the CD: Choose high-quality CDs from trusted brands. Cheap or low-quality discs may not burn well or may deteriorate faster over time, leading to potential data loss.
- Speed of burning: Some CDs support faster burning speeds. If you are burning a lot of images, selecting a CD that supports higher speeds can save you time. However, for better reliability, you might want to burn at a slower speed.
Choosing the right CD ensures that your images are safely stored and can be accessed without issues in the future. Always check the specifications before purchasing a CD to make sure it suits your needs.
Also Read This: How to Replace an Image in Word
How to Burn the Image onto the CD
Once you’ve prepared your image and selected the right CD, it’s time to burn the image onto the disc. Follow these simple steps to burn your image successfully:
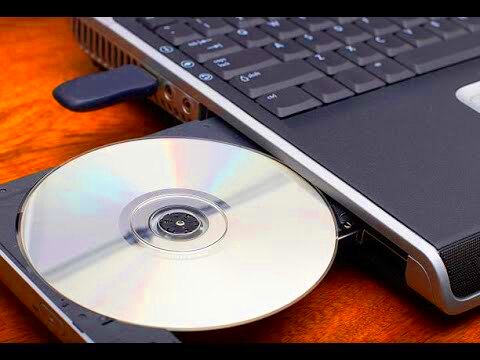
- Insert the CD: Place a blank CD into your computer's CD drive.
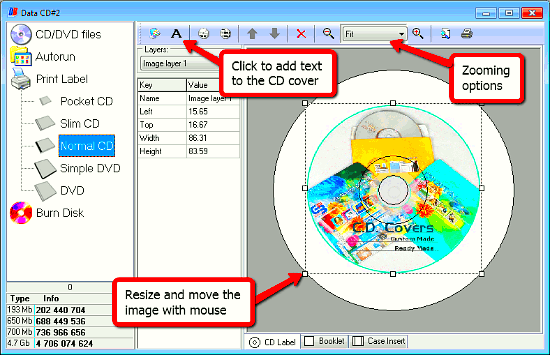
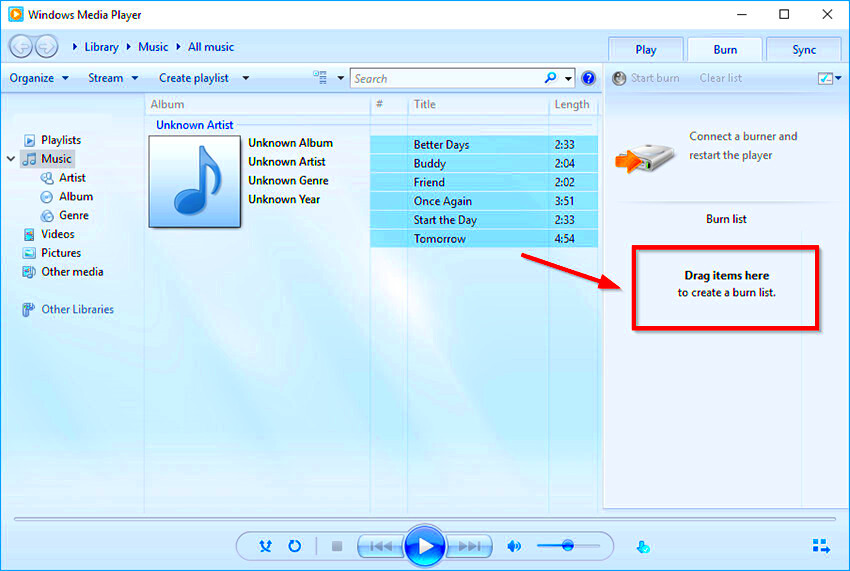
- Open your burning software: Use a program like Windows Media Player, Nero, or any other burning software that supports image burning. These tools are typically user-friendly and guide you through the process.
- Select your image: Browse through your files to find the image (or images) you want to burn. Most burning software allows you to drag and drop the files directly into the program.
- Choose the burn settings: Select the option to burn the image(s) to the CD. Some software may ask if you want to create a data disc or an audio/video disc, so ensure you select the data option for images.
- Burn the image: Once everything is set up, click "burn" and wait for the process to complete. The time it takes depends on the file size and the speed of the CD burner.
- Verify the burn: After the burning process finishes, check the CD by opening it on your computer to make sure the image has been copied successfully.
That’s it! Your image is now burned onto a CD and ready to be stored or shared. Remember to label the CD for easy identification later.
Also Read This: How to Add Images on Squarespace for Customized Web Pages
Common Issues You Might Face While Burning Images
Though burning images onto a CD is a simple process, there are a few issues that might come up during or after the burn. Here are some common problems and how to handle them:
- Burning software crashes: Sometimes the software may freeze or crash during the burning process. This can be due to outdated software or a problem with the CD drive. Make sure your burning software is up to date and restart the process if needed.
- CD not recognized: If your CD isn’t recognized by your computer or another device, it could be a compatibility issue. Ensure that you're using the correct type of CD (CD-R or CD-RW) and that the burner is functioning properly.
- Slow burn speed: If the burning process is taking longer than expected, you may want to try lowering the burn speed. This can improve the reliability of the burn and prevent errors.
- Image file corruption: If the image doesn’t open correctly after burning, the file could be corrupted. Try burning a new copy of the image, or check for any issues with the source file itself.
- Insufficient CD space: If you’re trying to burn too many images, the CD might run out of space. Check the total size of your image files and consider splitting them across multiple CDs if necessary.
- CDs not readable on other devices: Some older devices may not read burned CDs, especially CD-RWs. Ensure the CD is finalized properly and is compatible with the device you plan to use it on.
By being aware of these common issues, you can easily avoid or fix them during the burning process. If problems persist, try using different software or troubleshooting the CD drive to get the best results.
Also Read This: How to Edit Job Alerts on LinkedIn
Alternative Methods to Store Images
While burning images onto a CD is a great method, it’s not the only option for storing and sharing your digital files. Several other storage methods are available today, offering different benefits depending on your needs. Here are some alternatives to consider:
- External Hard Drives: External drives offer large storage capacities and are portable. They can hold thousands of images and are a good solution for backups and organizing large collections.
- Cloud Storage: Platforms like Google Drive, Dropbox, and iCloud let you store your images online. This option ensures your files are safe from physical damage and easily accessible from any device with an internet connection.
- USB Flash Drives: Flash drives are small and portable, making them a convenient way to transfer images between computers. While they don’t offer as much storage as external drives, they’re great for sharing small batches of images.
- DVDs: If you need more storage space than a CD offers, DVDs can hold more data. A single DVD can store up to 4.7 GB of images, which is ideal for large photo albums.
- Online Photo Albums: Platforms like Flickr and SmugMug allow you to upload and organize your images in private or public albums. These services are perfect for sharing images with friends and family without worrying about space limitations.
Each storage method has its advantages, and the best choice depends on how you plan to access and share your images. Consider your needs for portability, accessibility, and storage space before deciding which option works best for you.
Also Read This: How to Get Subscribers on Rumble and Grow Your Channel
Tips for Preserving Image Quality on a CD
When you burn an image onto a CD, you want to ensure that the quality remains intact over time. CDs are durable, but they can degrade if not properly handled. Here are some tips to help preserve the quality of your images on a CD:
- Use high-quality CDs: The quality of the CD itself plays a significant role in preserving your images. Choose branded, high-quality CDs that are less likely to degrade or become unreadable over time.
- Avoid scratches and physical damage: Handle CDs carefully to avoid scratches, which can corrupt or prevent access to your images. Always store them in a protective case when not in use.
- Store CDs in a cool, dry place: Exposure to heat, moisture, and sunlight can damage the data on your CD. Keep your CDs in a cool, dry place to extend their lifespan.
- Burn at a slower speed: Burning images at a slower speed can reduce the risk of errors and improve the reliability of the burn. Though it may take longer, a slower burn can ensure better results.
- Finalizing the disc: Always finalize the CD after burning to ensure that the data is permanently written and cannot be altered. This step is important for long-term storage.
- Create multiple copies: If your images are important, consider making multiple copies of the CD and storing them in different locations. This provides an extra layer of backup in case the original becomes damaged.
By following these tips, you can ensure your images stay intact and accessible on a CD for many years to come. Proper care and attention during the burning and storage process are key to preserving image quality.
Also Read This: Learn How to Download Pictures from IMDB with This Eye-Opening Tool
Frequently Asked Questions
Here are some common questions people have when burning images to a CD:
- Can I burn multiple images to a single CD?
Yes, you can burn multiple images to a single CD, as long as the total file size does not exceed the 700 MB capacity of the CD. - What if the CD won’t play on my device?
Make sure you are using a CD-R (not CD-RW) and that the device supports reading CDs. If the issue persists, try using another device or software to check the CD. - Can I burn an image onto a CD from a Mac?
Yes, you can use the built-in software on a Mac, such as Finder or Disk Utility, to burn images onto a CD. The process is similar to burning on Windows computers. - How do I know if my CD burn was successful?
After burning the image, check the CD by opening it on your computer. If you can see and access the image, the burn was successful. Some software also allows you to verify the burn. - Is there a limit to how many images I can store on a CD?
Yes, the capacity of a standard CD is 700 MB. The number of images you can store depends on their file sizes. For example, smaller JPEGs will take up less space, while large TIFF files will use more space. - Will the quality of my image degrade over time on a CD?
If you follow proper storage and handling techniques, such as keeping the CD in a cool, dry place and avoiding scratches, the quality of the image should remain intact for many years.
If you have any more questions or concerns about burning images to a CD, don’t hesitate to reach out for further assistance. It's important to know the best practices to ensure your images are safely stored and preserved.
Conclusion
In conclusion, burning images to a CD is a simple and reliable method for storing and sharing your digital files. While it may not be the most modern approach, it still offers numerous benefits such as long-term storage, easy sharing, and the ability to create physical backups of your images. By following the correct steps—from preparing the image to choosing the right CD and burning the image—this process can be straightforward and hassle-free. Remember to handle the CD with care and store it in optimal conditions to ensure your images remain intact over time. If you're looking for a straightforward way to store and share your images, burning them onto a CD is a great choice. Always consider your specific needs and, if necessary, explore alternative storage methods to ensure your images are safely kept and easily accessible when you need them.


