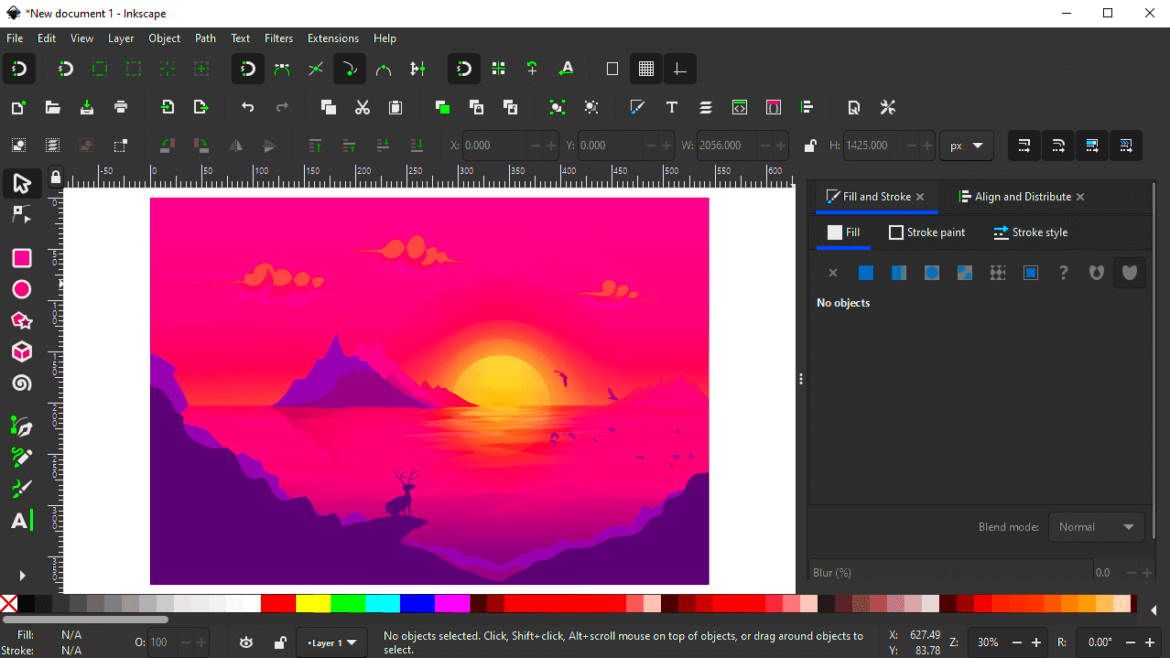
Inkscape is a powerful and free vector graphics editor that helps users create and manipulate images. Whether you're a beginner or an experienced designer, Inkscape offers various features to enhance your creative projects. Its user-friendly interface allows you to work with shapes, text, and colors easily.
Here are some key features that make Inkscape stand out:
- Vector Graphics Editing: Inkscape works with vector graphics, which means your images can be scaled without losing quality.
- Path Operations: You can easily manipulate paths, allowing for precise adjustments and custom designs.
- Layer Management: Organize your designs using layers, making it easier to manage complex projects.
- Import and Export Options: Inkscape supports multiple file formats, including SVG, PNG, and PDF, so you can share your work effortlessly.
Overall, Inkscape is a versatile tool that suits a variety of design needs, from creating logos to editing images.
Preparing Your Image for Editing

Before you start pulling objects from your image, it’s essential to prepare it properly. A well-prepared image makes the editing process smoother and more efficient. Here are some steps to get your
- Choose the Right Image: Select an image with clear details. High-resolution images yield better results.
- Open the Image in Inkscape: Launch Inkscape and import your image by going to File > Import.
- Adjust the Canvas Size: Make sure your canvas size matches the image dimensions for a better working area.
Taking these steps ensures that you have a solid foundation for your editing project.
Also Read This: A Scampagnata Alamia e Sperandeo – A Unique Photo Series on Alamy
Selecting the Object You Want to Pull

Now that your image is prepared, it's time to select the object you want to pull. Inkscape offers various tools that make this process straightforward. Here’s how you can effectively select an object:
- Using the Selection Tool: Click on the Select and Transform Objects tool (the arrow icon). This tool allows you to select the entire object easily.
- Drawing a Selection Box: Click and drag to create a selection box around the object. Make sure to include all parts of the object in your selection.
- Utilizing the Lasso Tool: For more complex shapes, you can use the Draw Freehand Line tool to create a lasso around the object.
After selecting the object, ensure that it is fully highlighted. This confirms that you have selected it correctly, paving the way for the next steps in your editing process.
Also Read This: How to Download Vimeo Videos to MP3? A Step by Step Free Guide
Using the Path Tools for Selection
Once you've selected your object, it's time to dive deeper into the editing process. Inkscape provides powerful path tools that allow you to refine your selection and make precise adjustments. Understanding how to use these tools can significantly enhance your workflow and improve the quality of your final output.
Here are the primary path tools you can use:
- Node Tool: This tool helps you manipulate the individual nodes of your selected path. You can click on any node to move it, adjust its curves, or even delete it. It’s perfect for fine-tuning your selection.
- Path Operations: Access this by navigating to Path in the menu. You can use options like Union, Difference, and Intersection to create a more refined shape from your object.
- Break Apart: If your selection consists of multiple paths, you can use this feature to separate them. This is particularly useful for complex designs where you want to isolate specific elements.
By mastering these path tools, you'll gain greater control over your image editing process, allowing for more creative possibilities and precise designs.
Also Read This: Enhancing Video Quality on YouTube with Creative Effects
Isolating the Object from the Background
After refining your selection, the next step is to isolate your object from its background. This is a crucial part of the process, especially if you want to use the object independently in another project. Here’s how you can effectively isolate your object:
- Duplicate Your Layer: Before making changes, it’s a good idea to duplicate your layer. This way, you can always revert back if needed. Right-click on the layer and select Duplicate.
- Cutting the Object: With your object selected, navigate to Edit > Cut. This removes the object from the background.
- Creating a New Layer: Now, create a new layer to place your isolated object. Go to Layers > Add Layer.
- Pasting the Object: Click on your new layer and then select Edit > Paste. This places the object on a separate layer, away from the background.
By following these steps, you’ll have your object isolated and ready for further editing or use in other projects.
Also Read This: How to Download YouTube Audio to Mac
Saving the Extracted Object for Future Use
Once you have isolated your object, saving it correctly is essential for future projects. Inkscape allows you to export your extracted object in various formats, making it convenient for different applications. Here’s how to save your work:
- Exporting as PNG: If you want a raster image, select your object and go to File > Export PNG Image. Choose your settings and click on Export.
- Saving as SVG: For future editing, saving your object as an SVG file is ideal. Simply go to File > Save As, choose SVG format, and name your file.
- Organizing Your Files: Create a dedicated folder for your designs. This way, you can easily find your extracted objects when you need them.
By following these steps, you ensure that your extracted object is saved correctly and can be reused whenever you need it. Proper organization also saves time in future projects!
Also Read This: How to Purchase Getty Images for Your Projects
Common Issues and Troubleshooting Tips
Even the most experienced users run into problems now and then. When working with Inkscape, you might encounter some common issues while pulling objects from images. Understanding these problems and knowing how to troubleshoot them can save you a lot of time and frustration.
Here are some frequent issues you might face:
- Selection Issues: Sometimes, Inkscape may not recognize your selection properly. If you find that parts of your object are missing, try zooming in closer and adjusting your selection carefully.
- Background Color Problems: If your extracted object has a weird background color, check the transparency settings. You can adjust these in the Fill and Stroke panel to make sure the background is clear.
- Exporting Difficulties: If you’re having trouble exporting your image, ensure that your object is selected before exporting. Also, double-check your file settings to avoid format issues.
- Performance Issues: Large images can cause Inkscape to slow down. If you notice lag, try simplifying your image or working with a lower resolution version.
Don’t hesitate to look for help in online forums or tutorials if you encounter persistent issues. The Inkscape community is full of helpful users ready to assist!
Also Read This: how do you embed an image
FAQ About Pulling Objects in Inkscape
Many users have questions about pulling objects in Inkscape. Here are some of the most frequently asked questions along with their answers to help you navigate the process more smoothly.
- Can I pull multiple objects at once? Yes, you can select multiple objects by holding down the Shift key while selecting. This allows you to work on several objects simultaneously.
- What file formats can I use when saving my objects? Inkscape supports various formats, including SVG, PNG, PDF, and more. Choose the format that best suits your needs.
- How do I undo a mistake while editing? Simply press Ctrl + Z to undo your last action. This is a handy shortcut that can save you from making permanent mistakes.
- Is there a way to refine my selection after making it? Absolutely! Use the Node Tool to fine-tune your selection by adjusting individual nodes and paths.
If you have more questions, don’t hesitate to explore tutorials or forums for more insights and tips.
Conclusion on Pulling Objects from Images in Inkscape
Pulling objects from images in Inkscape can open up a world of creative possibilities for your design projects. By understanding the tools and techniques available, you can easily isolate and manipulate images to fit your needs. The process may seem daunting at first, but with practice, you’ll become more comfortable and efficient.
Remember to prepare your images properly, utilize path tools effectively, and save your work in suitable formats. Troubleshooting common issues will help you maintain a smooth workflow, while the FAQs can guide you through any uncertainties you might face. With the right approach, pulling objects in Inkscape becomes not just manageable but also enjoyable!
So go ahead, experiment with your designs, and let your creativity shine!

 admin
admin


