Are you a photographer looking to monetize your work? If so, you might want to consider Adobe Stock, a fantastic platform that allows you to sell your photos to a global audience. The integration with Lightroom makes the process even smoother. By using Lightroom, you can edit and manage your photos effectively before publishing them directly to Adobe Stock. In this post, we'll explore how to set up your
Setting Up Your Adobe Stock Account
Getting started with Adobe Stock is simple and straightforward. Follow these steps to set up your account in no time:
- Create an Adobe ID: If you don’t already have an Adobe account, you’ll need to create one. Visit the Adobe website and click on “Sign In.” Choose “Create an account” and fill in the necessary details.
- Join Adobe Stock: Once you have your Adobe ID, navigate to the Adobe Stock website. Click on “Sell Your Content” and follow the prompts to sign up as a contributor. You’ll need to agree to the terms and conditions, so make sure to read those carefully!
- Fill Out Your Profile: After joining, complete your profile. Add a profile picture and a short bio to help potential buyers connect with you.
- Set Up Payment Information: To get paid for your sales, set up your payment information. Adobe Stock pays contributors through PayPal or bank transfer, depending on your location. Make sure to enter your information accurately to avoid any payment delays!
- Understand the Guidelines: Familiarize yourself with Adobe Stock’s submission guidelines. This includes information on image quality, content restrictions, and keywording. Following these guidelines will increase your chances of getting approved and making sales.
- Start Uploading! With your account set up, you can start uploading your photos directly from Lightroom. This integration is a game changer, allowing you to manage your edits and submissions all in one place.
By following these steps, you’ll have your Adobe Stock account ready to go. It’s a seamless process that opens up a world of opportunities for selling your photography. So, grab your camera and start capturing those stunning images—you’re one step closer to sharing your art with the world!
Also Read This: how to open a jpeg image on iphone
3. Preparing Your Photos in Lightroom for Submission
Before you hit that submit button on Adobe Stock, it’s crucial to ensure that your photos are perfectly polished and ready for the marketplace. Let’s dive into a few key steps to prepare your images in Lightroom!
1. Review Your Edits: Make sure to double-check your edits. Look at things like exposure, color balance, and sharpness. You want your images to stand out, so ensure they’re visually appealing. If you’ve applied any presets, consider tweaking them a bit to enhance the final look.
2. Crop and Straighten: Sometimes, a simple crop can elevate your photo. Use the crop tool to eliminate distracting elements around the edges and to enhance composition. Keep in mind that Adobe Stock prefers a 3:2 aspect ratio for submissions.
3. Check for Dust Spots: It’s easy to overlook dust spots on your sensor
Also Read This: Creating Copyright Information for Adobe Stock Images
5. Uploading Photos to Adobe Stock
Once you’ve curated your stunning images in Lightroom, it’s time for the exciting part—uploading your photos to Adobe Stock! This step is straightforward, but there are a few tips to ensure your images get the attention they deserve.
To start the upload process, follow these simple steps:
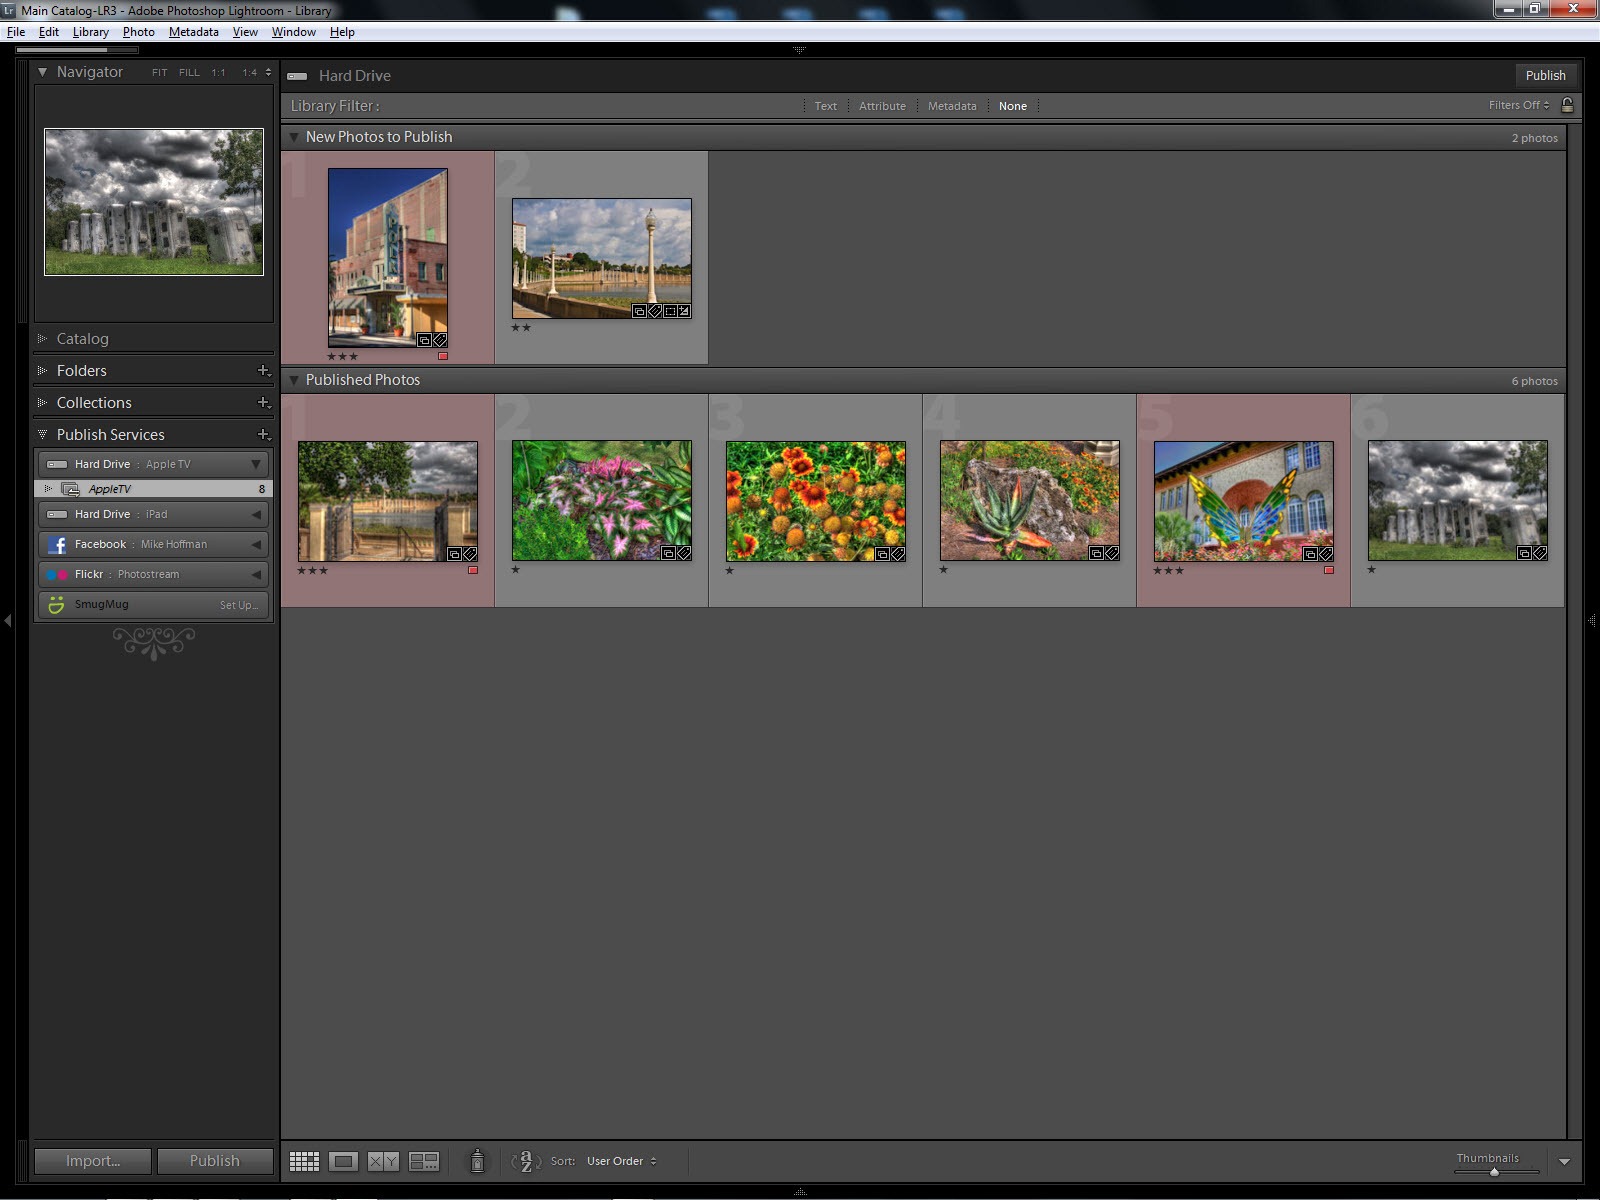
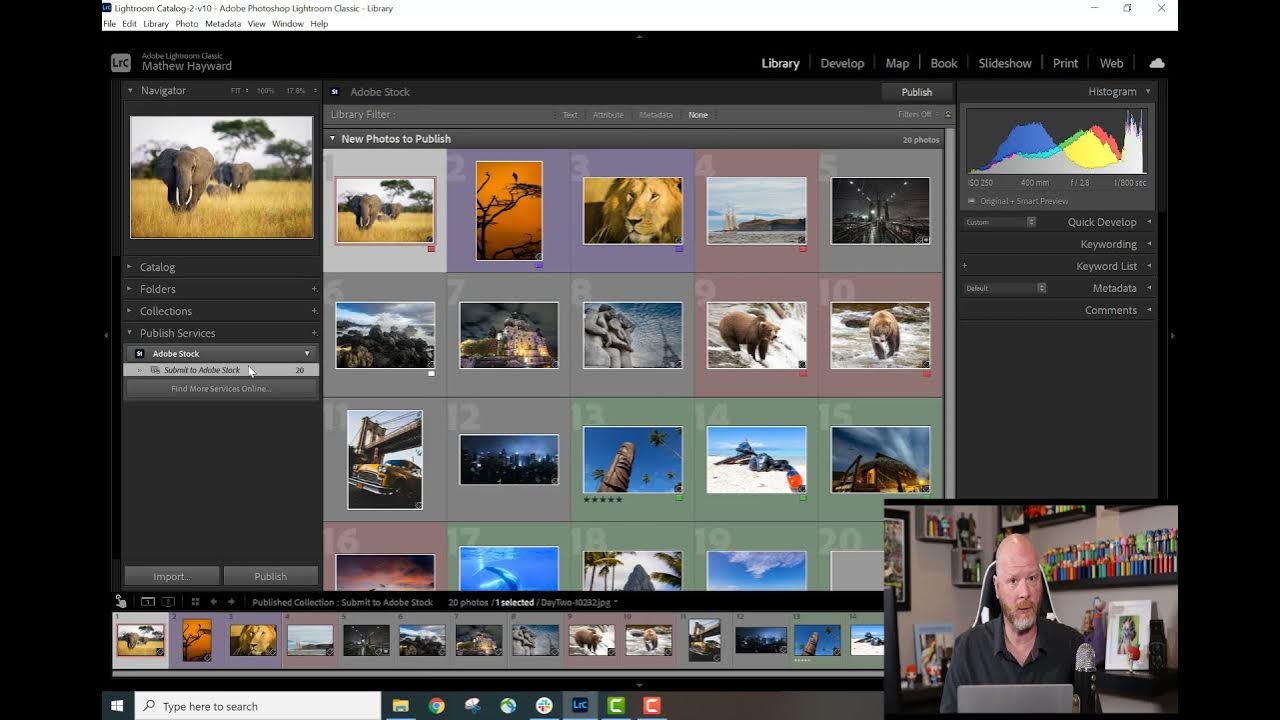
- Open the Publish Services Panel: In Lightroom, navigate to the "Library" module and find the "Publish Services" panel on the left side.
- Select Adobe Stock: Locate the “Adobe Stock” option under the Publish Services. If you haven’t set it up yet, click on “+” to add it and sign in to your Adobe account.
- Choose Your Photos: Select the images you want to upload. You can hold down the Ctrl (or Cmd on Mac) key to select multiple photos at once.
- Click Publish: After selecting your images, hit the “Publish” button. This action will send your photos directly to Adobe Stock.
It’s important to note that Adobe Stock has specific requirements for image submissions. Ensure your images meet the quality criteria, which include:
- High resolution (at least 4 MP)
- No visible noise or blur
- Proper exposure and color balance
Don’t forget to monitor your uploads. Lightroom will show a progress bar, and you’ll be notified once the upload is complete. If there are any issues, you’ll receive notifications, allowing you to troubleshoot quickly.
Not only does this method streamline your workflow, but it also allows you to maintain a level of organization that’s crucial for a successful stock photography career. Happy uploading!
Also Read This: How to Use Behance for Animation Projects
6. Adding Metadata for Better Discoverability
Now that your photos are uploaded to Adobe Stock, the next critical step is adding metadata. This process might seem tedious, but it’s essential for ensuring that your images can be easily found by potential buyers. Think of metadata as the bridge connecting your beautiful photos to the right audience.
Here’s how to effectively add metadata:
- Titles: Give each image a descriptive and engaging title. Instead of generic titles like “Image1,” use something like “Sunset Over the Mountains.” This specificity helps with searchability.
- Keywords: Keywords are the heart of discoverability. Include relevant and specific keywords that describe the content, mood, and context of your image. For instance, if your photo is of a beach at sunset, consider keywords like “beach,” “sunset,” “vacation,” “relaxation,” and “tropical.” Aim for at least 15-20 keywords.
- Description: Write a brief description that provides context about the image. What story does it tell? Who might use it? This information can entice buyers and improve your chances of a sale.
To make it easier, you can use the following format for your metadata:
| Field | Example |
|---|---|
| Title | Golden Hour at Tropical Beach |
| Keywords | beach, sunset, vacation, relaxation, tropical, golden hour |
| Description | A serene view of a tropical beach during the golden hour, perfect for travel and relaxation themes. |
Once you’ve added all the necessary metadata, review everything before finalizing your submission. Properly tagged images are far more likely to be discovered by customers searching for stock photos.
In summary, taking the time to craft thoughtful metadata can significantly enhance your image's visibility and lead to more sales. The more effort you put into this step, the better your chances of becoming a sought-after contributor on Adobe Stock!
Also Read This: Why 123RF Is the Ultimate Platform for Creative Inspiration
7. Reviewing and Finalizing Your Submission
Once you’ve uploaded your photos to Adobe Stock from Lightroom, it’s time to review and finalize your submission. This stage is crucial, as it ensures that your images meet the quality standards required by Adobe Stock and are ready for buyers.
First, take a moment to examine your images. Check for any last-minute corrections or adjustments. Make sure your images are sharp, well-composed, and free of distractions. If you spot any flaws, it’s best to go back to Lightroom and make those tweaks. Remember, your goal is to present the best possible version of your work!
Next, you’ll need to add relevant metadata to your images. This includes:
- Titles: Create concise and descriptive titles that capture the essence of your photo.
- Keywords: Use specific and relevant keywords to help potential buyers find your images easily. Think about what terms someone might search for.
- Categories: Select the appropriate category for each image to enhance their visibility.
After entering the metadata, take a moment to review it. Make sure everything is accurate and check for typos. Good metadata can significantly increase your chances of sales!
Finally, before hitting that submit button, consider doing a final review of your images as a collection. Look for cohesion in style, theme, and subject matter. A well-curated portfolio can stand out and attract more buyers on Adobe Stock.
Once you’re satisfied with everything, submit your images! Adobe Stock usually takes a few days to review submissions. Keep an eye on your account for any feedback or approval notifications.
8. Tips for Successful Photo Sales on Adobe Stock
Now that you’re all set up on Adobe Stock, let’s talk about how to increase your chances of making those sales. Here are some practical tips to help you succeed:
- Understand Market Trends: Keep an eye on current trends in stock photography. What types of images are in demand? For example, lifestyle images that convey authentic moments are popular. Use platforms like Pinterest or Instagram to spot emerging trends.
- Quality Over Quantity: Focus on submitting high-quality images rather than flooding the platform with every photo you take. A few exceptional images can outperform a large batch of mediocre ones.
- Diversify Your Portfolio: Aim to cover a range of subjects and styles. Consider including landscapes, portraits, and conceptual images to attract a broader audience.
- Engage with the Community: Join forums and communities of stock photographers. Not only can you learn from others' experiences, but networking can also lead to collaborations and valuable feedback.
- Update Regularly: Regularly add new photos to keep your portfolio fresh. This signals to Adobe Stock that you are an active contributor, which can boost your visibility.
- Optimize Metadata: As mentioned earlier, well-optimized titles, keywords, and descriptions can make a significant difference. Take the time to refine this information!
By following these tips and continuously honing your skills, you’ll be well on your way to successful photo sales on Adobe Stock. Remember, patience and persistence are key—happy shooting!
 admin
admin


