Have you ever found yourself wanting to project an image on a wall but didn't have a projector handy? Well, you're not alone! There are several creative ways to make it happen, even without the traditional projector. Whether you're looking to project a photo, video, or a simple image for a presentation, there are easy solutions that don’t require fancy equipment. These methods are cost-effective and often use materials you already have at home. In this post, we'll explore some simple ways to project images onto a wall without needing a projector.
Why You Might Want to Project an Image Without a Projector
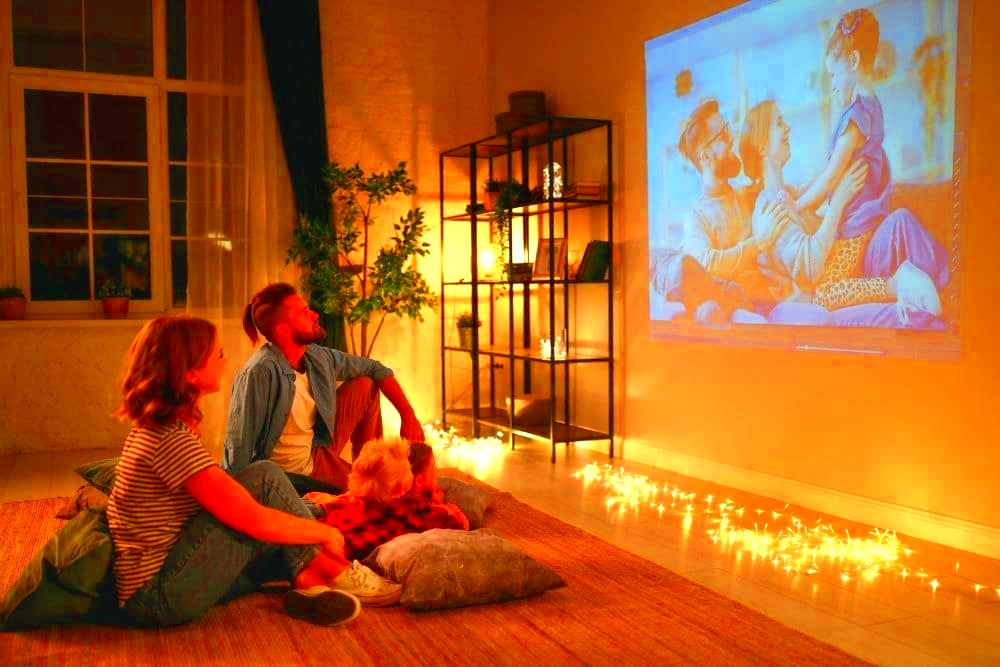
There are several reasons why projecting an image without a projector might be a smart choice. Let’s take a look at some of the most common motivations:
- Cost-Effective: Projectors can be expensive, especially high-quality ones. Using alternatives like mirrors or a magnifying glass can save you money.
- Space-Saving: Projectors can take up a lot of space, especially if you need to set up a projection area. Non-projector methods require less space and can be more portable.
- Convenience: Sometimes you need to project an image quickly, and setting up a projector can take time. Simple alternatives can be set up in a matter of minutes.
- Fun and DIY: If you're into DIY projects, creating your own projection system can be a fun and rewarding challenge. It’s a great way to get creative with household items.
These reasons make non-projector image projection an attractive option. Whether you're hosting a small event, working on a creative project, or just want to see a photo larger than life, these methods can help you achieve the effect you’re looking for.
Also Read This: Guide to Removing the Background of an Image in GIMP
Using a Smartphone and Mirror for Image Projection
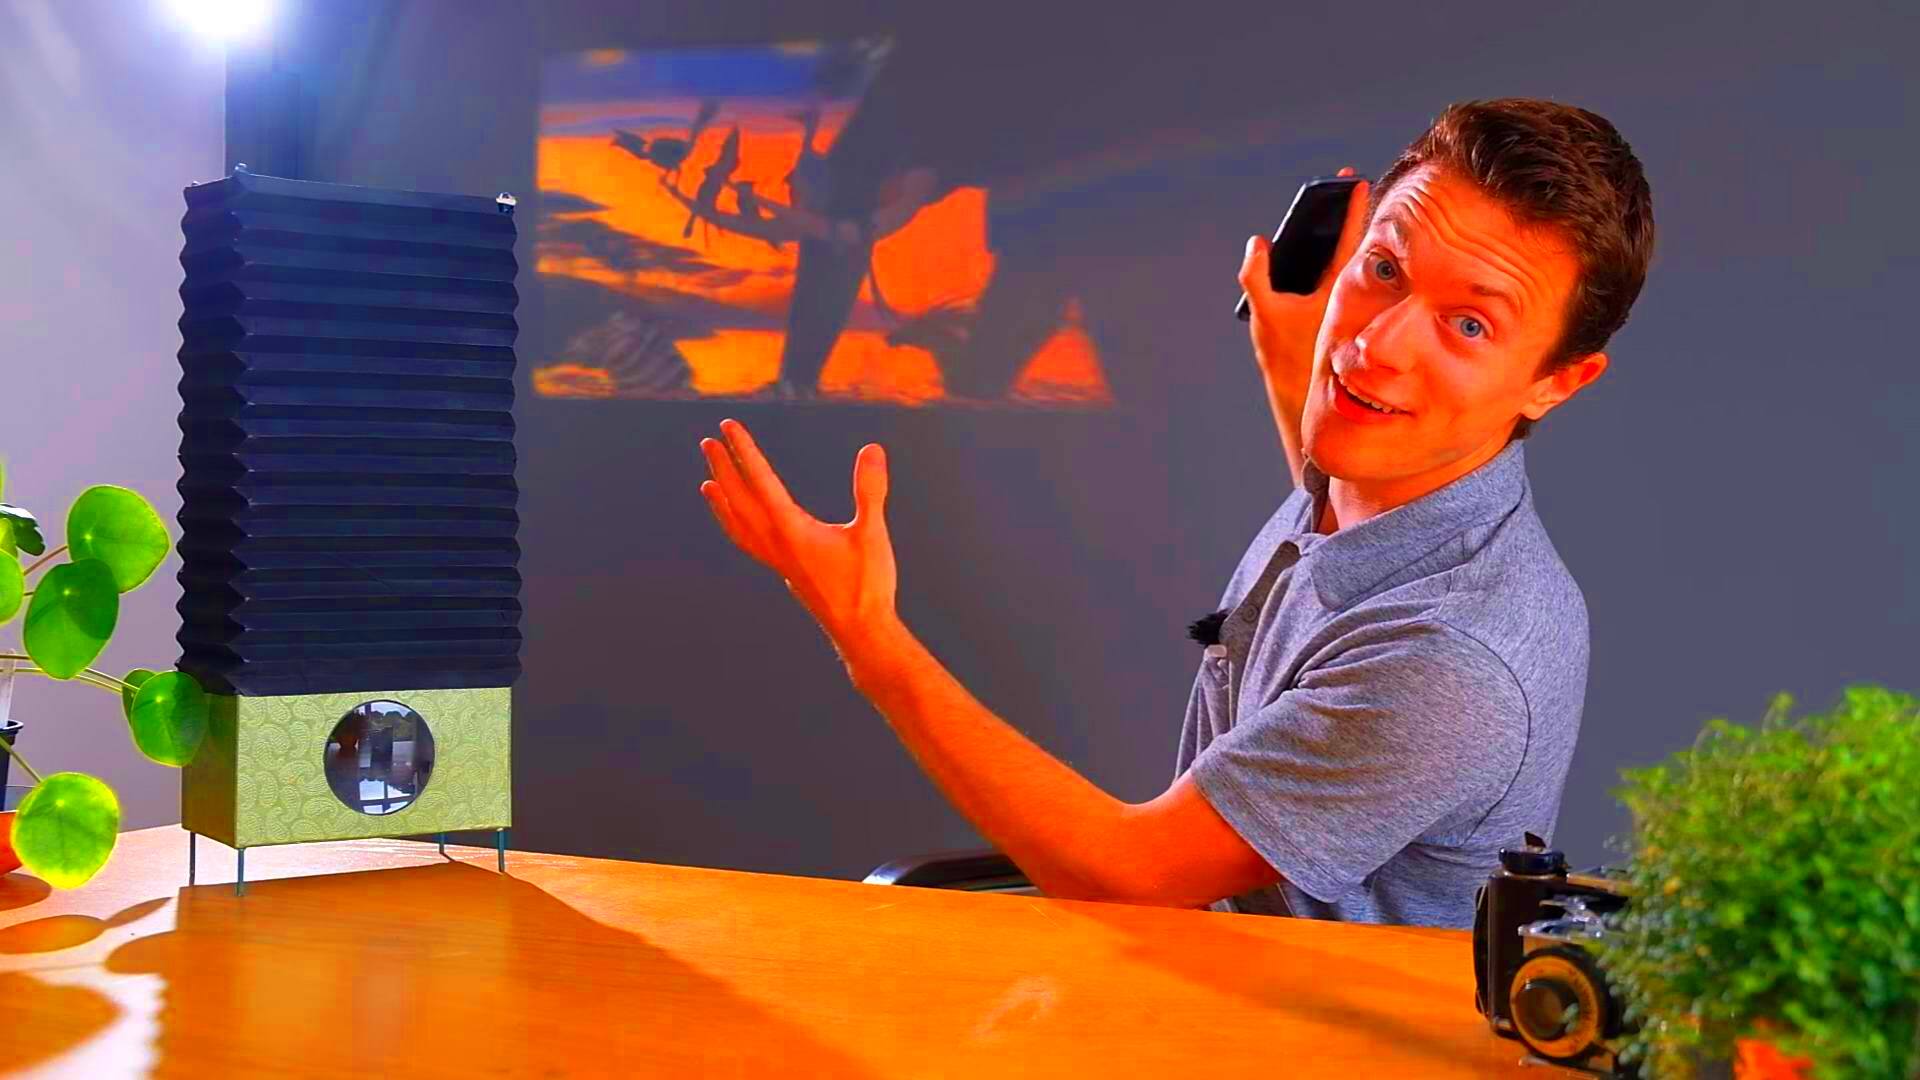
One of the simplest ways to project an image onto a wall is by using your smartphone and a mirror. This method works by utilizing the reflection of light from your phone's screen to cast the image onto a wall. Here’s how you can do it:
- Step 1: Place your smartphone screen facing a mirror at an angle. The angle of the mirror will affect the projection size and clarity, so adjust it accordingly.
- Step 2: Position the mirror so it reflects the image onto the wall. You’ll need to experiment with the distance between the phone, mirror, and wall to get the best results.
- Step 3: Adjust the image on your phone, whether it’s a photo, video, or slideshow, and make sure the brightness is high enough for the projection to be visible on the wall.
This method works best for small-scale projections and is perfect for impromptu presentations or casual use. The larger the phone screen, the bigger the projection can be, but the clarity may decrease the larger you go. Keep in mind that this technique may not work well in a well-lit room, as ambient light can affect the visibility of the image. So, it’s best to do this in a dimly lit or dark room for the best results.
Pros:
- Very affordable, as most people already own a smartphone.
- Portable and easy to set up anywhere.
- Does not require any specialized equipment.
Cons:
- The image may not be as sharp as with a traditional projector.
- Only suitable for small-scale projections.
Overall, using a smartphone and mirror is a quick, low-cost solution for projecting images without a projector. It’s a great option if you need something simple and portable!
Also Read This: Ultimate Guide to Sharing Your LinkedIn Profile
Projecting with a Magnifying Glass
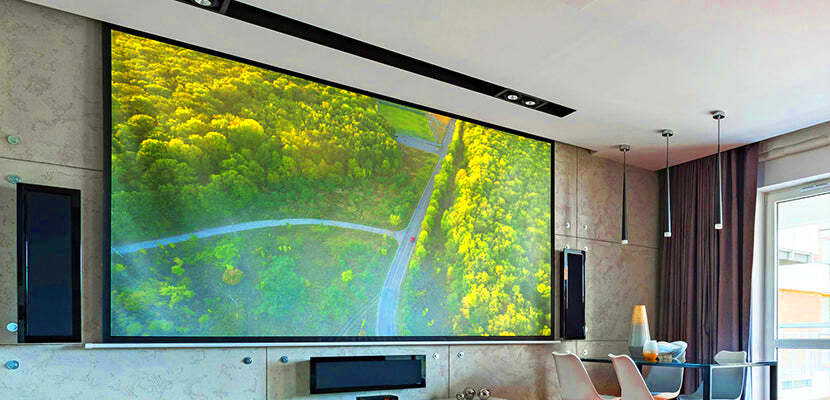
Did you know you can use a magnifying glass to project images onto a wall? It’s a simple and surprisingly effective way to create a projection without a projector. The way this works is by focusing light through the lens of the magnifying glass. Here’s how to do it:
- Step 1: Place your image (such as a printed photo or an image displayed on your phone or tablet) on a flat surface, like a table or the floor.
- Step 2: Hold the magnifying glass above the image. You’ll need to experiment with the distance between the lens and the image to get the correct focus.
- Step 3: Once the image is focused, move the magnifying glass and the image to a wall or any surface where you want the projection to appear. The image will be enlarged and projected onto the wall, depending on the distance and size of the lens.
This method works best in a dark room where the light from the magnifying glass can be concentrated. It’s perfect for projecting small images onto a large surface. You can also use it for showing off photos or even creating some fun, DIY art projects.
Pros:
- It’s a low-cost method, as most people already have a magnifying glass at home.
- Portable and easy to set up.
- Great for small, quick projections.
Cons:
- The image can be blurry or distorted if the magnifying glass isn’t focused correctly.
- This method only works for smaller projections and might not work for larger images.
Overall, projecting with a magnifying glass is a fun and resourceful way to show off images without any special equipment!
Also Read This: Creative Guide to Crafting a Pop Up Birthday Card
Using a DIY Cardboard Projector
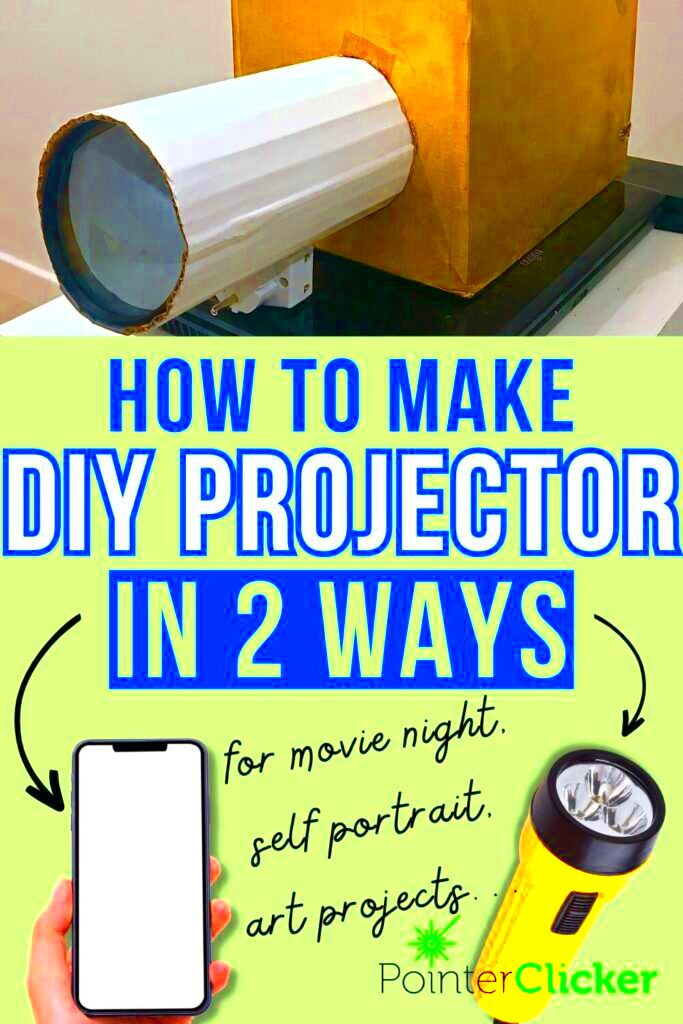
If you’re up for a little DIY project, making your own cardboard projector can be a great way to project images without spending much money. It’s a simple build that can be done with a few materials, and it works surprisingly well. Here’s how you can create one:
- Step 1: Start by gathering the materials you’ll need: a cardboard box, a magnifying glass or lens, glue, scissors, and some tape. You can also use a smartphone or tablet as the image source.
- Step 2: Cut a hole in the side of the cardboard box where you’ll place the magnifying glass. The size of the hole should match the size of the lens you're using. This is going to focus the light from your phone or tablet onto the wall.
- Step 3: Secure the magnifying glass to the hole using glue or tape. Make sure it’s aligned properly so the image can be focused on the wall.
- Step 4: Place your phone or tablet at the other end of the box, with the screen facing the lens. Adjust the distance between the phone and the lens to get the right focus.
- Step 5: Turn off the lights and place the box in front of a blank wall. You should now see a projected image from your phone or tablet!
This simple cardboard projector can be a fun project for both kids and adults. It’s also a great way to reuse old cardboard boxes, and the process itself is part of the fun.
Pros:
- Inexpensive and easy to make with simple materials.
- Can be used with any smartphone or tablet.
- Perfect for small projects or a fun family activity.
Cons:
- Requires time and effort to build, so it’s not as quick as other methods.
- Image quality might not be as clear as a commercial projector.
Making a DIY cardboard projector is a creative and affordable way to get the projection effect you're looking for, and it can be a rewarding project to work on!
Also Read This: How to Link an Image in Google Slides for Interactive Presentations
Taking Advantage of a Laptop or Tablet Screen
If you already have a laptop or tablet, why not use its screen for projecting an image? While this method doesn’t technically “project” the image, it can be a quick and effective way to display an image on a wall when you don’t have a projector. Here’s how to do it:
- Step 1: Open the image, video, or presentation you want to project on your laptop or tablet screen.
- Step 2: Find a blank wall or surface where you can display the image. It’s best to use a plain, light-colored wall for clear visibility.
- Step 3: Angle your laptop or tablet screen toward the wall. The closer the screen is to the wall, the larger the image will appear.
- Step 4: Adjust the brightness and the position of the device to get the best clarity and image size.
This method works best for small images or when you only need to display something temporarily. If you're showing off a photo or creating a mini slide show, this is a great option.
Pros:
- Simple and requires no special equipment beyond your device.
- Quick and easy to set up.
- Perfect for casual, small-scale projections.
Cons:
- The image may not be as sharp or large as with a dedicated projector.
- Can be challenging to maintain focus, especially if you need the projection to be large.
While it may not provide the same level of projection as a traditional projector, using a laptop or tablet screen is an effective and convenient way to display an image without any extra equipment.
Also Read This: How to Make Crepe Paper Flowers Easy Crafting Ideas on Dailymotion
Benefits and Limitations of Non-Projector Image Projection
Projecting an image without a traditional projector can offer several advantages, but it also comes with some limitations. Let’s break down both sides of this method so you can decide whether it’s the right choice for your needs.
Benefits:
- Cost-Effective: One of the biggest benefits is that most of these methods are free or require minimal investment. You can often use items you already have at home, like a magnifying glass, a smartphone, or cardboard.
- Portability: Non-projector methods are often more portable and easier to set up compared to traditional projectors. You can carry a magnifying glass or your phone almost anywhere, making these solutions great for on-the-go situations.
- Quick Setup: Unlike projectors that may require connecting cables or adjusting settings, non-projector image projections can be set up in just a few minutes, making them ideal for impromptu presentations or activities.
- Fun and Creative: Many of these methods, like DIY cardboard projectors, encourage creativity. Building your own projector or experimenting with different projection techniques can be an enjoyable and rewarding experience.
Limitations:
- Image Quality: The image quality may not be as sharp or clear as what you'd get from a dedicated projector. This is especially true for methods like using a smartphone and a mirror, where the image can appear blurry or distorted.
- Limited Projection Size: Non-projector methods usually work best for small-scale projections. If you want to project a large image, you may need to work with multiple methods or accept a decrease in image quality.
- Lighting Issues: Many of these techniques require low-light conditions for the image to be visible. Ambient light can wash out the projection, making it harder to see, especially for larger images.
While non-projector image projection offers a budget-friendly and creative alternative, it’s important to consider these benefits and limitations to determine if it’s the right fit for your needs.
Also Read This: Turning Images Into Cake Decorations for Beginners
FAQ
- Can I project large images without a projector? Yes, but the larger the image, the harder it becomes to maintain clarity. Most non-projector methods are better for smaller projections.
- What materials do I need for a DIY cardboard projector? You’ll need a cardboard box, a magnifying glass or lens, glue, scissors, and tape. You can also use a smartphone or tablet as the image source.
- How do I get the best projection quality? For the best quality, ensure you're in a dark room, and experiment with the distance between the image and the lens (in methods like using a magnifying glass) to get the sharpest focus.
- Can I project images from my computer screen? Yes, using your computer screen in conjunction with a mirror or magnifying glass can work well, but keep in mind that larger screens may not produce the best results without proper focus adjustments.
Conclusion
Projecting images without a projector can be a fun and effective solution when you need to display something quickly and affordably. While these methods may not provide the same level of image clarity as a traditional projector, they still offer practical alternatives for many situations. Whether you're using a smartphone and mirror, a DIY cardboard projector, or even a magnifying glass, these simple techniques give you the flexibility to project images on the go. Just remember to consider the limitations, especially when it comes to image quality and size, to ensure you're using the method that works best for your needs.
 admin
admin


