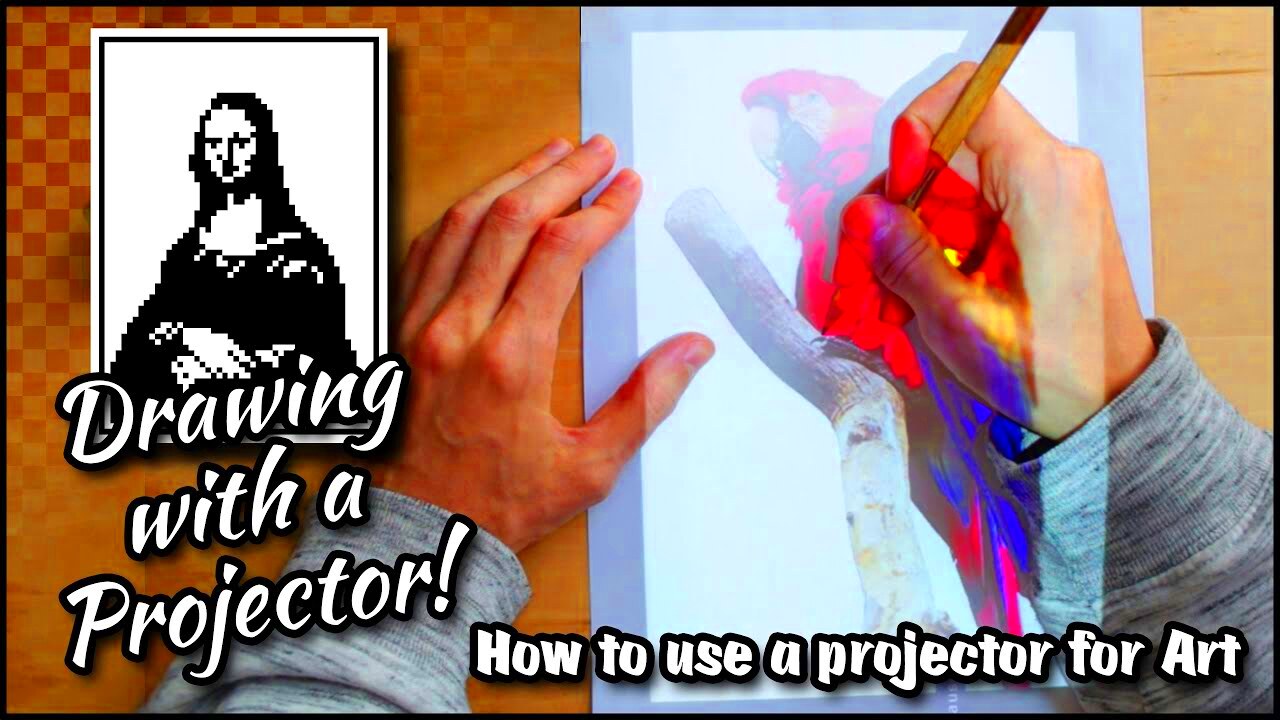
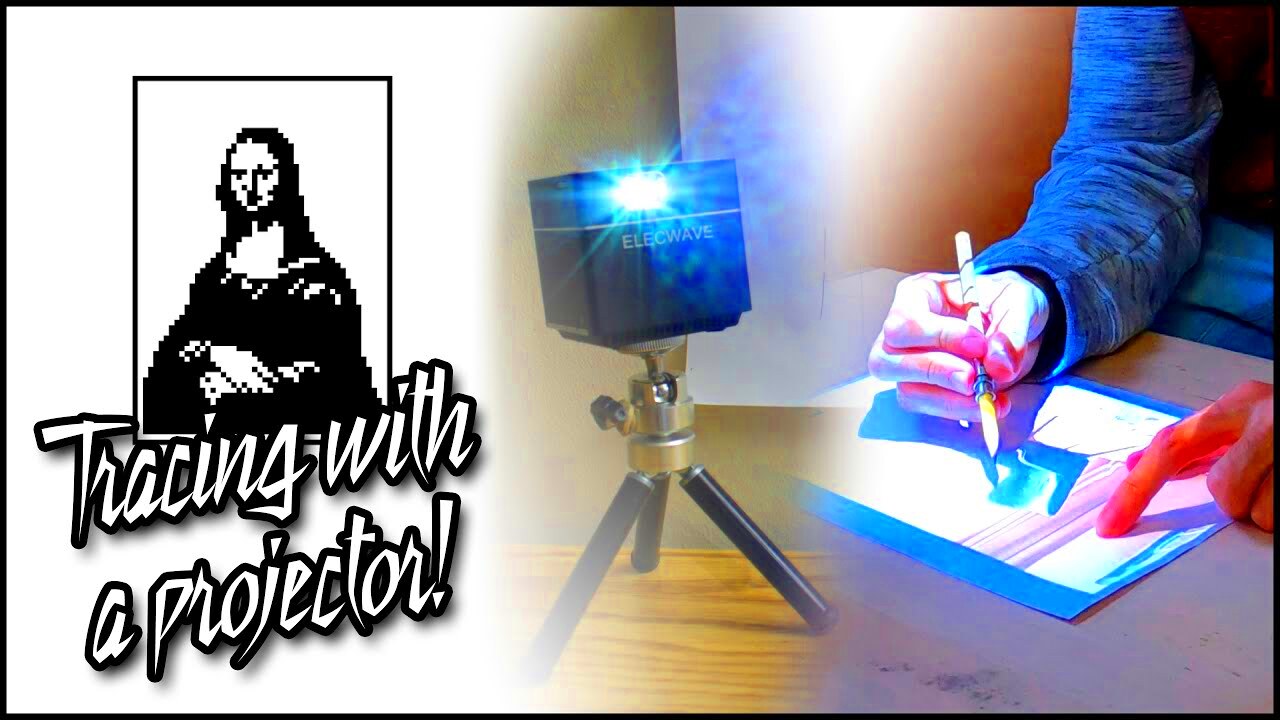
Projecting images for tracing is a technique where you use a projector to cast an image onto a surface, allowing you to trace over it. This method has been used by artists, designers, and hobbyists for many years. It’s especially helpful when you need to replicate or enlarge a drawing or photograph. Rather than relying on freehand sketching, projecting gives you a solid reference to trace directly from, ensuring accuracy and efficiency in your work.
Whether you're working on a piece of art, a design project, or even a DIY craft, projecting images can save time and help you achieve better results. In this post, we’ll dive into why projecting images for tracing can be beneficial, the types of projectors available, and how you can use them effectively in your own projects.
Why Project Images for Tracing

Projecting images for tracing offers several advantages that can make the creative process smoother and more efficient. Here’s why many people prefer this method:
- Accuracy: Projecting ensures the image is traced exactly as it appears, avoiding mistakes that can occur with freehand drawing.
- Speed: By eliminating the need to repeatedly measure or adjust proportions, projecting an image speeds up the tracing process.
- Enlargement: Projectors allow you to easily enlarge an image to any size, which is particularly useful for large-scale projects like murals or posters.
- Flexibility: You can project images onto different surfaces, whether it's paper, canvas, or a wall, giving you more options depending on the project.
In short, projecting an image helps you achieve clean, professional-looking results without the stress of precision. Whether you’re tracing an intricate design or just need a simple outline, this method can make your task easier and more accurate.
Also Read This: Removing Web References and Work Experience from Your Behance Profile
Types of Projectors Used for Tracing

There are several types of projectors available, each with its own unique features that can make it better suited to different tracing needs. Here’s a breakdown of the most common types:
| Type of Projector | Best For | Features |
|---|---|---|
| Overhead Projector | Tracing simple or small images | Cheap, easy to use, can project images on any flat surface. |
| Digital Projector | Tracing detailed or high-resolution images | Offers adjustable image size, resolution, and is highly versatile for modern applications. |
| Slide Projector | Projecting slides or negatives | Great for small images, portable, often used by photographers. |
| LCD Projector | Large-scale tracing projects | Projects high-quality images and is capable of connecting to a computer or smartphone. |
The choice of projector depends on your project’s scale, the detail of the image, and your budget. Overhead projectors are inexpensive and great for beginners, while digital and LCD projectors provide more advanced features for precise work.
Choosing the right projector will help ensure your tracing process is as smooth and efficient as possible. Consider the size of your project, the clarity of the image, and the level of control you need over the projection when selecting a projector.
Also Read This: Simple Steps to Mirror an Image on Epson Printers
Preparing the Image for Projection
Before you can start projecting an image for tracing, it’s important to prepare the image properly. This ensures that the projection is clear, sharp, and at the right size. Proper preparation can make a huge difference in the quality of your tracing results. Here's how you can get your
- Resolution: Make sure the image you’re using is of high resolution, especially if you're projecting it at a larger scale. A blurry or pixelated image will result in a blurry projection.
- Contrast and Brightness: Adjust the brightness and contrast to ensure the details of the image are visible when projected. Images with too much contrast or too little brightness can be difficult to trace accurately.
- Size and Aspect Ratio: Resize the image to match the size you want to project. Keep the aspect ratio consistent to avoid distorting the image. You can use photo editing software to make these adjustments.
- Clean Up the Image: If the image has background noise or unwanted elements, use an editing tool to remove them. This will give you a cleaner, more focused projection.
Once you’ve prepared the image, you’re ready to move on to setting up your projector. A well-prepared image can make all the difference when it comes to tracing accurately and efficiently, ensuring you achieve the desired outcome without unnecessary adjustments during the process.
Also Read This: Step-by-Step Guide to Printing a Large Image Across Multiple Pages
Setting Up the Projector for Tracing
After preparing your image, the next step is to set up the projector for tracing. A proper setup is key to achieving a clear, sharp image that’s easy to trace. Here’s how to get your projector ready:
- Position the Projector: Place the projector at the right distance from the surface where the image will be projected. The farther the projector is from the surface, the larger the image will be, but make sure the focus remains sharp.
- Focus the Image: Adjust the focus on the projector until the image is clear and crisp. This is crucial, as a blurry projection will make tracing more difficult.
- Adjust the Angle: Ensure the projector is aligned straight to avoid distortion. The angle should be perpendicular to the projection surface to maintain accurate proportions.
- Check the Brightness: Set the projector’s brightness to a level where the details of the image are visible but not overly bright to cause glare or wash out the image.
Make sure the surface you're projecting onto is large enough and suitable for the tracing task at hand. If you’re projecting onto paper, canvas, or a wall, ensure the area is clean and free of distractions. Once the projector is positioned and adjusted properly, you’ll be ready to trace your image with precision and ease.
Also Read This: How to Remove Letters from Adobe Stock Library
Tracing with the Projected Image
Once the projector is set up and the image is projected onto the surface, the next step is tracing. Here are some tips to help you trace accurately and efficiently:
- Choose the Right Tools: Use a fine-tip pencil, pen, or marker for tracing. This will give you more control over the lines and prevent smudging. Make sure your tools are comfortable to hold for longer tracing sessions.
- Start with the Outline: Begin by tracing the outer edges of the image. This will give you a clear framework for your project. Take your time to ensure the outline is accurate before filling in the details.
- Trace in Sections: If the image is complex, consider tracing it in sections. This will help keep your work organized and prevent any mistakes from getting lost in the larger design.
- Use Light Pressure: Apply light pressure when tracing, especially if you're using pencil. This allows you to adjust your lines if needed and reduces the risk of making permanent mistakes.
- Check Your Work: Periodically step back and check your tracing from a distance. This will help you spot any areas that need adjustments or where lines may not be lining up correctly.
Tracing with a projected image can be a very straightforward process, especially if you've set up everything properly. The key is to take your time and focus on getting the details right. Once you’ve completed the tracing, you’ll have an accurate representation of your original image, ready for whatever project you have in mind.
Also Read This: how to upload images to roblox on mobile
Common Issues When Projecting Images
Projecting images for tracing can be an incredibly useful tool, but there are some common issues you might encounter. These problems can affect the clarity and accuracy of your tracing work. Let’s go through some of the most frequent challenges and how to fix them:
- Blurry Projection: If the image appears blurry, the projector may not be focused properly. Try adjusting the focus ring on the projector until the image becomes sharp. If you're using a digital projector, you can also adjust the focus via the settings.
- Incorrect Scaling: Sometimes, the projected image may appear too large or too small. This can happen if the projector is too close or too far from the surface. Adjust the distance between the projector and the surface until the image is at the desired size.
- Distorted Image: If the image looks stretched or squished, it may be because the projector is not aligned properly. Ensure that the projector is perpendicular to the projection surface. Even slight angles can cause distortion.
- Low Brightness: If the image appears too dim to trace, check the brightness settings on your projector. It’s also worth considering the ambient light in the room; turning off extra lights can help make the projection more visible.
- Color Issues: If the colors of the image appear washed out or overly saturated, you may need to adjust the contrast and color settings on your projector. Make sure the image has been prepared for optimal projection, such as adjusting the contrast and brightness in an editing program.
Being aware of these potential problems can help you troubleshoot quickly. Most issues can be resolved by adjusting the projector’s settings or repositioning it to achieve the best results. A little patience and tweaking will ensure that your image is projected clearly for easy tracing.
Also Read This: Maximize Your Visibility by Adding Your CompTIA Certification to LinkedIn
Conclusion: The Benefits of Projecting Images for Tracing
Projecting images for tracing offers a range of benefits, making it a valuable technique for artists, designers, and anyone needing precise replication of an image. From the accuracy it brings to the ability to scale and enlarge images, projecting helps you get the best results with less effort.
Some key advantages include:
- Improved Precision: Projection helps you trace with accuracy, reducing the risk of errors that can occur when working freehand.
- Time-Saving: By projecting the image, you can focus on outlining and detailing instead of spending time measuring and adjusting your drawing.
- Flexibility: You can project images onto a variety of surfaces and adjust their size, making the method adaptable to different projects.
- Enlargement: With projection, you can scale an image to any size, perfect for large-scale artworks or design projects.
In summary, projecting an image for tracing not only helps with precision but also makes the entire creative process more efficient and flexible. Whether you're working on a professional design or a personal project, projection allows you to work faster, more accurately, and with less stress. It’s a simple, yet effective technique that can make a big difference in your tracing projects.
FAQ
1. What is the best projector for tracing?
The best projector depends on your needs. For basic tracing, an overhead projector or slide projector might work well. If you need more features, such as the ability to connect to a computer or smartphone, a digital or LCD projector might be a better option.
2. Can I project an image onto a wall?
Yes, you can project images onto a wall as long as it’s a smooth, clean surface. Many people use walls for large-scale projects or murals. Just make sure the wall is white or neutral in color for the best clarity and contrast.
3. How do I adjust the size of the projected image?
To adjust the size of the image, move the projector closer to or further away from the surface. The closer the projector, the smaller the image will be, and the farther away, the larger it will appear. You can also use a projector that allows you to manually adjust the zoom or focus.
4. What should I do if the image is blurry?
If the projected image is blurry, check the focus on your projector. Adjust the focus dial or settings until the image becomes clear. Also, ensure the projector is properly aligned with the surface and that there is no obstruction.
5. Can I use my phone as a projector for tracing?
Yes, there are apps available that allow you to use your phone as a mini-projector. However, these may not offer the same quality as dedicated projectors, and the image size may be limited. For more professional results, it's best to use a standard projector.


