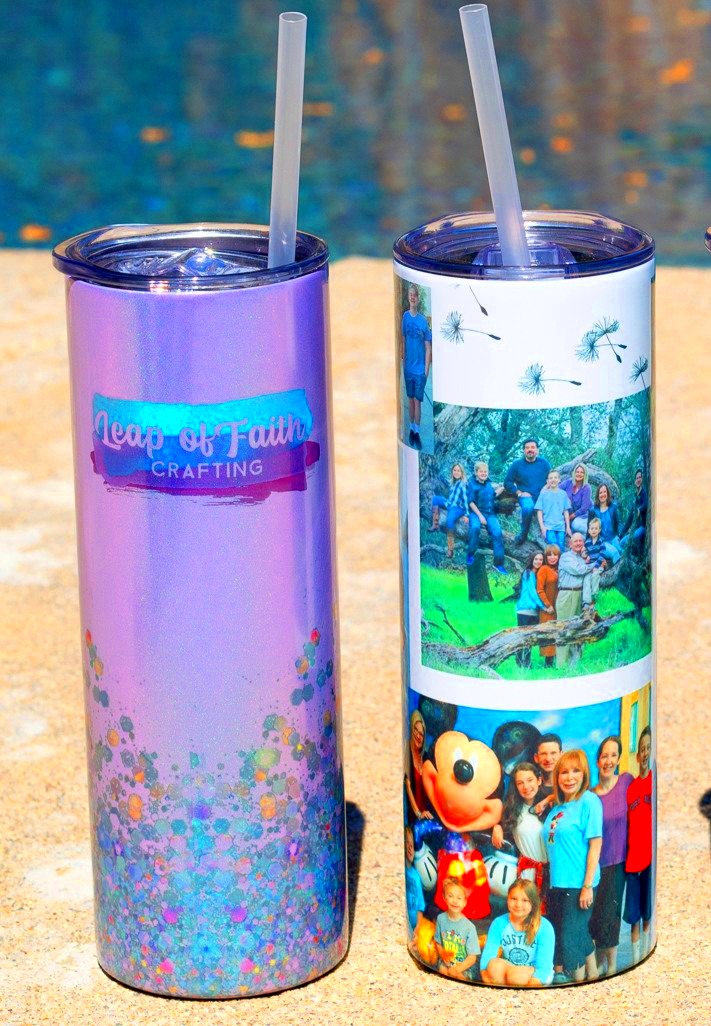
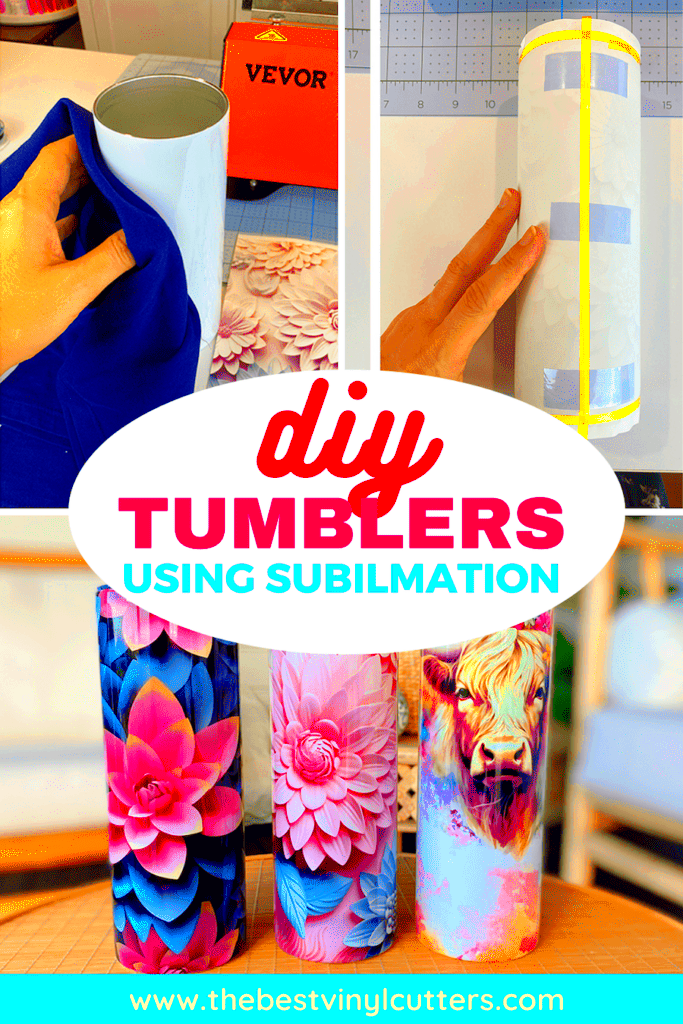
Sublimation printing is a popular method for creating vibrant and durable designs on various surfaces, especially tumblers and other crafts. This process involves transferring ink onto a substrate (like a tumbler) using heat and pressure. Unlike traditional printing, sublimation doesn't just sit on the surface but becomes a part of it, ensuring long-lasting results. It’s a favorite for crafters and small business owners who want to produce high-quality, customized items.
Whether you're looking to make personalized tumblers for gifts, or to create your own unique crafts, sublimation printing provides an excellent way to bring your designs to life. The best part is, it’s relatively easy to learn and doesn’t require extensive equipment. In the following sections, we’ll explore the process and tips that can help you get the best results for your tumblers and crafts.
Understanding the Sublimation Process for Tumblers

Sublimation printing is a straightforward process but requires some understanding of how heat, pressure, and ink work together. Here’s a breakdown of the steps:
- Image Preparation: First, you need to create or choose a design. It should be vibrant and high-quality for the best results.
- Printing: The design is printed onto special sublimation paper using sublimation ink. Unlike regular ink, sublimation ink is designed to turn into gas when heated.
- Heat Transfer: The printed design is then transferred onto the tumbler using a heat press. The heat turns the ink into gas, allowing it to bond with the surface of the tumbler.
- Cooling: After pressing, the tumbler cools down, and the design is permanently embedded into the surface, ensuring it won’t fade or peel.
This process is not only limited to tumblers but can be applied to other materials, such as t-shirts, mugs, and phone cases. What makes sublimation printing special is its ability to create vibrant colors and fine details that are hard to achieve with other methods.
Also Read This: Top Examples of Successful Technology Parks Located in the USA
Choosing the Right Sublimation Images for Tumblers

When it comes to sublimation printing, the design you choose plays a crucial role in the final product. Here’s what to keep in mind when selecting images:
- High Resolution: Always choose high-resolution images (300 DPI is ideal). Low-resolution images may appear pixelated and blurry when transferred to the tumbler.
- Vibrant Colors: Sublimation ink works best with vibrant and saturated colors. Bright images and designs tend to pop more and give a better final result.
- Design Size: Consider the size of your tumbler and how the design will fit. Make sure it’s proportional and centered for the best aesthetic result.
- Transparent Backgrounds: If your design includes text or graphics with a transparent background, make sure the transparency is preserved in your final image. This ensures the image is clean and doesn’t have unwanted borders.
- Avoid Dark Colors for Light Tumblers: While dark colors work well on light-colored materials, they may not show up as clearly on a white or light-colored tumbler.
Here’s a simple table to guide you through the image qualities:
| Image Quality | Ideal for Sublimation |
|---|---|
| High Resolution (300 DPI) | Best Results |
| Bright Colors | Vibrant, Long-Lasting Designs |
| Appropriate Size for Tumbler | Well-Fitted Design |
| Transparent Background (if applicable) | Clean Transfer |
Choosing the right image isn’t just about picking a pretty picture; it’s about selecting one that suits the sublimation process. High-quality, bright designs are always the best choice to ensure your tumbler turns out exactly as you envision it.
Also Read This: Making AI Squint Images: A Guide
Preparing Your Tumblers for Sublimation Printing

Before you start sublimation printing on your tumblers, it’s essential to prepare them properly. Proper preparation ensures the best adhesion of the design and a smooth transfer process. Here are the key steps to get your tumblers ready:
- Clean the Tumbler: Always clean the surface of your tumbler thoroughly before printing. Any dust, oil, or residue can affect the transfer process. Use rubbing alcohol or a lint-free cloth to clean the surface, ensuring it’s free from fingerprints or other contaminants.
- Check for Coating: Make sure your tumbler has a special polyester coating. Sublimation works best on surfaces coated with a material that can bond with the sublimation ink. If the tumbler is uncoated, sublimation won’t work well.
- Protect the Area Around the Design: If you’re worried about the image bleeding or transferring onto unwanted parts of the tumbler, use heat-resistant tape to secure the design in place and protect surrounding areas.
- Preheat the Tumbler (Optional): Some crafters prefer to preheat their tumblers before applying the sublimation design. This can help reduce the chance of condensation and ensure an even temperature when transferring the design.
By following these steps, you’ll ensure that your tumbler is perfectly prepped for the sublimation process. Proper preparation leads to better results and ensures the design will last for a long time.
Also Read This: Mastering TV Paint Stick for Professional Art Creation
Selecting the Best Printer and Ink for Sublimation
Choosing the right printer and ink is crucial to the success of your sublimation project. The printer and ink you use directly affect the quality of your final product. Here’s what you need to consider when selecting the best equipment for sublimation printing:
- Printer Selection: Sublimation printers are specifically designed to handle sublimation ink. Popular models include Epson SureColor, Sawgrass Virtuoso, and Ricoh printers. These printers can handle high-quality prints and are designed for continuous use in crafting and small business settings.
- Ink Type: Use sublimation-specific ink rather than regular printer ink. Sublimation ink is designed to turn into a gas under heat, which is essential for transferring the design onto your tumbler. Make sure the ink you choose is compatible with your printer model.
- Ink Quality: Not all sublimation inks are the same. Higher-quality inks ensure better color reproduction and longer-lasting designs. Opt for well-known brands like Sawgrass, InkXpro, or Hiipoo for reliable results.
- Printing Paper: While not a part of the ink, the sublimation paper you use also plays an important role in the quality of the transfer. Choose high-quality sublimation paper that’s designed for full-color printing. Thin paper may not transfer ink as effectively.
When selecting the right printer and ink, don’t cut corners. A good printer paired with high-quality sublimation ink and paper will produce better, more vibrant, and durable designs for your tumblers and crafts.
Also Read This: Insights into Popular and Profitable Content: Getty Images’s Best Selling Images
Printing the Sublimation Image for Tumblers
Once your tumbler is prepped and you’ve selected your printer and ink, it’s time to print your sublimation image. Here’s how you can print the design onto your sublimation paper and prepare it for the heat transfer process:
- Design Setup: Start by setting up your design in a design software like Adobe Illustrator, CorelDRAW, or Canva. Make sure the design is sized to fit your tumbler and is set at the correct resolution (300 DPI). If the design has text, be sure to mirror it, as it will transfer in reverse.
- Choose the Right Paper: Load your sublimation paper into your printer. Use high-quality sublimation paper to ensure that your design is transferred clearly and accurately onto the paper. Regular printer paper will not work for sublimation printing.
- Printing the Design: Print your design using your sublimation printer. Ensure you use the correct printer settings—high-quality or photo mode is ideal for sublimation. Be mindful of your ink levels, as too little ink can lead to faded colors.
- Drying Time: Let the print dry for a few seconds before handling it to avoid smudging. Sublimation ink tends to remain wet for a short period, so be cautious when touching the printed paper.
After printing, you’re ready to proceed with the heat transfer. Take care to line up the design carefully and securely before using a heat press to transfer the image to the tumbler. This ensures a clean and precise result that will last.
Also Read This: Learn How to Save a Gif on Android from Twitter With This Simple Tool
Heat Pressing and Transferring the Image onto Tumblers
Now that your design is printed and your tumbler is prepped, it’s time to transfer the image onto the tumbler using a heat press. This step requires careful attention to ensure the image bonds perfectly to the surface. Here's how to properly heat press and transfer the design:
- Set Up the Heat Press: Begin by preheating your heat press to the recommended temperature (usually around 375-400°F, but check the specifications for your materials). Make sure the pressure is set correctly—too much pressure can warp the tumbler, while too little will result in poor transfer.
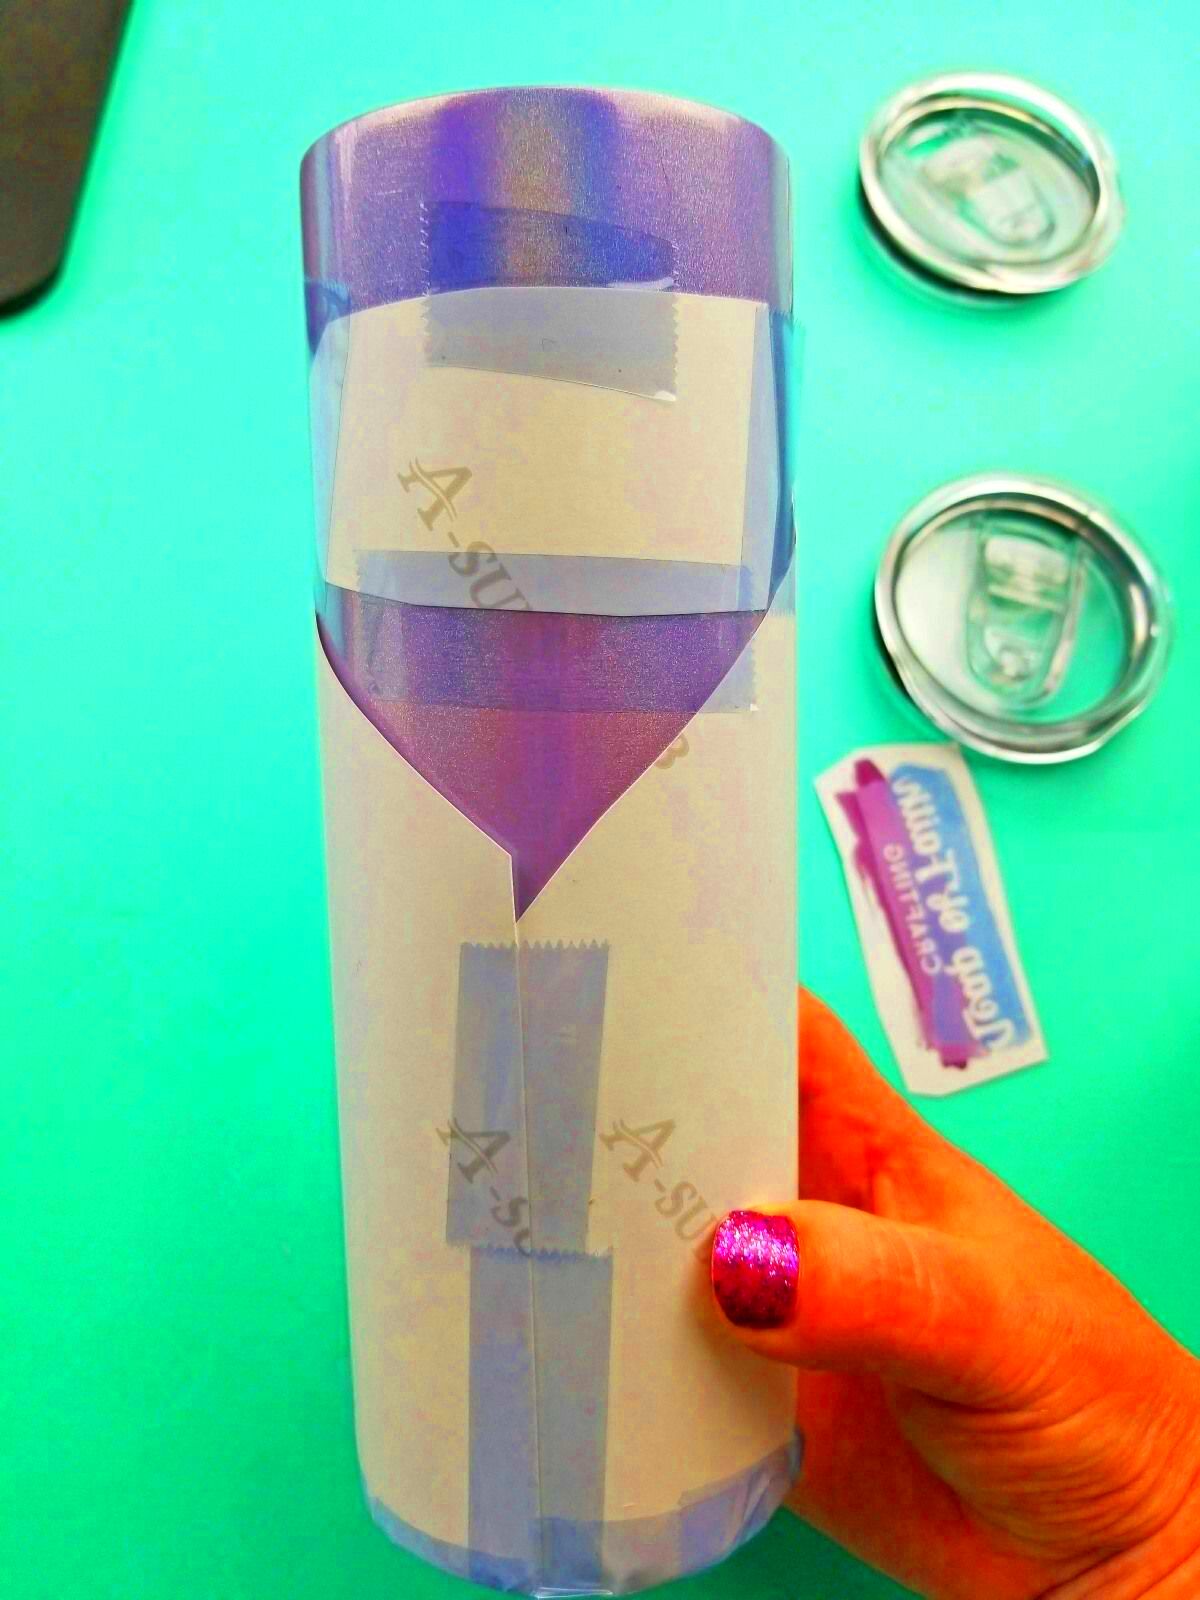
- Position the Design: Place the printed sublimation paper onto the tumbler, ensuring that the design is properly aligned and centered. Use heat-resistant tape to secure the paper, preventing it from shifting during the transfer process.
- Transfer the Image: Carefully place the tumbler into the heat press. Be sure that the tumbler is tightly secured and won’t move during the transfer. Close the heat press and apply heat and pressure for about 60-90 seconds, depending on the material and size of the tumbler.
- Remove and Cool: Once the timer goes off, carefully remove the tumbler from the heat press using heat-resistant gloves. Let it cool before removing the sublimation paper to avoid burns and smudging.
By following these steps and maintaining precise control over the temperature and pressure, you’ll achieve a flawless transfer that bonds the design permanently to your tumbler. Always double-check your equipment settings before starting for the best results.
Also Read This: Getty Images Image Quality Guidelines: Ensuring High Standards for Acceptance
Tips for Achieving High-Quality Sublimation Results
Achieving the best sublimation results requires more than just following the steps. Here are some expert tips to help you elevate your sublimation prints and ensure that your tumblers and crafts look professional every time:
- Use High-Quality Materials: Invest in good-quality sublimation paper, ink, and tumblers. High-end materials yield better results, with sharper, more vibrant colors and designs that last longer.
- Consistent Temperature: Make sure your heat press is evenly heated. A consistent temperature throughout the press ensures an even transfer. Uneven heat can cause patches of the design to fade or smudge.
- Perfect Alignment: Align your design perfectly on the tumbler before pressing. Misalignment can cause parts of the design to be cut off or uneven, affecting the final look.
- Test Your Setup: Before printing on a batch of tumblers, perform a test run with a sample design. This will allow you to check your printer settings, temperature, and transfer technique without wasting materials.
- Maintain Your Equipment: Keep your printer, heat press, and other tools clean and in good working condition. Regular maintenance helps prevent issues such as ink clogging or uneven heat distribution.
With these tips, you'll be able to create stunning sublimated tumblers that look professional and vibrant. Sublimation is all about attention to detail, so the more precise you are, the better the final result.
Also Read This: Discover Unique Branding Ideas and Inspiration with VectorStock
FAQ: Common Questions About Sublimation Printing for Tumblers
If you're new to sublimation printing or just have a few questions about the process, this FAQ section covers the most common queries:
- Can I use any tumbler for sublimation?
Not all tumblers are suitable for sublimation. Only tumblers with a polyester coating or a special sublimation-friendly coating can be used for this process. Make sure your tumbler is designed for sublimation before proceeding. - What kind of printer do I need for sublimation printing?
You need a sublimation printer that’s compatible with sublimation ink. Popular options include Epson and Sawgrass printers. Regular inkjet printers cannot be used for sublimation. - How do I know if my sublimation print is ready?
Once printed, the sublimation paper should look vibrant and colorful. If the design appears faded or dull, it may indicate an issue with the printer settings or the quality of the ink. - Can I use sublimation on dark-colored tumblers?
Sublimation works best on light-colored tumblers, as dark colors may not show the design clearly. If you want to sublimate onto dark tumblers, consider using a white or light-colored coating. - How long will the design last on the tumbler?
With proper sublimation printing, the design will be permanent and durable. Since the ink bonds with the tumbler surface, it won’t peel or fade over time, even with regular washing.
These answers should help clarify any doubts you may have. If you have more specific questions, always check with your printer or material manufacturer for additional guidance.
Conclusion: Making Perfect Tumblers and Crafts with Sublimation
Sublimation printing is a powerful and rewarding method for creating personalized tumblers and crafts that stand out with vibrant, long-lasting designs. By following the correct process, from preparing the tumbler to selecting the right materials, and perfecting your heat transfer technique, you can achieve professional-looking results every time. Whether you’re starting a small business or creating customized gifts for friends and family, sublimation offers an easy and effective way to bring your creative ideas to life. With the right equipment, attention to detail, and a bit of practice, you’ll be able to make perfect tumblers and crafts that leave a lasting impression. Keep testing, learning, and refining your process to ensure that each item you make is a masterpiece.


