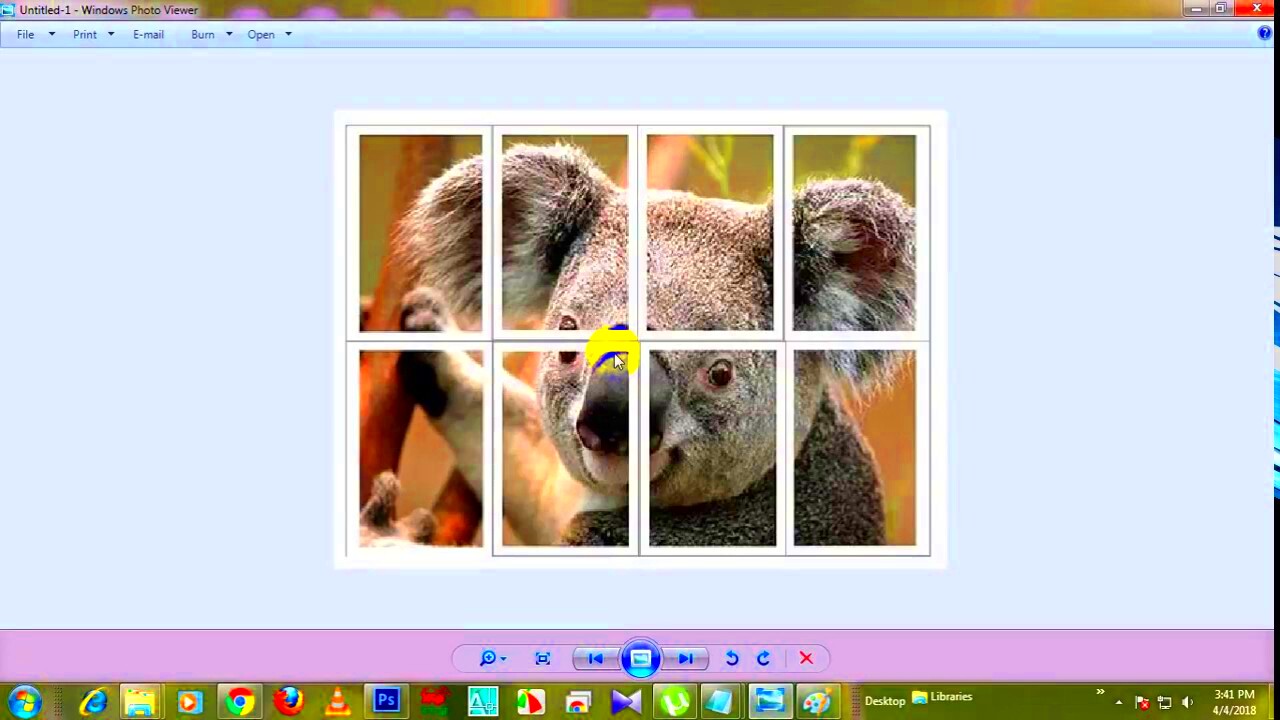
If you've ever wanted to print a large image for a poster but didn't have access to a printer that could handle it, printing across multiple pages is the solution. This method allows you to divide your image into smaller sections, which you can then print individually and assemble later. Whether it's a poster, banner, or a large photo, this process is a great way to create large prints without the need for professional printing services.
In this guide, we'll show you how to break your image down into manageable pieces, print them, and assemble them seamlessly for a stunning result. It's a simple, cost-effective approach that will give you impressive, high-quality results right at home.
Why Print One Image Across Multiple Pages?
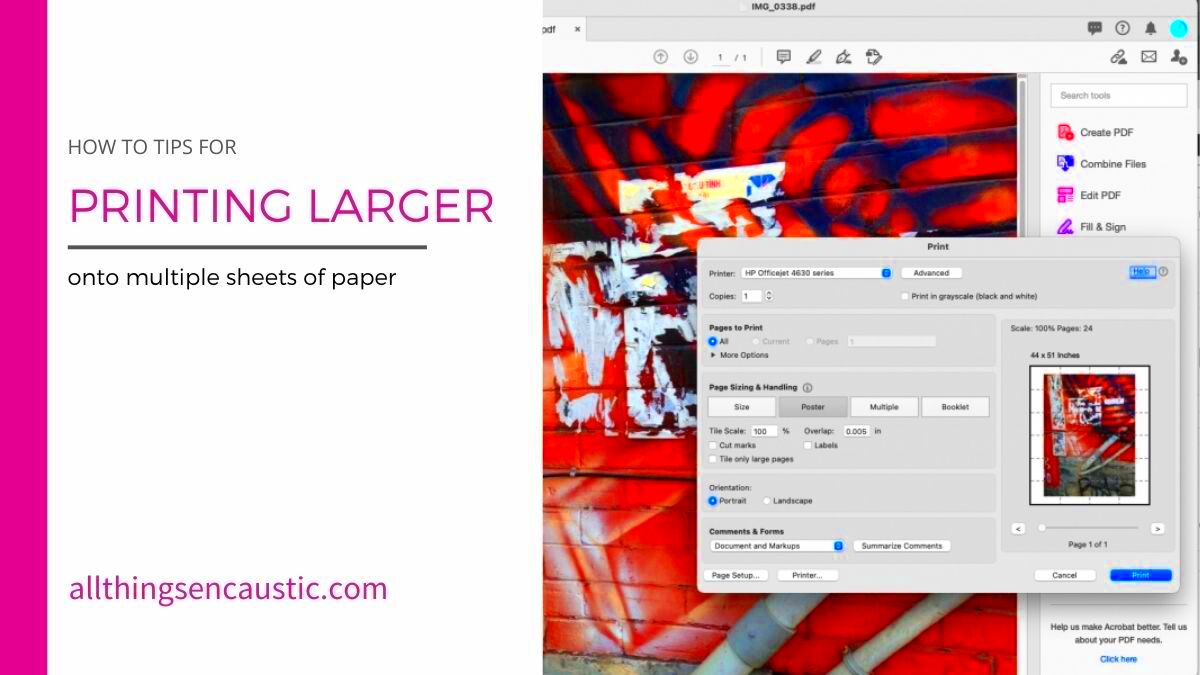
Printing a large image across multiple pages offers several advantages. Here's why you might want to consider it:
- Cost-Effective: Professional printing services for large images can be expensive. Printing across multiple pages at home is a budget-friendly option.
- Convenience: You can print the image at your own pace, without having to rely on external services or equipment.
- Customization: You have full control over the size and layout of your poster. You can adjust the design to fit your specific space or needs.
- Flexibility: This method works for any size image, allowing you to create posters or banners in any dimensions you choose.
While it may take some time to set up, printing your image at home in multiple sections is worth it. With the right tools and a little patience, you can create a high-quality, large-scale print that looks professional.
Also Read This: how to upload adobe stock images for money
How to Prepare the Image for Printing
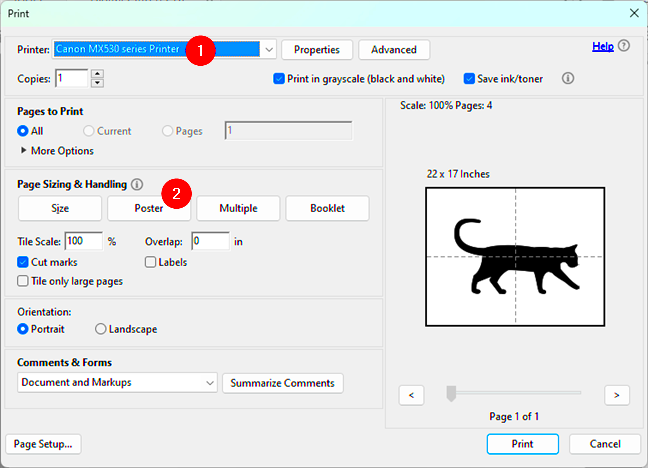
Before you start printing, it's important to prepare your image correctly to ensure the best possible results. Follow these simple steps to make sure your image is ready for printing:
- Choose the Right Image Size: Make sure the image has a high resolution, ideally at least 300 dpi (dots per inch). Low-resolution images may appear pixelated when enlarged.
- Crop the Image to Fit: If necessary, crop your image to match the size of your desired poster. You can use editing software like Adobe Photoshop or even free tools like GIMP.
- Adjust the Image Orientation: Ensure that your image is oriented correctly for printing. If you're printing a portrait image, make sure the layout aligns with your paper's portrait orientation, and the same goes for landscape orientation.
- Check the Margins: Make sure your image doesn't have unnecessary borders or white space around it unless you want them as part of the design.
- Save the File: Save your image in a print-friendly format, like PNG or PDF, to maintain its quality when printing. If you use a format like JPEG, be mindful of compression, as it may reduce quality.
Once your image is prepared, you're ready to start dividing it for printing. This is where software tools come in handy, helping you break the image down into smaller, printable sections without losing quality.
Also Read This: Where to Find the Best Image Processing Labs in the USA
Step-by-Step Guide to Printing Across Multiple Pages
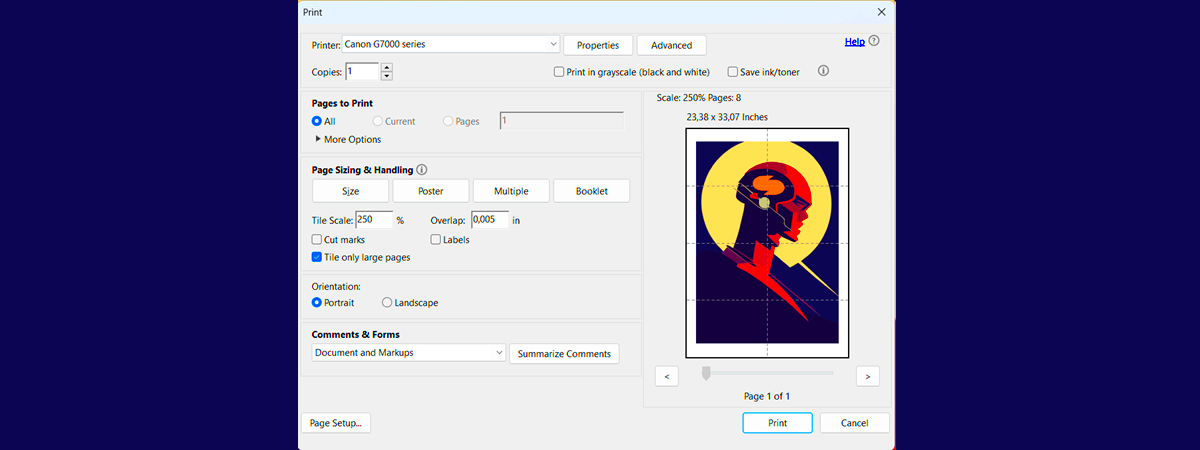
Printing an image across multiple pages might seem challenging, but with the right steps, it can be a straightforward process. Here’s a simple guide to help you break down the image and print it seamlessly:
- Step 1: Choose the Right Image
Start by selecting a high-resolution image, ideally at least 300 DPI (dots per inch). A high-resolution image will ensure that your printed result looks sharp and professional. - Step 2: Select a Printing Tool
You'll need software or a tool that can split the image into multiple pages. We’ll discuss options in the next section, but for now, choose a tool that suits your needs. - Step 3: Set Your Desired Poster Size
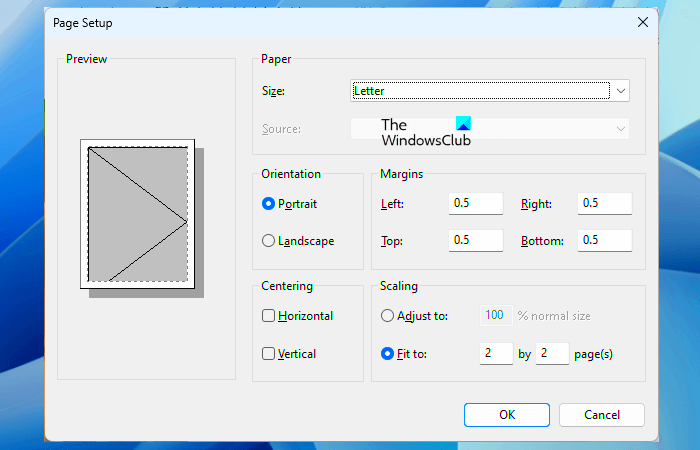
Decide the dimensions of your final poster. The size of your paper (A4, letter size, etc.) will determine how much of the image will appear on each page. Adjust the settings accordingly. - Step 4: Divide the Image
The printing tool you use will allow you to divide the image into smaller pieces. This is often done automatically, but make sure the tool splits the image correctly. If it’s not automated, you may have to adjust settings manually. - Step 5: Print the Pages
Once you’ve set everything up, start printing. Make sure your printer settings are correct (e.g., paper size, orientation). Ensure your printer is loaded with the right type of paper for the best results. - Step 6: Assemble the Pages
After printing, carefully cut or trim any white margins (if needed) and assemble the pages together. Depending on the software, there may be registration marks to help you align the sections correctly.
By following these steps, you can easily print a large image across multiple pages and assemble it to create a beautiful poster right at home.
Also Read This: Does Deleting Videos on YouTube Hurt Your Channel Performance
Tools and Software You Can Use
There are various tools and software available to help you print an image across multiple pages. Here are some of the most popular options:
| Tool | Description | Price |
|---|---|---|
| Adobe Acrobat | Adobe Acrobat allows you to print large images across multiple pages with ease. It includes an option to tile the image and adjust it for your printer. | Paid (Subscription required) |
| PosterRazor | PosterRazor is a free tool that splits images into smaller sections for printing. It allows you to customize the size and layout of your poster. | Free |
| BlockPosters | A free online tool that allows you to upload an image and split it into several printable sections. It’s user-friendly and perfect for beginners. | Free |
| Microsoft Paint (Manual Method) | While it’s not automatic, you can manually crop and print sections of an image using Microsoft Paint, though it’s more time-consuming. | Free (with Windows) |
Each of these tools has its pros and cons, so consider what features you need before choosing. If you’re looking for a free option, PosterRazor or BlockPosters are great choices. However, for more advanced features, Adobe Acrobat offers powerful customization tools.
Also Read This: Can You Download from iStock for Free? Exploring Legal Alternatives
Tips for Quality Results
To ensure your printed poster looks its best, follow these tips for high-quality results:
- Choose High-Resolution Images
Always use high-resolution images (at least 300 DPI) to ensure sharpness and clarity when printing large posters. Low-resolution images may appear blurry or pixelated when enlarged. - Check Printer Settings
Before printing, make sure your printer settings are correct. Choose the highest print quality available, and ensure you’re printing in the right orientation (landscape or portrait). Also, adjust for any color settings to match your original image. - Use High-Quality Paper
The type of paper you use can significantly affect the outcome of your print. Use thick, glossy paper or photo paper for vibrant colors and a more professional look. Standard printer paper may work, but it won’t give the same quality finish. - Print Test Pages First
Before printing all the pages, do a test run to check if everything aligns correctly. This will help you avoid wasting paper and ink. - Trim Edges Carefully
After printing, carefully trim any excess paper around the edges of each page. This helps in aligning and joining the pages neatly. - Allow Ink to Dry
After printing, let the ink dry for a few minutes to avoid smudging, especially if you're using glossy or photo paper.
By following these tips, you’ll ensure that your large image prints out clearly and looks great when assembled into a poster. Quality is key, so take the time to get everything right.
Also Read This: A Comprehensive List of Image Processing Companies in the USA
Common Issues and How to Solve Them
While printing images across multiple pages is a simple process, there can be a few common issues that may arise. Don’t worry—most of them are easy to fix. Here are some of the most common problems you might encounter and how to solve them:
- Misalignment Between Pages
Sometimes, the pages may not align properly when you try to assemble them, resulting in visible gaps or overlaps. To fix this, ensure that your printer settings are correct and that you are printing in the right orientation. Use registration marks provided by printing software to guide alignment. - Low Image Quality
If your image appears blurry or pixelated when printed, it’s likely due to a low-resolution image. Always use high-resolution images (300 DPI or higher) to ensure the print quality remains sharp. Avoid enlarging small images too much as this can cause pixelation. - Incorrect Paper Size
If your pages don’t fit the paper size or print off the edges, double-check your printer settings and ensure the paper size matches the size set in the printing tool. You may also need to adjust the margin settings or use a custom page size for your image. - Ink Smudging
Ink smudging can occur when you print on glossy paper or immediately touch the printed pages. To avoid this, allow your prints to dry for a few minutes before handling them. If using glossy paper, ensure that your printer is set to print on photo paper. - Paper Jams
If your printer jams while printing large images, check that the paper is loaded correctly and the paper tray is not overfilled. Some printers struggle with thicker paper, so make sure your printer is compatible with the paper you are using.
By being aware of these common issues and taking the necessary precautions, you can avoid frustration and achieve a great print result every time.
Also Read This: Money Matters: Making Money on eBay Without Selling Anything
Conclusion and Final Thoughts
Printing one image across multiple pages is a fantastic way to create large posters and banners at home without the need for professional services. With the right tools, preparation, and patience, you can print high-quality images that look great when assembled. Whether you're printing a poster for a special occasion, advertising a business, or creating wall art, this method is both cost-effective and customizable.
Remember to choose high-resolution images, use the correct printer settings, and take your time with assembly for the best results. By following the steps and tips provided in this guide, you can create impressive large-format prints that are sure to make an impact. Happy printing!
FAQ
Q1: What is the best resolution for printing large images?
For the best print quality, use images with a resolution of at least 300 DPI (dots per inch). This will ensure that the image remains sharp and clear even when enlarged.
Q2: Can I print an image on any type of paper?
You can print on standard printer paper, but for the best results, consider using thicker paper, such as photo paper or glossy paper. These options enhance the colors and overall quality of your print.
Q3: My pages aren't aligning properly when I assemble them. How do I fix this?
Misalignment can be fixed by using registration marks provided by your printing software. These marks help you align each printed section correctly. Ensure your printer is set up correctly for the paper size and orientation before printing.
Q4: How can I avoid image pixelation when printing large images?
Always use high-resolution images (at least 300 DPI) for printing. Enlarging low-resolution images can cause pixelation. If your image isn’t high enough quality, try finding a better resolution or use a smaller print size.
Q5: Can I print large posters without special software?
While it’s possible to manually divide an image into sections using basic software like Microsoft Paint, using specialized tools such as PosterRazor or Adobe Acrobat makes the process much easier and more accurate.
Q6: How do I handle the printed pages once they're done?
After printing, carefully cut off any excess paper around the edges. Use the registration marks to align the sections properly, then assemble them into your final poster.
 admin
admin


