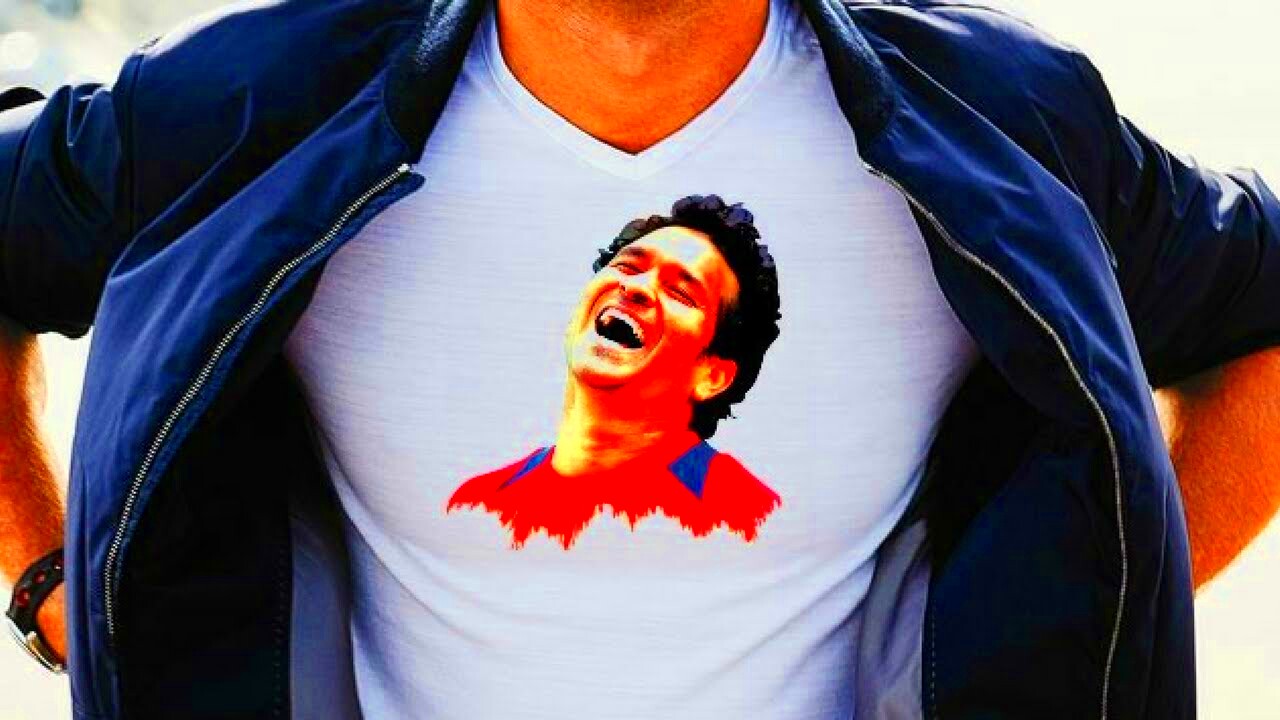
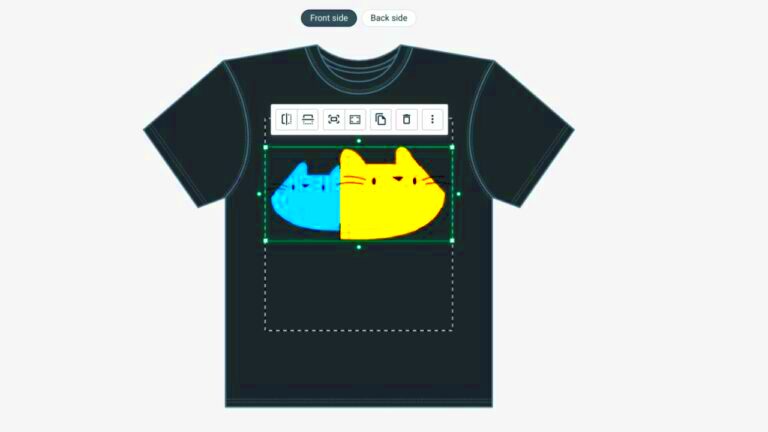
Printing images on shirts is a fun way to express yourself or create personalized gifts. Whether you're designing a shirt for yourself, a business, or for a special occasion, understanding the basics of the printing process is key. In this guide, we'll break down the steps to help you successfully print images onto shirts. From selecting the right image to applying it using various methods, you’ll get an easy-to-follow roadmap for making your custom shirts.
Choosing the Right Image for Printing

Picking the right image is crucial to achieving the best print quality on your shirt. Here’s how you can make sure your image will turn out great:
- Image Resolution: Make sure the image has a high resolution (at least 300 DPI). Low-resolution images will look pixelated and blurry when printed.
- Simple and Clear Designs: Intricate designs with too many details may not print well, especially with methods like screen printing. Choose clear, bold designs for the best results.
- Transparent Backgrounds: For a clean print, use images with transparent backgrounds (especially for logos or icons). This will ensure the design blends well with the shirt color.
- Consider the Shirt Color: If you're printing on a dark shirt, you'll need an image that works well with dark backgrounds. Images with white or light colors can be harder to see on black or dark fabrics.
In short, choose images that are high in resolution, simple, and have good contrast with the shirt color. It’s always a good idea to test the image on a mock-up before starting the printing process.
Also Read This: How to Cancel Your Adobe Stock Image Subscription
Preparing Your Image for Printing

Once you’ve chosen your image, it’s time to prepare it for printing. This step is vital to ensure your design looks sharp and professional on the shirt. Here’s how to do it:
- Resize the Image: Ensure the image is the correct size for your design area. Most shirts have a limited printable space, so resizing the image to fit this space is essential. Use photo editing software like Photoshop or GIMP to adjust the dimensions.
- Check the Image Format: Different printing methods require specific image formats. For example, for heat transfer, you might need a PNG or JPEG file. If you're using screen printing, vector files (like EPS or AI) are typically preferred.
- Adjust the Colors: If your design has multiple colors, make sure they’re vibrant and stand out. Colors can look different on a computer screen compared to on fabric, so it’s important to calibrate your display or consult with a printer for color matching.
- Invert or Mirror the Image: If you're using a transfer paper, remember that your image needs to be mirrored before printing so it appears correctly when applied to the shirt.
- Remove the Background (if needed): Use tools like Photoshop or online tools to remove unwanted backgrounds, leaving only the design you want to print. This is especially important for logos and illustrations.
By properly preparing your image, you ensure that the final result is clean, crisp, and exactly what you envision. So take your time with these steps before moving on to the actual printing process!
Also Read This: Famous Car Companies Across the USA Captured in Images
Understanding Different Printing Methods

When it comes to printing images on shirts, there are several methods to choose from, each offering its own advantages. Understanding these methods will help you decide which one is best for your design and project. Let’s take a closer look at some of the most popular techniques:
- Screen Printing: One of the most widely used methods for bulk shirt printing. It involves creating a stencil (or screen) and using it to apply layers of ink onto the printing surface. Screen printing is ideal for large designs and works best with simple, bold artwork.
- Heat Transfer Printing: This method uses heat to transfer a design from a special transfer paper onto the fabric. It’s a great choice for detailed or full-color designs and is commonly used for small batches or DIY projects.
- Direct-to-Garment (DTG) Printing: DTG printing uses inkjet technology to directly print the design onto the fabric. This method is excellent for intricate designs, gradients, and multiple colors, making it suitable for both small and large runs of shirts.
- Sublimation Printing: Best suited for synthetic fabrics (like polyester), sublimation printing involves turning the ink into gas and embedding it into the fabric. It’s ideal for vibrant, full-color prints that won’t fade over time, but it only works on light-colored, synthetic fabrics.
Each method has its pros and cons, depending on your needs, such as the type of fabric, the number of shirts you’re printing, and the complexity of the design. Choosing the right one ensures that your image looks great and lasts long on the shirt.
Also Read This: Mastering VLC Media Player for Quick YouTube Video Downloads
What You Need for Shirt Printing
Before you start printing shirts, it’s important to have the right tools and materials ready. Here's a list of everything you'll need, whether you’re using a commercial printing method or a DIY approach:
- Printer: For methods like heat transfer or DTG, you'll need a high-quality printer. For screen printing, you'll need a screen printing setup that includes frames, meshes, and a printing press.
- Transfer Paper: If you're doing heat transfer printing, you’ll need transfer paper. Be sure to choose paper that matches your shirt fabric (light or dark) and printing method.
- Shirts: Choose shirts made from materials suitable for your printing method. Cotton works best for heat transfers, while polyester is ideal for sublimation printing.
- Inks or Toners: Different printing methods require specific types of ink. For screen printing, you’ll need plastisol or water-based inks. DTG uses special fabric inks, while heat transfer uses toner or inkjet-compatible transfer paper.
- Heat Press or Iron: For heat transfer printing, you’ll need either a heat press machine or a regular iron to apply the design onto the shirt using heat.
- Design Software: Software like Adobe Photoshop or Illustrator is essential for preparing your images. You may also need vector editing software for certain methods like screen printing.
Having the right tools makes the printing process smoother and ensures better quality prints. Whether you're starting a t-shirt business or making a personal design, make sure you’re equipped with the best materials for the job!
Also Read This: How to Get Photos from Getty Images Without Watermarks for Personal Use
Step-by-Step Guide to Printing an Image on a Shirt
Now that you know the basics, let’s go over the process of printing an image onto a shirt. Whether you’re using heat transfer or screen printing, these steps will guide you through the entire process:
- Step 1: Choose Your Shirt: Select the type of shirt you want to print on. Ensure it’s the right material for your chosen printing method (e.g., cotton for heat transfer, polyester for sublimation).
- Step 2: Prepare the Design: Use design software to create or adjust your image. Make sure it’s the correct size, resolution, and format for your chosen printing method. You might need to mirror the image if you're using heat transfer.
- Step 3: Prepare the Printer: Load the appropriate paper or ink into your printer. For heat transfer, load transfer paper into the printer, ensuring it’s facing the correct way. For screen printing, set up the screen with your design.
- Step 4: Apply the Design: For heat transfer, print the design onto the transfer paper and then press it onto the shirt using a heat press or iron. For screen printing, apply the ink through the screen onto the shirt, ensuring even coverage.
- Step 5: Let It Dry or Set: After printing, allow the design to dry (for DTG or screen printing) or set it using heat (for heat transfer). This step ensures the ink or transfer is fully bonded to the fabric.
- Step 6: Final Touches: Inspect your shirt for any imperfections. If needed, touch up the design or reapply heat to ensure it's securely in place. Let the shirt cool down and it's ready to wear!
Following these steps will help you print high-quality designs onto shirts with ease. Remember, practice makes perfect, so don't be afraid to experiment with different techniques and designs!
Also Read This: Effective Ways to Block YouTube on Your PC for Enhanced Productivity
Common Mistakes to Avoid When Printing Images on Shirts
Printing images on shirts is an enjoyable process, but there are a few common mistakes that can ruin your designs or cause poor-quality prints. By being aware of these pitfalls, you can ensure that your shirt designs turn out perfectly every time. Here are some mistakes to avoid:
- Using Low-Resolution Images: One of the biggest mistakes is using a low-resolution image. Low-resolution images (less than 300 DPI) will look pixelated when printed on shirts, especially on large designs. Always use high-quality, high-resolution images for crisp prints.
- Ignoring Shirt Material: Different fabrics react differently to printing methods. Using the wrong material can result in uneven printing or poor color retention. Be sure to choose the right fabric (cotton, polyester, etc.) based on your printing method.
- Not Preparing the Image Properly: Failing to resize, adjust the color, or remove the background from your image can result in a design that looks off on the shirt. Always prepare your image beforehand to avoid mistakes during the printing process.
- Forgetting to Mirror the Image: If you're using heat transfer printing, it’s essential to mirror your design before printing. Failing to do this can result in a backward image once it's transferred to the shirt.
- Skipping Drying or Setting Time: Not allowing the design to fully dry or set can lead to smudging or fading. Take the time to let the print dry or cure, especially for methods like screen printing or DTG printing.
Avoiding these mistakes will help you create high-quality, professional-looking prints. Make sure to plan carefully and follow the steps to get the best results every time!
Also Read This: How to Change Text in an Image Using Different Tools
Best Tips for Long-Lasting Prints
Once your image is printed on the shirt, you want it to last as long as possible, staying vibrant and looking great wash after wash. Here are some tips for keeping your shirt prints in top condition:
- Use the Right Printing Method: Some printing methods, like screen printing and sublimation, offer better longevity compared to others like heat transfer. For long-lasting results, choose the best method for your design and fabric.
- Wash Shirts Inside Out: Always wash printed shirts inside out. This helps protect the design from direct friction, preventing it from fading or peeling. It also keeps the print from rubbing against other items in the wash.
- Avoid Harsh Chemicals: When washing your shirt, avoid using harsh detergents or bleach. These chemicals can break down the ink or transfer material over time, causing it to fade or crack.
- Use Cold Water: Washing shirts in cold water helps preserve the print. Hot water can weaken the ink or fabric, leading to faster fading or damage to the design.
- Air Dry or Low Heat: Avoid high-heat drying methods. Air drying or tumble drying on low heat will prevent the print from cracking or peeling. High heat can cause the design to shrink or warp.
- Store Properly: When not in use, store your printed shirts in a cool, dry place. Avoid hanging them in direct sunlight for long periods, as prolonged exposure can cause the colors to fade.
Following these tips will help you maintain the quality of your prints and keep your designs looking fresh and vibrant for longer, ensuring your custom shirts stand the test of time.
Also Read This: How to Access Your Adobe Stock Photos
Frequently Asked Questions
Printing images on shirts can raise many questions. Below are answers to some of the most common queries that people have when printing their own custom designs:
- Q: Can I print any image on a shirt?
A: While you can technically print any image, it’s important to ensure that the image has a high resolution and is suitable for your chosen printing method. Avoid overly complex or low-quality images for the best results. - Q: What’s the best fabric for printing shirts?
A: Cotton is generally the best fabric for most printing methods, especially heat transfer. However, for sublimation, polyester works best, as the ink bonds well with synthetic fibers. - Q: How do I avoid the design fading?
A: Use a high-quality printing method (like screen printing or sublimation), follow proper care instructions (such as washing in cold water and air drying), and avoid direct sunlight exposure to keep the print intact. - Q: What’s the difference between screen printing and heat transfer?
A: Screen printing involves pushing ink through a screen onto the fabric, while heat transfer uses heat to apply a design from transfer paper. Screen printing is better for large quantities and bold designs, while heat transfer is ideal for detailed or multi-colored prints on smaller batches. - Q: How can I print a multi-colored image?
A: Multi-colored images can be printed using methods like DTG printing or heat transfer. Screen printing is also an option, but it may require multiple screens for each color.
These answers should help clarify some of the most common concerns when printing images on shirts. If you have more specific questions, don't hesitate to explore further or ask an expert!
Conclusion
Printing images on shirts is an exciting and creative way to showcase your designs. By understanding the different printing methods, choosing the right image, and carefully preparing your design, you can achieve professional-quality prints. Avoiding common mistakes, following tips for long-lasting prints, and properly maintaining your shirts will ensure that your custom creations stay vibrant and intact for a long time. Whether you're printing for personal use or starting a business, this guide provides all the essential steps you need to create beautiful, durable shirt designs. With a little practice and the right materials, you'll be able to make custom shirts that are sure to impress.


