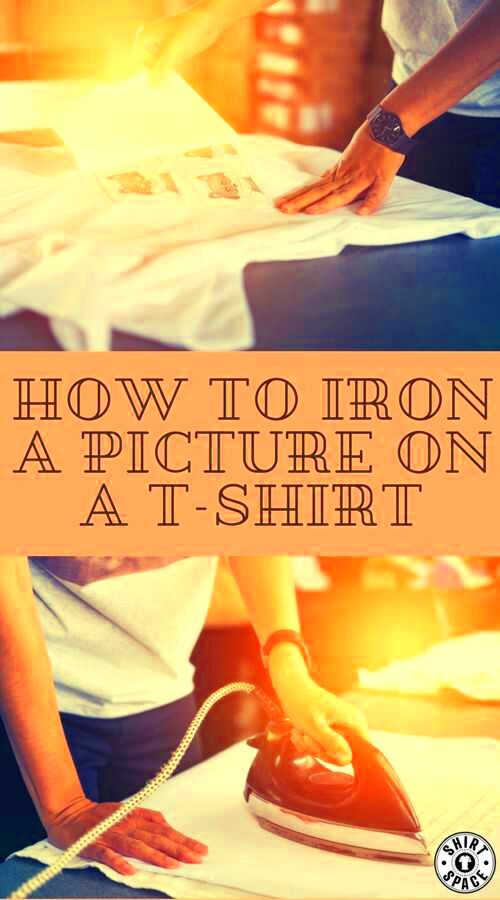
Printing an image on a shirt is a fun and creative way to express yourself or promote something meaningful. Before getting started, having the right materials and tools is essential. Here's what you'll need:
- A Plain Shirt: Choose a shirt made of cotton or a cotton blend for the best results.
- Printable Image: Use a high-quality digital image for sharper prints.
- Transfer Paper: Designed specifically for fabric printing, available for light or dark shirts.
- Printer: Use an inkjet or laser printer, depending on your transfer paper type.
- Iron or Heat Press: Necessary for transferring the image onto the shirt.
- Scissors: To trim your design if needed.
Gathering these materials ensures you're set for a smooth and successful shirt customization experience.
How to Choose the Right Shirt and Image
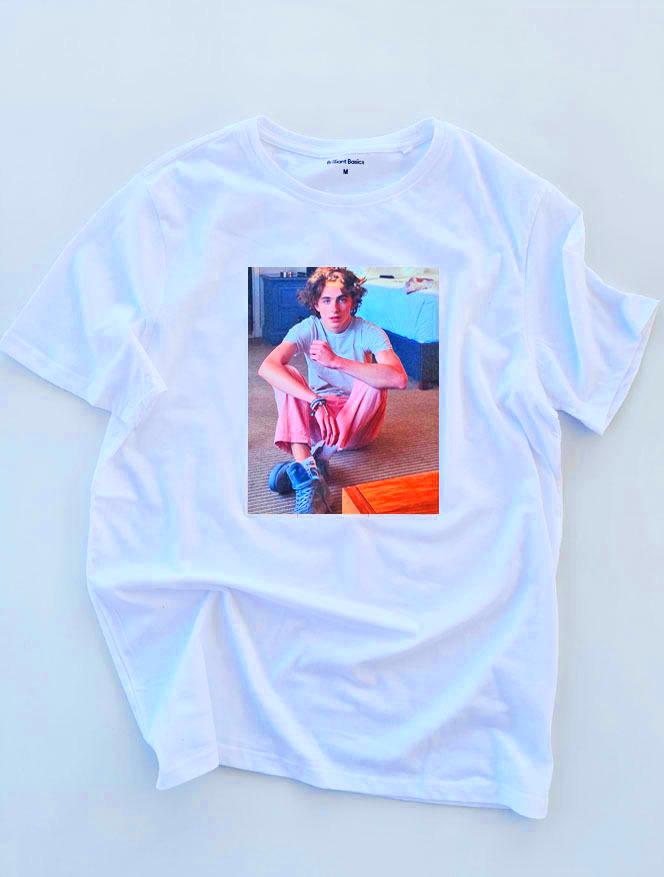
Picking the right shirt and image is crucial for creating a design you’ll love. Here are some factors to consider:
For the Shirt:
- Go for a cotton or cotton-polyester blend for easy printing and durability.
- Choose a color that complements your design. For dark shirts, use transfer paper meant for dark fabrics.
- Ensure the shirt size fits well and matches your purpose, whether personal or professional.
For the Image:
- Opt for high-resolution images to avoid pixelation when printed.
- Use designs with bold and clear colors for maximum visual appeal.
- Avoid overly detailed images, as fine details may not print well on fabric.
By aligning the shirt material and image quality, you’ll get the best results for your project.
Different Methods to Print Images on Shirts
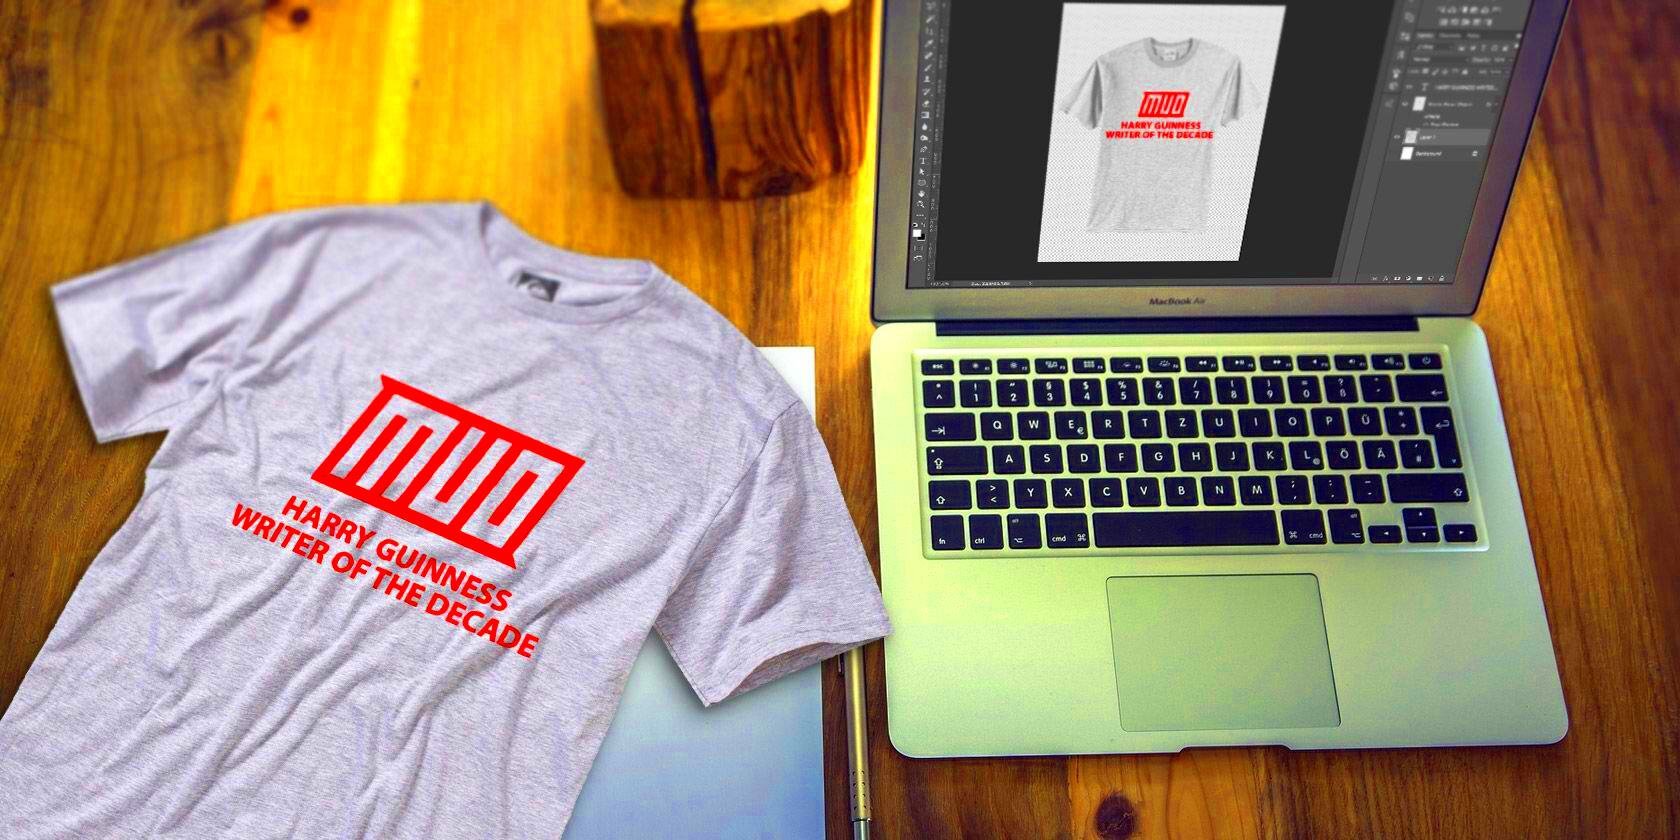
There are various ways to print an image on a shirt, each with its pros and cons. Let’s explore the most popular methods:
| Method | Details | Best For |
|---|---|---|
| Heat Transfer Printing | Uses transfer paper and heat to press the image onto the shirt. | DIY projects and small batches. |
| Screen Printing | Involves creating a stencil and using ink to print the design. | Bulk orders and vibrant designs. |
| Direct-to-Garment (DTG) | Uses a special printer to print the design directly onto the fabric. | High-detail designs and one-off prints. |
| Vinyl Cutting | Cuts the design onto vinyl, which is then heat-pressed onto the shirt. | Simple logos and text-based designs. |
Choosing the right method depends on your budget, design complexity, and project size.
Step-by-Step Guide for Printing an Image on a Shirt
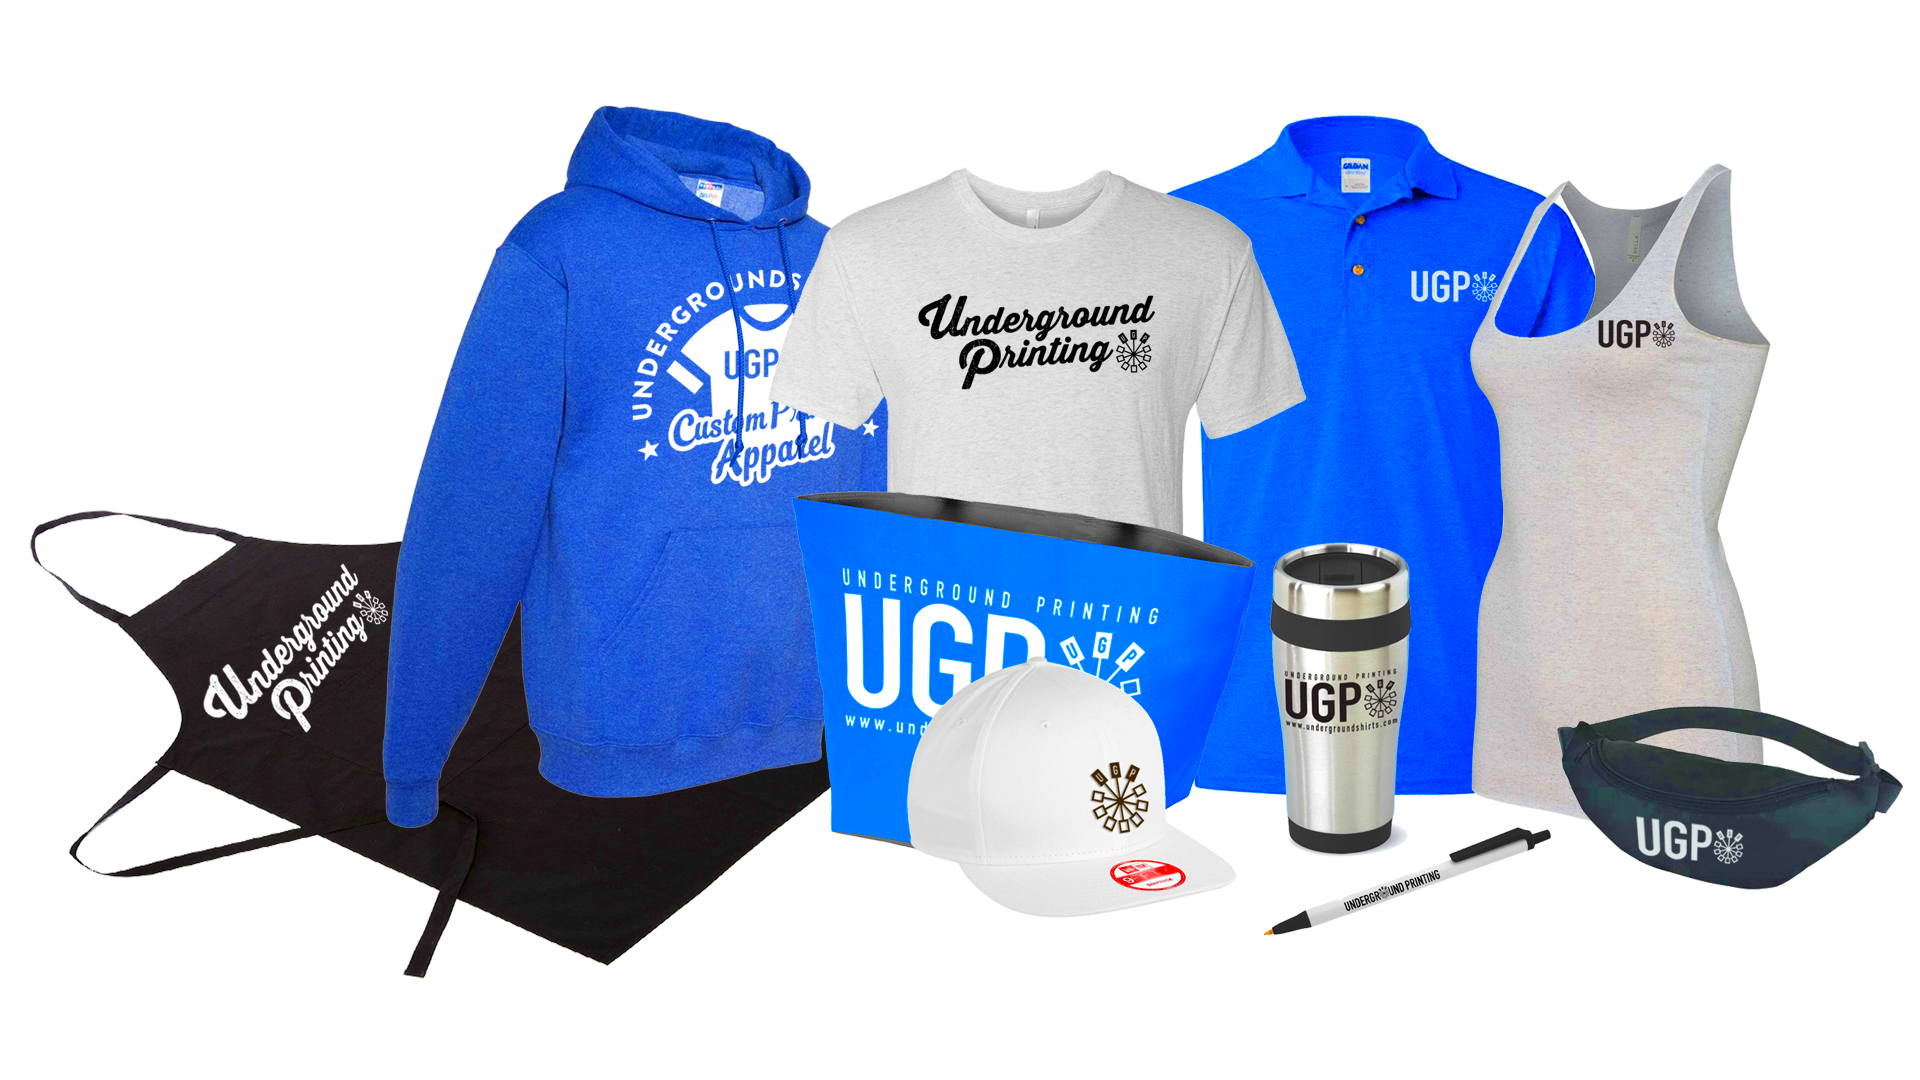
Now that you have everything ready, it’s time to start printing your image on the shirt. Here’s a simple, step-by-step guide to help you achieve the best results:
- Step 1: Choose and Prepare Your Design Ensure your design is the correct size and resolution. If you’re using a digital file, adjust it to the size you want on the shirt using photo editing software.
- Step 2: Print the Image If you're using transfer paper, place it into your printer according to the manufacturer’s instructions. Print the image in reverse (mirror image) if it's a heat transfer paper for light fabrics.
- Step 3: Cut Out the Design After printing, carefully cut around the edges of the design to minimize excess paper.
- Step 4: Heat Press the Design Preheat your iron or heat press to the recommended temperature. Place the image face down on the shirt, and apply consistent pressure for the required amount of time (typically 30 seconds to a minute).
- Step 5: Let It Cool Allow the shirt to cool completely before peeling off the transfer paper. If necessary, press the design again to ensure it’s securely attached.
Following these steps will give you a professional-looking result, perfect for your customized apparel project.
Tips for Long-Lasting Prints
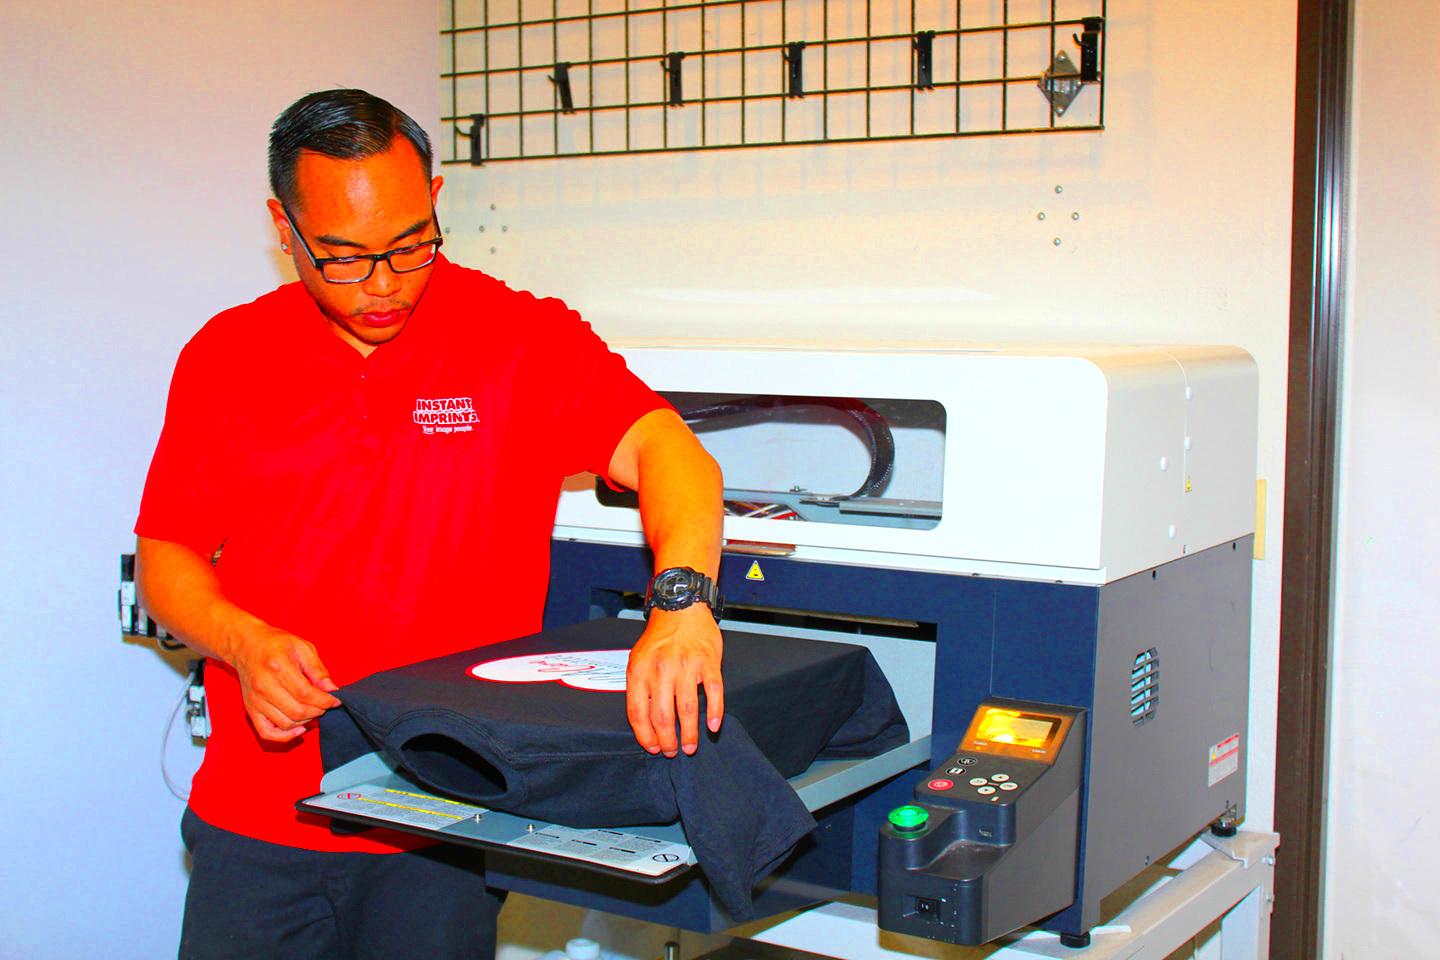
Once you've printed your design, you want it to last. Here are some tips to make sure your shirt's print stays vibrant and durable over time:
- Wash Carefully: Turn the shirt inside out before washing to protect the print. Wash in cold water and avoid using harsh detergents.
- Avoid the Dryer: Dry your printed shirts on a low heat setting, or better yet, air dry them to preserve the print's integrity.
- Use High-Quality Materials: The better the materials (transfer paper, ink, shirt fabric), the longer your design will last.
- Iron with Caution: When ironing, always place a cloth or parchment paper between the print and the iron to avoid direct heat contact.
By following these care tips, your custom shirt will retain its fresh look for a long time, even after multiple washes.
Common Mistakes to Avoid
While printing an image on a shirt can be fun, there are a few common mistakes people make that can affect the quality of the final product. Here are some to watch out for:
- Using the Wrong Transfer Paper: Make sure to select the appropriate transfer paper based on your shirt color (light or dark fabrics). Using the wrong type can lead to poor results.
- Printing at Low Resolution: A blurry or pixelated image is often the result of using a low-resolution file. Always use high-quality, high-resolution images for crisp prints.
- Not Preheating the Shirt: For better adhesion, preheat the shirt slightly before applying the transfer. This removes any moisture and ensures a smoother print.
- Not Applying Enough Pressure: Insufficient pressure during the heat transfer process can lead to uneven prints that may peel or fade faster.
- Peeling the Transfer Too Soon: Always allow the shirt to cool completely before peeling off the transfer paper. Trying to remove it too early can cause the print to smudge or come off.
By avoiding these common mistakes, you’ll ensure that your custom apparel looks great and lasts longer.
FAQs About Printing Images on Shirts
If you're new to printing images on shirts, you may have some questions about the process. Here are some frequently asked questions that can help clarify the steps and make the process smoother for you:
- What kind of printer should I use for printing on shirts? You can use either an inkjet or laser printer, depending on the type of transfer paper you're using. Inkjet printers are more common for DIY t-shirt printing as they work well with transfer paper for light fabrics.
- Can I use any image for printing? It's best to use high-resolution images for printing. Low-resolution images might appear pixelated or blurry once printed on fabric. Ensure the image is at least 300 DPI (dots per inch) for optimal quality.
- How long will the print last? The lifespan of the print depends on the quality of the materials used and how well you care for the shirt. Following proper washing and drying guidelines can extend the print’s longevity.
- Can I print on dark-colored shirts? Yes, you can print on dark shirts, but you’ll need transfer paper specifically designed for dark fabrics. These transfer papers have a white background that prevents the fabric color from showing through the design.
- Is it better to use a heat press or an iron? A heat press is more consistent and efficient for large batches, providing even heat and pressure. However, if you’re just printing one or two shirts, an iron can work fine as long as you apply the right pressure and temperature.
- Can I wash the shirt after printing? Yes, but it's important to wash the shirt inside out in cold water and air dry it to preserve the print. Avoid using bleach or fabric softeners as they can damage the design.
Conclusion
Printing an image on a shirt is a simple and rewarding process that allows you to create customized apparel for any occasion. With the right tools, materials, and care, you can produce a professional-looking design that lasts. By following the steps outlined in this guide, you can avoid common mistakes and achieve the best results for your custom shirt printing project.
