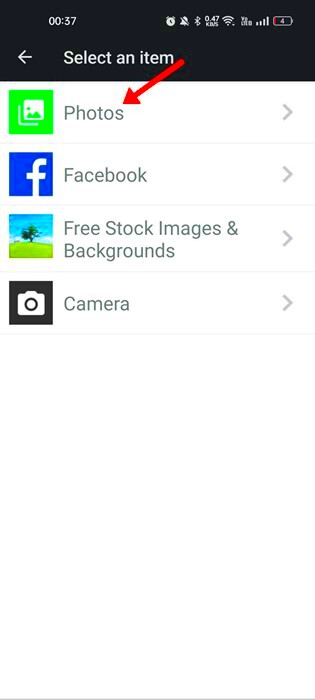
Have you ever wanted to combine two or more images on your Android phone? Whether it's for a creative project, a social media post, or just for fun, pasting one image onto another is a great way to do that. With Android's easy-to-use tools and apps, this task becomes simple and accessible for everyone, even if you're not a professional graphic designer.
This guide will walk you through the basics of pasting images onto each other using Android. From the tools you’ll need to step-by-step instructions, we’ve got you covered. If you’ve never tried it before, don’t worry — we’ll make it easy for you to follow along and get the best results in no time!
Why Would You Want to Paste an Image onto Another on Android?
There are plenty of reasons why someone might want to paste one image onto another. Whether you’re editing a photo, creating a meme, or designing a flyer, combining images is a useful skill to have. Here are a few common scenarios where this feature can come in handy:
- Photo Editing: Sometimes, you may want to place a subject from one image onto a background from another.
- Memes and Fun Projects: Pasting funny pictures or adding text onto images to create memes is popular on social media.
- Graphic Design: If you're designing promotional material or social media posts, combining visuals can make your design stand out.
- Creative Effects: Combining images can also help create artistic effects like double exposure or collages.
As you can see, pasting images onto other images opens up a world of possibilities. With just a few taps on your Android device, you can turn ordinary photos into something extraordinary.
Also Read This: How to Crop an Image in OneNote for Better Layouts
Tools and Apps You Can Use to Paste an Image onto Another Image
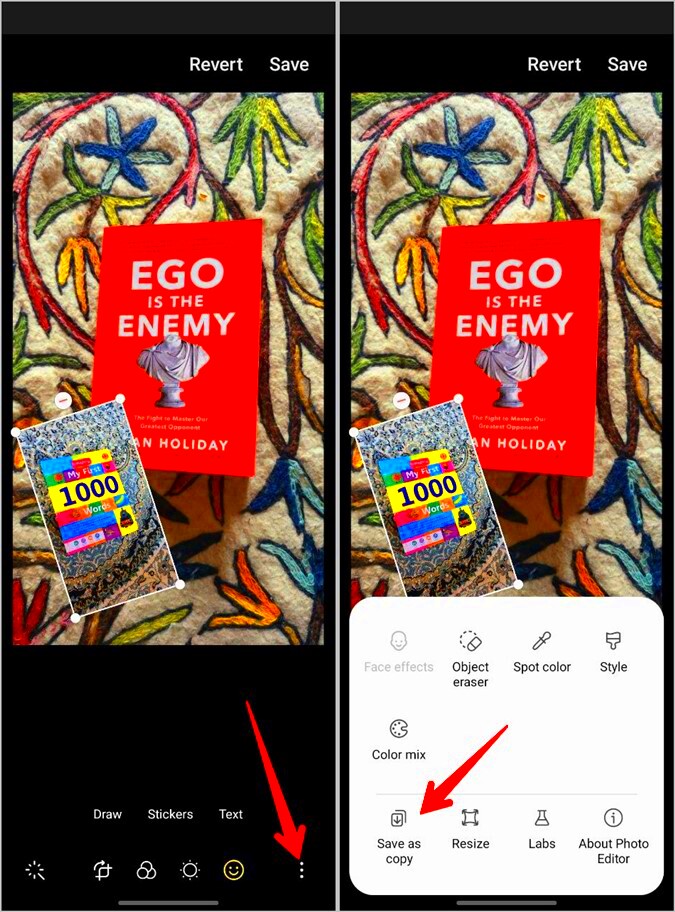
There are many apps available for Android that let you paste one image onto another. These apps offer various features to enhance your editing experience, such as adjusting opacity, adding filters, and cropping. Some of the most popular tools include:
- PicsArt: This is a powerful and widely used app that allows you to easily overlay images, add text, and perform a variety of other edits.
- Adobe Photoshop Express: A simplified version of the well-known desktop tool, this app offers advanced features for pasting and editing images.
- Snapseed: Known for its user-friendly interface, Snapseed offers a range of tools that help you blend images seamlessly.
- Pixlr: This app provides easy image overlay features with a simple interface for quick editing.
- PhotoLayers: Specifically designed for layering images, this app lets you paste one image on top of another with ease.
These tools and apps are perfect for anyone looking to quickly and efficiently paste one image onto another. They offer both free and premium features, allowing you to choose the level of complexity you need for your editing tasks.
Also Read This: Ultimate Guide to Downloading and Using Behance Templates
Step-by-Step Guide to Pasting an Image onto Another Image Using Android
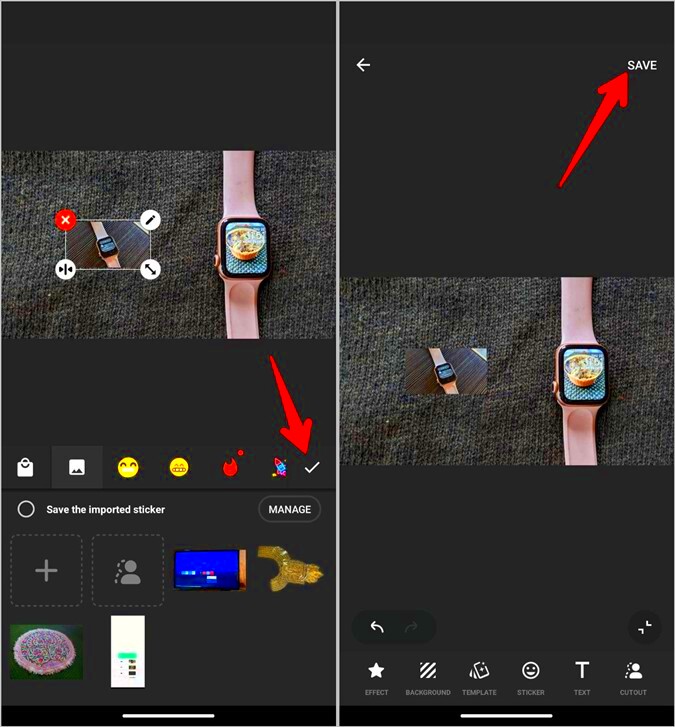
Pasting an image onto another image on your Android device is easier than it sounds. Follow these simple steps to get started:
- Step 1: Choose Your Apps
First, download and open an image editing app like PicsArt, Adobe Photoshop Express, or any other app that supports image layering. - Step 2: Open the Base Image
Select the image that you want to use as your background (the base image). This is the first image you will work with. - Step 3: Add the Second Image
Find the image you want to paste onto the first one. You can do this by selecting the "Add Photo" or "Overlay" option in the app. This action will bring the second image onto the screen. - Step 4: Position the Second Image
Now that the second image is on top of the first one, you can move it around. Drag, resize, and rotate it until it’s in the desired position. - Step 5: Adjust the Image (Optional)
If you need to fine-tune the appearance, many apps allow you to adjust opacity, brightness, or apply filters to make the second image blend seamlessly with the first. - Step 6: Save Your Work
Once you're satisfied with how the images look together, save your edited image to your gallery or share it directly on social media.
Following these steps should help you easily paste one image onto another and create beautiful edits. Don't forget to experiment with different apps and settings to see what works best for your style!
Also Read This: Creating an Image Outline
Editing Tips to Improve Your Pasted Image
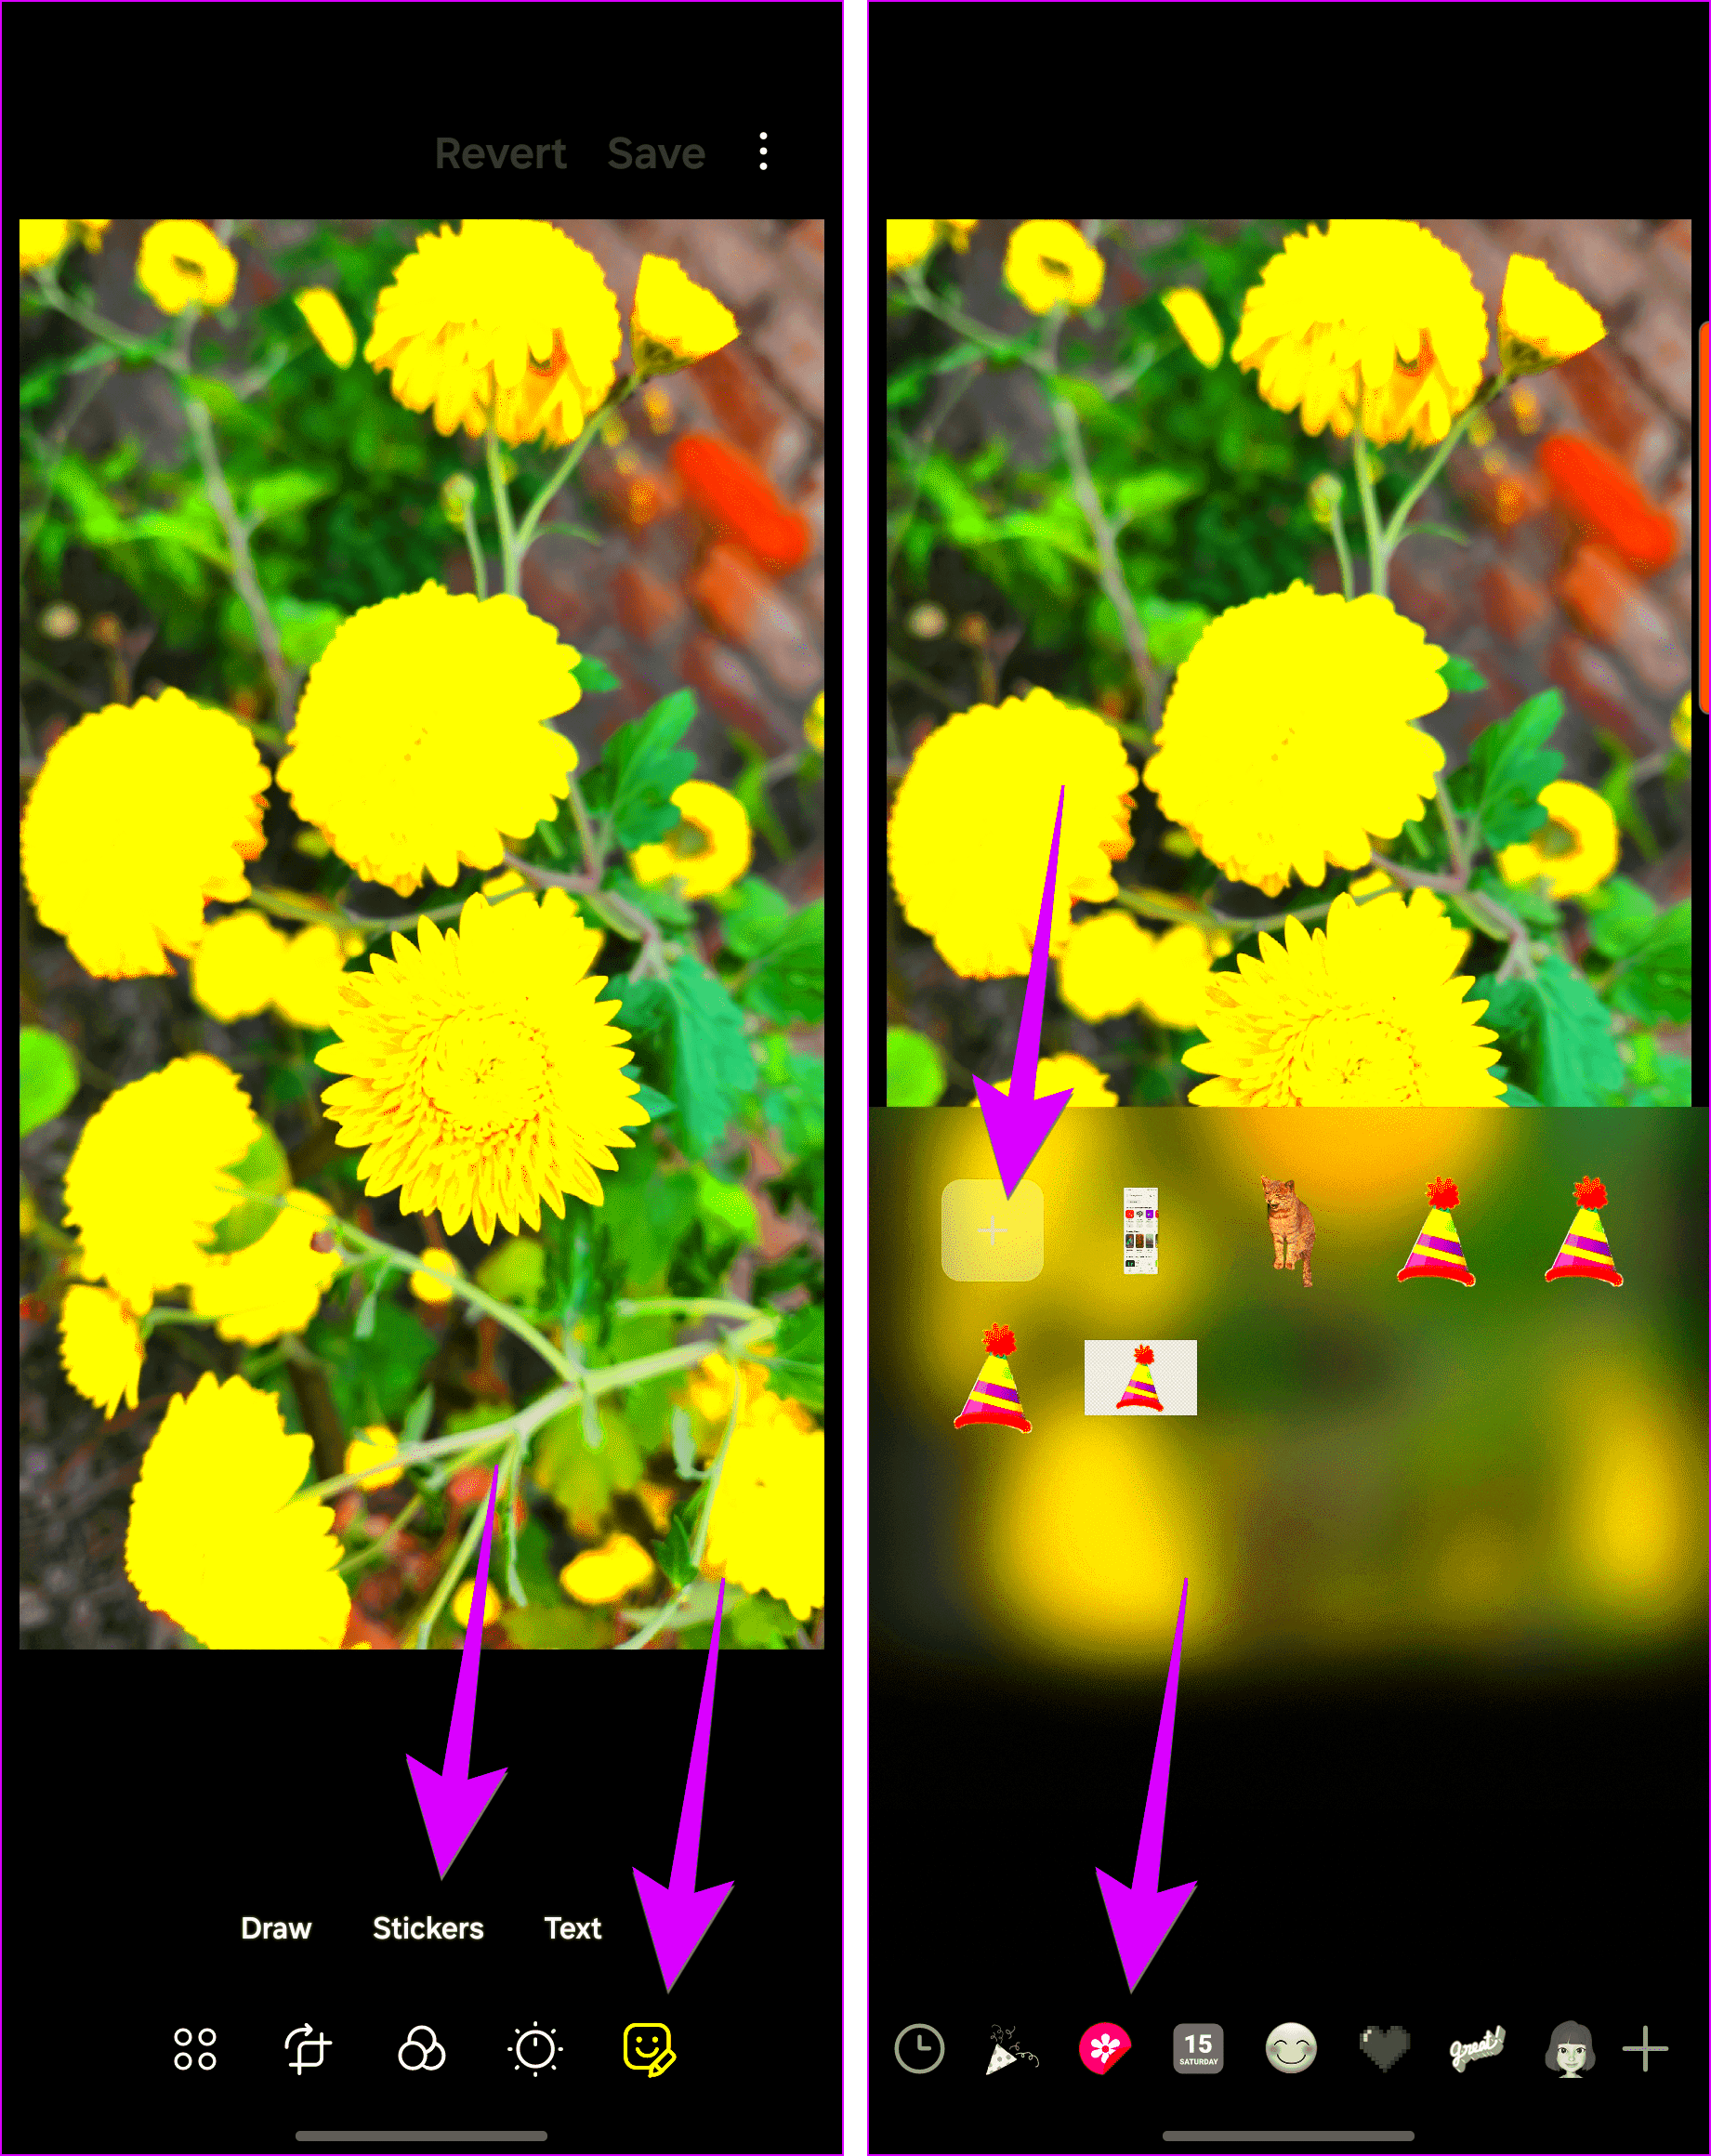
Once you've pasted your images together, the next step is to make sure the final result looks polished. Here are some helpful editing tips to improve your pasted image:
- Use Layers for Flexibility: Most editing apps allow you to work with layers. This makes it easier to adjust each image separately without affecting the other.
- Adjust Transparency: If your pasted image looks too bold, consider lowering its opacity to make it blend better with the background.
- Crop and Resize: Sometimes the pasted image doesn’t fit perfectly. Use the crop or resize tool to adjust the size and remove any unnecessary parts.
- Use Filters: Applying a filter to both images can help create a uniform look, especially if the images have different lighting or color tones.
- Use the Eraser Tool: If there are unwanted edges or areas around the pasted image, use the eraser tool to smooth them out and make the transition seamless.
- Sharpen the Final Image: After you’ve made all the adjustments, apply a slight sharpening effect to bring out the details in your final image.
These editing tips can help you create a more professional-looking final product. Don't be afraid to experiment with different techniques until you get the perfect blend of images!
Also Read This: Understanding iStock Essentials and Their Importance
Common Mistakes to Avoid When Pasting Images on Android
While pasting images onto one another can be fun and easy, there are some common mistakes that can make your final result look less than ideal. Avoid these mistakes to ensure your images turn out as good as possible:
- Ignoring Image Resolution: Using low-resolution images can result in blurry or pixelated results. Always try to use high-resolution images for the best outcome.
- Overcrowding the Image: Adding too many images or elements onto one background can make your creation feel cluttered. Keep things simple and balanced.
- Not Matching Lighting and Shadows: If your pasted image doesn't match the lighting or shadow direction of the background, it can look out of place. Try adjusting the brightness and shadows to make both images align better.
- Forgetting to Check Alignment: Make sure your images are properly aligned and balanced. Uneven placement can make your image look awkward or off-center.
- Not Using the Undo Button: Many people make the mistake of not taking advantage of the undo feature in editing apps. If you make a mistake, don’t hesitate to press undo and fix it.
- Not Saving Frequently: It’s easy to get lost in the editing process and forget to save your work. Make sure to save frequently to avoid losing any progress.
By avoiding these common mistakes, you’ll be able to paste images together more effectively and create cleaner, more professional edits. Take your time, and don’t rush the process!
Also Read This: Easy Tips to printing Four Images on One Page
How to Save and Share Your Edited Image on Android
Once you’ve finished editing and pasting images together on your Android device, the next step is saving and sharing your masterpiece. This is a simple process, but it’s important to know the best practices for both. Whether you want to keep your edited image for personal use or share it with friends and family, here’s how to do it:
- Step 1: Save Your Edited Image
Most image editing apps have a straightforward save option. After making all the adjustments, tap on the "Save" or "Export" button. You can typically choose between various file formats, such as PNG, JPEG, or TIFF, depending on the app. - Step 2: Choose the File Quality
Some apps allow you to choose the quality of the saved image. If you're planning to print it or need a high-quality version, select the highest resolution available. For sharing online, a smaller file size may be better. - Step 3: Organize Your Files
After saving, your edited image will be stored in your gallery or a specific folder created by the app. It’s a good idea to organize your images by creating folders or adding labels for easy access later. - Step 4: Share Your Image
Sharing is just as easy. Open the saved image from your gallery or the app, tap the share icon, and choose your preferred platform—whether it’s email, social media, or a messaging app. Many apps also allow you to share directly from the editing app itself.
By following these steps, you can quickly save and share your edited images with others, ensuring that your creative work gets the attention it deserves!
Also Read This: What Are the Best Free Adobe Stock Watermark Remover Apps for Designers in 2025?
Frequently Asked Questions
If you’re new to editing images on Android or have encountered a problem, don’t worry! Here are some common questions and answers that may help:
- Q: What apps are best for pasting images on Android?
A: Popular apps for pasting images include PicsArt, Adobe Photoshop Express, and PhotoLayers. These apps offer easy-to-use tools for layering and combining images. - Q: Can I adjust the opacity of the pasted image?
A: Yes, many editing apps allow you to adjust the opacity, making the pasted image more transparent and helping it blend into the background. - Q: How do I make sure the images align properly?
A: Use the alignment and grid tools available in most editing apps. These tools help you align the pasted image with the background more precisely. - Q: How can I avoid my images looking blurry after pasting?
A: To prevent blurry images, make sure you are using high-resolution images for both the background and the pasted image. Also, avoid enlarging a small image too much. - Q: How do I share my edited image on social media?
A: After saving your image, open it in your gallery, and use the share icon to directly upload it to platforms like Instagram, Facebook, or Twitter. Alternatively, some apps allow sharing directly from the editing interface.
Conclusion
Editing and pasting images together on Android devices is a simple and fun way to express your creativity. Whether you're making memes, designing graphics, or enhancing photos, Android offers a variety of tools and apps to help you get the job done. From pasting images onto each other to saving and sharing your work, the process is straightforward with just a few simple steps.
Remember to experiment with different apps and editing features to find what works best for your style. By avoiding common mistakes, using helpful editing tips, and following our step-by-step guide, you'll be able to create stunning images in no time. So go ahead, start editing, and share your creations with the world!
