In today’s digital landscape, privacy is more important than ever, especially when it comes to sharing content. Whether you're a content creator, educator, or simply someone who wants to share videos with a select few, understanding how to password protect your YouTube videos for private viewing is essential. It allows you to control who has access to your content while ensuring that your audience can enjoy your work securely. So, let’s dive in and explore the different ways you can manage your video privacy on YouTube!
Understanding YouTube's Privacy Settings

YouTube offers a range of privacy settings that cater to the diverse needs of its users. Knowing how these settings work is the first step in ensuring that your videos are shared with just the right audience. Let’s break down the privacy options available for your YouTube videos:
- Public: Anyone can watch your videos. They appear in search results and on your channel.
- Unlisted: Only people who have the link can view your videos. They won’t appear in search results or on your channel, making this a popular option for sharing with family or friends.
- Private: Only you and specific people you choose can view your videos. They won’t appear in search results, and the viewers can’t share the video with anyone else.
While YouTube does not offer direct password protection for videos, using these settings can help you maintain your video's confidentiality. If you want to keep your content restricted to a select audience, the ‘Private’ setting is your best bet.
| Privacy Setting | Description |
|---|---|
| Public | Visible to everyone; searchable on YouTube. |
| Unlisted | Link-sharing only; not searchable or listed on the channel. |
| Private | Only invited users can view; completely hidden from others. |
So, understanding these privacy settings can significantly enhance your ability to control who views your videos, keeping your content safe and exclusive.
Creating a YouTube Account

If you're looking to password protect your YouTube videos, the journey begins by creating a YouTube account. Don’t worry; the process is straightforward, and I’m here to guide you through it! Here’s how you can get started:
- Visit YouTube: Navigate to the YouTube homepage. If you already have a Google account, you can use that to sign in. If not, go ahead and create one!
- Create a Google Account: Click on the “Sign In” button at the top right corner. Here, you will see the option to create a new account. Follow the prompts, filling in your name, email, and a secure password.
- Verification: You may need to verify your new account using a phone number or an alternate email address. This step ensures security and is quite important!
- Set Up Your Profile: Once logged in, you can customize your profile. Add a profile picture and fill out a brief bio if you wish—this helps others connect with you!
- Explore YouTube Features: Before uploading videos, take some time to explore the platform. Familiarize yourself with its features, including playlists, channels, and community guidelines.
And there you have it! Creating a YouTube account is the first step in securely interacting with your video content, paving the way for you to upload and protect your videos as needed.
Uploading Your Video

Once your YouTube account is up and running, it’s time to upload your video! This is where the magic happens—let's dive into it!
- Click the Upload Button: On the YouTube homepage, find the camera icon with a "+" sign, often located at the top right corner. Click it, and select "Upload video."
- Select Your Video File: A window will pop up, allowing you to choose the video file from your device. Pick the one you wish to upload.
- Add Video Details: While your video is uploading, you can fill in the details such as:
- Title: Make it catchy!
- Description: Include keywords to help viewers find your video.
- Thumbnail: Upload a custom thumbnail if you have one; this makes your video more appealing.
And voila! You’ve successfully uploaded your video. With the right privacy settings, you’re now equipped to share your content securely with your select audience.
Setting Your Video to Private

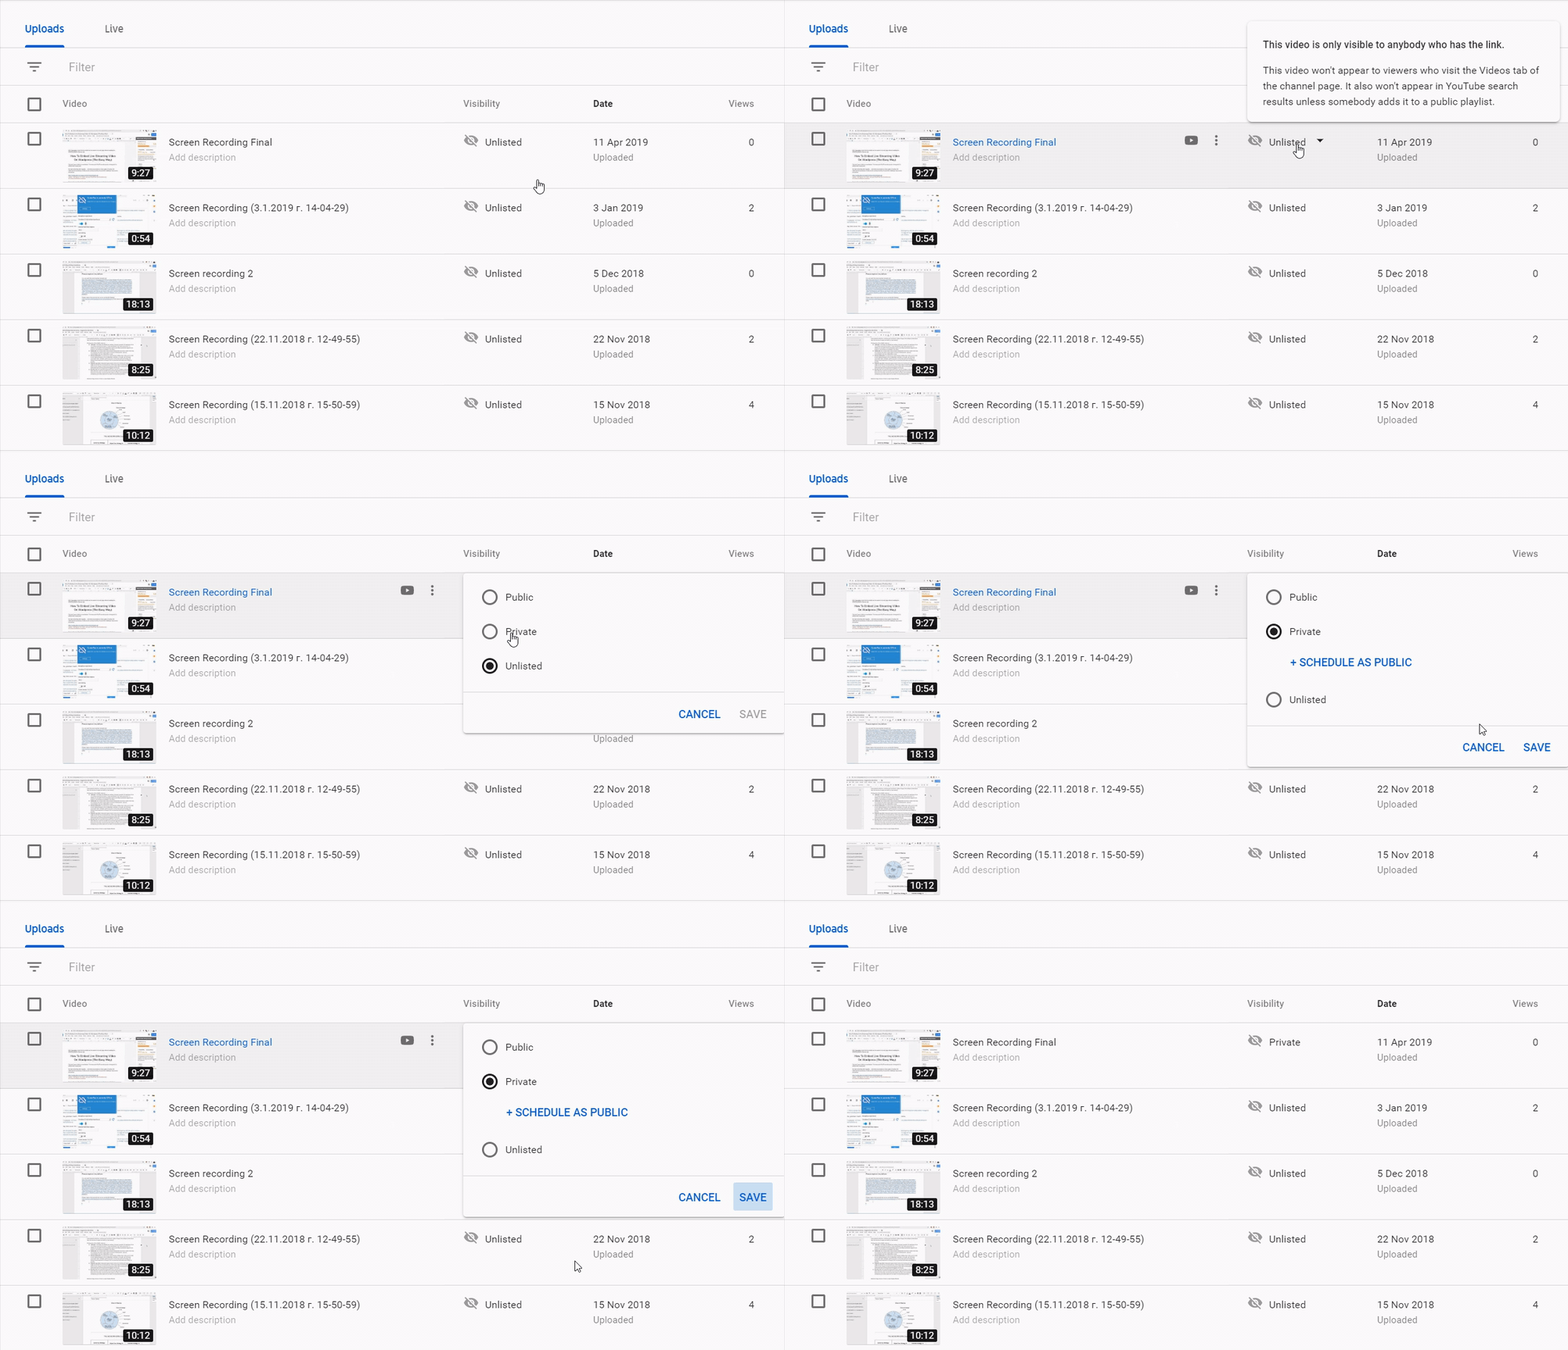
If you're looking to keep your YouTube video content strictly private, setting your video to "Private" is an effective way to do it. When a video is marked as private, only you (and the users you specifically invite) can view it. Here’s how to do it:
- Log in to your YouTube account.
- Go to the YouTube Studio.
- Select Content from the left-hand menu.
- Find the video you want to make private and click on its title.
- Under the video settings, find the Visibility section.
- Choose Private and hit Save to finalize the settings.
Remember, once a video is set to private, it cannot be found by anyone else on YouTube, and it won’t show up in search results.
However, note that you can share private videos with specific users. To do this:
- After selecting "Private," you will see an option to share the video with specific people.
- Click Add People and enter their email addresses. They will need a YouTube account to view the video.
- Hit Done to send them an invitation.
This flexibility allows you to control precisely who sees your content while keeping it away from the public eye.
Using Third-Party Services for Password Protection
If you’re seeking an extra layer of security for your YouTube videos, using third-party services can be a clever alternative. These services allow you to embed your YouTube videos on your website or another platform while adding password protection. Here are some popular options:
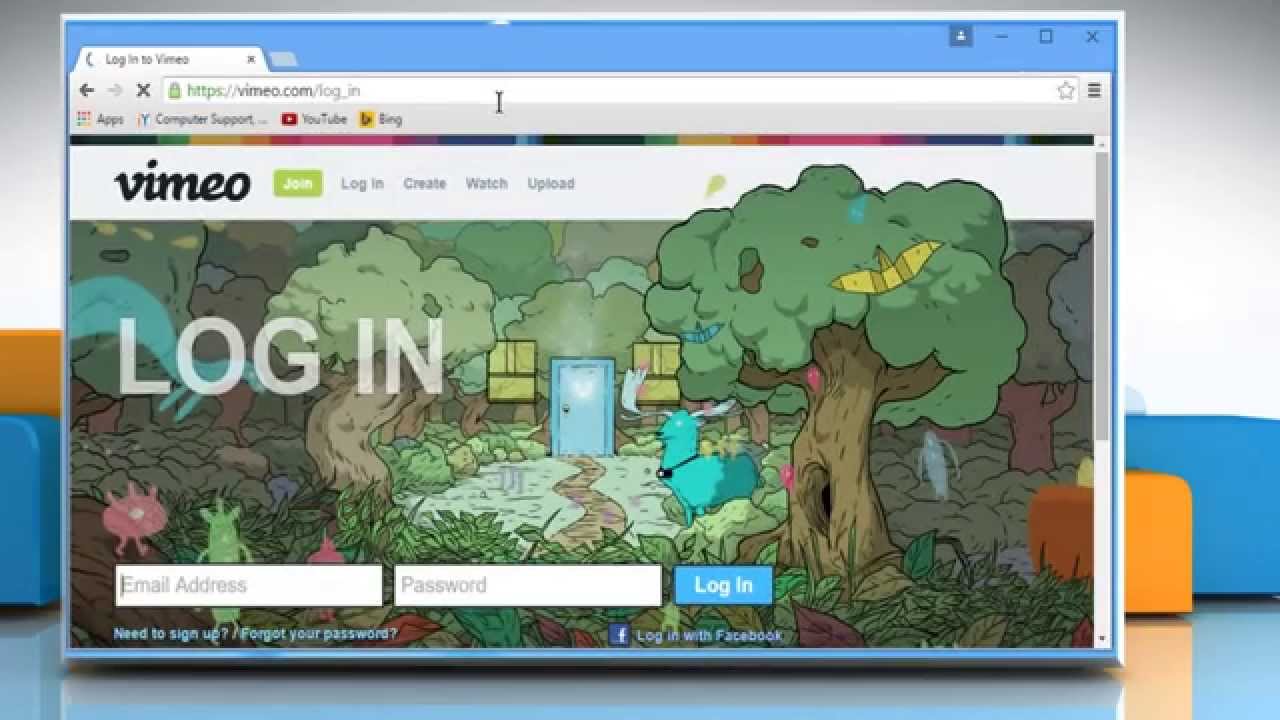
- Vimeo: With a paid account, you can upload your video and set a password for viewers. You can also control who can watch it.
- Wistia: This platform allows you to upload videos and add password protection. You can further customize the video player for branding.
- SproutVideo: Like the others, SproutVideo lets you secure your content with a password. It also offers detailed analytics for your video performance.
To password-protect your YouTube videos through any of these services, the general steps are:
- Upload your video to the chosen platform.
- In the video settings, find the password protection option.
- Set up a password and save your settings.
- Embed the video on your site or share the link with the intended viewers.
Using these services can enhance your privacy while providing viewers with a seamless experience. Remember, this may involve an additional cost, but if securing your content is a top priority, it’s worth considering!
7. Sharing Your Video Securely
Sharing your password-protected video on YouTube is a straightforward process, but it’s essential to do it securely to ensure that only authorized individuals have access. Here are some steps to consider when sharing your private videos:
- Use Passwords Wisely: When you set a password to restrict access, make sure it’s strong. This means using a mix of uppercase letters, lowercase letters, numbers, and symbols. Avoid easily guessable passwords like "1234" or "password."
- Share the Password Privately: Instead of sharing your password via public forums or in the open, consider using secure messaging apps or encrypted email services. This minimizes the risk of someone intercepting your password.
- Create a List of Authorized Viewers: Before sharing, make a list of who you want to give access to. This helps you keep track of who has permission and can prevent unauthorized sharing.
- Limit Sharing: Instead of sharing the link with everyone, consider using a secure sharing platform or tool that allows you to send links to just those on your authorized list. This adds another layer of security.
- Regularly Update Passwords: Periodically changing the passwords for your videos can help improve security. If a password is compromised, change it immediately and inform your trusted viewers of the new password.
By following these tips, you can ensure that your video is shared securely and remains accessible only to those you trust.
8. Conclusion
Protecting your YouTube videos with passwords is a fantastic way to maintain your privacy while sharing content with select individuals. Whether it's for family gatherings, educational purposes, or business projects, understanding how to safeguard your videos opens up a realm of possibilities for personal and professional sharing. Here’s a quick recap:
- Set Privacy Levels: Choose the right privacy setting - Unlisted or Private - to lay the groundwork for controlled access.
- Create Strong Passwords: Utilize a strong, unique password for each video.
- Share Securely: Use secure methods to share your videos and passwords only with authorized viewers.
- Regular Reviews: Periodically review your sharing settings and access lists to ensure that no one has access that shouldn’t.
By being proactive and careful, you can enjoy the benefits of sharing content while retaining control over who sees what. Start password protecting your videos today, and share knowledge, memories, or messages with peace of mind!
 admin
admin


