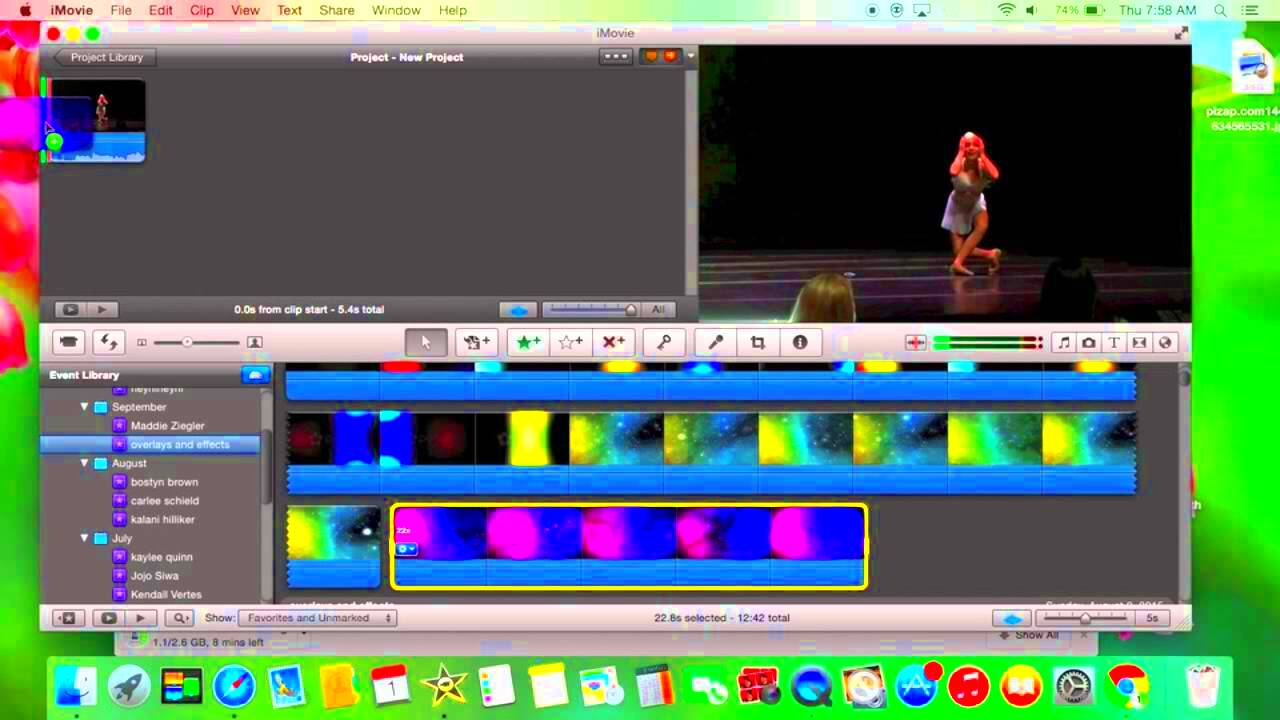
Overlaying images on iMovie is a great way to add a creative touch to your video projects. It allows you to combine different media elements like images, videos, and text in a seamless way. Whether you're working on a personal video or a professional project, image overlays can help enhance your visuals and storytelling. In this section, we will explore how image overlays work on iMovie and why they are such a useful feature for video editors of all skill levels.
Why Use Image Overlay in iMovie?
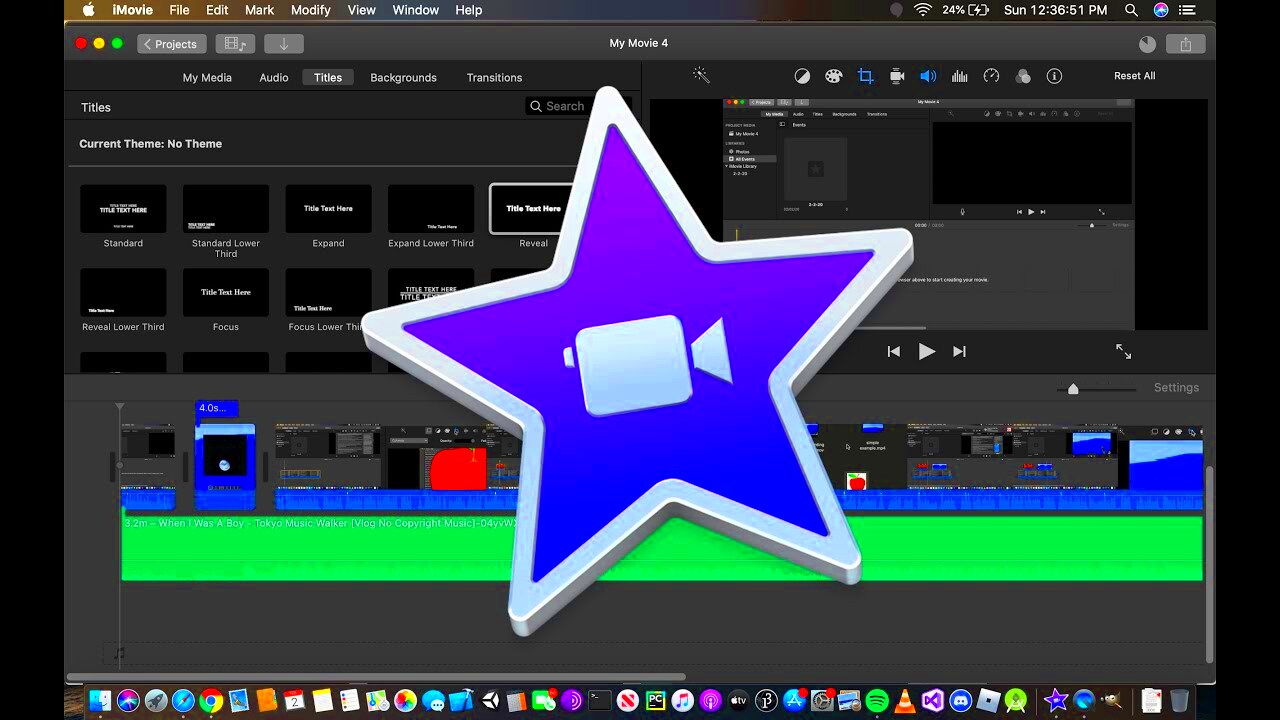
Using image overlays in iMovie can bring your video to life. Here’s why you should consider adding them to your next project:
- Visual Appeal: Images can add more detail and interest to your videos, helping to emphasize important moments or messages.
- Branding and Design: Overlaying logos, graphics, or watermarks onto your video helps with branding and creating a professional appearance.
- Creative Effects: You can use images for creative purposes, like adding backgrounds or textures, that complement your video’s theme.
- Layered Storytelling: Overlaying images can help tell a story by adding context, symbols, or additional content without interrupting the flow of the video.
Whether you want to highlight key points, show off your photography skills, or simply make your video stand out, image overlays can add depth and professionalism to your work. iMovie makes it easy to use this feature with just a few simple steps.
Also Read This: how do i rotate an image in lightroom
Steps to Overlay Images on iMovie
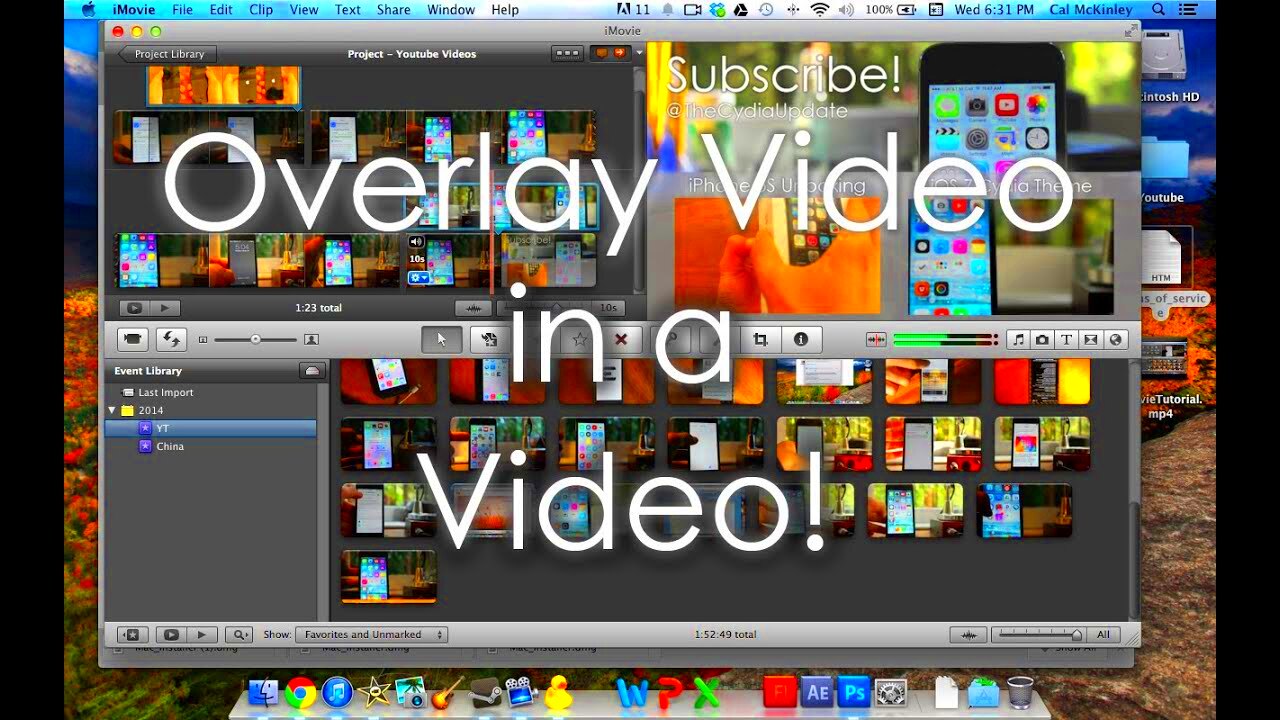
Now that you know why image overlays are useful, let’s walk through the steps to overlay images on iMovie. Follow these simple instructions to get started:
- Open Your Project: Start by opening iMovie and selecting the project you want to work on. If you don’t have a project yet, create a new one.
- Import Your Image: To add an image to your video, click on the “Import Media” button, select the image from your file system, and import it into your project.
- Drag Image to Timeline: Once the image is imported, drag it into the timeline above your video clips. This places it as an additional layer over your video.
- Select Picture-in-Picture (PiP) Option: After dragging the image to the timeline, click on the image in the preview window, then choose the “Picture-in-Picture” option from the toolbar. This will resize and position the image over your video.
- Adjust Image Position and Size: You can resize the image by dragging the corners or adjust its position by dragging it around the screen. Make sure it fits well within the frame.
- Apply Effects (Optional): iMovie offers several effects, such as fade-ins or shadow effects, to enhance your image overlay. You can apply these from the toolbar as well.
With these steps, you can easily overlay images on your iMovie project and create professional-looking videos in no time.
Also Read This: Can I Use iStock Photos on My Website
Choosing the Right Images for Your Video Projects
Choosing the right images is crucial for making your video look professional and engaging. Whether you're creating a tutorial, a music video, or a personal vlog, the images you overlay can either enhance or distract from your content. Here are some tips to help you choose the perfect images:
- Relevance: Always choose images that align with the theme and message of your video. For example, if you’re making a travel video, use images of destinations, landmarks, or activities related to your journey.
- Quality: The quality of your images matters. High-resolution images look sharp and professional, while low-resolution ones can appear blurry and unappealing. Try to use images with a resolution of 1920x1080 pixels for optimal results.
- Consistency: Make sure the style and tone of the images match the overall mood of your video. For instance, if your video has a vintage theme, use images with retro filters or a muted color palette.
- Contrast: The image you overlay should contrast well with your video content. This ensures it stands out, but doesn't overpower the main visuals. Adjust the transparency if needed to achieve this balance.
- Aspect Ratio: Ensure the aspect ratio of your images is appropriate for your video’s aspect ratio. If they don't match, you might have to crop or resize the image, which can affect its quality.
Choosing the right images requires thought and attention, but it can make all the difference in how your video is received. Pick images that enhance your storytelling and fit your project’s goals.
Also Read This: How to Get Permission to Use Getty Images
Adjusting Image Size and Position in iMovie
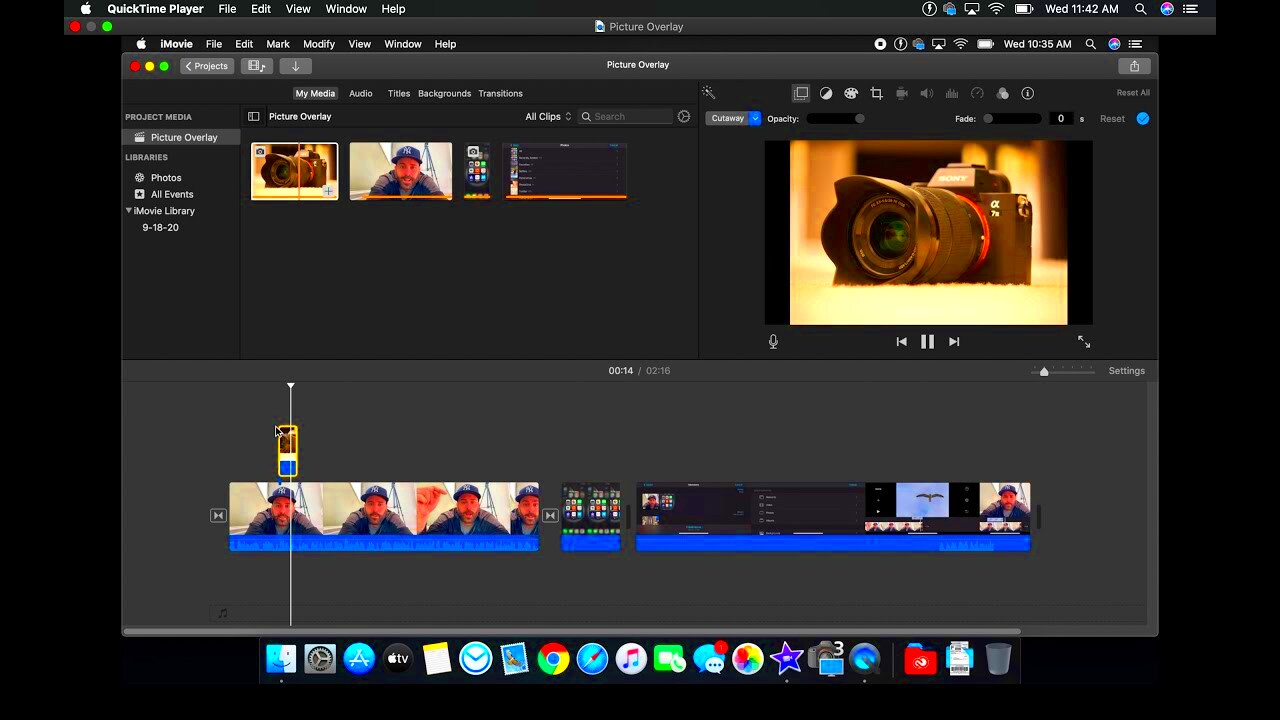
Once you've chosen the perfect image, it’s time to adjust its size and position in iMovie. Making sure the image fits well within the video frame is essential for creating a polished look. Here’s how to do it:
- Resize the Image: After adding the image to your timeline, click on it in the preview window. You’ll see handles around the image. Drag the corners to resize the image. Hold the Shift key while resizing to maintain the image’s aspect ratio.
- Position the Image: You can drag the image around the screen to place it where you want it. This could be in a corner, in the center, or along the edges of the frame. Make sure it doesn’t cover important parts of your video.
- Zoom In or Out: If you want to focus on a specific part of the image, you can zoom in or out. This can be done by dragging the image in or out from the center.
- Adjust for Video Ratio: Depending on your video’s aspect ratio, you may need to crop or scale the image. iMovie allows you to do this easily by selecting the image and adjusting the cropping tool.
- Aligning with Video Movement: If your video has movement (such as panning or zooming), you can make the image follow the same motion by keyframing. This ensures the image stays in place as the video moves.
Adjusting image size and position is simple but can drastically improve the visual balance of your video. Always preview your changes to make sure the overlay fits seamlessly with your video’s flow.
Also Read This: Importing Images in Onshape for Beginners
Adding Effects to Overlaid Images for Better Impact
Adding effects to your overlaid images can make them more dynamic and engaging. iMovie provides a range of effects that can be used to enhance your image overlays. Here’s how to take your image overlays to the next level:
- Picture-in-Picture Effects: This effect allows you to add a floating image over your video. Once the image is in place, you can adjust its size, position, and even add a border or shadow to give it a 3D effect.
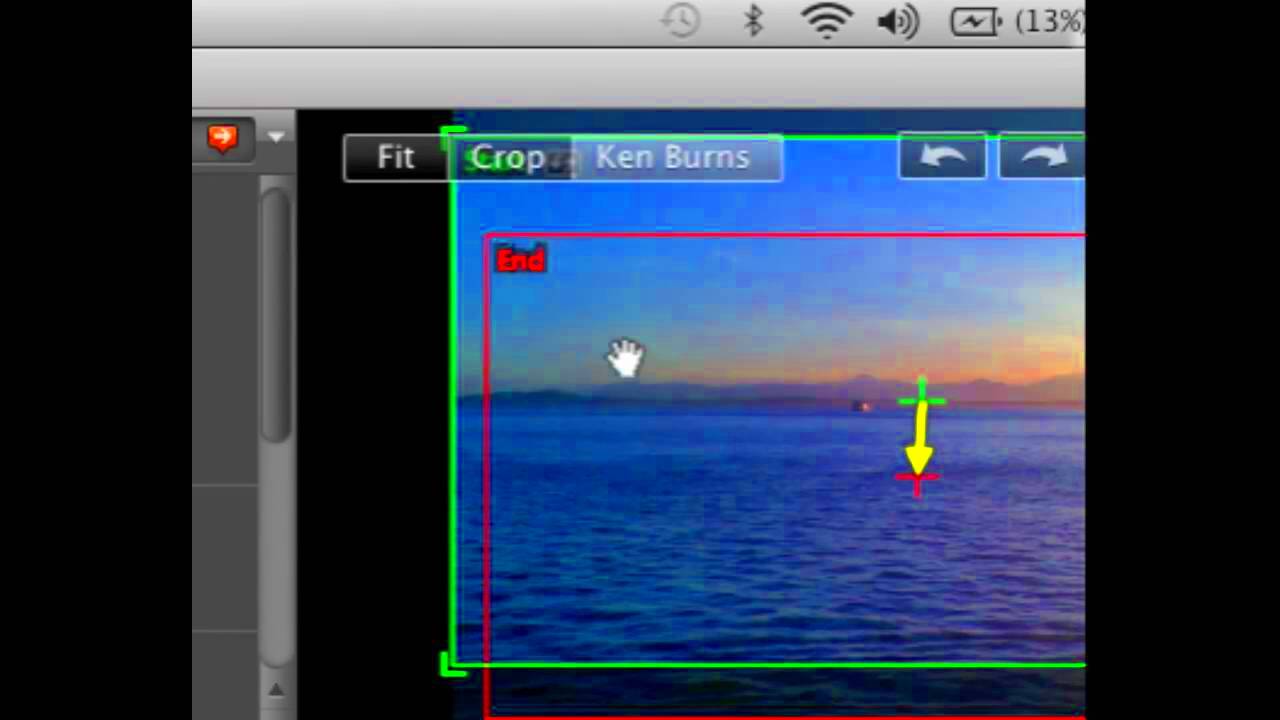
- Ken Burns Effect: The Ken Burns effect allows you to apply smooth zoom and pan animations to your images. This is great for adding motion to still images, giving them a more dynamic feel and helping them blend into your video smoothly.
- Fade-In/Fade-Out: Fading effects can make your image appear and disappear gradually. To apply this, select the image in your timeline, click on the “Transitions” button, and choose “Fade.” This works well for creating a softer, more cinematic look.
- Adjusting Image Opacity: Sometimes you may want the image to appear more subtle. You can adjust the opacity of your image to make it semi-transparent, allowing the video to show through slightly. This is useful when you want the image to complement rather than dominate the scene.
- Drop Shadow: Adding a drop shadow to an image can make it stand out more by creating a sense of depth. In iMovie, this can be done through the “Video Overlay Settings” and adjusting the shadow options.
- Color Grading: Apply color effects or filters to your images to match the tone of the rest of your video. You can adjust brightness, contrast, and saturation to create a cohesive look across your entire project.
With these effects, you can easily elevate your image overlays, making them more visually engaging and in harmony with your video’s tone. Experiment with different combinations to find what works best for your project.
Also Read This: Download Vimeo Video to Mp4 in Less Than a Minute Following These Steps
Common Issues When Overlaying Images and How to Fix Them
When overlaying images in iMovie, you might encounter a few issues that can affect your video’s quality or your editing experience. These problems are usually easy to fix once you know what to look for. Here are some common issues and how to solve them:
- Image Not Showing Up: If your overlay image doesn’t appear, ensure it’s properly added to the timeline. Make sure the image track is above the video track. If it’s still missing, check if the image is transparent or has been mistakenly hidden.
- Image Out of Proportion: Sometimes, images appear stretched or squished after being resized. To fix this, hold the Shift key while resizing the image to maintain its aspect ratio. Also, check the crop settings to ensure the image is properly aligned.
- Image Doesn’t Fit Screen: If the image is too big or too small for the screen, you can manually resize it. Click on the image in the preview window, and drag the corners to adjust the size. If you need the image to cover the entire screen, use the “Crop to Fill” option.
- Image Blocking Important Content: If the image is covering too much of the video, you can adjust its position. Simply drag the image to a different part of the screen, like a corner, to ensure it doesn’t obscure important details in the video.
- Low-Quality Images: Low-resolution images can make your video look unprofessional. Always use high-resolution images (preferably 1920x1080) to avoid pixelation. If the quality of the image is already low, try replacing it with a better version or adjusting the image’s opacity to make it blend in.
These issues are common when overlaying images on iMovie, but they are usually easy to fix with just a few adjustments. Always check the image quality and placement to ensure your final video looks smooth and professional.
Also Read This: Mastering the Art of Selling Video and Photos to Getty to Expand Your Reach as a Contributor
Tips for Creating Stunning Video Projects with iMovie
iMovie is a powerful tool that can help you create stunning video projects, whether you’re a beginner or an experienced editor. With the right approach, you can enhance your videos and take your editing skills to the next level. Here are some helpful tips:
- Plan Your Video Ahead: Before you start editing, plan your video’s structure and story. Having a clear idea of what you want to achieve will save you time and make the editing process much easier.
- Use High-Quality Footage: Good video footage is essential for a professional-looking video. Always try to shoot in high resolution and ensure proper lighting to avoid grainy or dark clips.
- Experiment with Transitions: Smooth transitions can make your video flow better. Don’t overuse them, but apply subtle transitions between scenes to maintain a natural flow. iMovie offers several options like fades, slides, and wipes.
- Utilize Audio: Music and sound effects can add depth to your video. Use background music that complements your content and add sound effects where appropriate. iMovie allows you to adjust audio levels to balance background music and voiceovers.
- Incorporate Text and Titles: Adding text and titles to your video can help convey important messages or information. iMovie offers various text styles, which you can customize for your project’s look and feel.
- Color Grading: Adjusting the color of your footage can dramatically change the mood of your video. iMovie has built-in color correction tools that allow you to modify brightness, contrast, and saturation to fit the overall tone of your video.
- Keep It Simple: While it’s tempting to add a lot of effects, keep it simple. Too many effects can overwhelm your audience. Focus on the story and only use effects that enhance your message.
By following these tips and experimenting with different features in iMovie, you can create visually appealing and engaging video projects that stand out. The key is to practice, learn the tools, and stay creative!
Also Read This: Understanding YouTube Blurriness and How to Fix Video Quality Issues
FAQ
Q: How do I resize an image in iMovie?
To resize an image, click on the image in the preview window, and drag the corners to adjust the size. Hold the Shift key while resizing to maintain the image's aspect ratio.
Q: Why is my image blurry when I overlay it in iMovie?
This usually happens if you use a low-resolution image. To avoid this, use high-resolution images (1920x1080 pixels or higher) to maintain sharpness.
Q: Can I add text to an image overlay in iMovie?
Yes, you can add text to an image overlay in iMovie. After placing the image on the timeline, select the “Titles” option from the toolbar and drag your preferred text style onto the image.
Q: How can I add a shadow to my image overlay?
To add a shadow, select the image, click on the “Video Overlay Settings” in the preview window, and adjust the shadow options. You can change the shadow's size, angle, and opacity.
Q: Can I use image overlays in all iMovie projects?
Yes, image overlays are available in all iMovie projects. You can add them to any video project as long as the project supports video and image layers.
Conclusion
Overlaying images on iMovie is an excellent way to enhance your video projects, whether for personal or professional use. By following the steps outlined in this guide, you can easily add images, adjust their size and position, and apply creative effects to make your video more engaging. Remember to choose the right images that align with your video’s theme, maintain good resolution, and use effects that complement your footage. With practice, you can master the art of image overlay and create visually stunning videos that stand out. Keep experimenting and have fun with your editing process!
