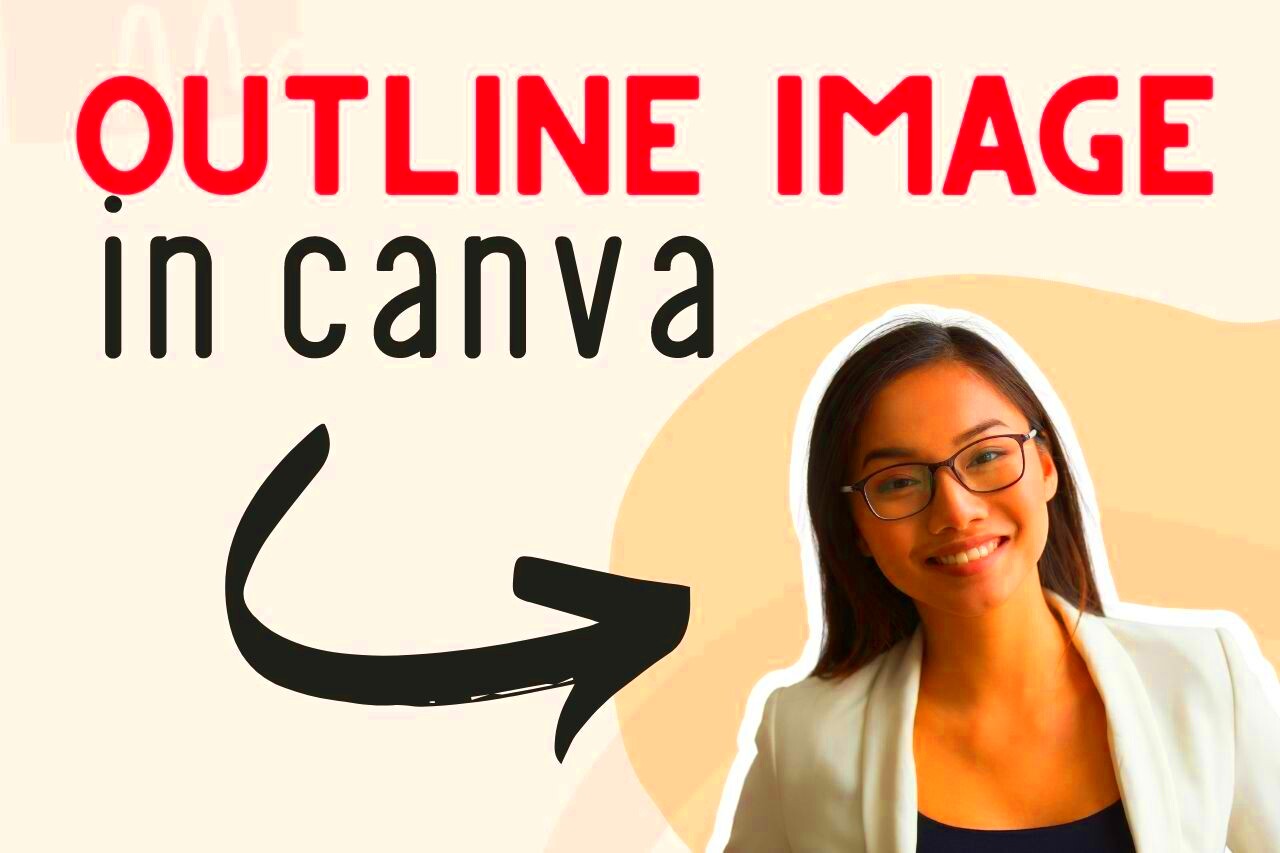
You are being taught on information until October 2023.In Canva, to outline an image can improve your design and make it more prominent. Whether you are putting together some social media posts, presentations or any marketing material, a well-defined outline can help you achieve a professional look. In this guide, we will show you how to create an outline by walking you through the various tools and techniques available in Canva. You don’t necessarily have to be good at graphic designing; just follow the simple steps here and soon enough, you will be outlining images like a professional!
Steps to Create an Outline for an Image

Making a layout for an image on Canva is not hard at all. Just follow these steps:
- Select the image you want to outline.
- Click on the “Effects” option in the top menu.
- Choose the “Outline” effect.
- Adjust the outline settings to your preference.
- Finalize your design by saving or exporting your work.
For all your Canva projects, so simple are these steps to outline any image in a stunning way.
Also Read This: How to Get iStock Photos Without Spending
Using the Border Tool for Outlining
Canva’s Border Tool is a useful function which makes it quick and easy to put a boundary around your pictures. Follow these steps to use it:
- Click on your chosen image to select it.
- Go to the “Elements” tab in the left sidebar.
- Search for “borders” or scroll through the options available.
- Select a border style that fits your design.
- Adjust the border's size, color, and placement around your image.
Border Tool User Guide:
- Experiment with different border styles to find what works best.
- Combine borders with other design elements for a unique look.
- Consider using contrasting colors to make your outline pop.
You have been prepared for recognizing information until the month of October 2023.
Also Read This: How to Create a 3D Image from a 2D Image: A Step-by-Step Guide
Adjusting Outline Thickness and Color
After incorporating a contour into the picture you are working on with Canva, there may arise a need to modify its thickness and paint it differently in order for it to blend properly into the design. This can easily be done and will drastically change the final appearance. To begin, do the following:
- Select the outlined image.
- Click on the “Effects” option from the top menu.
- Find the “Outline” settings where you can adjust thickness.
- Use the slider to increase or decrease the thickness.
- Select the color box to choose a new outline color.
*Hints on Adjusting Outline Thickness and Color:*
- Thicker outlines can help your image stand out more, especially on busy backgrounds.
- Choosing a color that contrasts with your image can draw attention effectively.
- For a subtle look, opt for lighter colors or a thin outline.
Just right thickness and colour can beautify your portrait without overshadowing its importance so try and see until you get the actual equilibrium!
Also Read This: how to find image of matrix
Using Shapes to Create a Custom Outline
Choosing using shapes for making a personal outline might sound strange but it can actually be fun if you are looking for some creative options. Moreover, this method offers one-of-a-kind designs which make a difference in the quality of your work. It is very simple and here’s how you can achieve this:
- Go to the “Elements” tab in Canva.
- Select a shape that you want to use as an outline, such as a rectangle or circle.
- Resize the shape to fit around your image.
- Change the shape's color to match your design.
- Send the shape to the back so it sits behind your image.
Personalized draft strategies:
- Combine multiple shapes for a more intricate outline.
- Experiment with transparency settings to create depth.
- Consider using shapes with different patterns or textures for added flair.
This approach provides you with the freedom to make an unmatched appearance that is a real manifestation of your personal taste and outlook.
Also Read This: How to Slice Images on Cricut for Craft Projects
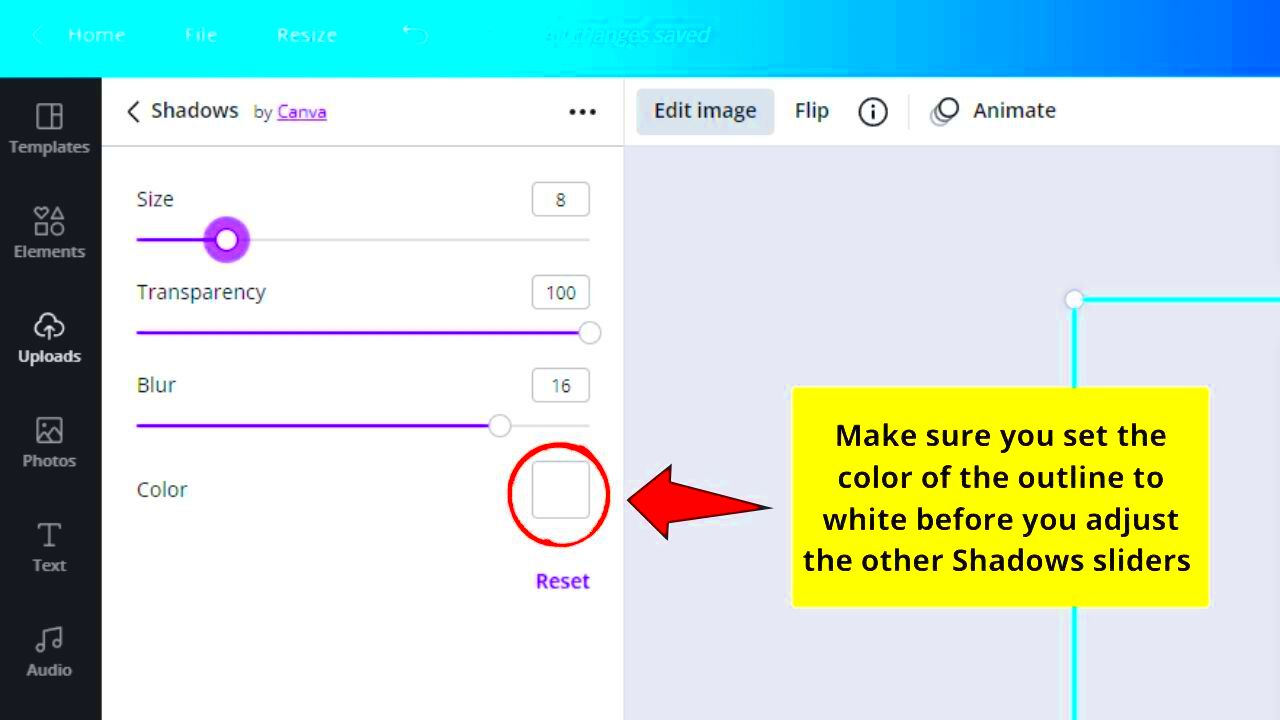
Adding Effects to Enhance the Outline
You will find that an outline with effects will elevate your design to new heights. Transform your outline into a lively and attractive piece by adding shadows, glows or blurs among other effects. Here is how you can do it in Canva:
- Select the outlined image.
- Click on the “Effects” button in the top menu.
- Choose an effect like “Shadow” or “Glow.”
- Adjust the settings such as opacity, blur, and color.
- Preview the changes and make adjustments as needed.
Things to keep in mind:
- Drop Shadow: Adds depth and makes the image pop.
- Glow: Creates a soft halo effect around the outline.
- Blur: Softens the outline for a more subtle look.
Effectually enhancing outlines can provide that stylish touch for consistency with design. Experimenting on various effects would yield different but better results on your project!
Also Read This: How to Copy an Image from a PDF for Easy Editing
Common Mistakes to Avoid When Outlining
One of the common mistakes to avoid while outlining images in Canva is the quality of your design. Therefore, here are some of the traps that you need to proceed with caution on if at all you want to achieve a sleek and professional appearance:
- Choosing the Wrong Color: Selecting an outline color that clashes with the image or background can make your design look messy. Always opt for colors that complement each other.
- Using Too Thick an Outline: While a thick outline can be eye-catching, if it’s too bold, it can overpower the image. Find a balance that enhances rather than distracts.
- Neglecting Alignment: Make sure your outline aligns properly with your image. Misalignment can make your design look unprofessional.
- Forgetting to Preview: Always preview your design before finalizing it. This allows you to spot any errors or areas that need adjustment.
- Overcomplicating the Design: Sometimes, less is more. Adding too many effects or layers can clutter your design. Stick to a clean, simple approach.
They will lead to well polished outlines and thus effective ones enhancing your overall design.
Also Read This: Making Images Transparent in Google Slides
FAQ About Outlining Images in Canva
You know how it is, one thing can lead to another. Below are some commonly asked questions to kick off your journey into outlining images using the Canva tool:
1. Can I outline any image in Canva?
In Canva, a good number of images are capable to be outlined. All you need to do is select the image and apply any of the outline tools available.
2. How do I change the outline color?
The color of outline can be altered by selecting the image you wish to use, and then navigating to the “Effects” tab where you’ll find several options under outline settings.
3. Is there a way to undo changes if I don’t like the outline?
Absolutely! Canva has an undo feature. You can press Ctrl + Z (or Cmd + Z on a Mac) to revert changes.
4. Can I save my outline as a template?
Canva lets you keep a loved outline template for future use once it is done.
5. Are there any specific file types I should use for images I want to outline?
Canva supports various image formats like PNG, JPG and it also supports SVG which can be outlined.
These FAQs answer some frequently asked questions that will assist you in making an outline using Canva faster.
Conclusion and Final Tips for Outlining Images
Canva is a powerful tool for outlining images. It's easy but very effective in enhancing your design. If you want to make your pictures stand out, try these simple techniques and practice a little bit:Do note this in conclusion:
- Experiment with Different Styles: Don’t hesitate to try various outline styles and effects to find what resonates with your design vision.
- Stay Consistent: Ensure your outline styles are consistent across your project for a unified look.
- Keep Learning: Canva offers many resources and tutorials, so continue exploring new techniques and features to improve your skills.
- Seek Feedback: If you’re unsure about your design, ask for feedback from friends or colleagues. Fresh eyes can offer valuable insights.
If you want to create awesome outlines that will take your Canva projects to the next level, make sure to stick to these ideas while at the same time avoiding some of the common errors people make. Enjoy designing!
 admin
admin


