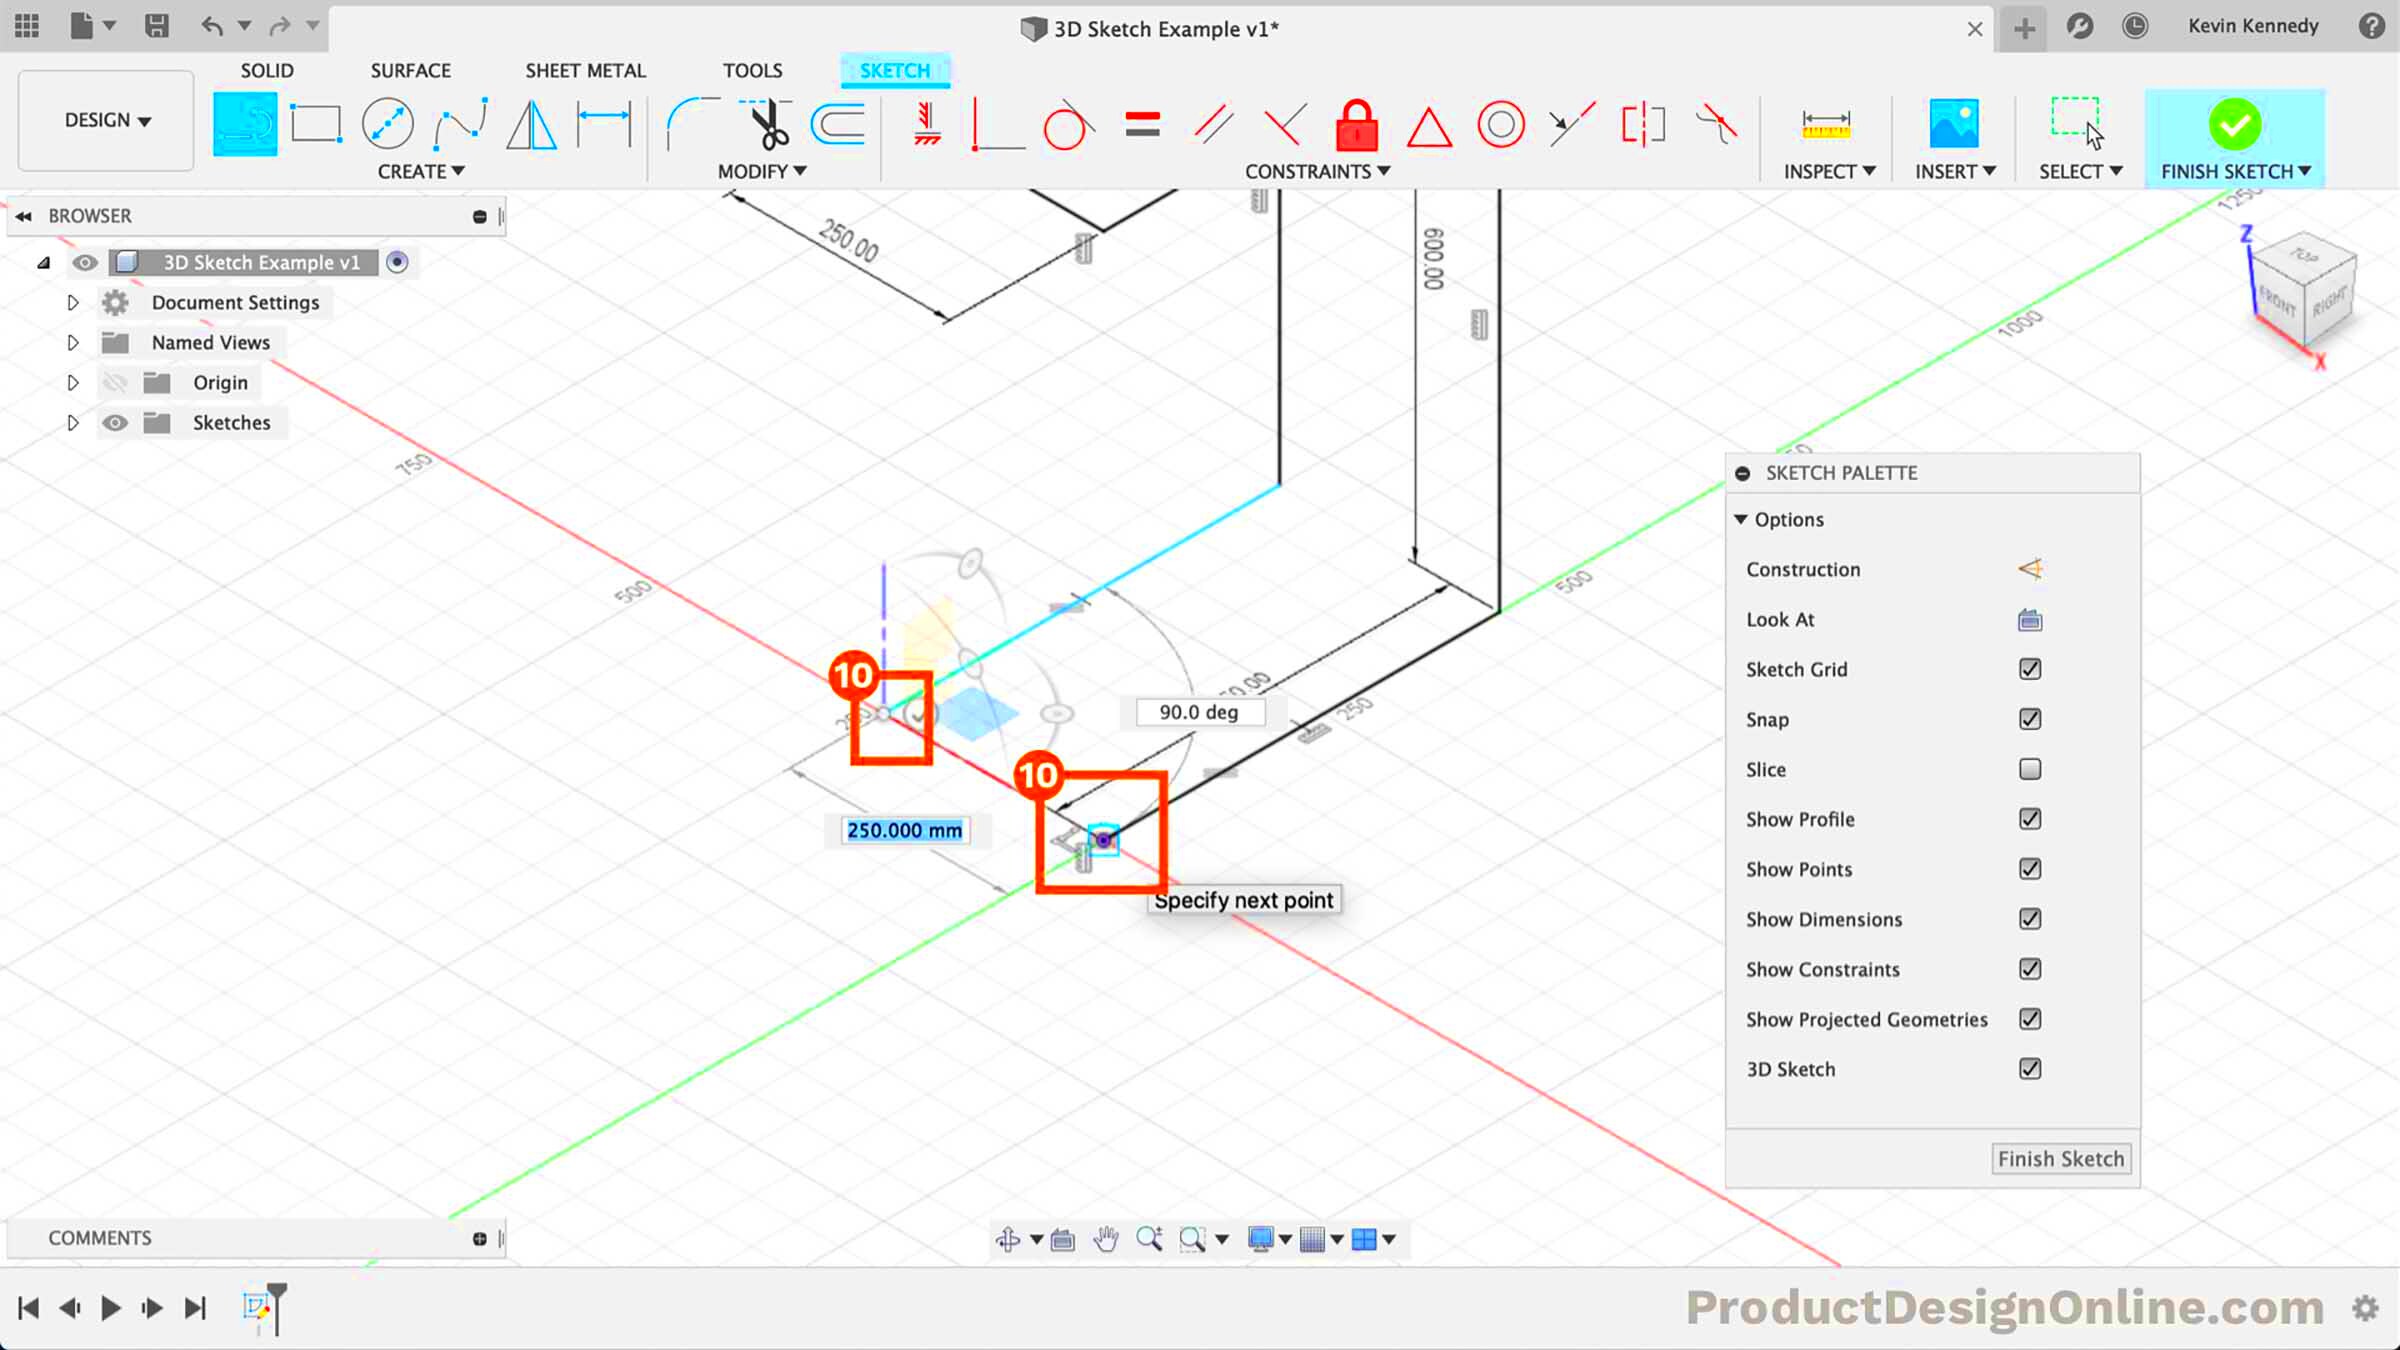
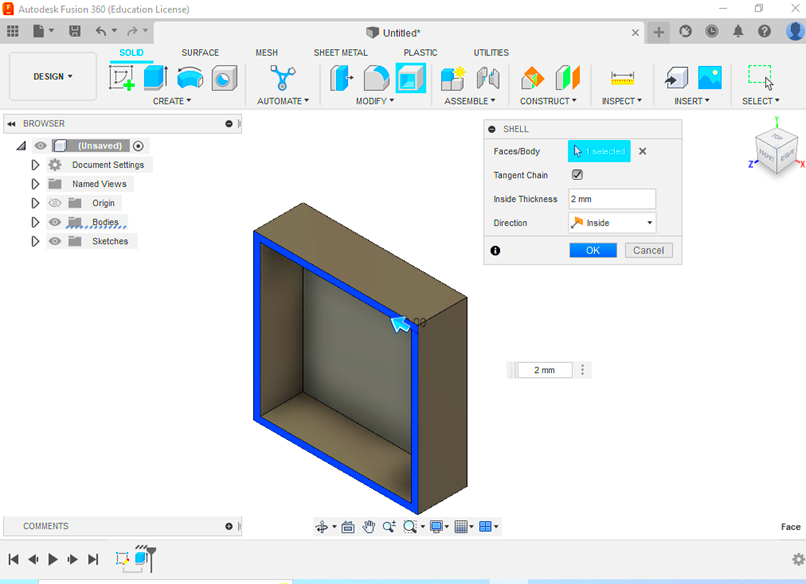
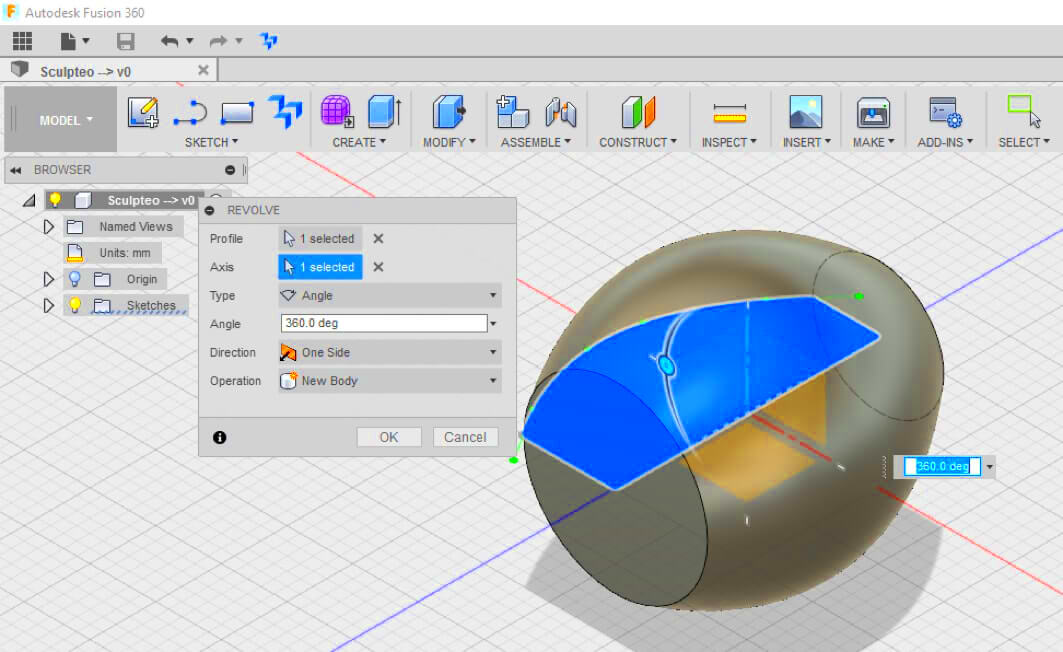
When working on 3D design projects in Fusion 360, one of the most helpful tools is the image plane. An image plane acts as a reference to guide your design, allowing you to accurately trace or model based on a real-world
Understanding how to open and manage image planes in Fusion 360 is essential for creating designs that are both accurate and professional. In this guide, we’ll walk you through the process step by step so you can get the most out of this feature in your 3D modeling projects.
Step by Step Guide to Opening an Image Plane in Fusion 360

Opening an image plane in Fusion 360 is a straightforward process. Here’s how you can do it in a few easy steps:
- Step 1: Start a New Project - Open Fusion 360 and create a new project or open an existing one where you want to add the image plane.
- Step 2: Select the 'Insert' Option - In the top menu bar, find and click on the 'Insert' menu.
- Step 3: Choose 'Canvas' - From the 'Insert' drop-down, select the 'Canvas' option. This is where you can add an image to use as your reference plane.
- Step 4: Upload the Image - You will be prompted to browse your computer and select the image you want to use as your reference.
- Step 5: Position the Image - Once the image is uploaded, you can position it on the desired plane (XY, YZ, or XZ) and adjust the scale to match your design requirements.
That’s it! With these steps, you’ll have your image plane set up and ready to guide your 3D modeling efforts in Fusion 360.
Also Read This: See How to Delete Rejected Photos from Shutterstock
Choosing the Right Image for Your Project

Choosing the right image for your 3D design project is key to ensuring accuracy and efficiency. A good image will act as a reliable reference, helping you model with precision. Here are a few tips to help you choose the right
- High Resolution: The higher the resolution, the better. High-quality images ensure that the details are clear, which is crucial for accurate modeling.
- Proper Orientation: Make sure your image is oriented correctly for the plane you are working with. You may need to adjust it later, but it’s easier to start with a well-aligned image.
- Simple Background: Images with minimal background clutter make it easier to focus on the object you are modeling, reducing distractions.
- Consistency: If you’re working with multiple images (e.g., front, side, and top views), ensure they are consistent in scale and perspective.
Here’s a quick checklist to keep in mind when selecting your image:
| Factor | Recommendation |
|---|---|
| Resolution | High, clear images (avoid blurry photos) |
| Orientation | Proper alignment for the plane |
| Background | Minimal clutter for better focus on the object |
| Perspective | Ensure views are consistent for all reference images |
By following these tips, you’ll ensure that your image is suitable for use as a reference in Fusion 360, helping you create precise and professional 3D designs.
Also Read This: Learn to Make a Traditional Patang Kite with Dailymotion Tutorials
Adjusting the Image Plane Settings in Fusion 360
Once you've imported your image plane into Fusion 360, the next step is adjusting it to suit your project needs. Getting the image in the right position and scale is essential for accurate modeling. Luckily, Fusion 360 provides various settings and tools to help you customize your image plane to your specifications. This step can make all the difference when you're trying to align your model with precision.
Here’s a quick guide on how to adjust the settings:
- Positioning: Use the 'Move' tool to reposition your image on the desired plane. You can drag it to the correct location or input specific values for precise placement.
- Scaling: Adjust the size of the image to match the scale of your 3D design. You can scale the image proportionally by dragging the corner handles or inputting specific dimensions.
- Rotation: If the image isn't aligned properly, use the 'Rotate' tool to adjust its orientation. This is particularly useful when working with images that need to be rotated to match the model’s axis.
- Opacity: Adjust the opacity of the image to make it more or less transparent. A lower opacity makes the image more of a faint guideline, which is useful for tracing over it without distractions.
- Visibility: Control when your image is visible by turning the canvas visibility on or off. This can be helpful when switching between different views or focusing on a specific area of the design.
With these settings, you can easily tailor the image plane to fit your project, making it an effective tool in your Fusion 360 workflow.
Also Read This: Get to Know What Type of Photos Sell Best on Shutterstock
Common Issues When Working with Image Planes
While working with image planes in Fusion 360 can be straightforward, there are a few common issues that users may encounter. These problems can slow down your workflow or cause your designs to lose accuracy if not addressed properly. Understanding these potential pitfalls and how to fix them can save you time and frustration.
Some of the most common issues include:
- Incorrect Scaling: Sometimes, the image might not match the scale of your 3D model. To fix this, ensure you’re scaling the image correctly relative to your model, either by resizing the canvas in Fusion 360 or by adjusting the scale settings.
- Misaligned Image: If your image isn't aligned properly with the model, it can lead to inaccurate modeling. You can easily adjust this by repositioning the image using the 'Move' tool, or rotating it to match the desired plane.
- Low-Resolution Images: Using low-resolution images can make it difficult to trace fine details. Always use high-resolution images to get the best possible result, especially when working with intricate designs.
- Background Clutter: Images with a lot of background noise or unnecessary elements can be distracting. Consider cropping or editing the image before importing it into Fusion 360, or use the opacity setting to reduce the background’s prominence.
- Opacity Issues: If the image is too opaque or not visible enough, it can make tracing or referencing difficult. Adjust the opacity slider to find the right balance between visibility and subtlety.
By addressing these common issues, you can make your experience with image planes in Fusion 360 much smoother and more efficient.
Also Read This: How to Change a YouTube Video from Short to Regular Upload
Best Practices for Using Image Planes in Fusion 360
Using image planes effectively in Fusion 360 can greatly improve your 3D modeling process. When you make the most of this feature, it can help you create more accurate, realistic models. Here are some best practices that will ensure you’re using image planes to their full potential:
- Use High-Quality Images: Always work with high-resolution, clear images to ensure that you can see the details needed for precise modeling. A blurry image will only make the process harder.
- Set Multiple Views: If you’re working on a complex object, consider setting up multiple image planes from different angles (e.g., front, side, top) to help you visualize the design from all perspectives.
- Align the Image Correctly: Ensure that your image is positioned accurately on the correct plane (XY, YZ, or XZ). Misalignment can lead to issues when you start tracing or designing your 3D model.
- Use Opacity to Your Advantage: Set your image’s opacity low enough that it doesn’t interfere with your 3D model but high enough that you can still see the reference. Adjusting the opacity gives you more control over how the image interacts with your design.
- Check Scaling Regularly: Keep an eye on the scale of your image. It should always match the scale of your 3D design to avoid discrepancies in size and proportions.
- Use the Canvas Tool for Clarity: The canvas tool allows you to manage multiple image planes easily. You can turn on or off specific images depending on which view you need to focus on, keeping your workspace clean and organized.
By following these best practices, you’ll be able to make the most of image planes and ensure that they help rather than hinder your Fusion 360 design process. With the right images and settings, your workflow will be more efficient, and your 3D models will be more accurate.
Also Read This: What Should I Shoot for Shutterstock? Tips for Capturing Marketable Images
FAQs About Using Image Planes in Fusion 360
When using image planes in Fusion 360, users often have some common questions about the process. Understanding the answers to these frequently asked questions can help streamline your workflow and prevent issues while working on your 3D designs. Below are some of the most commonly asked questions regarding image planes in Fusion 360.
- What types of images can I use for image planes in Fusion 360?
You can use various image file types, such as JPG, PNG, and TIFF. Make sure the image is high resolution for the best results in your 3D design. - How do I adjust the size of the image plane?
You can adjust the size by selecting the image plane in the canvas menu and using the scaling handles or by inputting specific values in the size settings to match your design. - Can I use multiple image planes at once?
Yes! Fusion 360 allows you to insert multiple image planes for different views (top, front, side, etc.) to help with detailed 3D modeling. You can control their visibility using the canvas settings. - Why does my image look distorted after inserting it?
Distortion can happen if the image’s aspect ratio doesn’t match the scale or dimensions of your design. Make sure to scale the image properly to avoid this issue. - Can I edit the image once it's in Fusion 360?
Once the image is in Fusion 360, you cannot directly edit it. However, you can reposition, rotate, or adjust the opacity of the image to suit your needs. - What if my image is too large or too small?
You can resize the image plane using the 'Scale' option or move it closer or further from the model to fit your desired scale and workspace.
Conclusion and Final Thoughts
In conclusion, using image planes in Fusion 360 is an incredibly valuable tool for 3D modeling, especially when precision is key. By selecting high-quality images, adjusting the image settings, and following best practices, you can greatly enhance the accuracy and efficiency of your designs. Whether you're a beginner or an experienced user, image planes are a helpful reference that can make your Fusion 360 workflow smoother. With the tips and answers provided here, you're ready to start using image planes with confidence to take your 3D modeling to the next level.


