Microsoft Word allows you to add and move images within your documents, which can help improve the visual appeal of your content. Whether you're designing a report, a presentation, or just creating a visually engaging letter, knowing how to move images around in Word can be a useful skill. By mastering this technique, you can place your images exactly where you want them, enhancing the layout of your document.
In this guide, we will walk you through the process of moving images in Word, so you can create professional-looking documents with ease. Let’s get started!
Why You Might Want to Move Images in Word

There are several reasons you might need to move images in a Word document:
- Document Layout: Moving images allows you to better organize your content and make it visually appealing.
- Flow of Text: By adjusting image placement, you can ensure that text flows smoothly around your visuals, improving readability.
- Design and Presentation: Images positioned correctly can help emphasize important points and make your document stand out.
- Space Management: Sometimes, you need to move images to free up space for more text or to fit everything neatly onto a page.
Being able to move images effectively helps make your Word documents more polished and professional, whether you're creating a report for work or a personal project.
Steps to Move an Image in Word

Moving images in Word is simple once you know the basic steps. Follow the process below to reposition your images easily:
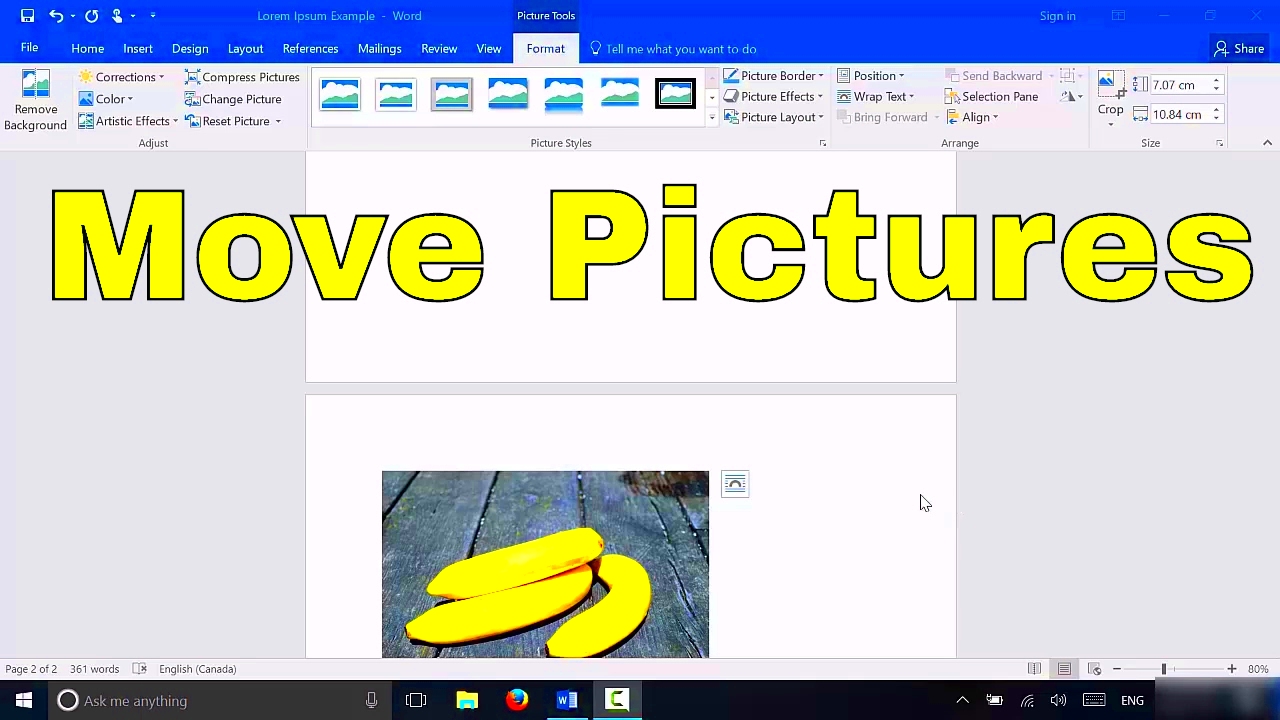
- Click on the Image: First, click on the image you want to move. A box will appear around the image with handles on the corners and sides.
- Drag and Drop: To move the image, hover your mouse over the image until the cursor turns into a 4-way arrow. Then, click and hold the left mouse button while dragging the image to the desired location.
- Release the Mouse Button: Once you’ve positioned the image, release the mouse button to place it in the new spot.
- Using the Arrow Keys: For finer adjustments, you can use the arrow keys on your keyboard to nudge the image into place.
These steps allow for easy and precise image movement. However, if you need more control over how the image interacts with text, you can adjust the text wrapping settings, which we’ll cover next.
Using Drag and Drop to Move Images

One of the simplest and most intuitive ways to move an image in Word is by using the drag-and-drop method. This technique allows you to quickly reposition an image by dragging it with your mouse. If you're familiar with how dragging works on your desktop or other software, you'll find this method just as easy in Word.
Here’s how to use drag and drop effectively:
- Click on the Image: Start by clicking on the image you want to move. You’ll notice a border with small handles appear around the image.
- Drag the Image: Place your cursor over the image until it turns into a 4-way arrow. Then, click and hold the left mouse button while you drag the image to the new position.
- Drop the Image: Release the mouse button when the image is in the correct location.
This method works well for basic image placement. However, if you need more control over the layout or want the text to interact with the image in a specific way, you may want to explore additional options, such as adjusting text wrapping. But for quick moves, drag and drop is fast and effective!
How to Use Text Wrapping for Easier Image Movement
Text wrapping is a feature in Word that allows you to control how text flows around an image. By adjusting the text wrap settings, you can make it much easier to move an image while keeping your document’s text layout intact. This is especially useful when you're working with larger images or want the text to neatly wrap around the
Here’s how to use text wrapping for better image movement:
- Click on the Image: Select the image you want to move.
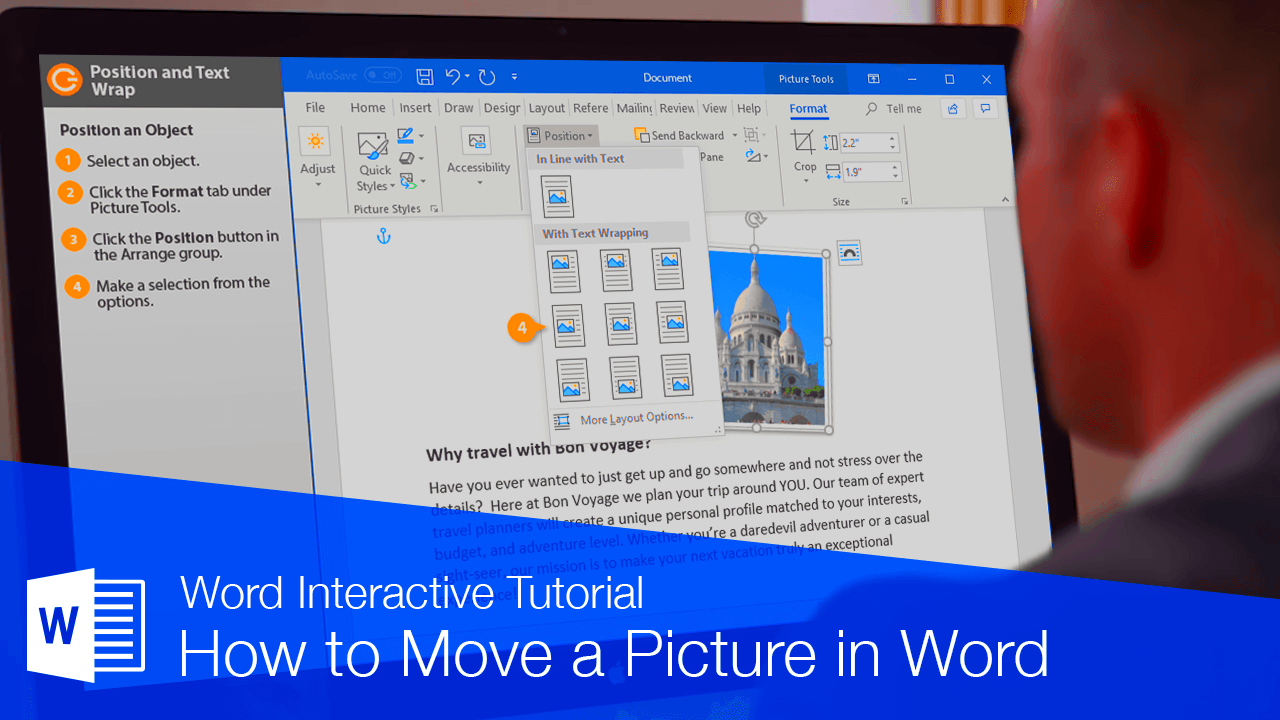
- Go to the Format Tab: On the toolbar at the top of Word, click on the “Format” tab to open the image formatting options.
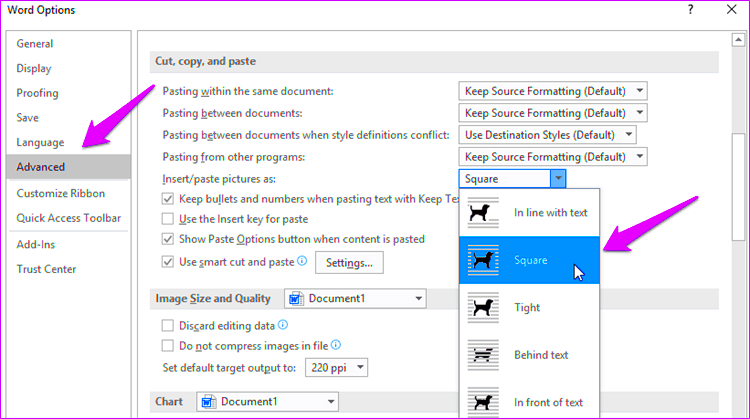
- Choose Text Wrapping: In the “Arrange” section of the Format tab, click on “Wrap Text.” A menu will appear with different wrapping options, such as:
| Text Wrapping Option | Effect |
|---|---|
| In Line with Text | The image will behave like text, sitting on the same line as your paragraph. |
| Square | The text wraps around the image in a square or rectangular shape. |
| Tight | The text wraps closely around the edges of the image. |
| Behind Text | The image will appear behind the text, allowing the text to flow over it. |
| In Front of Text | The image will sit above the text, covering it if necessary. |
Once you select the text wrap style, you’ll find it much easier to drag the image around without disrupting the text flow. For instance, using the "Square" or "Tight" options allows the image to stay within the text while still being able to move freely.
Resizing and Adjusting Images Before Moving
Before you move an image, it's often helpful to resize or adjust it so that it fits better in your document. Resizing an image can make it easier to position and can help create a more balanced look, especially when working with multiple images or when fitting an image into a specific area.
Here’s how to resize and adjust an image before moving it:
- Select the Image: Click on the image to select it. You’ll see small circles or squares around the image—these are the resize handles.
- Resize the Image: Hover your cursor over one of the corner handles (make sure you use the corners to maintain the image's proportions). When the cursor changes to a diagonal arrow, click and drag the handle to resize the image.
- Adjust Proportions: If you want to resize the image without distorting it, hold down the “Shift” key while dragging the corner handles. This will maintain the image’s aspect ratio (the ratio of width to height).
- Crop the Image: If part of the image is unnecessary, you can crop it. In the "Format" tab, click on the "Crop" button. Adjust the crop handles to remove unwanted parts of the image.
Once you’ve resized or adjusted your image, you can move it more easily. The smaller or better-fitted image will also improve your document's overall design and help you avoid overcrowding the page.
Common Problems When Moving Images and How to Fix Them
Moving images in Word is usually straightforward, but sometimes you might encounter a few issues that can make the process a bit frustrating. Understanding these common problems and knowing how to fix them can save you time and help you work more efficiently.
Here are some common problems when moving images and how to fix them:
- Images Getting Stuck in Place: Sometimes, images may not move as expected. This can happen if the image is set to be "in line with text." To fix this, select the image, click on "Wrap Text" in the Format tab, and choose a different wrapping option like "Square" or "Tight."
- Text Overlapping or Wrapping Incorrectly: If text and images overlap or don’t wrap around the image properly, it might be because the image is too large for the space available. Try resizing the image or adjusting the text wrap settings to better fit the layout.
- Images Disappearing Behind Text: If an image moves behind text, it’s likely set to "Behind Text" in the wrapping options. You can change this by selecting the image, clicking on "Wrap Text," and choosing "In Front of Text" or another option that places the image above the text.
- Images Not Resizing Proportionally: When resizing, images can sometimes distort. To maintain the correct aspect ratio, hold down the "Shift" key while dragging the corner handles to resize the image proportionally.
By knowing how to fix these issues, you can easily move and manage your images in Word, ensuring that your documents look professional and polished.
Conclusion: Tips for Efficiently Moving Images in Word
Moving images in Word doesn’t have to be difficult. By using the right tools and techniques, you can quickly position your images to improve the overall design of your document. Here are some key tips for moving images more efficiently:
- Use Text Wrapping: Choose the right text wrapping option to make the image interact better with text, allowing for smoother movement.
- Resize First: Before moving an image, resize it to fit your document’s layout. This helps avoid clutter and ensures everything fits neatly on the page.
- Drag and Drop: The drag-and-drop method is fast and intuitive, so use it for quick image placement.
- Use Keyboard Shortcuts: If you need to make fine adjustments, use the arrow keys on your keyboard to nudge the image into place.
- Align and Group: For multiple images, consider using Word’s alignment tools or grouping the images together to move them as a unit.
By following these tips, you’ll be able to work more efficiently and create cleaner, more professional-looking documents in no time.
Frequently Asked Questions
Here are some common questions people ask about moving images in Word, along with helpful answers:
- Can I move an image in Word without affecting the text?
Yes, by using text wrapping options such as "Square" or "Tight," you can move the image around without disrupting the text layout. - Why won’t my image move in Word?
If an image is "In Line with Text," it will behave like text and move with it. Change the wrapping style by selecting the image, going to "Wrap Text," and choosing another option to allow it to move freely. - How do I resize an image proportionally in Word?
To resize an image without distorting it, click on the image, then hold the "Shift" key while dragging one of the corner handles. - Can I move multiple images at once?
Yes, you can group multiple images together by selecting them, right-clicking, and choosing "Group." This allows you to move them as a single unit. - What should I do if my image disappears behind text?
Change the image's text wrapping setting. Select the image, click "Wrap Text" in the Format tab, and choose "In Front of Text" to ensure it stays visible.
These answers should help clear up any confusion and allow you to confidently move and manage images in your Word documents!


