CapCut is a renowned video editing software that allows for creative alterations of clips, mostly targeted towards social media. One of the main reasons as to why CapCut stands out among other editing apps is due to its capability to move and place images inside your video screen. Understanding these fundamentals can lead to a significant improvement in your editing if you are starting out with CapCut. Therefore, it’s easy for everyone who wants to use this software because it has a user-friendly way in which one can manipulate image position on the interface.
A good understanding of how to position images will assist you in coming up with an attractive visual content, both for slide shows and graphic addition. This paper discusses basic tools found in CapCut as well as the specific steps involved in making smooth and accurate transitions.
Exploring CapCut Tools for Precise Image Positioning

The image positioning tools in CapCut are numerous and made for simplicity and efficiency. Here’s a synopsis of the major tools that helps put images to where you want them in an accurate manner:
- Transform Tool: This tool allows you to adjust the position, size, and angle of the image on the canvas, giving you flexibility in placement.
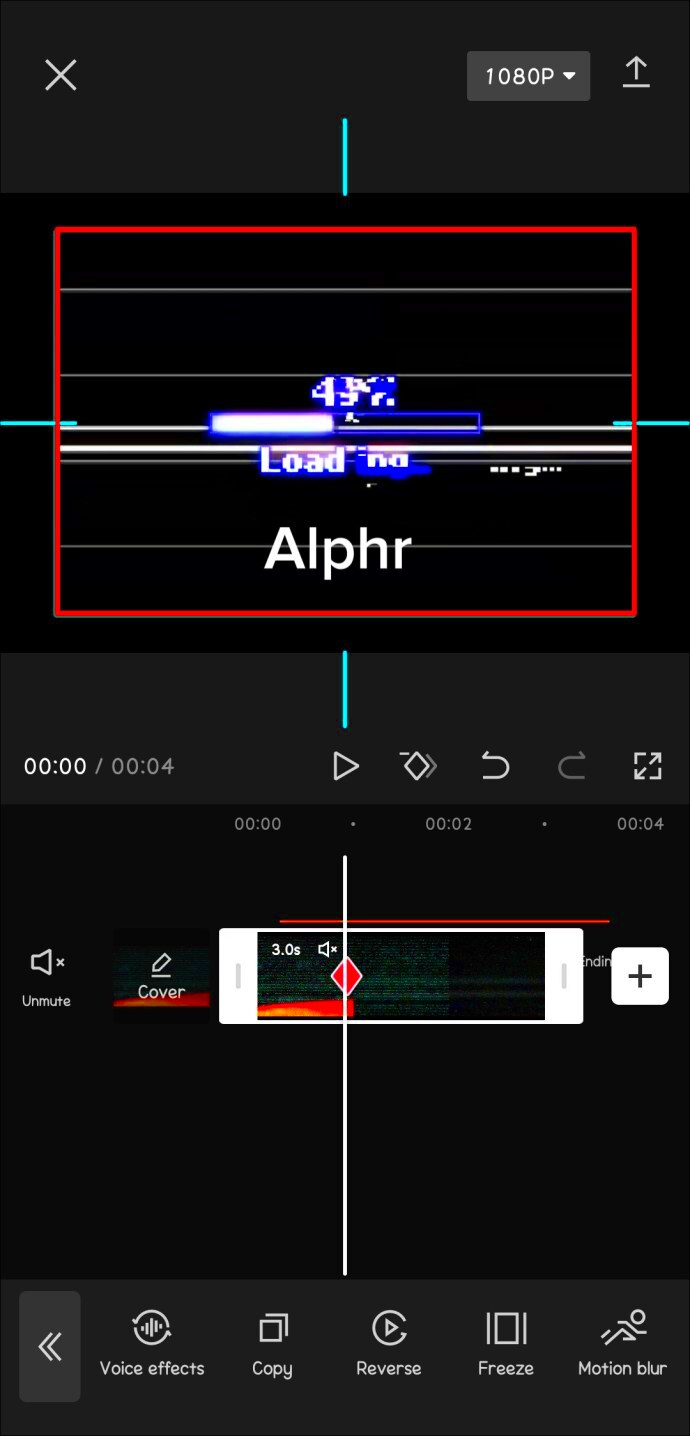
- Keyframes: Keyframes add dynamism by allowing you to set points where the image position changes over time. This is useful for making the image move smoothly across frames.
- Alignment Guides: CapCut includes guides that help align images within the frame for balanced positioning.
- Zoom and Scale Adjustments: Zooming in and out lets you control the size of your image on screen. Scaling helps adjust image proportions without distortion.
Every tool has its quite different advantages thus knowing how to use them in combination may help to achieve a finished product which appears more polished and professional. Next, we will discuss detailed guidelines on how to carry out a smooth transition of pictures between programs.
Also Read This: How to Do Makeup for Beginners on Dailymotion
Steps to Move Images Smoothly in CapCut

To move images smoothly in CapCut, it’s important to use the right tools and make appropriate adjustments. Here is an easy to follow and simple guide for you:
- Import Your Image: Start by importing your desired image into CapCut’s timeline.
- Position Your Image: Select the image on the canvas and use the Transform Tool to position it as needed. Drag to move, or use the rotation handle to adjust its angle.
- Add Keyframes for Motion: To make your image move, add a keyframe at the starting point. Move the playhead to where you want the movement to end, adjust the image’s position, and add another keyframe.
- Adjust for Smooth Movement: Check the timeline and play your video to ensure smooth transitions between keyframes. Adjust positions if necessary for a more fluid effect.
- Use Preview to Refine: Preview the movement to make final adjustments. Minor tweaks to keyframes or positioning can make a big difference in the overall flow.
By using this procedure, it is possible for you to reach a polished and smooth aspect of your videos that will make them unique from others.
Also Read This: How to Transfer an Image to a Shirt for Custom Prints and Gifts
Tips for Positioning Images Accurately on CapCut’s Canvas

There is a noticeable difference in video quality when images are positioned accurately on the CapCut canvas. Ideal placement mitigates visual asymmetries, aligns constituents, and forms unbroken designs. Here are some handy tips for perfect image placement on the CapCut canvas:
- Use Gridlines for Alignment: CapCut’s gridlines can help with precise alignment. Turn on gridlines by going to the settings or canvas options, allowing you to place images evenly within the frame.
- Utilize Snap-To Guides: Snap-to guides make it easier to center or align images along edges or other objects in your frame, giving a neat, professional look.
- Experiment with Image Layers: CapCut lets you layer images. Adjusting layer order can improve image positioning, especially when combining multiple graphics or photos.
- Fine-Tune with Arrow Keys: For small adjustments, use the arrow keys to nudge images slightly. This approach is great for making tiny placement changes without disturbing the overall setup.
Here’re some suggestions which will help you create an exact arrangement on the canvas, thereby making your video more attractive visually as well as better looking in terms of design.
Also Read This: How to Become a Contributor to Getty Images – A Comprehensive Guide for New Photographers
Using Keyframes to Control Image Movements

CapCut projects need keyframes to make things happen. It is these controls that tell the image when and where to move in the frame and therefore give you the freedom to shape your video as you please. This is a guide on how to use keyframes correctly – in other words:
- Place Initial Keyframe: Start by selecting the image on the timeline and positioning it at the starting point. Add a keyframe here to mark the starting position.
- Set the End Position: Move the timeline playhead to the point where you want the movement to finish, then adjust the image position on the canvas. CapCut will automatically create a keyframe.
- Smooth the Motion: After setting your keyframes, preview the movement. If needed, add extra keyframes between the start and end to refine the path and ensure smoother transitions.
- Experiment with Timing: Adjust the duration between keyframes to control the speed. Longer intervals create slow motion, while shorter intervals make movements quicker.
Keyframes give a dynamic aspect to your material that makes it feel more interactive and stimulating visually.
Also Read This: Adding a GIF to an Image: Simple Steps
Adjusting Image Scale and Rotation for Better Placement
Scaling an image and rotating it can go a long way in enhancing its fit into the frame of your video. Resizing images according to your design can be done through scaling while rotation adds more creativity to it. The following are adjustments of such things in CapCut:
- Scaling an Image: Select your image, then use the scaling handles at the image’s corners. Drag inwards to reduce size or outwards to enlarge. To maintain the original proportions, hold down the shift key while scaling.
- Rotating an Image: Rotate by clicking the rotation handle near the image. You can make subtle angle adjustments to match your desired layout.
- Perfecting Placement: After scaling and rotating, double-check the image position on the canvas. Small rotations can change how an image aligns with other elements, so minor tweaks to placement may be needed.
- Resetting Adjustments: If you need to start over, CapCut offers a reset option in the transform settings to revert any unwanted scale or rotation changes.
Through manipulating size and angle, it is possible to make sure that the two images mesh together effortlessly with respect to the video frame while boosting its visual equilibrium.
Also Read This: How to Create Professional Proposals with 123RF
Common Mistakes to Avoid When Positioning Images in CapCut
In CapCut when positioning pictures, a tiny blunder can spoil the total appearance of your film. If you identify some frequent blunders, you will be able to avoid them and enhance the rhythm of your editing. Here are several things that you should be cautious about:
- Ignoring Alignment Guides: CapCut provides alignment guides that help with image placement, but many users skip using them. Overlooking these guides can result in off-centered or unevenly placed images, which can disrupt the visual harmony.
- Overusing Keyframes: While keyframes are great for movement, adding too many can make animations look jumpy or overly complex. Stick to essential keyframes to keep movements smooth and intentional.
- Inconsistent Scaling: Scaling images without maintaining consistent proportions can lead to distorted visuals. Make sure to use uniform scaling if you’re resizing multiple images to avoid mismatched sizes.
- Neglecting Preview Checks: Skipping the preview before finalizing your edits can mean missing out on alignment or movement errors. Always review your video to catch any positioning mistakes early.
- Forgetting to Reset Settings: If you've adjusted scale, rotation, or keyframes on an image, be mindful of resetting unwanted settings for other images. A simple reset can prevent accidental duplication of effects.
If you dodge these typical traps then you will not have spent much time on amending your work hence producing videos that are characterized by better and formal placements of images.
Also Read This: Tips for You to Create Stunning Vimeo Background Image
Frequently Asked Questions about Image Positioning in CapCut
To clear up the main points of Image placement in CapCut, here are some commonly asked questions.
| Question | Answer |
|---|---|
| How can I center an image precisely in CapCut? | To center an image, use CapCut’s alignment guides and the snap-to-center feature. This ensures your image is positioned evenly within the frame. |
| Can I make an image move in a specific path? | Yes, by using keyframes at various points on the timeline, you can control the path of an image’s movement. Add keyframes for each point along the desired path. |
| How do I adjust an image’s size without distorting it? | To maintain the original proportions, use the corner handles for scaling while holding down the shift key. This ensures uniform scaling without distortion. |
| What’s the easiest way to add rotation to an image? | Select the image and use the rotation handle. Minor adjustments help keep the effect subtle and professional. |
Designed for convenience , these frequently asked questions allow for easy reference answering to some of the issues that users might be having when editing within CapCut.
Final Thoughts on Perfectly Positioning Images in CapCut
In CapCut, positioning images shouldn’t be hard, but some tips and tools can help you. By understanding the basics, using keyframes and applying accurate scaling and rotation one can position images for a well-rounded as well as interesting video. Avoiding common errors and watching out for alignments help create interrelatedness among visuals as well as make them look uniform.
As you go through more practice, accurate image placement will be automatic, and your videos will exhibit a professionally polished look that can capture the essence of your creativity. Be it that you are just starting to edit videos or improving the skills you already have, CapCut with its easy to use interface makes image positioning one of the most fulfilling activities in the editing process.

 admin
admin


