When it comes to graphic design, layering of images is one of the most important techniques that help one to bring many images together and come up with a single composition. It gives you better control over how each element interacts in your design. Through layering, you’re able to create depth, change opacity, or apply effects on certain areas within an image. Knowing how to layer images effectively is essential for achieving a neat appearance whether you are making a simple collage or a complicated visual project.
Every stratum can be independently modified, hence letting you to:
- Change the order of layers to control which elements appear in front
- Adjust the opacity to blend layers together
- Apply filters or effects to individual layers
As you become familiar with the fundamentals of image layering, you will find your task of improving visual storytelling much easier. Now, let us consider how to choose the appropriate images for layering.
Choosing the Right Images for Layering
To create effective layers, one must select the right images. Remember these things when choosing: not all images go together well; therefore you have to take these factors into consideration:
- Theme: Ensure your images share a common theme or message.
- Color Palette: Choose images that complement each other's colors. Use a color wheel for guidance.
- Resolution: Use high-resolution images for a professional finish.
- Content: Consider how the subject matter of each image will interact.
In the event that you are to structure a project with respect to nature, if for instance, trees can serve as the background layer, then flower trees in foreground or some other type of flowers would be on top as an overlay. Therefore maintaining consistency in the theme and making it visually appealing at once.
Also Read This: how to cancel adobe stock subscription
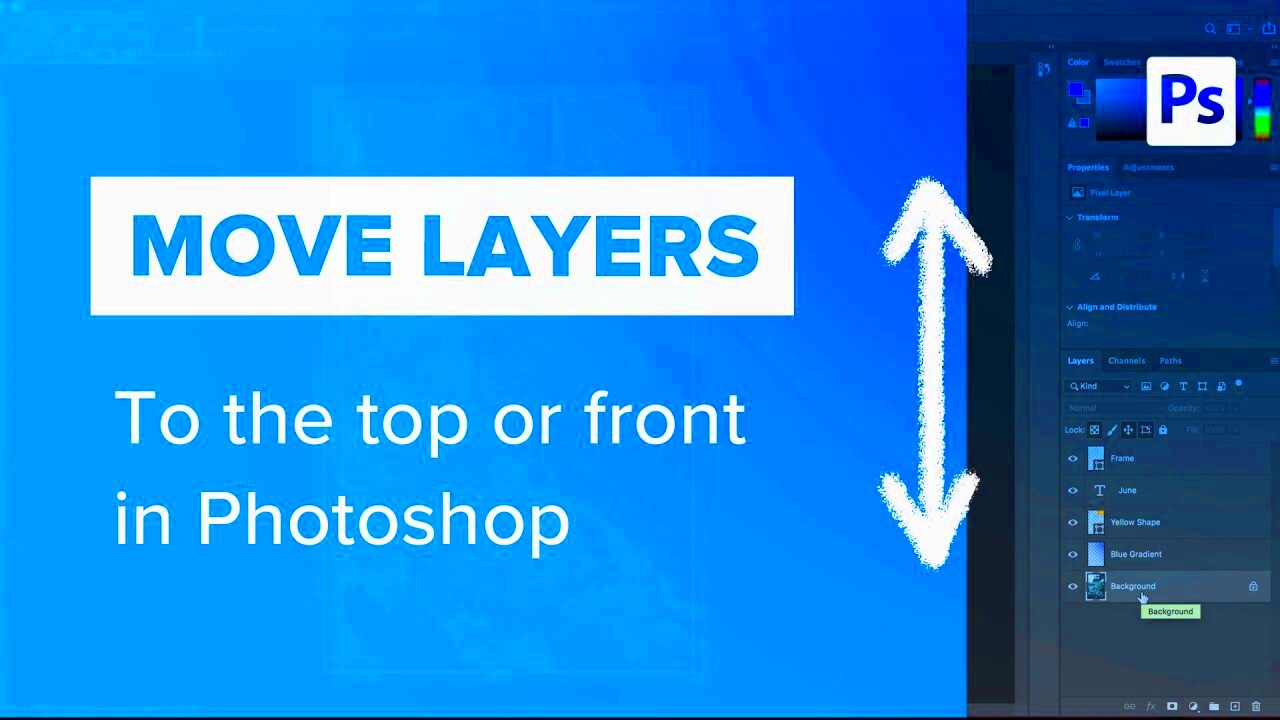
Steps to Move an Image Forward
Right after you have chosen your pictures, it’s time for layering. Here are the steps to bring an image forward in your design:
- Open Your Editing Software: Use tools like Photoshop, GIMP, or Canva to start your project.
- Import Your Images: Bring in all the images you wish to layer.
- Arrange Your Layers: In the layers panel, click and drag the image you want to move forward to the top. This makes it the most visible layer.
- Adjust Layer Properties: Modify opacity, blending modes, or layer styles to enhance the image’s presence.
- Preview Your Work: Always check how your layered images look together. Make adjustments as needed.
The steps that you will follow in this article are really simple and easy, helping you to control where your pictures go in whatever order you wish for and making them more appealing and organized at the same time.
Also Read This: how does the adobe stock license works
Using Layering Tools Effectively
If you want to make beautiful, multi-layered images, you need to know the tools available in your graphic design software. All programs have their own special things, but most share common tools that will help you deal with layers easily. Learning how to use these tools can help you improve your skills in layering.
To consider, here are some important resources:
- Layers Panel: This is where you'll see all your images listed. You can rearrange them by dragging and dropping, making it easy to bring images forward or send them backward.
- Opacity Slider: Adjusting opacity allows you to control how transparent or visible a layer is, helping you blend images seamlessly.
- Blend Modes: Experiment with different blend modes to create various effects. For example, "Multiply" darkens the image, while "Screen" brightens it.
- Masking Tools: Use masks to hide or reveal parts of your layers without deleting them. This is great for fine-tuning your design.
Using these tools effectively will help you create more dynamic and visually pleasing compositions. Specify the software you’re using and visit the tutorials to discover more techniques!
Also Read This: Making Images Transparent in Paint
Adjusting Image Properties for Better Results
After laying out the images, one can adjust their features to improve the design. For instance, altering values for brightness, contrast, saturation and sharpness will have greatly enhance the appearance of the end product.
This is how to effectively change these characteristics:
- Brightness and Contrast: Adjust these settings to ensure your images match in light and dark areas. This helps in creating a cohesive look.
- Saturation: Increase or decrease saturation to enhance colors. Just be cautious; oversaturation can lead to unrealistic images.
- Sharpness: Applying sharpening effects can help your images stand out. Be careful not to over-sharpen, as it can introduce noise.
- Color Balance: Tweak the color balance to correct any color casts and achieve the desired mood for your composition.
It is vital to observe these details in order for your visuals to appear not only attractive but also convey accurately what they should and evoke a particular sentiment.
Also Read This: Hidden Gems: Finding the Best Offer Accepted on eBay
Common Mistakes to Avoid in Layering
It’s difficult to layer, and even designers who are aware of what’s going on can make mistakes. If you are aware of these common traps, you can avoid them as well as develop your layering ability.
Beware of these errors:
- Neglecting the Background: A busy background can distract from your main subject. Make sure your background complements rather than overwhelms.
- Overusing Effects: While filters and effects can enhance your design, using too many can create chaos. Stick to a few key effects for a polished look.
- Ignoring Layer Order: The order of your layers affects how they interact. Make sure your most important elements are on top and easily visible.
- Not Saving Versions: Always save different versions of your work. This way, if you make a mistake, you can revert to a previous version without losing progress.
By steering clear of such frequent errors, one can achieve more triumphant and aesthetically pleasing assembled photos. Don’t forget, repetition is the mother of all learning; therefore, keep trying things!
Also Read This: Evaluating the Average Worth of a YouTube Thumbnail for Content Creators
Examples of Effective Image Layering
To see how layered images work in practical settings is another thing that helps you understand its power. So, let’s look at some examples that show efficient layer photos and give techniques that help to get admirable results. These examples demonstrate a variety of styles and methods, so you can find motivation for your own works!
Some typical illustrations of efficient layering of images are given below:
- Collage Style: Creating a collage involves layering various images to tell a story or convey a theme. For instance, you could layer photos of different travel destinations, blending them together to create a travel mood board.
- Double Exposure: This technique combines two images to create a unique effect. A common approach is layering a portrait with a landscape, which gives depth and a dreamy quality.
- Textured Backgrounds: Using textured images as backgrounds can add depth to your designs. For example, placing a soft fabric texture behind a subject can create warmth and interest.
- Color Overlays: Applying a colored overlay to an image can change its mood. For instance, a blue overlay can create a calm atmosphere, while a red overlay adds energy.
Trying out different examples will enable you to find out what suits your projects best. Always keep in mind that the objective is to come up with a unified appearance which can convey your message effectively.
Also Read This: How to Find EyeEm Photos on Getty Images: A Step-by-Step Guide
Frequently Asked Questions
When it comes to layering images, many questions may arise. Some of the frequently asked questions below can help clear up doubts and answer typical questions associated with this technique.
- What software is best for layering images? Popular choices include Adobe Photoshop, GIMP, and Canva. Each has its own strengths, so choose one that fits your needs and comfort level.
- Can I layer images on my phone? Yes! Apps like Snapseed and PicsArt allow you to layer images right from your smartphone.
- How do I know if my layers are balanced? Take a step back and look at your composition as a whole. If one area feels too heavy or busy, adjust the layers until it feels more balanced.
- Is there a limit to how many images I can layer? While there's technically no limit, adding too many layers can complicate your design and make it difficult to manage. Keep it simple for the best results.
While looking at the structure of an image, one needs to consider different techniques of layering. These answers will help you navigate in this world!
Conclusion
To sum up, mastering the skill of layering images on top of one another can unveil a universe filled with fruitful ideas when it comes to working on your graphic designs. It is possible to make captivating visuals that grab the audience’s interest and deliver what you want them to hear by knowing its foundations, selecting appropriate images and using resources wisely. It should be noted that practicing and playing around are important in enhancing expertise in this regard.
Do not remember to steer clear of the usual blunders, and look at some samples for motivation. If it is your first time or you want to improve your skills, putting together pictures can make a great difference in your designing efforts. Thus, take advantage of layering and show off your imagination!
 admin
admin


