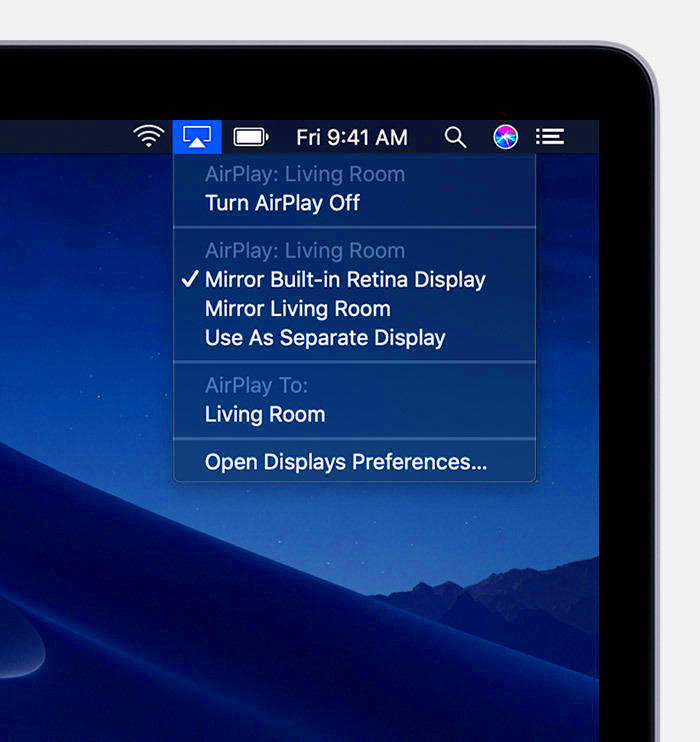
Mirroring an image on your MacBook is a simple process that can be useful for various reasons. Whether you’re editing a photo for social media, preparing a presentation, or just experimenting with image effects, mirroring is a quick way to change the perspective of an
Why You Might Want to Mirror an Image on Your MacBook
Mirroring images can be useful for several reasons. Here are a few scenarios where you might need to mirror an image on your MacBook:
- For Social Media Content: If you’re creating profile pictures or banners, mirroring an image can make it look more professional or fit a particular style.
- Creating Reflections: For design projects or artwork, mirroring helps in generating reflections or duplicating elements symmetrically.
- Editing Photos: You may want to adjust an image to appear as if viewed from a different angle, especially in product photography or landscape shots.
- In Presentations: Sometimes, flipping images helps in designing balanced and visually appealing presentations.
Mirroring is a fast and simple technique, and MacBook provides several ways to achieve this with no need for complex software. Whether for personal or professional purposes, understanding how to mirror images can make your workflow more efficient.
Also Read This: Credit Contributions: Adding IMDb Credits – Ensuring Proper Recognition
Using Preview to Mirror an Image on MacBook
One of the easiest ways to mirror an image on your MacBook is by using the built-in Preview app. It’s a straightforward process, and you don’t need any additional software. Here’s how to do it:
- Open the Image in Preview: First, locate your image file in Finder and double-click it. This will open the file in the Preview app by default.
- Enable the Markup Toolbar: In Preview, go to the 'View' menu and select 'Show Markup Toolbar.' This will make the editing tools visible at the top.
- Flip the Image: Click the ‘Tools’ menu and select ‘Flip Horizontal.’ This action mirrors the image, flipping it as if reflected in a mirror.
- Save Your Changes: Once you're satisfied with the mirrored image, go to ‘File’ and click ‘Save’ or ‘Export’ to save the image in the desired format.
Using Preview for mirroring is quick and doesn’t require any additional applications. This method works well for most users looking for a simple solution without spending time learning complex editing tools.
Also Read This: How to Draw Halloween Images: Ideas and Instructions
How to Mirror an Image in Photos App on MacBook
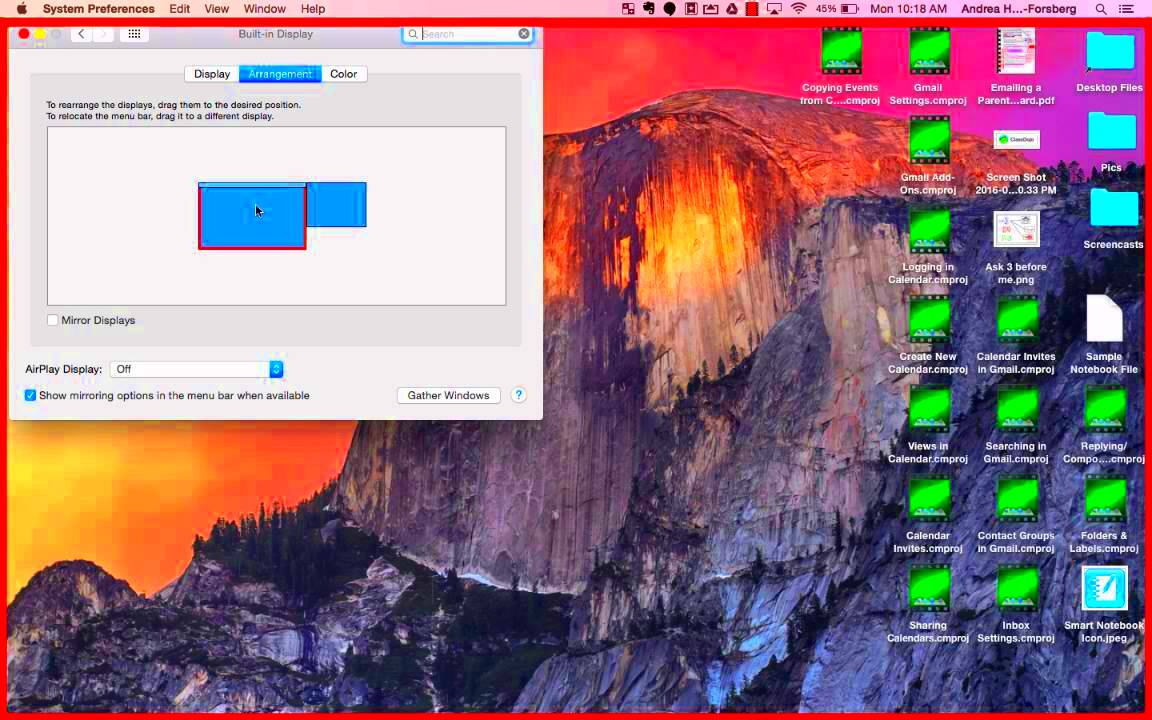
If you prefer using the Photos app on your MacBook, you can easily mirror an image without needing any extra software. The Photos app provides a simple way to edit your images, including flipping them horizontally. Here’s how you can do it:
- Open the Photos App: Launch the Photos app from your Applications folder or the Dock. Once open, locate the image you want to mirror.
- Select the Image: Click on the image to select it, and then click the 'Edit' button in the top-right corner of the app.
- Use the Flip Tool: In the editing toolbar that appears, click the 'Adjust' button, and find the 'Flip Horizontal' option. Click it to mirror the image.
- Save Your Image: After flipping, click ‘Done’ to save the changes. You can now export the image by selecting ‘File’ and then ‘Export’ to save it in the desired format.
Using the Photos app is an easy and intuitive method, especially for users who already store their photos here. The app also allows for basic image adjustments, making it a versatile tool for everyday editing needs.
Also Read This: MOV vs MP4 Which Format Is Better for Uploading YouTube Videos
Using Third-Party Apps to Mirror Images on MacBook
If you want more advanced features for mirroring images, third-party apps offer a wide range of options. Apps like Photoshop, GIMP, or Affinity Photo provide professional-grade tools that can help you achieve high-quality mirrored images. Here's a quick overview of how you can use them:
| App | Features |
|---|---|
| Photoshop | Advanced flipping and rotation options, with a variety of image-editing features. |
| GIMP | Free, open-source software with powerful tools, including flip and mirror effects. |
| Affinity Photo | Affordable professional alternative to Photoshop, offering detailed mirroring effects. |
To mirror an image in these apps, follow these general steps:
- Open the App: Launch your chosen third-party app and open the image you want to mirror.
- Find the Flip Tool: In the app’s toolbar, look for the 'Flip Horizontal' or 'Mirror' option.
- Apply the Effect: Select the appropriate tool to mirror the image horizontally.
- Save the Image: Once you’re happy with the mirrored image, save or export it in your desired file format.
Third-party apps offer the flexibility to perform more complex edits like adjusting the flip position, blending mirrored images, or creating reflections. If you need high-quality results or more advanced editing, these apps are the best choice.
Also Read This: how to find ai generated images
Keyboard Shortcuts for Fast Image Mirroring on MacBook
Keyboard shortcuts can help speed up the process of mirroring an image on your MacBook, especially if you need to do it frequently. While macOS doesn’t offer a direct keyboard shortcut for flipping images, there are ways to make it faster using Preview and other apps. Here’s how you can do it:
- Preview App Shortcuts: After opening an image in Preview, press Command + Shift + T to open the 'Tools' menu. From there, use the mouse or trackpad to select ‘Flip Horizontal.’ There is no direct shortcut, but using these keys will quickly navigate to the tool.
- Third-Party Apps: Many image editing apps, like Photoshop and GIMP, allow you to create custom shortcuts. In Photoshop, for example, you can set up your own keybinding for flipping images under the ‘Keyboard Shortcuts’ menu.
While macOS itself doesn’t offer a one-click shortcut for mirroring, getting familiar with these workarounds can save you time. Customizing shortcuts in third-party apps is another great option if you frequently need to mirror images for your projects.
Also Read This: How to Submit to Getty Images Key Steps for Photographers and Creators
Tips for Perfecting Your Image Mirror Effect
Mirroring an image is a quick way to create a different perspective, but to make the effect look even better, a few tweaks can go a long way. Here are some tips to perfect your mirrored image:
- Adjust the Composition: After mirroring an image, the composition can feel off. Consider cropping or repositioning elements to balance the image and maintain visual appeal.
- Use Reflection Effects: Adding a subtle reflection beneath your mirrored image can enhance the look. This is particularly useful in product photography or creating symmetrical visuals.
- Modify the Colors: Sometimes, adjusting the color balance or contrast after mirroring can help maintain the harmony of the image. For instance, reducing the saturation or adding a slight vignette effect can make the mirror look more natural.
- Ensure Smooth Edges: When flipping an image, pay attention to the edges. If the mirrored part is too sharp or unblended, soften the transition to make the effect more seamless.
These small tweaks can take your mirrored images to the next level, making them more polished and visually engaging. Whether you're using a simple app like Preview or advanced tools like Photoshop, these tips can improve the overall look of your images.
Also Read This: What Is the Best Downloader for Dailymotion Top Tools for Easy Downloads
How to Save Your Mirrored Image on MacBook
Once you’ve mirrored your image, the next step is saving it properly. This ensures you can use the image later or share it with others. Here’s how you can save your mirrored image on a MacBook using different apps:
- Preview: After mirroring the image in Preview, go to the 'File' menu and select 'Save' to overwrite the original image or 'Export' to save the mirrored version as a new file. You can also choose the format you want, such as JPEG, PNG, or TIFF.
- Photos App: In the Photos app, after editing the image, click on 'Done.' Then, select the image and go to 'File' > 'Export' to save it to your preferred location or share it directly from the app.
- Third-Party Apps: If you’re using apps like Photoshop or GIMP, go to the 'File' menu and choose 'Save As' or 'Export.' These apps often allow you to save in different file formats and offer more control over compression settings, which can be useful for web use or printing.
Regardless of the method, always make sure to save your image in the right format, especially if you need it for specific uses like online publishing or high-quality prints.
Also Read This: Tracking the Most Popular Minecraft YouTubers
FAQ About Mirroring Images on MacBook
Here are some frequently asked questions about mirroring images on a MacBook, along with their answers:
- Can I mirror an image in macOS without using any third-party apps?
- Yes! You can mirror an image using built-in tools like Preview and Photos without the need for any additional software.
- How do I mirror an image using the Preview app?
- Simply open the image in Preview, go to the 'Tools' menu, and select 'Flip Horizontal' to mirror the image.
- Can I mirror a photo in the Photos app on my MacBook?
- Yes! The Photos app offers an easy way to mirror images by opening the image, clicking 'Edit,' and selecting 'Flip Horizontal.'
- Are there any apps that offer advanced mirroring effects?
- Yes, apps like Photoshop, Affinity Photo, and GIMP offer advanced mirroring options, including reflections, rotations, and more customizable effects.
- What’s the best way to save a mirrored image on my MacBook?
- After mirroring the image, you can save it by using the 'Save' or 'Export' option in apps like Preview, Photos, or third-party editing apps. Always choose the right format for your needs.
If you have more specific questions about mirroring images, don't hesitate to explore the help sections of your apps or visit online forums. These resources can offer additional tips and tricks for getting the best results.
Conclusion
Mirroring images on a MacBook is a simple yet effective way to enhance your photos and designs. Whether you’re using the built-in Preview or Photos app or opting for advanced third-party apps, the process is straightforward. With a bit of practice, you can quickly flip or mirror images for various purposes, from social media posts to professional presentations. By following the steps and tips outlined above, you’ll be able to create polished, mirrored images that suit your needs. Remember to experiment with different techniques, and save your images in the format best suited for your project. With these tools at your fingertips, perfecting the mirrored effect on your MacBook is easy and efficient.
