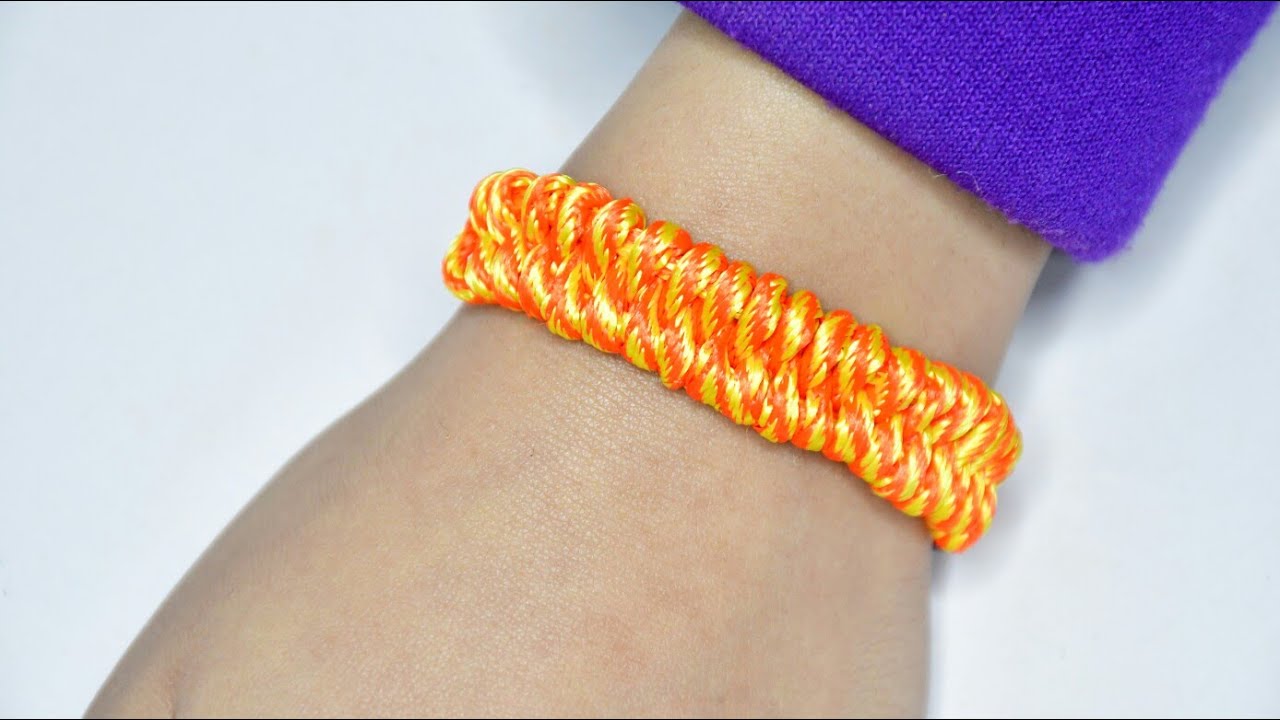
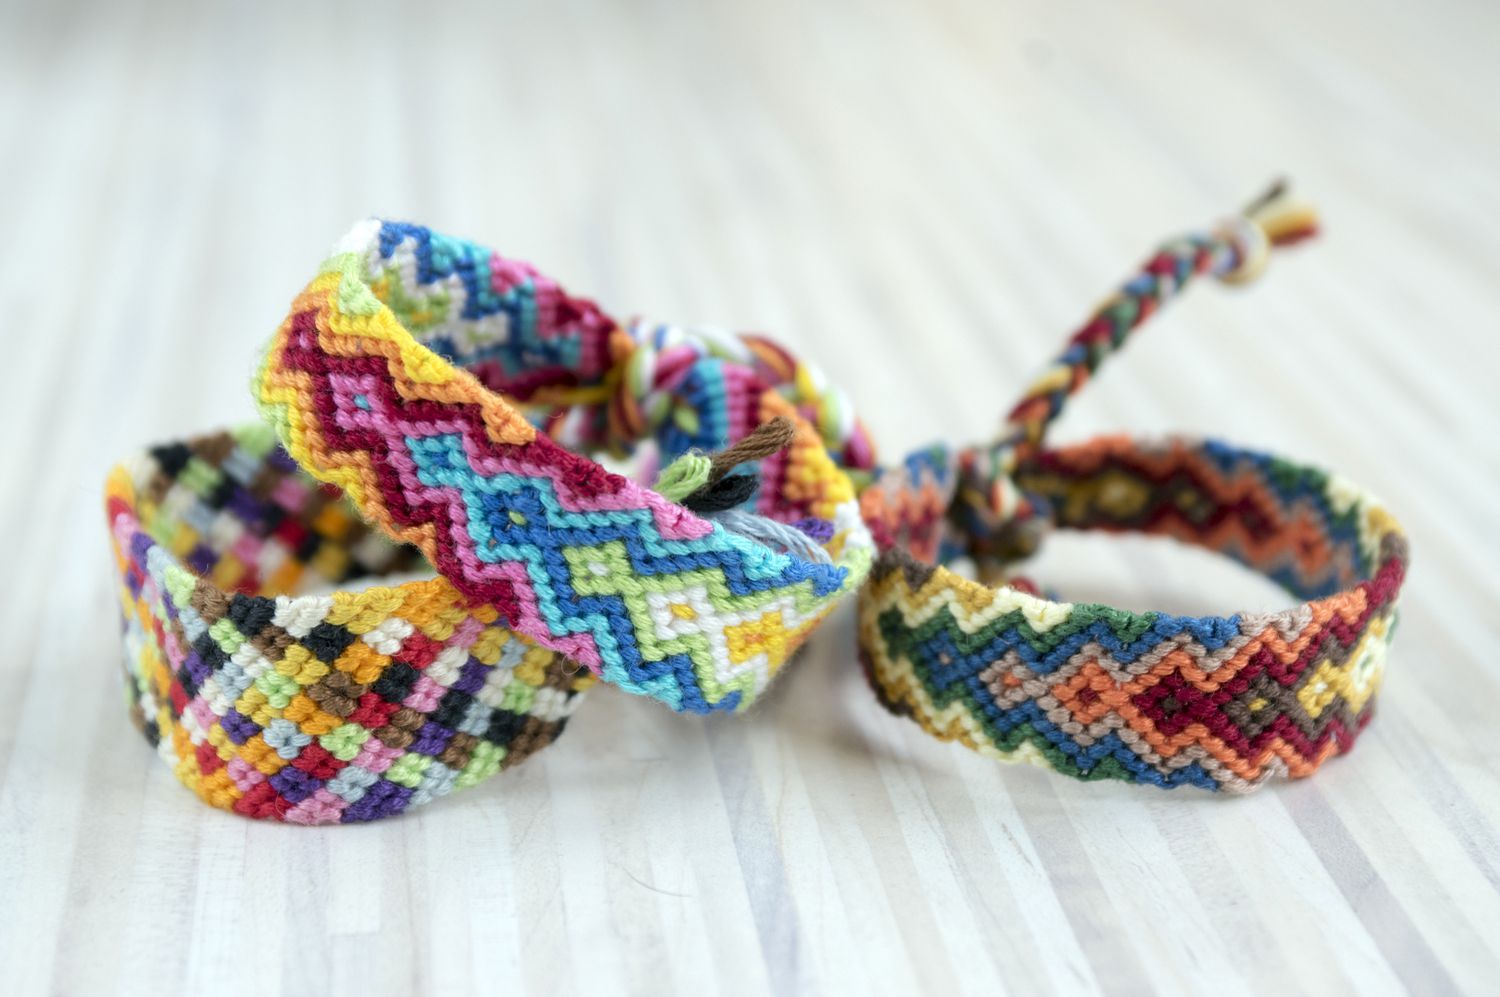
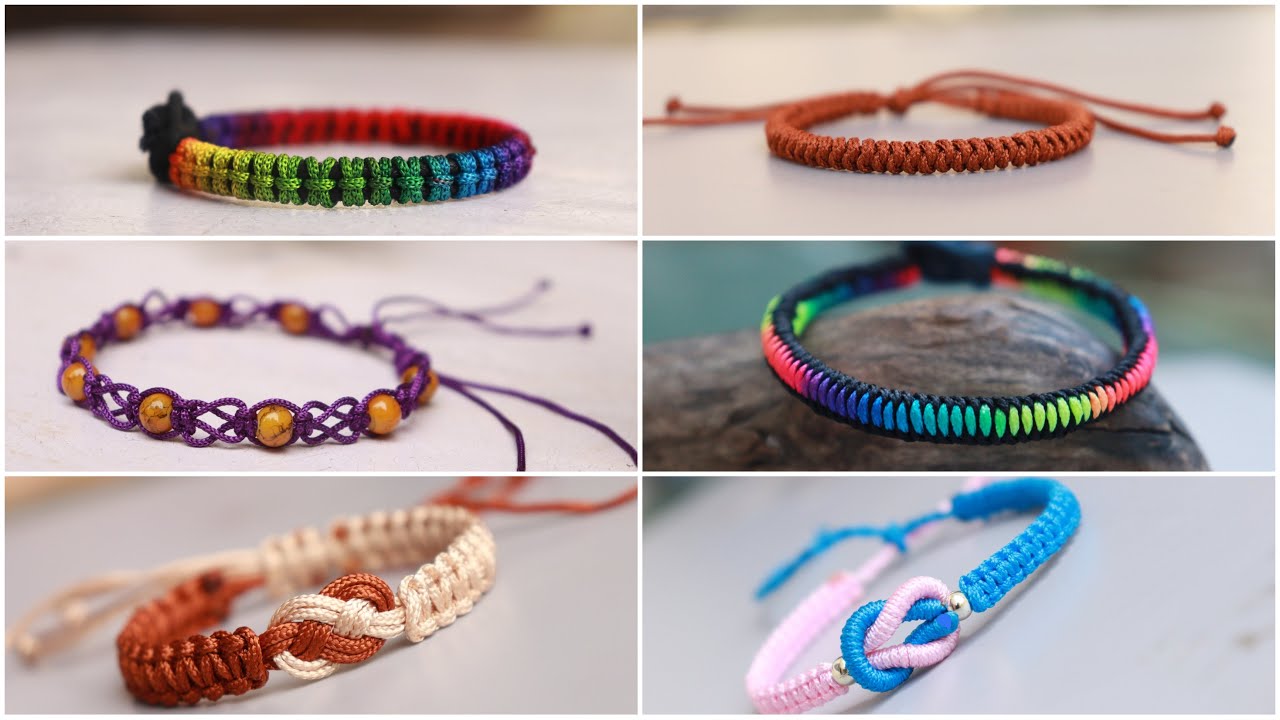
Have you ever wanted to create a unique piece of jewelry that reflects your personality? Thread bracelets are a fantastic way to express your creativity while enjoying a fun and relaxing craft project. Whether you're a beginner or have some experience, making these colorful accessories is incredibly rewarding. Plus, they make great gifts for friends and family! In this post, we'll dive into the materials needed and provide a step-by-step guide, complete with a DIY video to help you along the way.
Materials Needed for Thread Bracelets

Before you start crafting your thread bracelets, it's essential to gather all the necessary materials. Here’s a comprehensive list to ensure you have everything at your fingertips:
- Embroidery Floss or Thread: Choose vibrant colors that inspire you. A standard pack usually contains multiple shades for variety.
- Scissors: A good pair of scissors will help you cut the thread accurately.
- Tape or Clip Board: This will hold your bracelet in place while you work on it. Alternatively, you can use a clipboard to keep everything organized.
- Measuring Tape: Useful for measuring wrist size and cutting your threads to the right length.
- Beads (optional): If you want to add some flair to your bracelet, consider incorporating beads. Choose ones that match or contrast with your thread.
- Glue (optional): For extra security, you might want to use a bit of glue at the ends to prevent fraying.
Once you have all your materials ready, you’re halfway to creating a beautiful thread bracelet. Remember, the beauty of this craft lies in experimentation. Don’t hesitate to mix different colors and patterns to create a design that’s uniquely yours!
Also Read This: Using Dailymotion on Roku TV – A Comprehensive Guide
3. Preparing Your Threads

Before diving into the fun part of making your thread bracelets, it's essential to prepare your threads properly. This will ensure that your bracelet not only looks great but also lasts a long time. Here’s a simple step-by-step process to get your threads ready:
- Choose Your Threads: Pick your favorite colors! You can use embroidery floss, cotton, or even nylon threads. A mix of colors can make your bracelet more vibrant and unique.
- Cut the Threads: Measure out a length of thread that’s about 3-4 times the length of your desired bracelet. For example, if you want a 7-inch bracelet, cut each thread to about 21-28 inches. This extra length will give you enough room to work with knots.
- Organize Your Threads: Once cut, group your threads by color. This will help you easily identify and select them as you start knotting. You can also lay them out in the order you plan to use them.
- Secure the Threads: Take all your threads together and tie a knot at one end. You can use tape or a clipboard to hold the threads in place while you work. This keeps everything tidy and prevents tangling.
Now that your threads are prepared, you’re ready to move on to the next exciting step! You’re one step closer to creating a beautiful thread bracelet that reflects your style.
Also Read This: Step-by-Step Guide to Crafting Waterfall Braids Using Dailymotion Videos
4. Basic Knot Techniques for Thread Bracelets

Knots are the backbone of any thread bracelet. Once you master a few basic knot techniques, you can create a variety of designs! Here are some essential knots that every bracelet-maker should know:
1. The Square Knot
The square knot is a fundamental technique that’s easy to learn and widely used in bracelet making. Here’s how to tie it:
- Take the left thread and place it over the center threads.
- Then, take the right thread and bring it over the left thread.
- Next, tuck the right thread under the center threads and pull it through the loop created by the left thread.
- Finally, pull both threads tightly to secure the knot.
2. The Double Half Hitch
This knot adds a lovely twist to your bracelet. Here’s how to do it:
- Take the first thread and make a loop around the next thread.
- Bring the end of the first thread through the loop and pull it tight.
- Repeat this process for a more secure finish.
3. The Lark's Head Knot
This knot creates a lovely base for your bracelet:
- Fold your thread in half to create a loop.
- Place the loop behind the base thread and pull the ends through the loop.
- Pull tight to secure.
With these knot techniques in your toolkit, you’re well on your way to crafting stunning thread bracelets! Remember, practice makes perfect, so don’t be discouraged if your first few knots aren’t perfect. Happy knotting!
Also Read This: A Complete Guide to Screencasting Dailymotion Videos on Windows
5. Step-by-Step Instructions for Making a Thread Bracelet
Creating your own thread bracelet is not just a fun activity; it's also a great way to express your creativity! Follow these simple steps to make a beautiful thread bracelet that you’ll be proud to wear or give as a gift.
- Gather Your Materials: You’ll need:
- Colorful threads (embroidery floss works great)
- Scissors
- Measuring tape or ruler
- A clipboard or tape to hold your work in place
- A bead or charm (optional)
- Braiding: Divide the strands into three groups. Start by taking the rightmost strand and crossing it over the middle strand. Then, take the left strand and cross it over the new middle strand. Repeat this process until your bracelet reaches the desired length.
- Knotting: If you prefer a knotting technique, you can use the basic square knot. Pair two strands together and tie them in a knot, ensuring that you switch the pairs after every knot for a beautiful pattern.
Also Read This: How to Convert Dailymotion Videos Online Easily
6. Tips for Customizing Your Thread Bracelet
Now that you know how to make a basic thread bracelet, let’s explore some creative ways to customize it and make it truly yours!
- Mix and Match Colors: Don’t be afraid to experiment with different color combinations. For example, a gradient effect using shades of blue or a bright mix of rainbow colors can really make your bracelet stand out.
- Incorporate Patterns: You can create unique patterns by varying the number of threads or changing the knotting technique. Try adding a chevron pattern or alternating colors to create stripes.
- Use Unique Materials: Instead of just thread, consider adding materials like leather cords, hemp, or even ribbon. These can give a different texture and style to your bracelet.
- Add Personal Touches: Personalize your bracelet by incorporating initials or symbols. You can use letter beads to spell out a word or phrase, or tie in meaningful charms that reflect your personality.
- Experiment with Lengths: Don’t stick to the traditional bracelet length. Try making anklets or chokers using the same techniques but adjusting the length accordingly. You can also layer multiple bracelets for a trendy stacked look.
- Gift It Creatively: If you’re making these bracelets as gifts, consider adding a personal note or including a small card explaining the significance of the colors and charms you used. It adds a thoughtful touch!
With these tips, you can let your imagination run wild! Remember, the best part about making thread bracelets is that there are no strict rules—just have fun and enjoy the process!
Also Read This: How to Make Donuts Recipe in Urdu: Step-by-Step Guide on Dailymotion
7. How to Care for Your Thread Bracelet
Congratulations on crafting your beautiful thread bracelet! Now, let's talk about how to keep it looking fabulous and lasting as long as possible. Caring for your thread bracelet is essential to maintain its charm and vibrancy. Here are some practical tips to ensure your bracelet remains a cherished accessory:
- Avoid Water Exposure: While it might be tempting to wear your bracelet while swimming or showering, it's best to keep it dry. Water can weaken the thread and cause colors to fade. If it does get wet, gently pat it dry with a soft cloth.
- Keep Away from Chemicals: Protect your bracelet from harsh chemicals found in lotions, perfumes, and cleaning products. These can damage the threads and alter their colors. Always apply such products before putting on your bracelet.
- Store Properly: When you're not wearing your bracelet, store it in a cool, dry place. Consider using a small jewelry box or a pouch to prevent tangling or damage. Avoid tossing it into a bag with other items to maintain its shape.
- Limit Exposure to Sunlight: Prolonged exposure to sunlight can fade the colors of your thread bracelet. Try to keep it out of direct sunlight when not in use, especially if it has vibrant hues that might dull over time.
- Regular Cleaning: To keep your bracelet looking fresh, regularly clean it with a soft, dry cloth. If you notice any dirt buildup, lightly dampen the cloth, ensuring it’s not soaking wet. Gently wipe the bracelet, then dry it immediately.
By following these simple care tips, your thread bracelet will not only remain beautiful but will also hold up against daily wear and tear. Enjoy wearing your custom creation and show it off with pride!
8. Watch Our DIY Video on Dailymotion
Ready to see the magic of thread bracelet making in action? We've created a step-by-step DIY video that walks you through every aspect of crafting your very own thread bracelet. Whether you're a visual learner or just love seeing the process unfold, this video is for you!
In the video, we cover:
- The materials you'll need
- Detailed instructions for different knotting techniques
- Creative design ideas to inspire your unique bracelet
- Tips for adjusting the size for a perfect fit
It's like having a crafting buddy right there with you! You can pause, rewind, and rewatch segments to ensure you’re following along. Plus, seeing the vibrant colors and patterns come together will spark your creativity.
To watch the video, just click the link below:
Watch Our DIY Thread Bracelet Video
So gather your materials, hit play, and let’s get crafting! We can't wait to see the beautiful bracelets you'll create. Happy crafting!
 admin
admin


