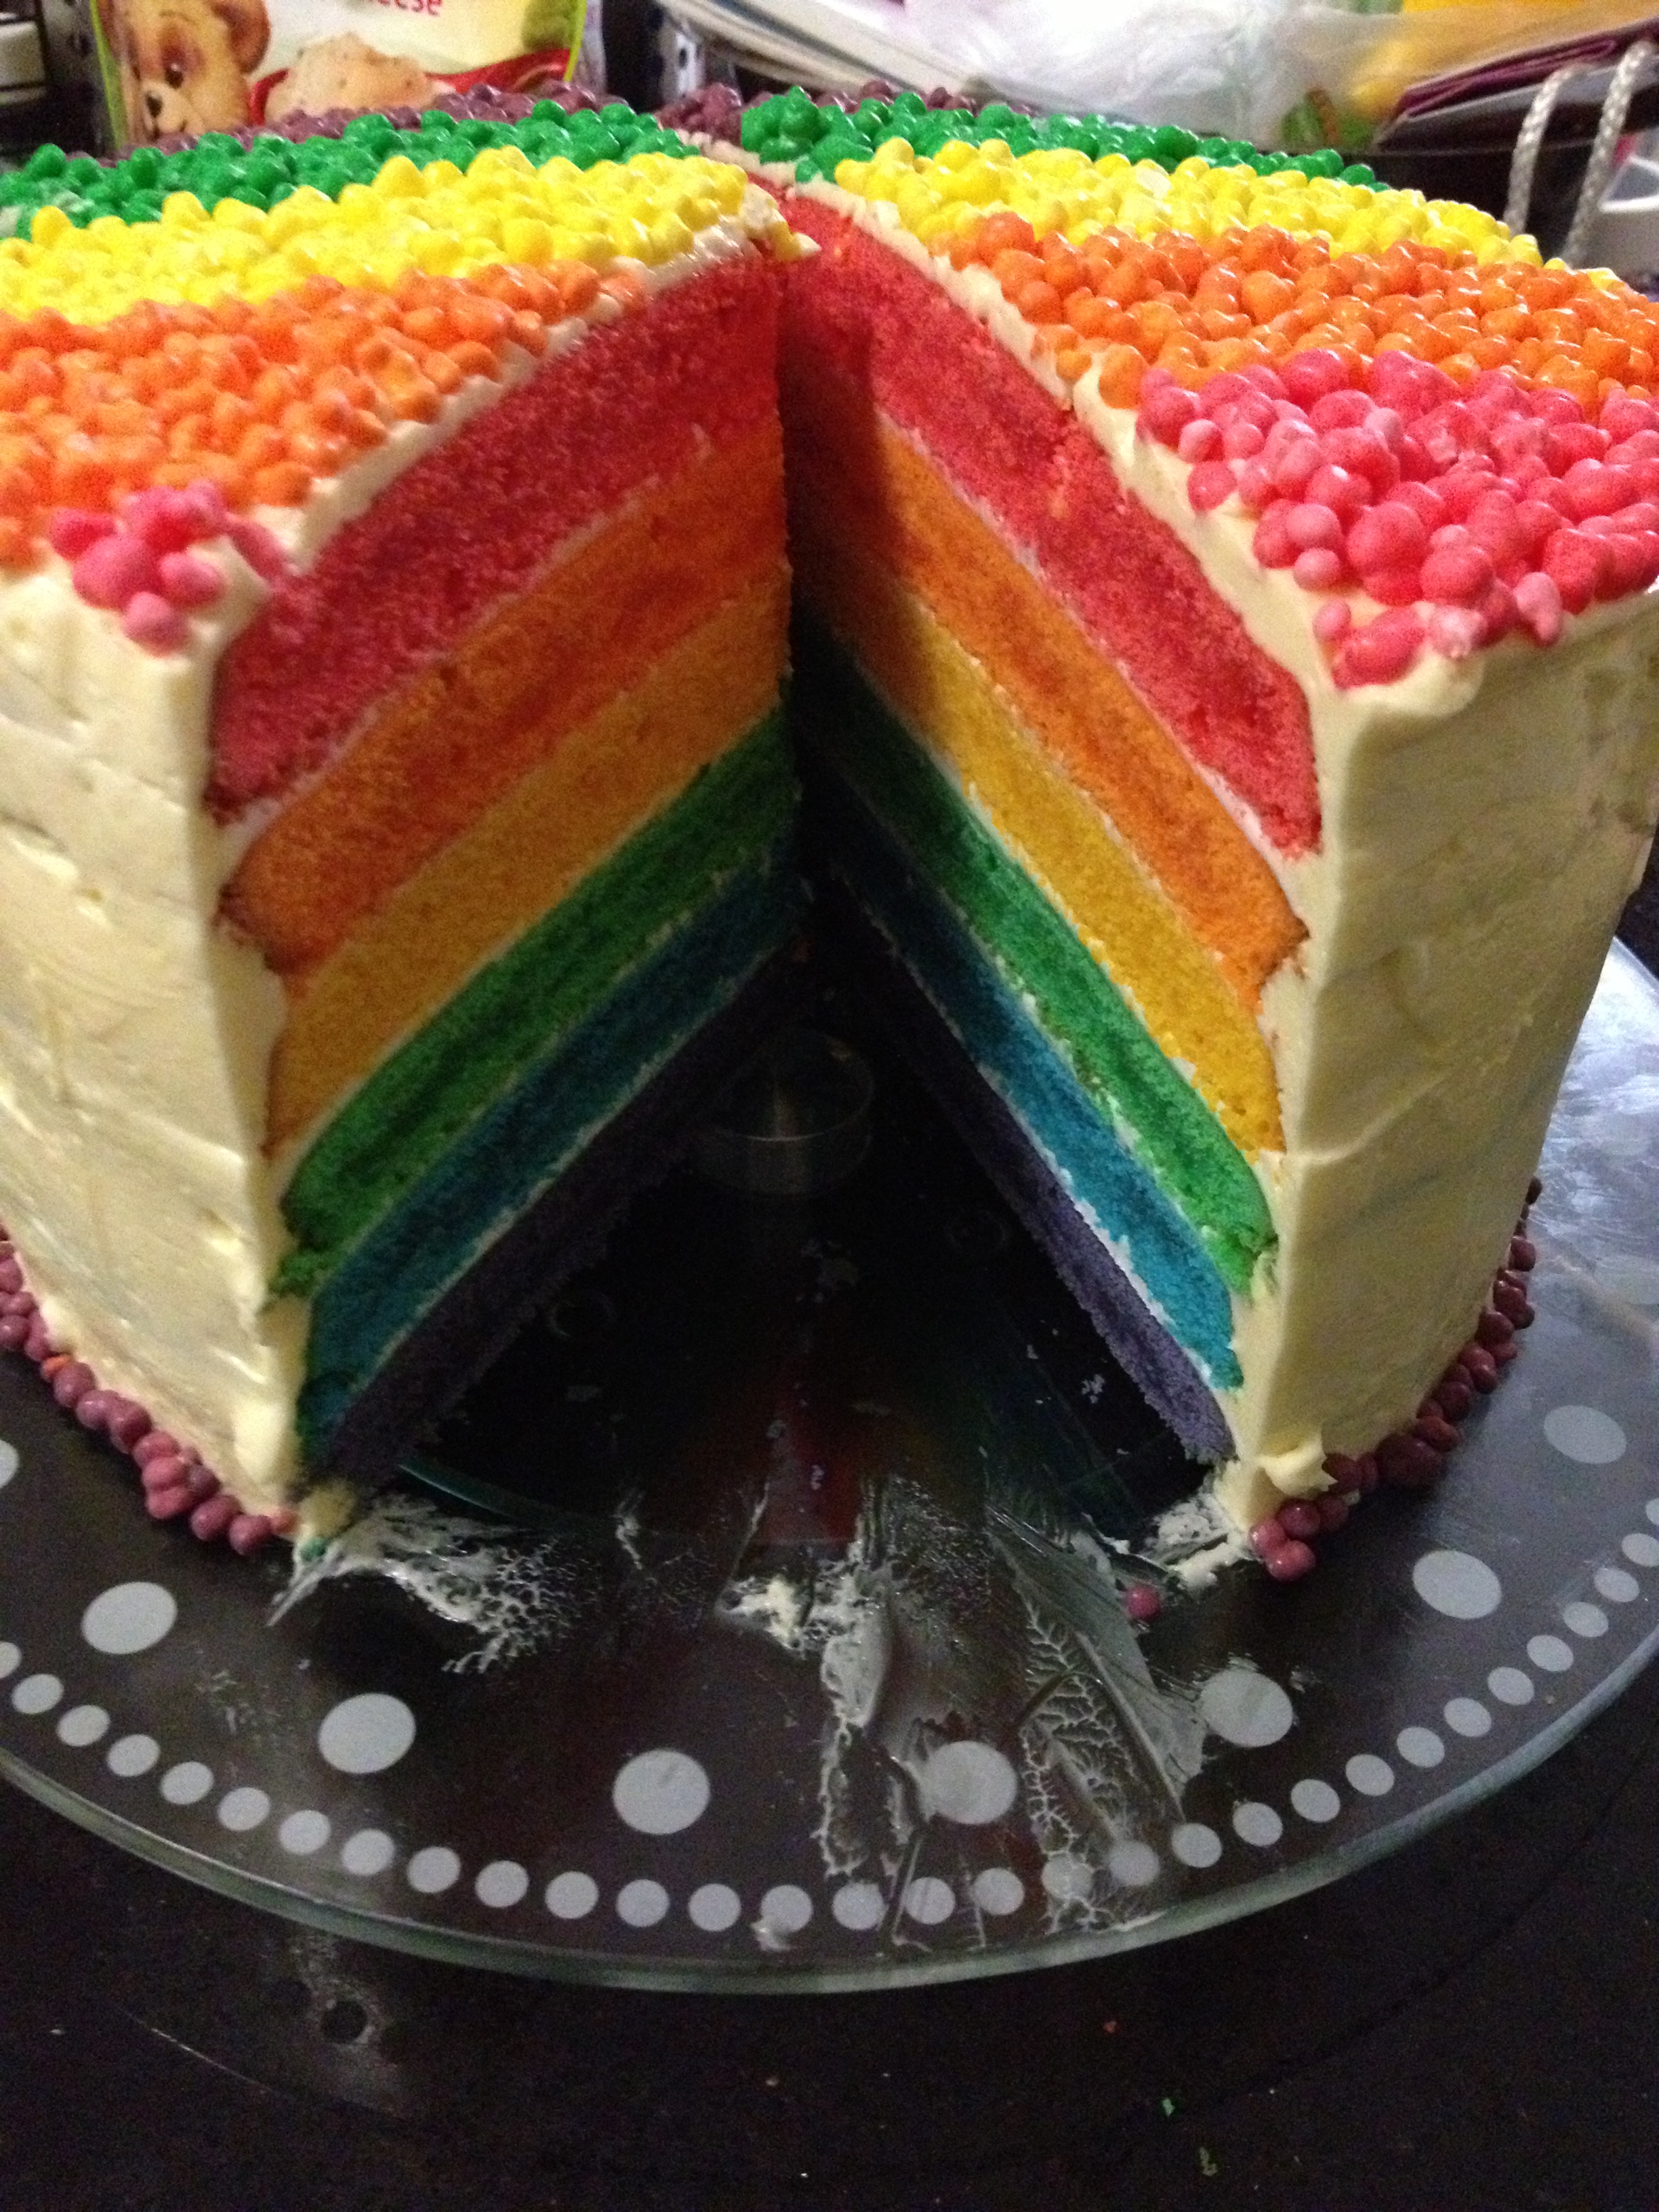
Hey there, cake lovers! If you're anything like me, the sight of a colorful, vibrant rainbow cake brings you back to childhood, sparking joy and making your taste buds dance. It’s not just a dessert; it’s a celebration! This delightful cake, layered with bright colors, is perfect for birthdays, parties, or just a fun Saturday afternoon baking adventure. In this post, we’ll dive into how to make your very own rainbow cake using an easy recipe that’s sure to impress your friends and family. So, grab your aprons, and let's get started!
Ingredients for Rainbow Cake
To create your stunning rainbow cake, you'll need a variety of ingredients that come together to produce delicious layers of color and flavor. Here's what you'll need:
- For the Cake Batter:
- 2 ½ cups all-purpose flour
- 2 ½ tsp baking powder
- ½ tsp salt
- 1 cup unsalted butter, softened
- 2 cups granulated sugar
- 4 large eggs
- 1 tbsp vanilla extract
- 1 cup whole milk
- For Coloring:
- Food coloring (red, orange, yellow, green, blue, and purple)
- For the Frosting:
- 1 cup unsalted butter, softened
- 4 cups powdered sugar
- 1-2 tbsp milk
- 1 tsp vanilla extract
- Extra food coloring (optional, for decorating)
Once you've gathered your ingredients, you’ll be well on your way to creating something magical. Don't stress if you don't have all the food dye shades; you can always mix them to create new hues. And remember, the most important ingredient is a whole lot of love and excitement for baking! Trust me, that will shine through in your final product.
Next, we'll jump into the fun part – actually making our rainbow cake! Stay tuned for some tips and step-by-step instructions to make this cake a true masterpiece!
Also Read This: Understanding Dailymotion Monetization and View Requirements
3. Step-by-Step Instructions for Baking the Cake

Alright, let’s get down to the fun part—baking your delightful rainbow cake! It’s easier than you might think, and I promise the results will be as vibrant as a rainy day is gloomy. Ready? Let’s do this!
Ingredients You'll Need:
- 2 ½ cups all-purpose flour
- 2 ½ tsp baking powder
- ½ tsp salt
- 1 cup unsalted butter, softened
- 2 cups granulated sugar
- 4 large eggs
- 1 tsp vanilla extract
- 1 cup whole milk
- Food coloring (red, orange, yellow, green, blue, and purple)
Step 1: Preheat and Prep
First thing’s first, preheat your oven to 350°F (175°C). While that’s warming up, grease and flour your cake pans. I recommend using round pans (8-inch works well) because they’ll give you those lovely layers.
Step 2: Mix the Dry Ingredients
In a bowl, whisk together the flour, baking powder, and salt. This is your dry mixture that will help your cake rise beautifully!
Step 3: Creaming the Butter and Sugar
In another bowl (or your mixer), beat the softened butter and sugar together until light and fluffy—about 3-5 minutes. This is key for a soft cake!
Step 4: Add Eggs and Vanilla
Add the eggs one at a time, mixing well after each addition. Then, stir in the vanilla extract. Your batter is starting to take shape!
Step 5: Combine Wet and Dry Ingredients
Now, alternately add the dry mixture and the milk into your creamed butter and sugar. Start with a third of the dry, mix, then half the milk, and so on until it’s all combined. Don’t overmix—just until it’s smooth and beautiful!
Step 6: Divide and Color the Batter
Divide your batter evenly into six bowls (or however many colors you want!). Add a few drops of food coloring to each bowl, mixing until you achieve those vibrant colors. Play around and make them as bright as you want!
Step 7: Layer It Up
Now it’s time to layer! Starting with the red batter, pour it into the center of your first pan. Then, layer each color one by one, right in the middle—this helps them spread out evenly. Repeat this for your other pans.
Step 8: Bake!
Put those pans in the oven and bake for 25-30 minutes, or until a toothpick inserted comes out clean. Let the cakes cool in the pans for about 10 minutes, then transfer them onto a wire rack to cool completely.
Congratulations! You’ve baked the base of your beautiful rainbow cake. Now, let’s get to the icing!
Also Read This: How to Use the Dubsmash App: Create Fun Videos and Share with Friends
4. How to Prepare the Frosting
Now that you have your fabulous rainbow cake layers, let's whip up some frosting to bring it all together! The frosting is essential because not only does it taste amazing, but it also holds everything together and makes your cake look truly stunning.
Ingredients for the Frosting:
- 1 cup unsalted butter, softened
- 4 cups powdered sugar
- ¼ cup heavy cream
- 2 tsp vanilla extract
- A pinch of salt
Step 1: Beat the Butter
In a large mixing bowl, beat the softened butter until it’s creamy and smooth. This usually takes about 2-3 minutes. You want that nice, fluffy texture!
Step 2: Gradually Add Sugar
Now, gradually add the powdered sugar, mixing on low speed. This is the part where it can get a bit messy, so don’t rush it! Once it starts to come together, mix on high speed until smooth and combined.
Step 3: Add Cream, Vanilla, and Salt
Pour in the heavy cream, vanilla extract, and salt. Beat the mixture for another 2-3 minutes until it’s light and fluffy. If the frosting is too thick, add a bit more cream; if it’s too thin, add a little more powdered sugar.
Step 4: Ice the Cake
Once your cake layers have completely cooled, it’s time to ice them! Place the first layer on a cake stand or a large plate, spread a generous amount of frosting on top, and then add the next layer. Repeat this for all the layers!
Step 5: Final Touch
After stacking all your layers, use the remaining frosting to cover the entire cake. Get creative with it! You can pipe decorations, add sprinkles, or even edible glitter for that extra wow factor.
And there you have it! Your delicious rainbow cake, complete with beautiful frosting, is ready to dazzle. Just get your camera ready for those Instagram shots because this beauty deserves some love!
Also Read This: How to Do a Hair Cut on Dailymotion with Simple Steps for Perfect Results
5. Assembling Your Rainbow Cake
Congratulations on baking those beautiful rainbow layers! Now, it’s time for the fun part—the assembly. This stage is where your cake transforms from colorful layers into a stunning showpiece. Let’s dive into the steps to get it just right!
Gather Your Supplies: Before you start, make sure you have everything you need:
- Your baked rainbow layers (cooled completely)
- Buttercream frosting (you can use white or colored frosting)
- Offset spatula or a knife for spreading
- A cake stand or plate
- Cake leveler (optional, for even stacking)
Stacking Your Layers: Begin by placing the first layer (the top of the cake will end up being the bottom layer, so pick the most vibrant one) on your cake stand. Spread a generous layer of frosting on top—about 1/2 inch thick works well. If you’d like to add a bit of extra sweetness, consider sprinkling some rainbow sprinkles over the buttercream.
Next, gently place the second rainbow layer on top. Repeat the frosting process with each layer until you reach the topmost layer. Don’t worry if it’s not perfect; a little asymmetry adds to the charm of a homemade cake!
Crumb Coating: Once all your layers are stacked, apply a thin layer of frosting around the entire cake. This is known as a crumb coat and helps seal in any loose crumbs and provides a good base for the final layer of frosting. Place the cake in the fridge for about 30 minutes to set this layer.
Final Frosting: After the crumb coat has set, it’s time for the final layer of frosting. Use your spatula to spread frosting evenly over the top and sides of the cake. Feel free to get creative here! You can create smooth finishes, rustic textures, or even peaks and swirls.
Once your cake is frosted, take a moment to admire your creation. It’s looking fantastic, but we’re not done yet! Let’s add some creative decorations to really bring this rainbow cake to life.
Also Read This: How to Make an Oreo Cake: Delicious Recipe Guide on Dailymotion
6. Creative Decoration Ideas for Your Rainbow Cake
Now that your rainbow cake is assembled, let’s sprinkle on some creativity! Decorating is where you can truly make this cake your own. Here are some fun ideas you can try:
1. Colorful Whipped Cream: If you want to add a fluffy element, pipe some colored whipped cream around the edges of the cake. Use food coloring to tint your whipped cream in vibrant hues. Try contrasting colors to make it pop!
2. Edible Glitter: Who doesn’t love a little sparkle? Dust some edible glitter over your cake for a magical touch. You can use gold or silver for a classy look or go crazy with bright colors for a fun vibe!
| Decoration Type | Effect |
|---|---|
| Rainbow Sprinkles | Fun, playful finish |
| Fresh Fruits | Fresh and vibrant |
| Chocolate Drizzle | Rich and indulgent |
| Fondant Accents | Elegant and artistic |
3. Fresh Fruits: Top your cake with an array of fresh fruits like berries, kiwi slices, or even candied citrus slices. Not only do they look stunning, but they also add a lovely, fresh taste contrast to the cake.
4. Drizzles and Ganache: A drizzle of chocolate ganache or colored icing can create a beautiful, drippy effect. Just melt some chocolate with cream for ganache and let it cool slightly before drizzling on top!
5. Creative Toppers: Consider adding fun toppers such as cake pops, candy, or themed figurines to match the occasion. Whether you’re going for a birthday celebration or a whimsical party, the right topper can complete the look!
Don’t forget to take plenty of photos before slicing into your masterpiece! With these decorating ideas, your rainbow cake will not only taste delightful but will also be a feast for the eyes. Enjoy every step and don’t hesitate to make it uniquely you!
Also Read This: Step-by-Step Mehndi Designs: Creative Tutorials on Dailymotion
7. Frequently Asked Questions about Rainbow Cake
Making a rainbow cake can be an exciting adventure, but it’s natural to have a few questions along the way. Here are some common inquiries that many home bakers have when diving into this colorful creation:
Q: Can I use any cake flavor for a rainbow cake?
A: Absolutely! While vanilla and white cake are popular choices because they provide a neutral base for the vibrant colors, you can experiment with chocolate, red velvet, or even fun flavors like lemon or strawberry. The key is to keep a light-colored batter to showcase those rainbow hues!
Q: What if I don't have food coloring?
A: No worries! You can use natural alternatives like beet juice for red, turmeric for yellow, or spirulina for green. Just keep in mind that these natural colorings may not produce as vivid results, but they can give a lovely pastel effect and are a great way to keep things more natural!
Q: How can I make sure my cake layers are even?
A: To keep your layers uniform, use a kitchen scale to measure your batter into evenly sized bowls. Another great tip is to use a toothpick or a skewer to poke a small hole in the center of each cake layer before baking. This helps them rise evenly.
Q: Can I make the cake in advance?
A: Yes! You can bake and layer the cakes a day ahead of time. Just wrap each layer tightly in plastic wrap and store it in the refrigerator. When you're ready to decorate, let the layers come to room temperature, which makes frosting much easier!
Q: What is the best way to store leftover rainbow cake?
A: To keep your rainbow cake fresh, store it covered in the refrigerator. If you want to keep it for an extended period, consider freezing it! Just remember to wrap it tightly in plastic wrap and then in aluminum foil. It will last for up to three months in the freezer.
These FAQs should help troubleshoot some of the common issues you might run into while creating your own rainbow masterpiece! Don’t hesitate to reach out if you have any other burning questions.
8. Conclusion and Invitation to Share Your Creations
And there you have it! Your comprehensive guide to making a stunning rainbow cake that’s sure to impress anyone who lays eyes on it! This cake is not just a treat for the taste buds but also a spectacle for the eyes. Whether you’re baking for a birthday, a holiday celebration, or just want to brighten up a weekday, a rainbow cake can bring joy and excitement to any occasion.
If you try out this fun recipe, I’d love to see your creations! Feel free to share photos of your colorful masterpieces on social media and tag #NerdyNummies; it’s always thrilling to see how everyone interprets the recipe in their unique style. Don’t forget to share any tweaks or variations you make – your creativity may inspire someone else!
Have fun baking, and remember that the best part about creating is not just the destination but the joy of the journey. So, whip out those mixing bowls, grab your vibrant food colors, and let’s bring some color into the kitchen!
 admin
admin


