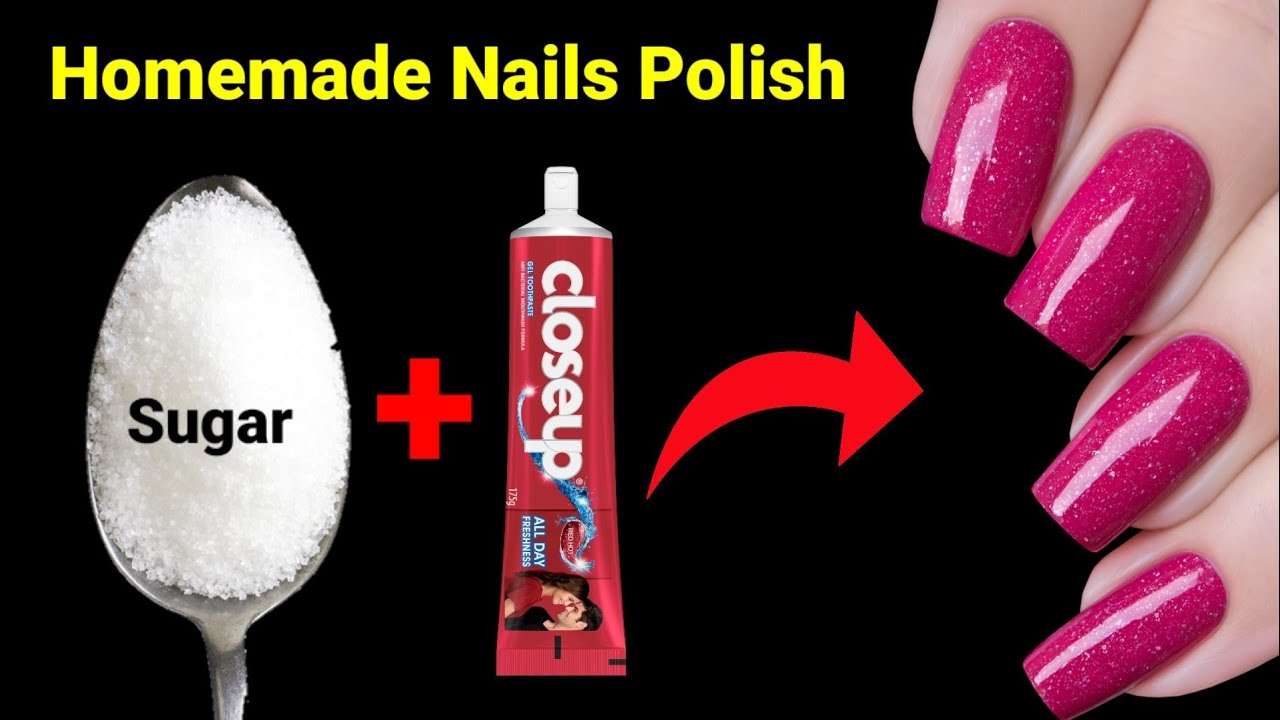
Making your own nail paint at home can be a fun and rewarding DIY project! Not only does it allow you to customize colors to your liking, but it also gives you the chance to experiment with different textures and finishes. Plus, it can be a great way to ensure that you're using non-toxic ingredients. In this guide, we’ll walk you through the supplies you’ll need and how to create beautiful nail paint right in your own kitchen.
Supplies Needed
Before you dive into the world of DIY nail paint, it’s essential to gather all the necessary supplies. Here’s a comprehensive list to get you started:
- Base Ingredients:
- Clear nail polish or base coat
- Powdered pigments (mica powder, eyeshadow, or food coloring)
- Mixing Tools:
- Small mixing bowl
- Toothpick or small spatula
- Funnel (for pouring into bottles)
- Storage:
- Empty nail polish bottles or small jars
- Labels for identification
- Optional Additives:
- Glitter for sparkle
- Essential oils for fragrance
- Matte top coat for a matte finish
Having these supplies ready will make the process smoother and more enjoyable. Remember, creativity is key, so feel free to mix and match colors and additives to create unique shades that reflect your personal style!
Also Read This: How to Download Dailymotion Videos Easily
3. Step-by-Step Instructions
Making your own nail paint at home is not only fun but also allows you to be creative with colors and finishes. Here’s a simple guide to crafting your own nail polish:
- Gather Your Materials:
- Clear nail polish base (or clear coat)
- Eyeshadow or pigments (in your desired color)
- Small funnel or a piece of paper to create a funnel
- Mixing tools (toothpick or small stirrer)
- Optional: Glitter, essential oils, or other additives
- Prepare Your Workspace:
Find a clean, well-lit area to work. Lay down some newspaper or a disposable tablecloth to catch any spills.
- Mix Your Ingredients:
Using the funnel, pour a small amount of clear nail polish into a small bowl. Then, add a pinch of your chosen eyeshadow or pigment. Start with a little—you can always add more for a deeper color.
- Stir and Combine:
Mix the polish and pigment thoroughly using your mixing tool. Make sure there are no clumps. If you want to add glitter, now’s the time—just sprinkle it in and stir!
- Transfer the Mixture:
Carefully use the funnel to pour your custom nail paint back into the nail polish bottle. Seal it tightly and give it a good shake.
- Test It Out:
Before applying to all nails, try a small swatch to see if you love the color. Adjust if necessary!
Also Read This: How Your Mother Met Me a Look at an Alternate Storyline on Dailymotion
4. Tips for Customizing Your Nail Paint
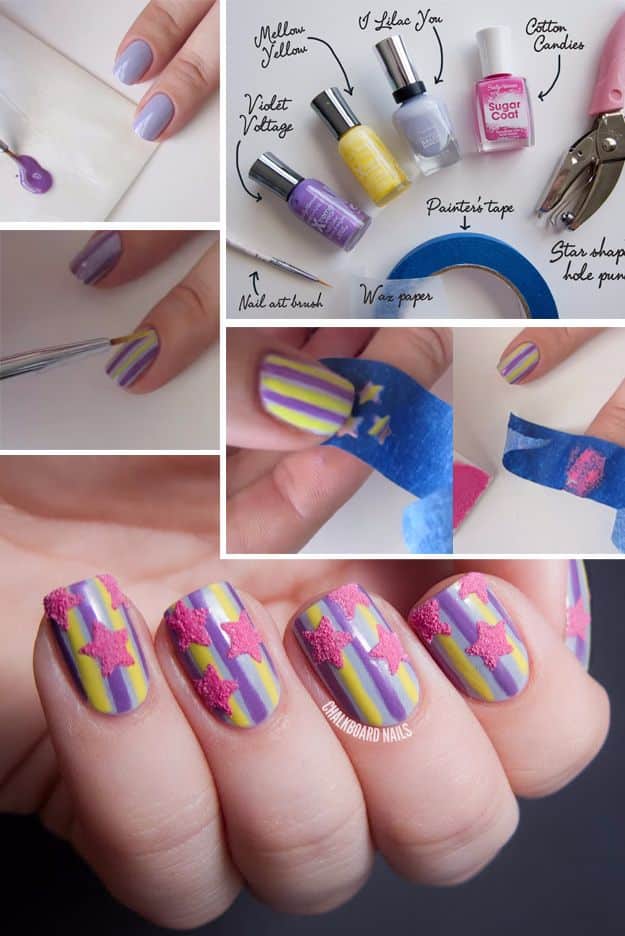
Once you’ve mastered the basics of making nail paint at home, the real fun begins with customization! Here are some tips to help you create truly unique shades:
- Experiment with Color Combinations:
Mix different eyeshadow colors for a multi-dimensional effect. Try blending a shimmery shade with a matte one!
- Adjust the Opacity:
If you prefer a sheer look, add more clear base coat. For a bolder finish, increase the pigment.
- Add Finishing Touches:
Consider incorporating:
- Glitter: For a sparkling effect, add fine or chunky glitter.
- Essential Oils: Add a few drops for a delightful scent.
- Textured Additives: Try mixing in sand or tiny beads for a unique texture.
- Label Your Creations:
Keep track of your custom colors by labeling your bottles with the names and ingredients, so you can recreate your favorites!
- Stay Safe:
Always use cosmetic-grade ingredients to ensure your safety. Avoid non-cosmetic pigments.
Also Read This: How to Do a French Kiss Step by Step on Dailymotion: A Romantic Guide
5. Storage and Usage Recommendations
Making your own nail paint at home is a fun and creative endeavor! However, to preserve your hard work and ensure the best results, proper storage and usage are key. Here’s how to keep your homemade nail paint fresh and effective:
- Use Airtight Containers: Store your nail paint in small, airtight containers to prevent evaporation and contamination. Glass jars with tight-sealing lids work wonderfully.
- Cool, Dark Place: Keep your nail paint in a cool, dark place, away from direct sunlight. Heat and light can alter the consistency and color of the paint.
- Label Your Creations: Don’t forget to label each container with the date and ingredients used. This will help you keep track of freshness and avoid mixing up different shades.
- Shake Before Use: Before applying, always give your nail paint a good shake. This will mix the ingredients and restore the consistency, ensuring an even application.
- Check for Separation: If you notice the ingredients have separated, simply shake or stir gently. If the paint has an unusual smell or texture, it's best to discard it.
By following these simple recommendations, you can enjoy your homemade nail paint for a longer time and maintain its beautiful finish!
6. Conclusion
Creating your own nail paint at home is not only a delightful DIY project but also a way to express your creativity and individuality. With just a few ingredients and a bit of experimentation, you can customize your colors and finishes to suit your style.
In summary:
| Benefits | Considerations |
|---|---|
| Eco-Friendly | May require practice to perfect. |
| Cost-Effective | Ingredient quality affects results. |
| Customizable Shades | Storage and shelf life are crucial. |
So, unleash your inner artist! With the right storage and usage practices, your homemade nail paint can bring a splash of color and personality to your nails. Happy painting!
 admin
admin


