Presentations and online content increasingly utilize round images. They beautify your slides in a unique way, thereby helping them direct the viewer’s concentration. Here are some great possible reasons for you to consider using round images:
- Visual Appeal: Circular images stand out and are visually appealing, making your presentation more engaging.
- Branding: Using round images can create a consistent look that aligns with your brand's identity.
- Focus: They can help direct the audience’s focus to key elements without distractions.
- Modern Aesthetic: Round images give a contemporary feel to your slides, making them look more polished.
If you want to make your visual storytelling better by including round pictures, then this is the ability to have.
Steps to Insert an Image in Google Slides
First, to round off your pictures, they need to be uploaded onto Google Slides. Here is a simple guideline that can aid you in doing so:
- Open Google Slides and choose the presentation where you want to add an image.
- Click on the Insert menu at the top of the page.
- Select Image from the dropdown options.
- You can choose to upload an image from your computer, insert it from the web, or select from your Google Drive.
Once you have your picture on the slide, you can begin turning it into a circle!
How to Crop Images into a Circle Shape
The procedure for cropping images into a shape of a circle on Google Slides is very simple. This is how you need to do it:
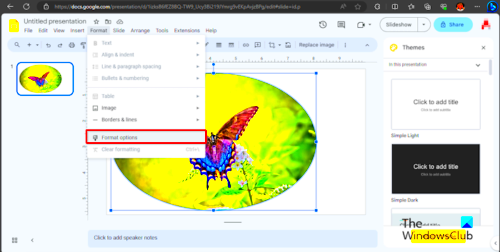
- Select the image you want to crop.
- Click on the Format options that appears in the toolbar.
- Look for the Mask Image option.
- Select the Shapes dropdown and choose the circle shape.
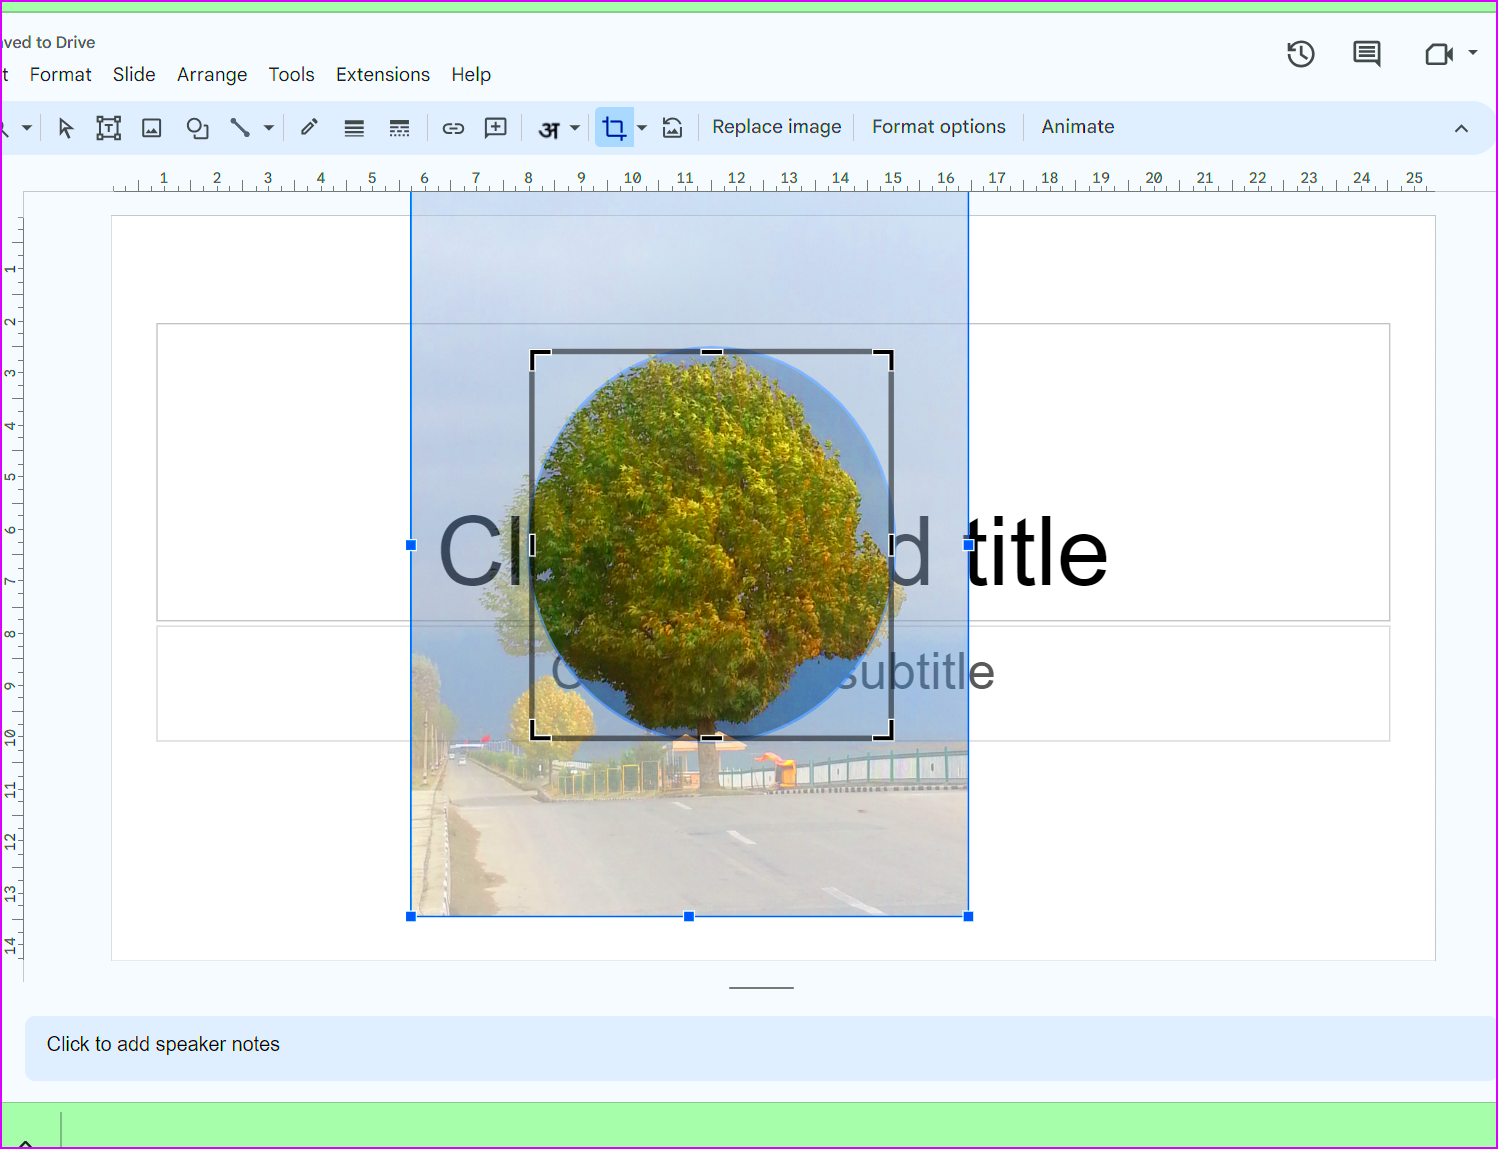
- Adjust the crop area by dragging the corners until you achieve the desired look.
Once you have cropped the photo, it is possible to resize it and move it around as you like ensuring that it fits perfectly into your slide layout. Round images change the way your presentation looks completely!
Using Masking Tools for Perfect Round Images
In order to make images that are completely circular in Google Slides, masking tools are the best option. Cutting an image within the desired shape without affecting its quality is possible through masking. Here’s how to use these tools effectively:
- First, insert your image into the slide by following the steps we discussed earlier.
- Once your image is in place, click on it to select it.
- Look for the Crop Image button in the toolbar, then click on the small triangle next to it.
- Select Mask image and choose the circle shape from the available options.
- After selecting the circle shape, you can adjust the cropping by clicking and dragging the edges of the circle.
No matter whether it is a simple or complex image, masking tools can help to round your images as well as determining how much of the portion should be visible. This technique is not only fast but also enables you to have an impressive appearance!
Adjusting Image Size and Position
After you’ve rounded your pictures, it is important to resize and reposition them for maximum effect. Here are some tips that can assist you with this:
- Resizing: Click on the image, and you will see small blue squares around the edges. Click and drag these squares to resize your image while maintaining its round shape.
- Positioning: To move the image, simply click and drag it to your desired location on the slide. Align it with other elements for a balanced look.
- Using Guides: Google Slides provides guidelines to help you center your image perfectly. Pay attention to these guides when positioning.
In regards to your slides, altering their image dimensions and locations can noticeably impact their appearance. Essentially, it's about making a sense of uniformity in the whole presentation and a better flow among all its parts!
Common Issues When Making Images Round
Difficulties may easily arise while attempting to make images round on Google Slides, even when the task appears simple. These are some of the issues you could meet as well as their solutions:
- Image Quality: Sometimes, images may appear blurry after cropping. Always start with high-resolution images to maintain clarity.
- Misalignment: If your images don’t seem to line up, use the alignment tools found under the Arrange menu for better placement.
- Masking Errors: If you accidentally mask too much of the image, click on the image again, select Crop Image, and adjust the mask as needed.
- Aspect Ratio Issues: Make sure you are dragging the corners evenly to maintain the round shape. If you stretch the image, it can look distorted.
If you are conscious of these typical pitfalls, you can easily solve problems and come up with beautiful circular pictures that will make your presentations more attractive!
Tips for Enhancing Your Round Images
That’s merely the start of round image creation. If you desire to enhance the visibility of these in your Google slides, here are some suggestions:
- Add Borders: Adding a border around your round images can create contrast and draw attention. To do this, select your image, click on the Format options, and choose a border color and thickness that complements your slide.
- Use Shadows: A subtle shadow can add depth to your images. In the Format options, look for Drop shadow and adjust the angle, transparency, and blur for a professional finish.
- Play with Colors: Bright and contrasting colors can make your round images pop. Use vibrant backgrounds or color overlays to enhance visibility.
- Consider Layering: Layering images can create interesting visual effects. Place your round image on top of another background image or shape to make it more dynamic.
Using these suggestions can help improve your circular pictures, enhancing their overall presentation by making it more attractive and efficient at sending a message across.
Frequently Asked Questions
Below are common queries that people ask regarding how to create circular images in Google Slides alongside the accompanying answers:
- Can I animate my round images?
- Yes! You can add animations by selecting the image and clicking on Insert > Animation to create effects like fade in or zoom.
- What if my image doesn’t fit perfectly in the circle?
- You can adjust the crop area after masking. Just select the image, click on Crop Image, and resize as needed.
- Are there any limits to how many round images I can use?
- While there’s no strict limit, too many round images can clutter your slide. Use them judiciously for maximum impact.
- How do I keep my images from looking stretched?
- Always hold the Shift key while resizing to maintain the aspect ratio, ensuring your images stay round and proportional.
Conclusion on Creating Round Images in Google Slides
To sum up, Google Slides’ round pictures are a simple but effective means for enhancing your presentation. By following the steps in this guide, you can easily include, crop and modify images such that they serve you best. Take note that it is not only about creating round shapes but also making sure they are in tune with the design of your whole presentation and thus help pass your message across. The next time you need to design a presentation, make sure you try out incorporating round images and discover how they improve your work. Good luck with your presentations!
 admin
admin


