Google Slides is a user-friendly presentation tool that allows you to create engaging slideshows for various purposes, whether for business, education, or personal projects. With its simple interface, anyone can easily navigate and utilize its features. You can add text, images, videos, and even animations to enhance your presentations.
Before diving into more complex tasks like making images round, it’s essential to get familiar with the platform’s layout. Here are some basic elements of Google Slides:
- Slides Panel: This panel shows all the slides in your presentation.
- Toolbar: Here, you can access tools for formatting text, adding shapes, and more.
- Canvas: This is where you create and design your slides.
With this foundational knowledge, you can confidently work on your slides and utilize more advanced features like image cropping.
Preparing Your Image for Cropping

Before you start cropping your image into a circle, it's important to ensure that your image is of high quality and properly sized. Here are some steps to follow:
- Select a High-Quality Image: Make sure your image has a good resolution to avoid pixelation when cropped.
- Upload Your Image: You can insert an image into your slide by going to Insert > Image and selecting the source of your image.
- Adjust Image Size: Click on the image and drag the corners to resize it if necessary.
By preparing your image well, you set the stage for a smoother cropping process and a more polished final look in your presentation.
Also Read This: How to Change the Print Size of an Image on iPhone
Selecting the Right Shape for Your Image
Google Slides offers various shapes to help you customize your images. For making an image round, you’ll want to select a circular shape. Here’s how you can do that:
- Insert Shape: Go to Insert > Shape and then choose Shapes.
- Choose Circle: Select the circle option from the dropdown menu.
- Draw the Shape: Click and drag on the slide to draw a circle. Hold the Shift key while dragging to keep the proportions even.
After you’ve drawn the circle, you can position it over your image. This shape will guide you in cropping your image correctly, so ensure it’s placed where you want your focal point to be.
Also Read This: How to Curve an Image on Cricut
Cropping Your Image into a Circle
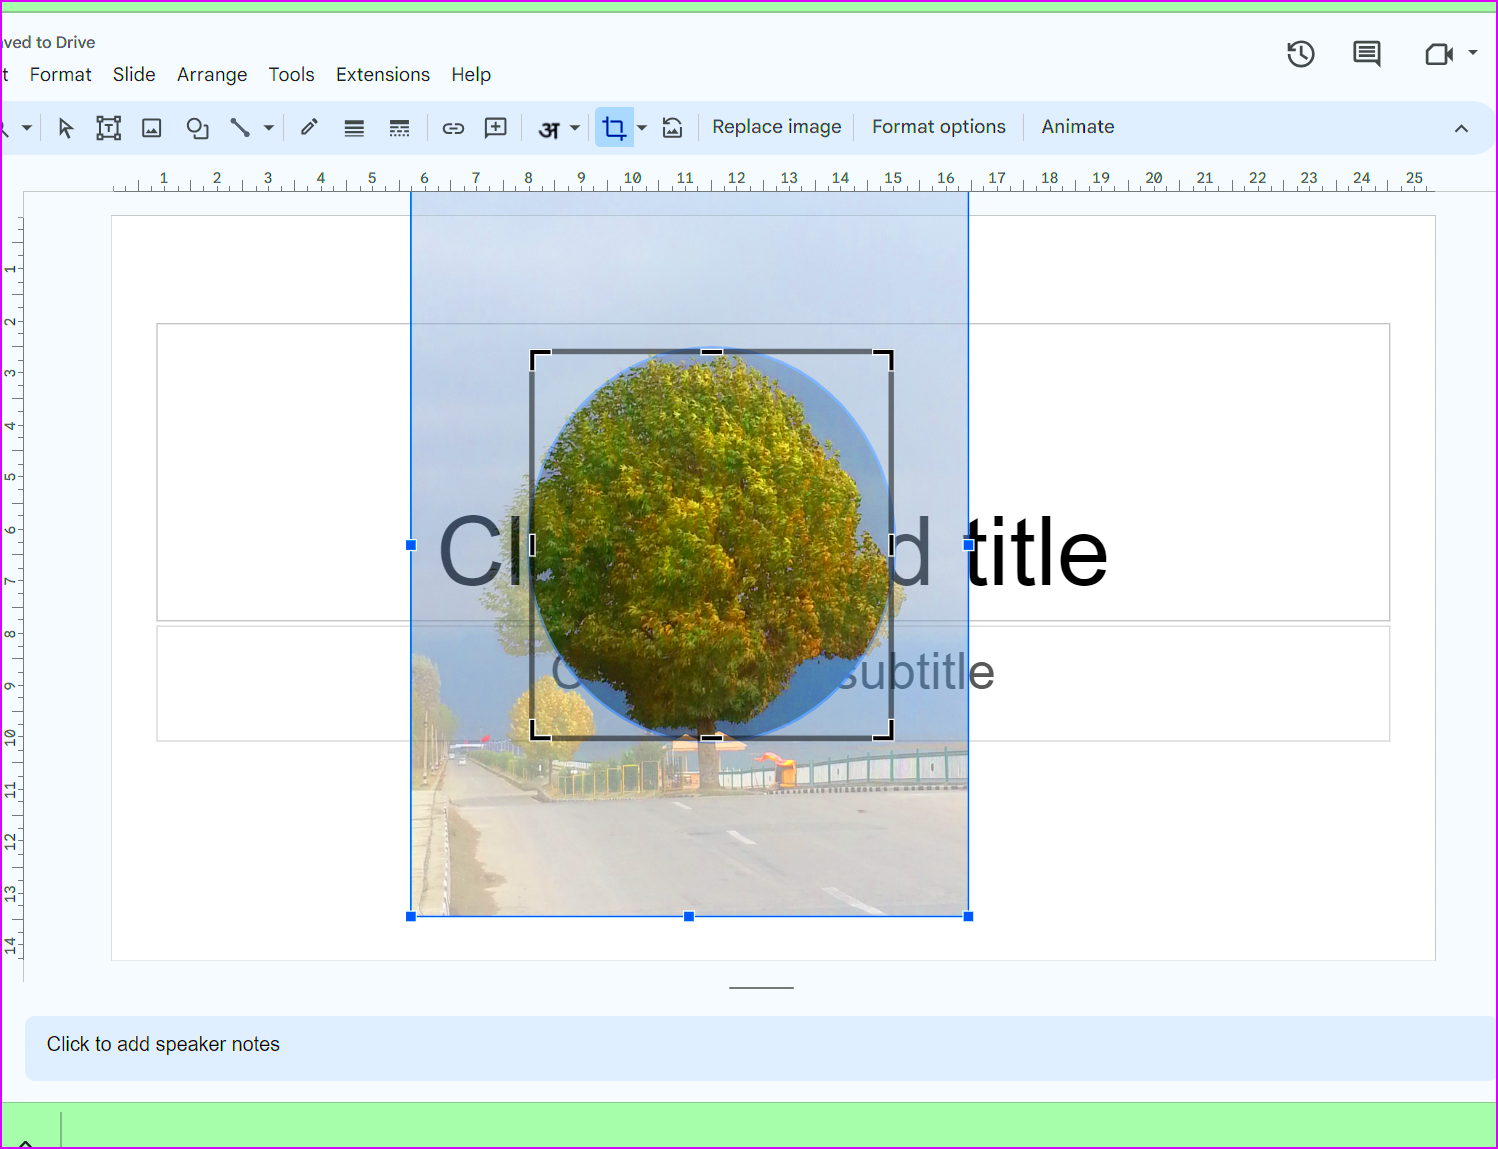
Now that you have your image uploaded and your circular shape in place, it’s time to crop your image into that perfect circle. This process is straightforward and allows for a clean and professional look in your presentation. Here’s how to do it:
- Right-Click on Your Image: Start by right-clicking on the image you want to crop.
- Select “Crop Image”: From the context menu, choose the “Crop Image” option. You might see a few options here, but focus on this one.
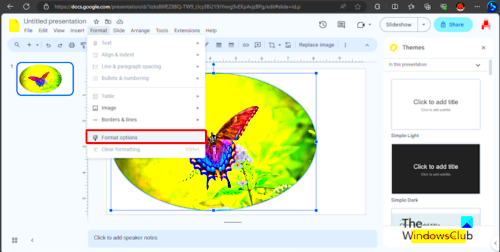
- Choose “Crop to Shape”: After selecting crop, hover over “Crop to Shape” in the submenu. You will see a variety of shapes appear.
- Select the Circle Shape: Click on the circle shape from the list. This will instantly crop your image into a circle.
Voila! Your image is now a circle. If you're not satisfied with the result, don’t worry; you can always adjust the crop or revert to the original image if needed. This technique is perfect for creating a more dynamic and visually appealing slide.
Also Read This: How to Change Your YouTube Font and Personalize Your Channel
Adjusting Your Image Position and Size
After cropping your image into a circle, the next step is to adjust its position and size on the slide. This will ensure that your image is perfectly framed and looks great in your presentation. Here’s how to make those adjustments:
- Click and Drag: Click on the image and drag it to the desired location on your slide. Make sure it aligns with other elements for a balanced look.
- Resize Your Image: If your circular image is too large or too small, you can resize it by clicking and dragging the corners. Holding the Shift key while resizing keeps the proportions intact.
- Use Alignment Tools: To align your image perfectly, you can use Google Slides’ alignment tools. Go to the toolbar, click on Arrange, and choose options like Align Left, Align Center, or Align Right.
Proper positioning and sizing are key to making your slide visually appealing. Take your time to ensure everything looks just right.
Also Read This: Elevate Your Presentation Designs with 123RF
Saving Your Changes in Google Slides
Once you’re satisfied with how your circular image looks, it's crucial to save your changes. Google Slides automatically saves your work, but here’s how you can ensure everything is properly saved:
- Check for Auto-Save: Look at the top of your screen. If it says “All changes saved in Drive,” you’re good to go! Google Slides saves your progress automatically as you make edits.
- Manual Save: If you want to be extra sure, you can manually save by clicking on File and then Save. Though it’s not usually necessary, it can give peace of mind.
- Exporting Your Presentation: If you need a copy of your slides, go to File > Download and select the format you prefer, such as PDF or PowerPoint.
By following these steps, you ensure that all your hard work is saved, allowing you to focus on delivering an excellent presentation without the fear of losing your edits!
Also Read This: How to Divide an Image Into Equal Parts for Printing
Common Issues and Troubleshooting Tips
As with any software, you might run into a few bumps along the way while working in Google Slides. Don’t worry; many users face similar challenges, and most of them have simple solutions. Here are some common issues and helpful troubleshooting tips to keep in mind:
- Image Not Cropping Properly: If your image doesn’t seem to crop into a circle, ensure that you have selected the image correctly and that you are using the right cropping options. Sometimes, unselecting and reselecting the image helps.
- Image Appears Blurry: If your cropped image looks blurry, it might be due to a low-resolution original. Always choose high-quality images to avoid this problem.
- Shape Not Visible: If your circular shape is not appearing over the image, double-check that the shape is on top by right-clicking on it and selecting “Order” > “Bring to front.”
- Difficulty Resizing: If you find it hard to resize your cropped image, try using the corner handles rather than the side handles to maintain the aspect ratio.
By keeping these tips in mind, you can quickly overcome common challenges and enjoy a smooth experience while creating your presentations!
Also Read This: Whiteboard Wonders: Unlocking More Colors on Microsoft Whiteboard
Frequently Asked Questions
It’s natural to have questions when learning new features, especially in a tool like Google Slides. Here are some frequently asked questions that might help clarify any uncertainties:
- Can I revert my image to its original state after cropping? Yes! Simply right-click on the image, select “Reset image”, and it will go back to its original form.
- How can I change the shape of my cropped image later? You can do this by selecting the image, right-clicking, and choosing “Crop Image” again. From there, you can select a different shape.
- Is it possible to add borders to my circular image? Absolutely! After cropping, select the image and click on the Border color option in the toolbar to add a border.
- Can I animate my circular image? Yes, you can! Click on the image, go to Insert > Animation, and choose the type of animation you want to apply.
If you have more questions, don't hesitate to explore Google’s help center or reach out to their support!
Conclusion and Final Thoughts
Creating visually appealing presentations is easier when you know how to use the tools at your disposal. By following the steps outlined in this guide, you can successfully crop images into circles and enhance the overall aesthetic of your Google Slides presentations. Remember, practice makes perfect!
Whether you’re preparing for a business meeting, a classroom presentation, or a personal project, applying these techniques can help your slides stand out. Don't be afraid to experiment with shapes and designs to make your presentations uniquely yours.
Now that you're equipped with this knowledge, go ahead and give it a try! With a little creativity and the right approach, your Google Slides will impress your audience every time.

 admin
admin


