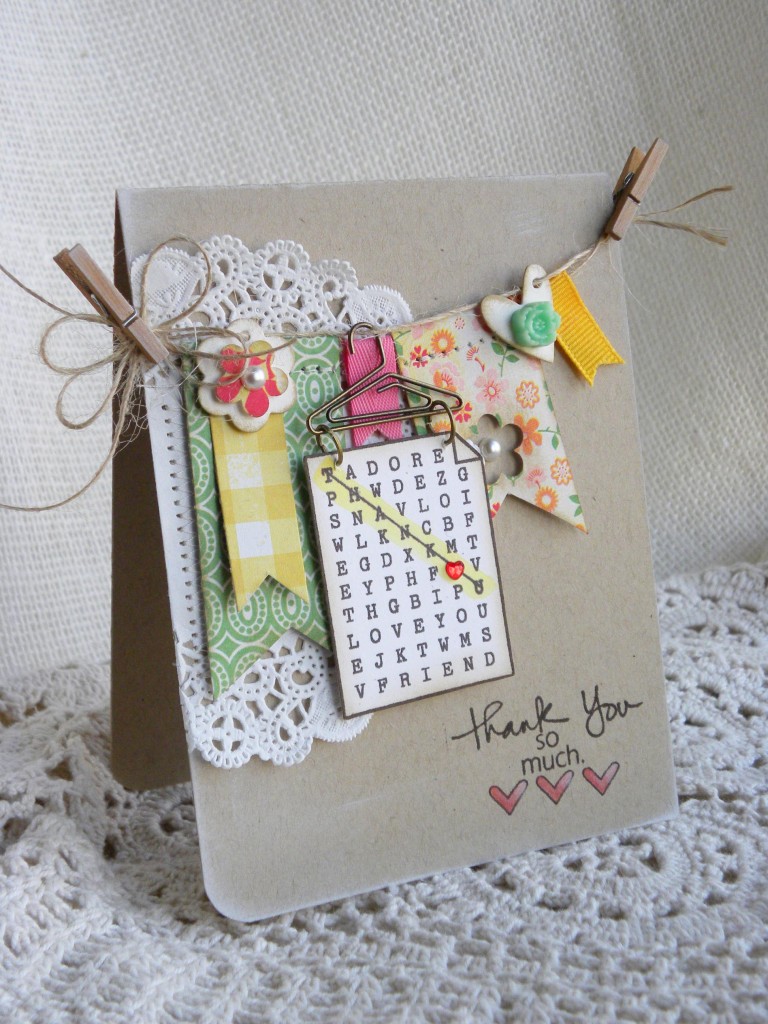
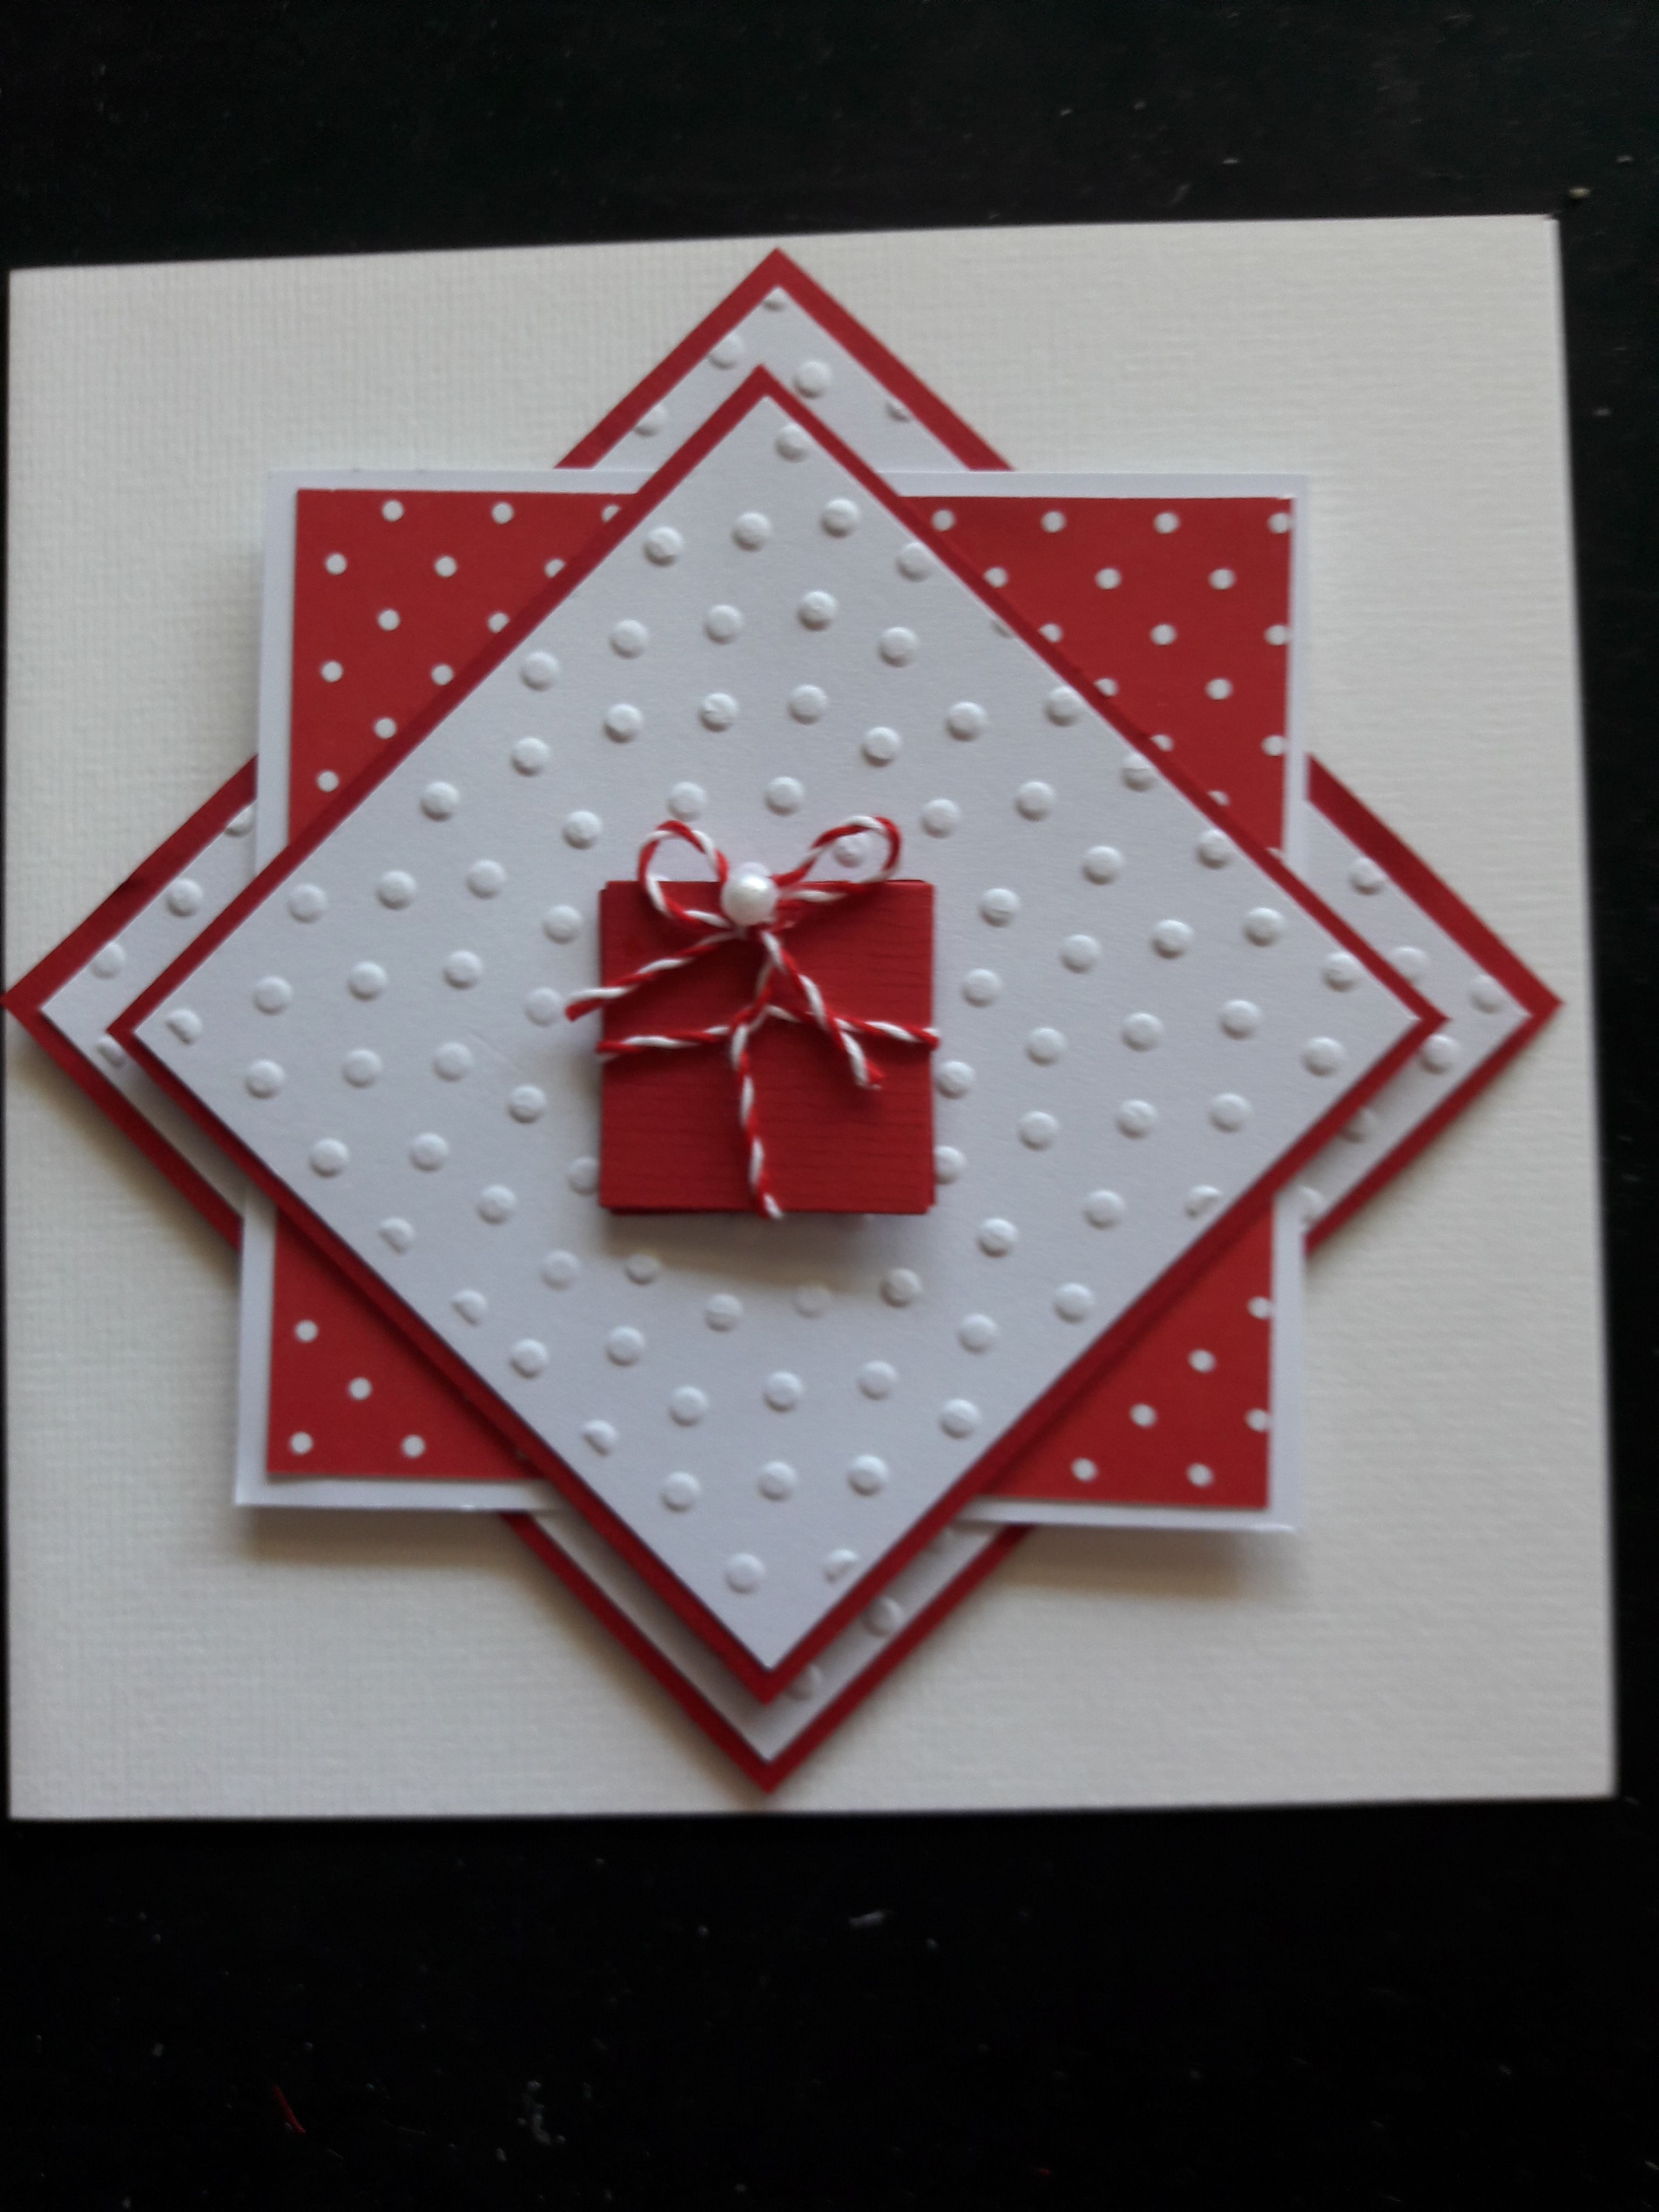
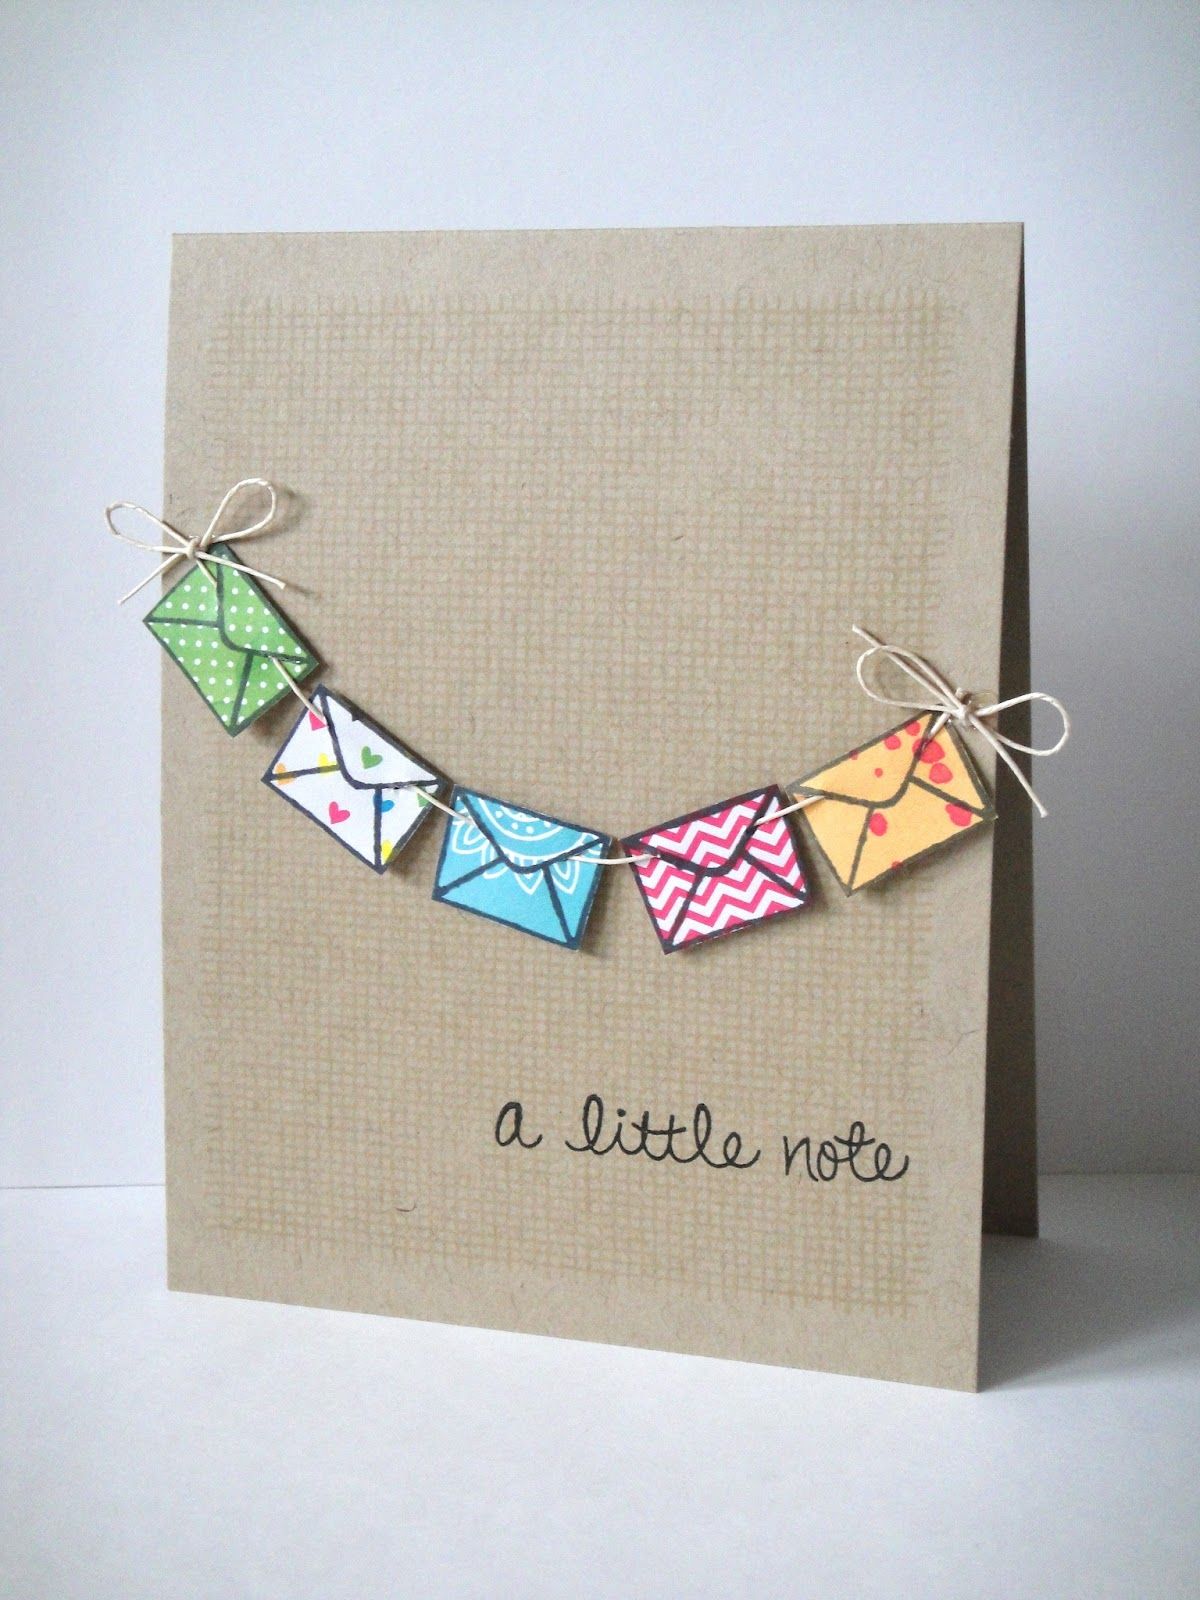
Have you ever wanted to add a personal touch to your greetings and celebrations? Handmade cards are a fabulous way to convey your sentiments in a unique and heartfelt manner. These creations not only showcase your creativity but also show the recipient that you took time and effort to make something special just for them. Whether it's for a birthday, thank you note, or a simple hello, a handmade card can make any occasion more memorable.
Handmade cards allow you to experiment with various designs, colors, and themes, enabling you to tailor each card to perfectly fit the personality of the recipient. Plus, crafting cards at home can be a therapeutic activity—so you can pour your feelings into your creations while unleashing your inner artist. Let's dive into what you'll need to get started on this delightful journey!
Essential Materials and Tools Needed

Getting started with card making is easier than you might think! Here's a handy list of essential materials and tools you'll need to create beautiful handmade cards:
- Cardstock: This is the base of your card. Choose from a variety of colors and thicknesses for different effects. For a classic look, opt for white or cream cardstock.
- Paper Trimmer or Scissors: A paper trimmer gives you clean, straight edges, but scissors are great for intricate designs.
- Adhesives: Glue sticks, double-sided tape, and liquid glue are all great options for sticking elements together.
- Stamps and Ink Pads: Stamps allow you to add decorative elements or messages to your card. Choose a variety of designs that match your occasion.
- Markers and Colored Pencils: These are perfect for adding color and personal touches, such as hand-written messages or doodles.
- Embellishments: Think sequins, ribbons, buttons, or fabric scraps to enhance your card's design.
- Crafting Tools: A bone folder, for making precise folds, or tweezers for placing small embellishments can elevate your card-making game.
- Templates: These can help guide your designs. Use stencils or pre-made card templates for inspiration!
Gathering these materials before you start will help streamline your card-making process, leaving you with more time to get creative. Happy crafting!
Also Read This: Legal Labyrinth: A Guide on How to Sue eBay in Small Claims Court
Step-by-Step Guide to Creating Your First Card

Creating your first handmade card can be a delightful experience! Let’s break it down into a few easy steps to help you get started.
- Gather Your Supplies: Before diving in, you'll need to collect a few essential materials. Here’s a simple checklist:
- Cardstock or thick paper
- Scissors
- Glue or double-sided tape
- Markers or colored pencils
- Stickers or decorative elements (optional)
- Choose Your Card Size: Decide on the size of your card. A standard size is 5x7 inches, but feel free to get creative! Cut your cardstock accordingly.
- Fold the Card: Once you have your desired size, fold the cardstock in half to form the card. Make sure the edges line up nicely and press down firmly for a clean fold.
- Design the Front: Now comes the fun part—decorating the front of your card! You could draw a picture, write a meaningful quote, or even add some embellishments. Let your creativity shine!
- Add a Personal Touch Inside: Don’t forget to leave some space inside for a heartfelt message. Whether it's a simple "Happy Birthday!" or a warm note, this will add a personal touch.
- Finishing Touches: Look it over and make any final adjustments. Add any last-minute decorations or accents that you think will brighten the card up!
And voilà! You’ve created your first handmade card. Remember, practice makes perfect, and every card you make will only get better!
Also Read This: Seller Stardom: How to Achieve Top Rated Seller Status on eBay
Creative Design Ideas for Handmade Cards

Feeling a bit stuck about how to design your handmade cards? Don't worry! Here are some inspiring ideas that you can try out:
- Nature-Inspired: Use leaves, flowers, or twigs to create a natural look. Incorporate pressed flowers or leaf prints for a stunning effect.
- Watercolor Effects: Experiment with watercolors to create beautiful backgrounds. Let the colors blend for a unique, artistic touch.
- Photo Cards: Use personal photos to create sentimental cards. This could be perfect for birthdays, anniversaries, or special occasions.
- Pop-Up Cards: Add a twist to your card by making it a pop-up! This three-dimensional element allows for creativity and surprise.
- Typography Art: Play around with fonts and lettering styles. Use stencils, stamps, or your own handwriting to convey your message artistically.
And, if you want to keep it organized, consider referencing a color palette or a mood board for your design inspiration. Here’s a simple table to guide you in choosing color combinations:
| Color Pairing | Vibe/Theme |
|---|---|
| Pink and Gold | Elegant and Chic |
| Blue and Green | Calming and Natural |
| Red and Black | Bold and Striking |
There you have it! With these creative design ideas, you're sure to make cards that your friends and family will cherish. Happy crafting!
Also Read This: Iterative Editing: The Art of Editing an eBay Listing
Finishing Touches and Personalization Techniques
When it comes to handmade cards, the finishing touches and personalization techniques can make all the difference. You’ve put in the effort to create something unique, so why not add those final details that showcase your style and thoughtfulness?
1. Embellishments: Give your card a little flair by adding embellishments. You could use:
- Stickers: Fun, colorful stickers can bring a pop of life to your card.
- Ribbons and Twine: Physically layering ribbon or twine can add texture and elegance.
- Sequins or Beads: For a bit of sparkle, consider using sequins or beads to accent certain areas.
2. Calligraphy or Handwritten Notes: A personal touch goes a long way. Try your hand at calligraphy or simply write a heartfelt message that reflects your feelings. This adds not only character but also connection.
3. Layering Techniques: Playing with layers can enhance your card’s design. Use different cardstock colors and textures to create depth. A basic design can become a stunning masterpiece with the right layering!
4. Digital Elements: If you have a knack for technology, you can create printable elements that you can cut out and paste onto your card. This could include quotes, images, or even custom designs.
5. Custom Envelopes: Don't forget the envelope! Decorate it with matching designs or unique stamps to give your card an extra element of surprise when it’s opened.
Ultimately, your card's finishing touches should reflect your personality and the recipient's taste. So let your creativity flow, and have fun personalizing each card!
Also Read This: Edit Essentials: How to Edit a Listing on eBay
Where to Share Your Handmade Cards
Once you’ve crafted your beautiful handmade cards, the next step is sharing them with the world. Here are some fantastic avenues for showcasing your creations:
1. Social Media Platforms: The visuals of handmade cards shine brilliantly on platforms like:
- Instagram: Use hashtags such as #HandmadeCards or #Cardmaking to join a vibrant community.
- Pinterest: Create pins featuring your cards to inspire others with similar interests.
- Facebook: Join craft groups where you can upload images of your cards and get feedback.
2. Online Marketplaces: If you’re interested in selling your cards, consider setting up shop on platforms like:
- Etsy: A great place for handcrafted items, where your cards can reach a targeted audience.
- eBay: For auction-style selling, this can be a fun way to reach card collectors.
3. Craft Fairs and Local Events: Participating in local craft fairs or markets can help you display your cards in person. It’s also an excellent opportunity to meet fellow crafters and expand your network.
4. Personal Connections: Don’t forget the beauty of gifting. Share your cards with friends and family. Hand-delivering a card not only adds a personal touch but also creates a meaningful experience.
Sharing your handmade cards can enhance their value and spread joy. So go ahead, show off your creativity, and let your cards bring smiles to others!
How to Make Handmade Cards at Home
Creating handmade cards at home is an enjoyable and rewarding activity that allows you to express your creativity while adding a personal touch to your greetings. Whether it's for birthdays, weddings, or holidays, handmade cards can convey heartfelt messages in a unique style. Here's a step-by-step guide to get you started:
Materials Needed:
- Cardstock or thick paper
- Scissors
- Glue or double-sided tape
- Markers, colored pencils, or watercolors
- Stickers or embellishments (like ribbons or sequins)
- Envelopes
Steps to Create Your Card:
- Choose Your Card Size: Decide on the dimensions of your card. A standard size is 5x7 inches or 4x6 inches.
- Cut the Cardstock: Use scissors to cut the cardstock to your desired size. Fold the paper in half to create a card.
- Add Your Design: Decorate the front of your card using markers, pens, or paint. You can also use stickers or stamps for added flair.
- Write Your Message: Inside the card, write a personalized message. This is where the card gains its sentimental value.
- Embellish: Finally, add any additional elements like ribbons or sequins for a charming finish.
Storage Tips for Your Cards:
| Storage Method | Description |
|---|---|
| Card Box | A dedicated box can neatly house your cards while keeping them organized. |
| Binder | Using a binder with plastic sleeves allows for easy browsing of your cards. |
With these simple steps, you can create beautiful handmade cards that will bring joy to your loved ones. Dive into this creative hobby, and you’ll soon find inspiration for endless future projects!
 admin
admin


