Embroidery is a timeless art form that adds a unique touch to fashion. Whether you're looking to upcycle an old jacket or personalize a plain tee, embroidery can transform your clothing into something truly special. It's not just about aesthetics; it's a way to express your personality and creativity. Plus, the satisfaction of wearing something you made yourself is unbeatable! So, let's dive into the world of embroidery and discover how you can enhance your wardrobe with just a needle and thread.
Materials You Will Need for Embroidery
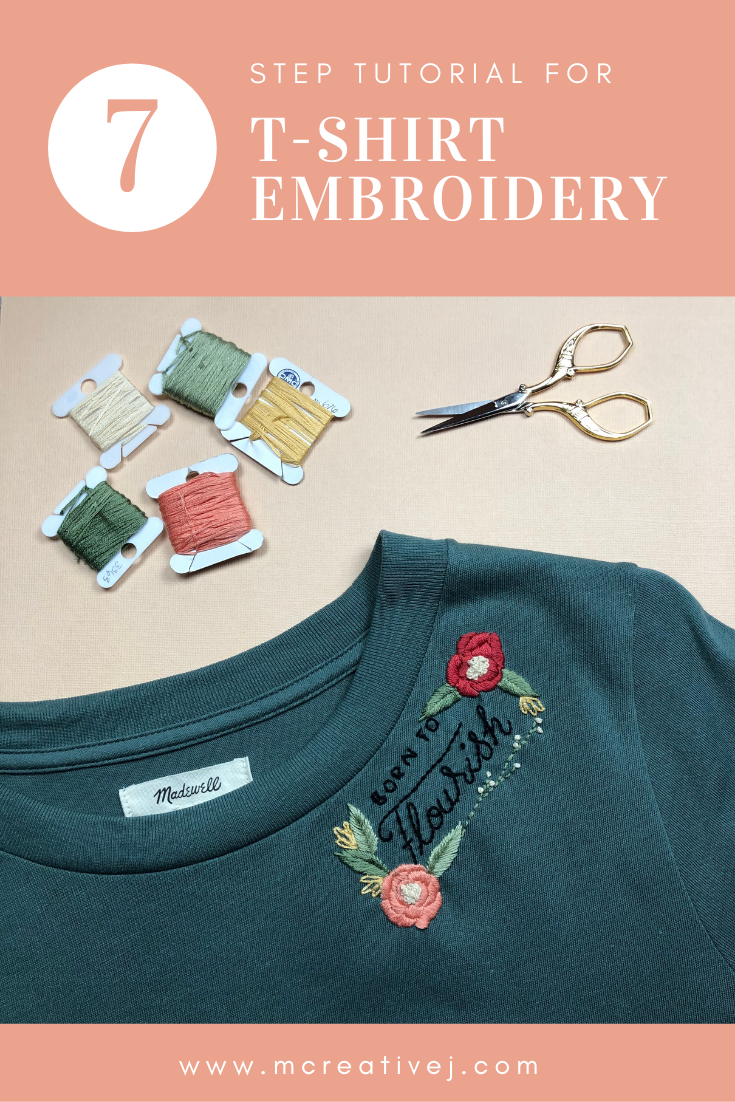
Before you start stitching away, it’s essential to gather the right materials. Don’t worry; you don’t need a fancy craft shop to get started! Here’s a simple list of what you’ll need:
- Fabric: Choose a base fabric like cotton, denim, or canvas. These materials hold embroidery well and are easy to work with.
- Embroidery Thread: Opt for vibrant colors! Floss, which is made of six strands, is perfect for detailed designs.
- Needles: A set of embroidery needles, usually with a larger eye, will make threading your floss easier.
- Embroidery Hoop: This helps keep your fabric taut while you stitch. Choose a size that fits your design comfortably.
- Scissors: Sharp scissors are a must for cutting thread and fabric neatly.
- Tracing Paper: Helpful for sketching your designs before stitching.
- Water-Soluble Marker: Use this to trace your design onto the fabric for easy reference.
With these materials in hand, you’re all set to embark on your embroidery journey. Remember, the best part of DIY fashion is that you can customize everything to your taste. Don't hesitate to experiment with colors and designs to make your creations distinctively yours!
Also Read This: How to Make Chocolate Cake Videos Step-by-Step Tutorial on Dailymotion
3. Choosing the Right Fabric for Your Embroidery Project
When it comes to embarking on your embroidery adventure, selecting the right fabric can make all the difference. Not only does the fabric affect how your design turns out, but it also influences the ease of stitching and the overall durability of your project. Here are some key points to consider:
- Fabric Weight: For beginners, medium-weight fabrics like cotton are ideal. They’re sturdy enough to handle embroidery without puckering or stretching. If you're feeling adventurous, consider lighter fabrics like silk for delicate designs or heavier fabrics like denim for bold statements.
- Fabric Type: Natural fibers such as cotton, linen, and wool are fantastic choices because they hold stitches well and are easy to work with. Synthetic fabrics can be tricky, often slipping or fraying, but they can also add a unique texture.
- Stability: Look for fabrics that have a bit of structure. A fabric with too much drape, like chiffon, can be challenging to embroider. Fabrics with some stiffness will hold your design better and prevent distortion.
- Color and Pattern: Choose a fabric that complements your thread colors. If your design is intricate, a solid background works best. For simpler designs, a patterned fabric can add an interesting layer to your project. Remember to consider the color contrast between the fabric and the thread!
Ultimately, your choice should reflect your personal style and the purpose of your project. Take a moment to feel the fabric, imagine your design on it, and let your creativity guide you. Happy fabric hunting!
Also Read This: Mastering Upper Lip Threading with Dailymotion’s Comprehensive Video Guide
4. Step-by-Step Guide to Creating Embroidery Designs
Now that you’ve chosen your fabric, it’s time to dive into the fun part—creating your embroidery designs! Here’s a simple step-by-step guide that will have you stitching like a pro in no time:
- Gather Your Supplies: You’ll need embroidery thread, a needle, embroidery hoops, fabric, scissors, and a water-soluble pen for tracing your design. Make sure everything is ready before you start!
- Choose Your Design: Whether you want to go freehand or use a pattern, pick something that excites you! If you’re a beginner, start with simple shapes or letters. There are many online resources where you can find downloadable patterns.
- Transfer Your Design: Use a water-soluble pen to trace your design onto the fabric. Make sure it's centered and secure in the hoop. If you're feeling fancy, you can also use tracing paper or even iron-on transfers!
- Secure Your Fabric: Place your fabric in the embroidery hoop, tightening it until the fabric is taut but not stretched. This will keep your design neat and easy to work with.
- Start Stitching: Begin with a basic stitch, like a backstitch or running stitch. Follow the lines of your design, and don’t be afraid to experiment with different stitches as you become more comfortable. Remember, practice makes perfect!
- Finishing Touches: Once you’ve completed your design, carefully trim any excess thread. If you used a water-soluble pen, rinse your fabric to remove any markings, and let it dry flat.
And there you have it! With these steps, you’re on your way to creating beautiful embroidery projects that highlight your unique style. Enjoy the process and let your creativity shine!
Also Read This: How to Care for Your Skin: Essential Tips and Tricks
5. Tips for Designing Unique Patterns
Creating your own embroidery designs can be one of the most rewarding aspects of DIY fashion. It allows you to express your creativity and personalize your wardrobe. Here are some tips to help you design unique patterns that will make your pieces stand out:
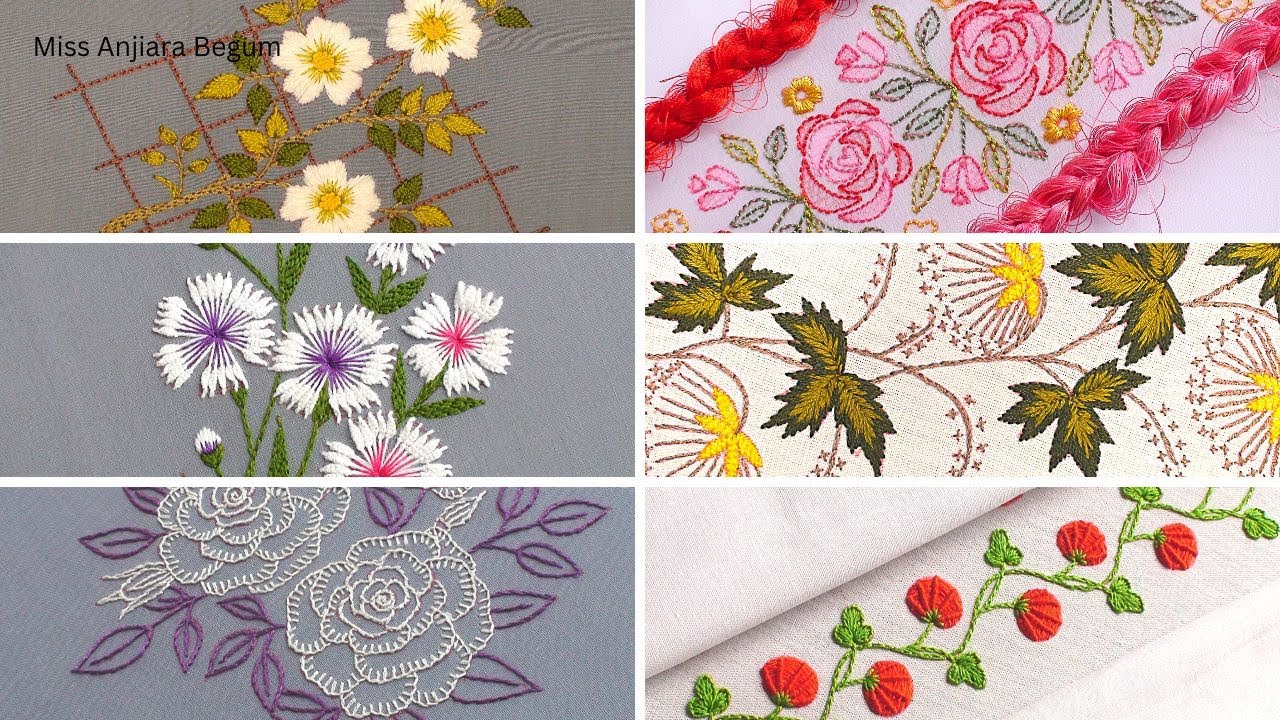
- Draw Inspiration from Nature: Nature is an endless source of inspiration. Consider sketching flowers, leaves, or even animal motifs. For example, a simple daisy pattern can add a whimsical touch to your denim jacket!
- Mix and Match Styles: Don’t be afraid to combine different styles. You can blend geometric shapes with floral designs for a contemporary look. Think of a triangle pattern interspersed with small roses—it’s a fun way to create visual contrast.
- Use Color Theory: Understanding color theory can significantly enhance your designs. Use a color wheel to find complementary colors that pop. For instance, pairing a deep navy with a bright coral can create a striking effect.
- Sketch and Plan: Before jumping into stitching, take some time to sketch your ideas. Use graph paper to plot your designs, ensuring they're balanced and visually appealing. You can also create digital mock-ups using apps like Procreate or Adobe Illustrator.
- Incorporate Personal Elements: Add elements that are meaningful to you, like initials, dates, or symbols that tell your story. This personalization turns your garment into a true reflection of who you are.
Remember, the key to a unique design is to have fun with it! Don’t worry about perfection; embrace imperfections as part of the charm of handmade art.
Also Read This: How to Create a Dailymotion Account: A Step-by-Step Guide
6. Techniques for Applying Embroidery on Clothes
Once you’ve designed your unique embroidery pattern, it’s time to bring it to life! Here are some effective techniques for applying your designs to clothes:
- Hand Embroidery: This classic technique involves stitching by hand using a needle and thread. Start with a simple backstitch or satin stitch. Hand embroidery allows for more precision and personality in your work.
- Machine Embroidery: If you have access to an embroidery machine, this can save you tons of time, especially for intricate or repetitive designs. Just ensure you have the right stabilizer to support your fabric and design.
- Iron-On Transfers: For those who prefer a no-sew option, consider using iron-on transfers. Print your design onto transfer paper and apply it to your fabric using an iron. This technique is quick and perfect for beginners!
- Patch Application: Create or buy embroidered patches to sew onto your clothing. This technique is great for adding flair to jeans or jackets and can cover up holes or stains. Plus, it’s a fun way to layer different patterns!
- Fabric Paint: If you’re feeling adventurous, use fabric paint to create your embroidery designs. This technique allows for a different texture and a more artistic approach. Just make sure to use fabric paint that can withstand washing!
Regardless of the technique you choose, ensure your fabric is clean and properly prepped before starting. And don’t forget to practice your stitches on scrap fabric before diving into your main project. Happy stitching!
Also Read This: How to Build a Solar Panel at Home with a Step-by-Step Video Guide
7. Final Touches and Care for Your Embroidered Garments
Congratulations on your beautiful embroidery project! Now that you’ve brought your creative vision to life, it’s time to focus on those all-important final touches and how to care for your embroidered garments. Taking care of your artwork ensures longevity and keeps your designs looking fresh and vibrant.
Final Touches
- Trim Excess Threads: Carefully snip any loose threads from the back of your embroidery. This not only enhances the appearance but also prevents snagging on other fabrics.
- Press Your Work: Use a steam iron on a low setting, placing a thin cloth over your embroidery. This helps flatten any creases and gives your work a polished look. Just be cautious to avoid direct contact with the stitches to prevent any damage.
- Secure the Back: If you’re concerned about the back of your work showing, consider adding a piece of fabric or stabilizer to cover it. This adds a neat finish and protects your stitches.
Care Instructions
- Washing: Always turn your embroidered garments inside out before washing. Use cold water and a gentle cycle to protect the stitches. Avoid harsh detergents that might fade the colors.
- Drying: Air drying is best. Lay the garment flat or hang it to dry. If you must use a dryer, opt for a low heat setting.
- Storage: Store your embroidered pieces in a cool, dry place. Avoid direct sunlight to prevent fading, and consider using acid-free tissue paper to protect intricate designs during storage.
By taking these final touches and care instructions into account, you’ll ensure that your embroidered garments remain beautiful for years to come. They’ll be a testament to your creativity and hard work!
8. Where to Share Your Embroidery Creations
Now that you’ve crafted stunning embroidery designs, it’s time to showcase your talent! Sharing your creations not only brings joy but also inspires others. Here are some fantastic platforms where you can proudly display your embroidered garments:
Social Media Platforms
- Instagram: This is a visual platform perfect for showcasing your work. Use relevant hashtags like #EmbroideryArt or #HandmadeFashion to reach a broader audience. Consider posting progress shots, too, to engage your followers!
- Pinterest: Create boards dedicated to your embroidery designs. This platform is excellent for finding inspiration and sharing your creations with others who share your passion.
Online Communities
- Facebook Groups: Join embroidery or DIY fashion groups. These communities are often filled with like-minded individuals eager to share tips and admire each other’s work.
- Reddit: Subreddits like r/Embroidery or r/sewing are fantastic places to post your creations, get feedback, and connect with fellow embroidery enthusiasts.
Your Own Blog or Website: If you enjoy writing, consider starting a blog or website to document your embroidery journey. Share tutorials, tips, and of course, photos of your finished pieces. This can help build a community around your work and establish your unique style.
Remember, sharing your creations not only celebrates your hard work but also connects you with a community of crafters who appreciate the art of embroidery. So go ahead, spread your creative wings, and let your designs shine!
 admin
admin