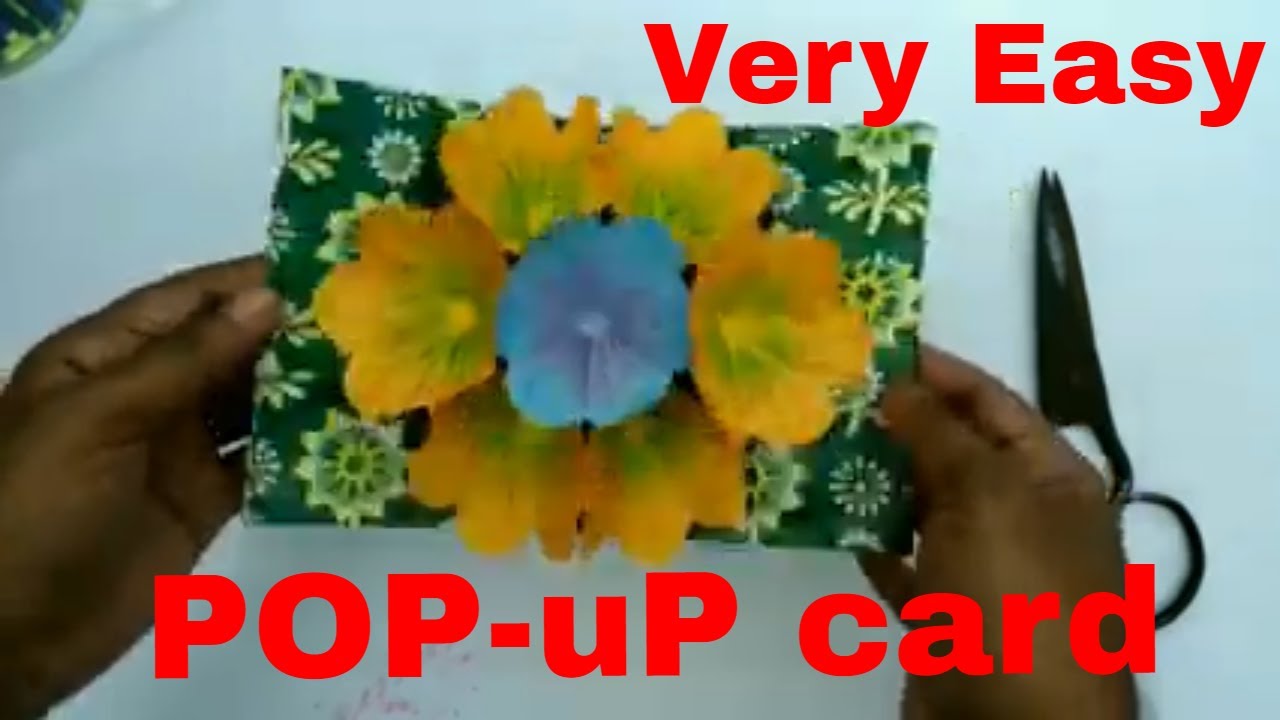
Pop up cards are a delightful way to add a personal touch to greetings and celebrations. They surprise the recipient with a three-dimensional element that springs to life when the card is opened. Whether it’s for a birthday, holiday, or just because, making a pop up card is a fun and creative project that anyone can enjoy. Plus, with the plethora of tutorials available on platforms like Dailymotion, you can easily find step-by-step guidance to bring your ideas to life!
Materials Needed for Creating Pop Up Cards
Before diving into the fun of creating pop up cards, gathering the right materials is essential. Here’s a handy list of what you’ll need:
- Cardstock: This sturdy paper forms the base of your card. Choose various colors to make your creations pop!
- Scissors: A good pair of scissors is a must for cutting out shapes and designs.
- Glue or Double-Sided Tape: These adhesives will help you attach elements securely.
- Markers or Colored Pencils: Use these to add personal messages or decorations to your card.
- Ruler: A ruler helps ensure your cuts and folds are precise.
- Pencil: Great for sketching out designs before making them permanent.
Optional materials that can enhance your projects include:
- Stickers or Stamps: For added flair and decoration.
- Embossing Tools: To create texture on your card.
- Craft Knife: For intricate cuts that scissors can’t handle.
Having these materials on hand will set you up for success as you embark on your pop up card-making journey. Remember, the most important ingredient is your creativity! So, let’s get those creative juices flowing and start crafting some amazing cards!
Also Read This: Simple Steps to Download Dailymotion Videos on Android Phones Without Hassle
3. Step-by-Step Guide to Making Basic Pop Up Cards
Creating a basic pop-up card is a delightful experience, perfect for beginners and seasoned crafters alike! Not only does it involve simple materials, but it also gives you the opportunity to express your creativity. Let’s break down the process into easy steps:
- Gather Your Materials: You will need:
- Cardstock (two contrasting colors)
- Scissors
- Glue stick or double-sided tape
- Ruler
- Pencil
- Decorative items (stickers, markers, etc.)
And there you have it! Your very own basic pop-up card that’s ready to impress. Remember, practice makes perfect, and soon you’ll be able to create more complex designs with ease.
Also Read This: Learn How to Download Dailymotion Videos Using Your Smartphone
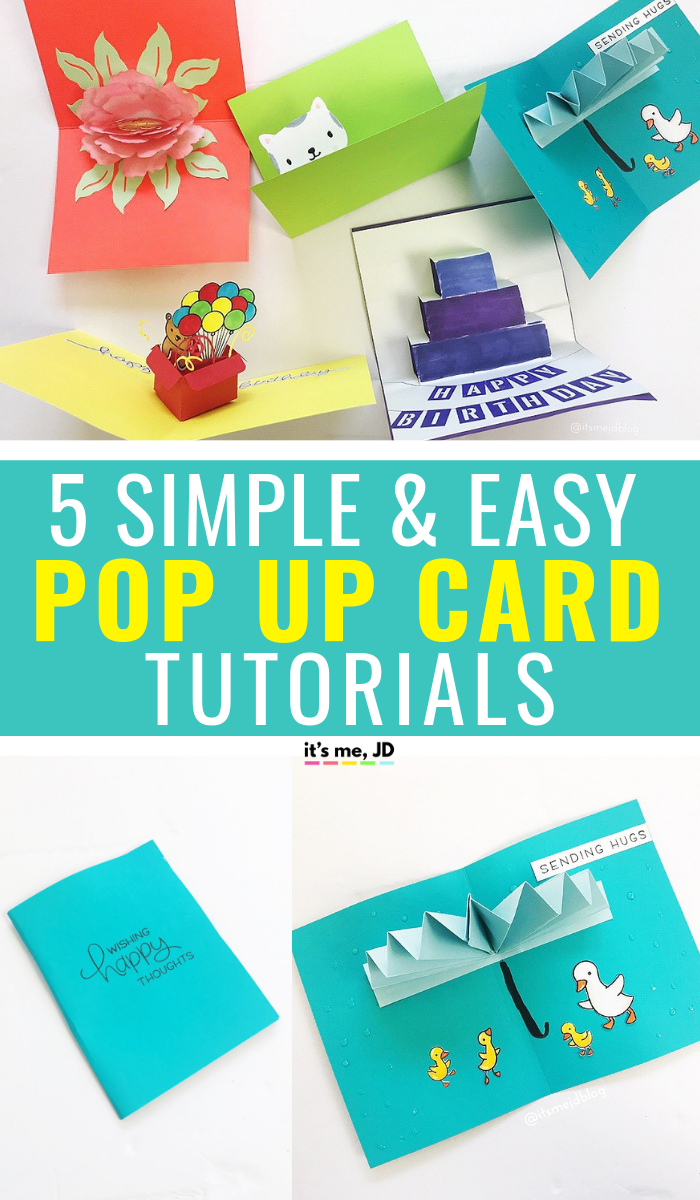
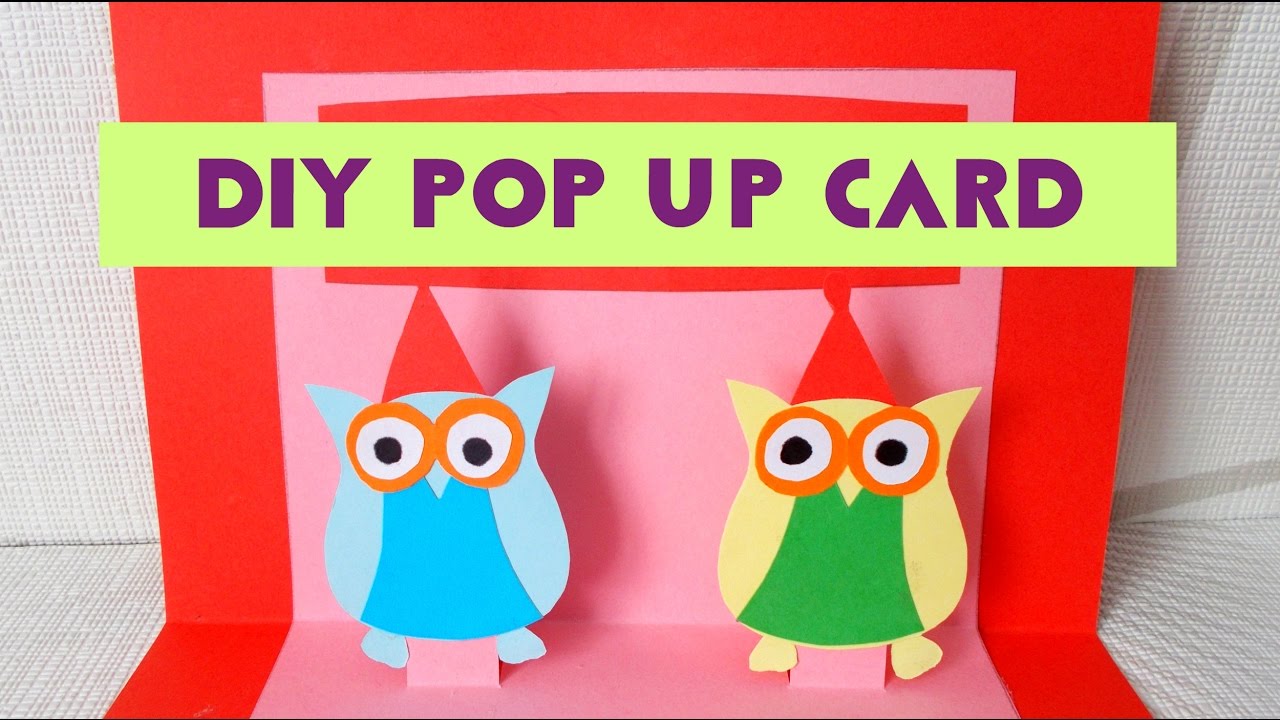
4. Creative Ideas for Unique Pop Up Card Designs
Once you've mastered the basics, it’s time to unleash your imagination! Here are some creative ideas to elevate your pop-up card game:
- Nature Scenes: Create a beautiful forest scene with trees, flowers, and animals. Use green and brown cardstock for trees and cut out colorful flowers. You can even add a sun that pops up from the top!
- 3D Geometric Shapes: Experiment with geometric shapes like cubes or pyramids. By cutting and folding cardstock into various shapes, you can create a modern, artistic look.
- Holiday Themes: Design cards for holidays like Christmas or Halloween. For Christmas, create a pop-up Christmas tree adorned with mini ornaments, or for Halloween, make a spooky haunted house!
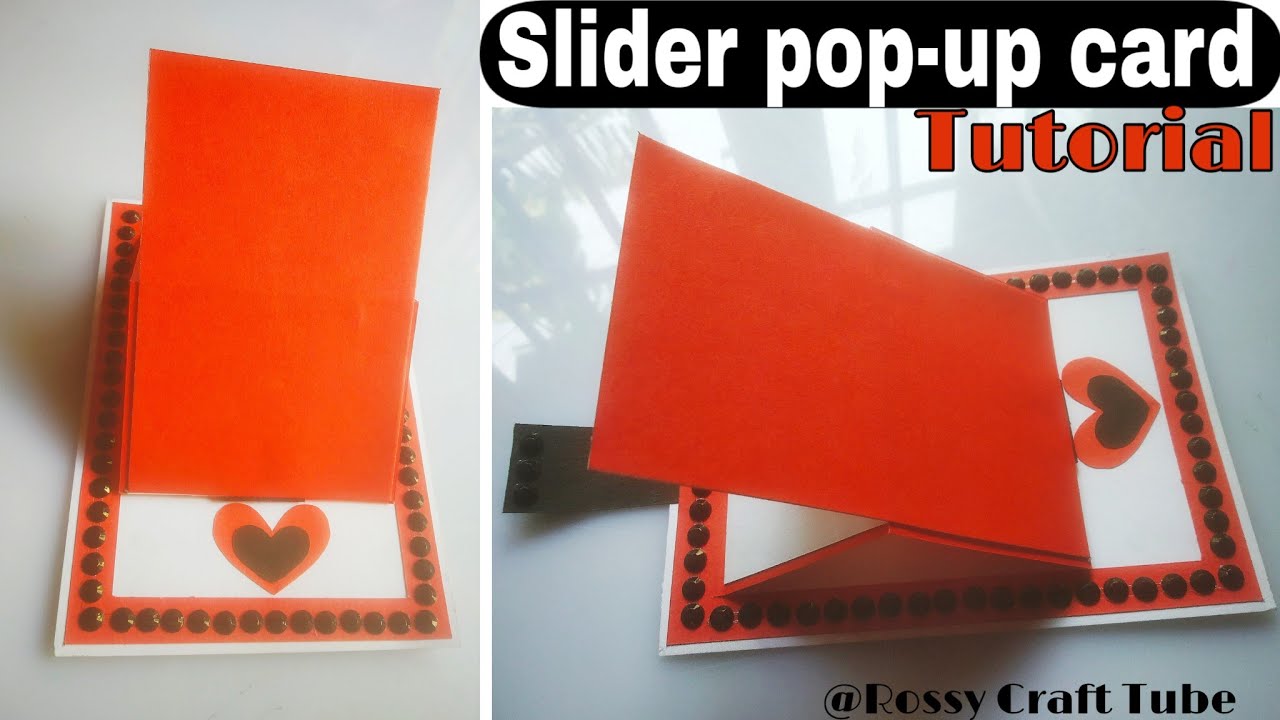
- Interactive Elements: Consider adding moving parts! For instance, a card with a pop-up car that can slide back and forth, or a pop-up book that reveals different layers or scenes as the card opens.
- Messages in Layers: Create a layered effect by having multiple pop-ups that reveal different messages or images as the card opens wider. It’s like a surprise with every flap!
These ideas are just the tip of the iceberg. The beauty of pop-up cards is that they can be as simple or as elaborate as you want. Try combining different themes and techniques to create something truly unique. Happy crafting!
Also Read This: Learn How to Translate Videos on Dailymotion for Better Accessibility
5. How to Personalize Your Pop Up Cards for Special Occasions
Making a pop-up card is a delightful way to show someone you care, but adding a personal touch can elevate your creation from nice to truly memorable. Here are some creative ideas to personalize your cards for various special occasions:
- Birthdays: Incorporate the recipient's favorite colors and themes. For instance, if they love a particular animal or hobby, use that as inspiration. Add a small pop-up element, like a cake or balloons, to make it extra festive.
- Weddings: Use elegant papers and embellishments. You can even print the couple's names and wedding date on the card, or include a pop-up design of intertwined rings or a bouquet.
- Graduations: Celebrate achievements! Create a pop-up that resembles a diploma or a graduation cap. Add a personal message that reflects their journey and accomplishments.
- Holidays: Tailor your cards to fit the season. For Christmas, consider a pop-up tree or snowman. For Halloween, how about a spooky ghost or pumpkin? Use themed colors and stickers to enhance the holiday spirit.
- Just Because: Sometimes, the best cards are those sent without a specific occasion. Include a heartfelt note and a pop-up design that simply expresses love or friendship. Think flowers or hearts to convey warmth.
Don't forget about the inside! Adding personal messages, photos, or small mementos can make your card even more special and cherished. Personalizing pop-up cards is all about creativity and thoughtfulness. Let your imagination run wild, and enjoy the process!
6. Tips for Filming Your Card Making Process on Dailymotion
Sharing your card-making journey can inspire others and help build a community around your craft. If you're looking to film your process for Dailymotion, here are some handy tips to make your videos engaging and enjoyable:
- Plan Your Shots: Before you start filming, outline the steps you’ll cover. This way, you can ensure you capture each important stage of the card-making process. A well-structured video keeps viewers engaged.
- Good Lighting is Key: Natural light works wonders! Film near a window during the day for the best visibility. If that's not an option, invest in a ring light or softbox to brighten your workspace.
- Use a Stable Camera Setup: A shaky camera can distract viewers. Use a tripod or a stable surface to keep your camera steady. If you're filming from above, ensure the angle is clear and focused on your hands and materials.
- Engage with Your Audience: Talk to your viewers as if they’re right there with you! Share tips, answer common questions, or express your thoughts while you create. This builds a personal connection and keeps the content lively.
- Edit Thoughtfully: After filming, take the time to edit your video. Cut out long pauses or mistakes, and consider adding background music, text overlays, or voiceovers to enhance the viewing experience.
Lastly, remember to have fun with it! Your enthusiasm will shine through and resonate with your audience, making your videos not only informative but also enjoyable to watch. Happy filming!
 admin
admin


