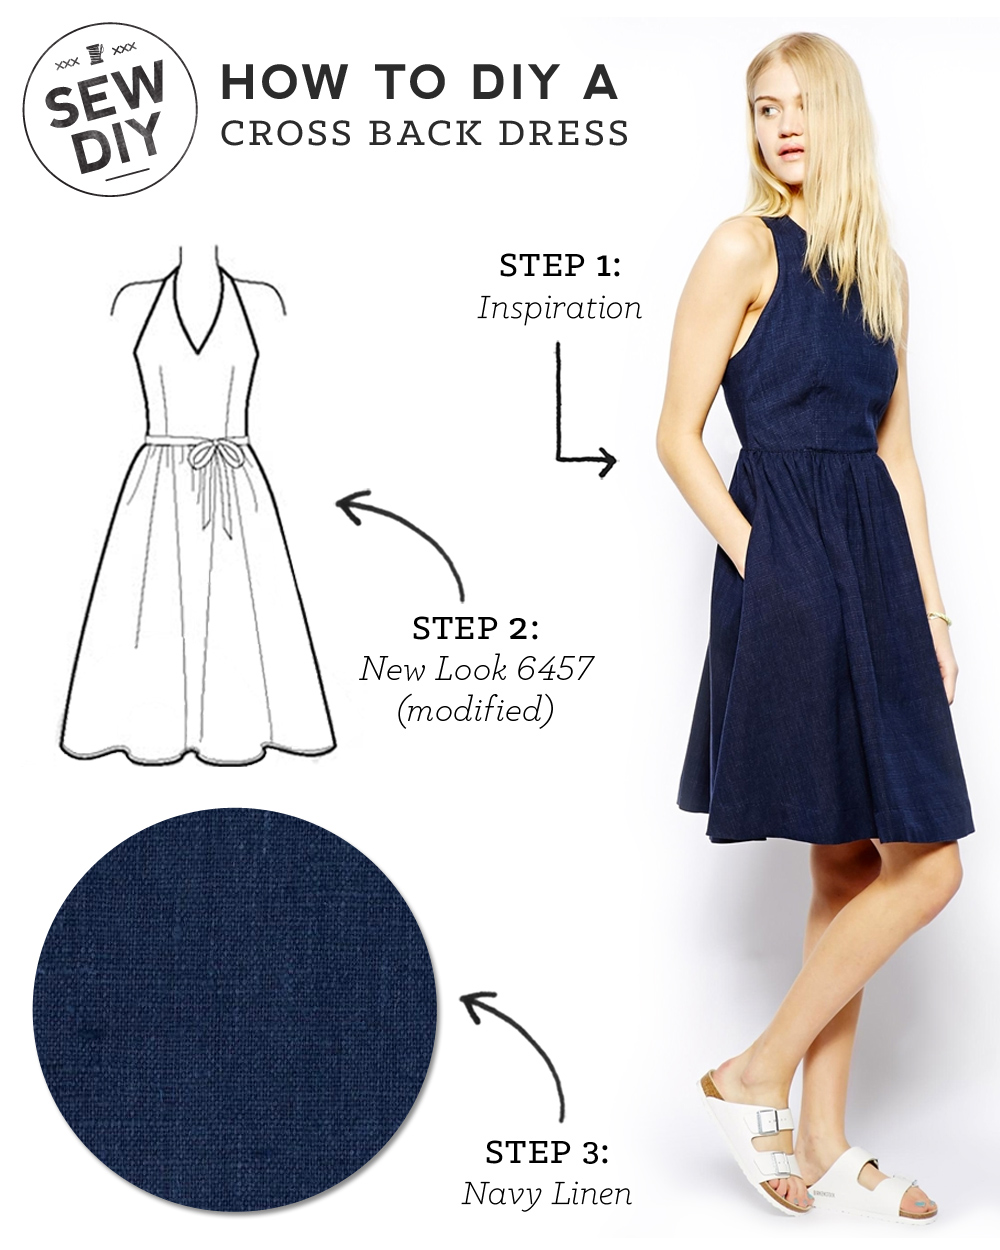
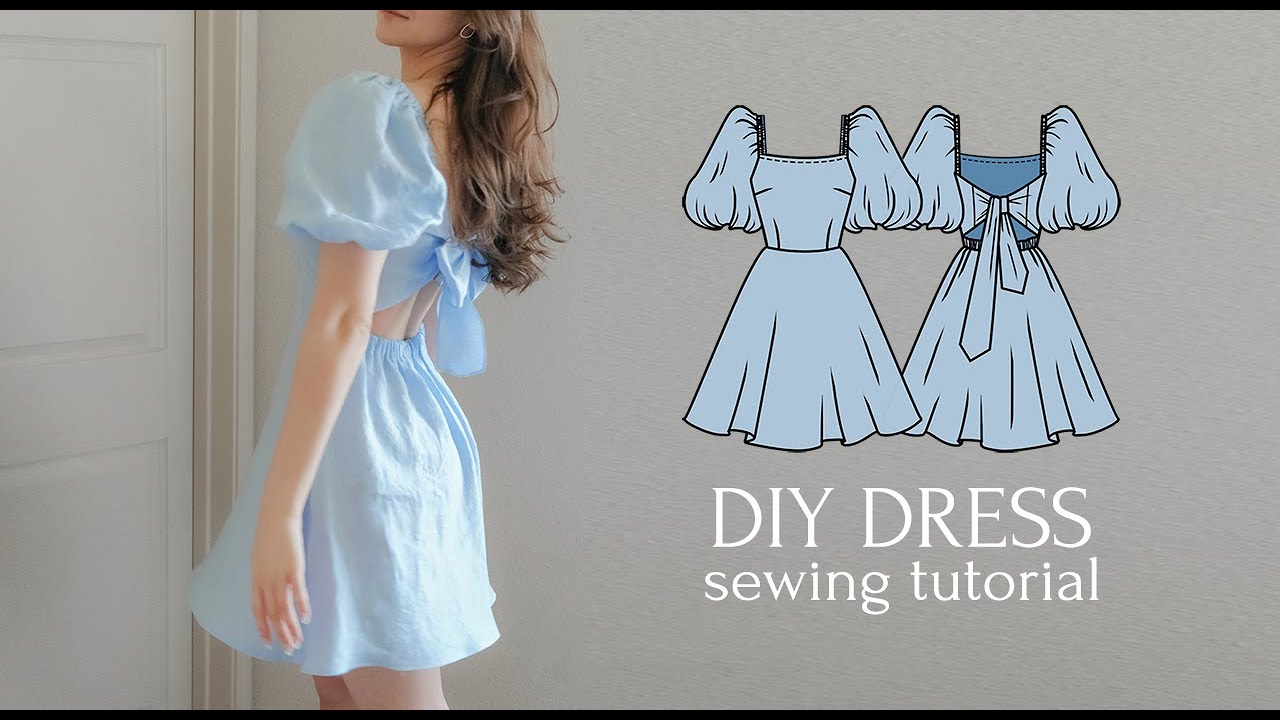
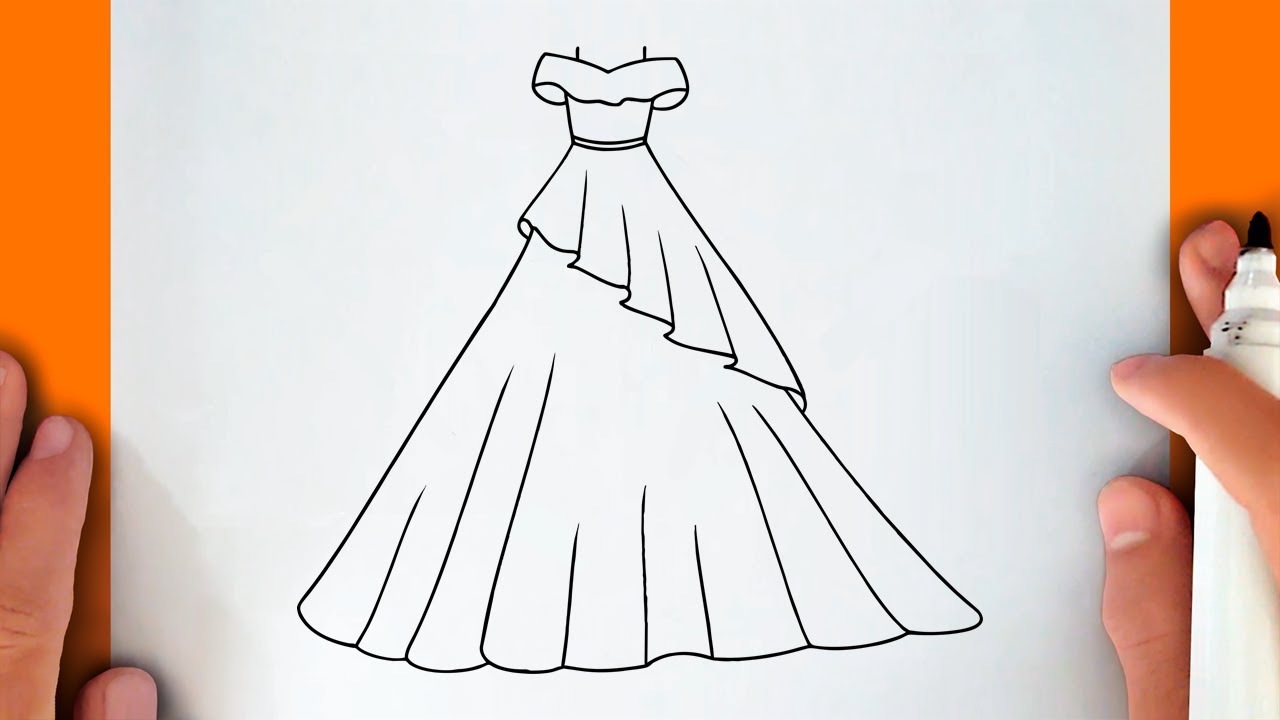
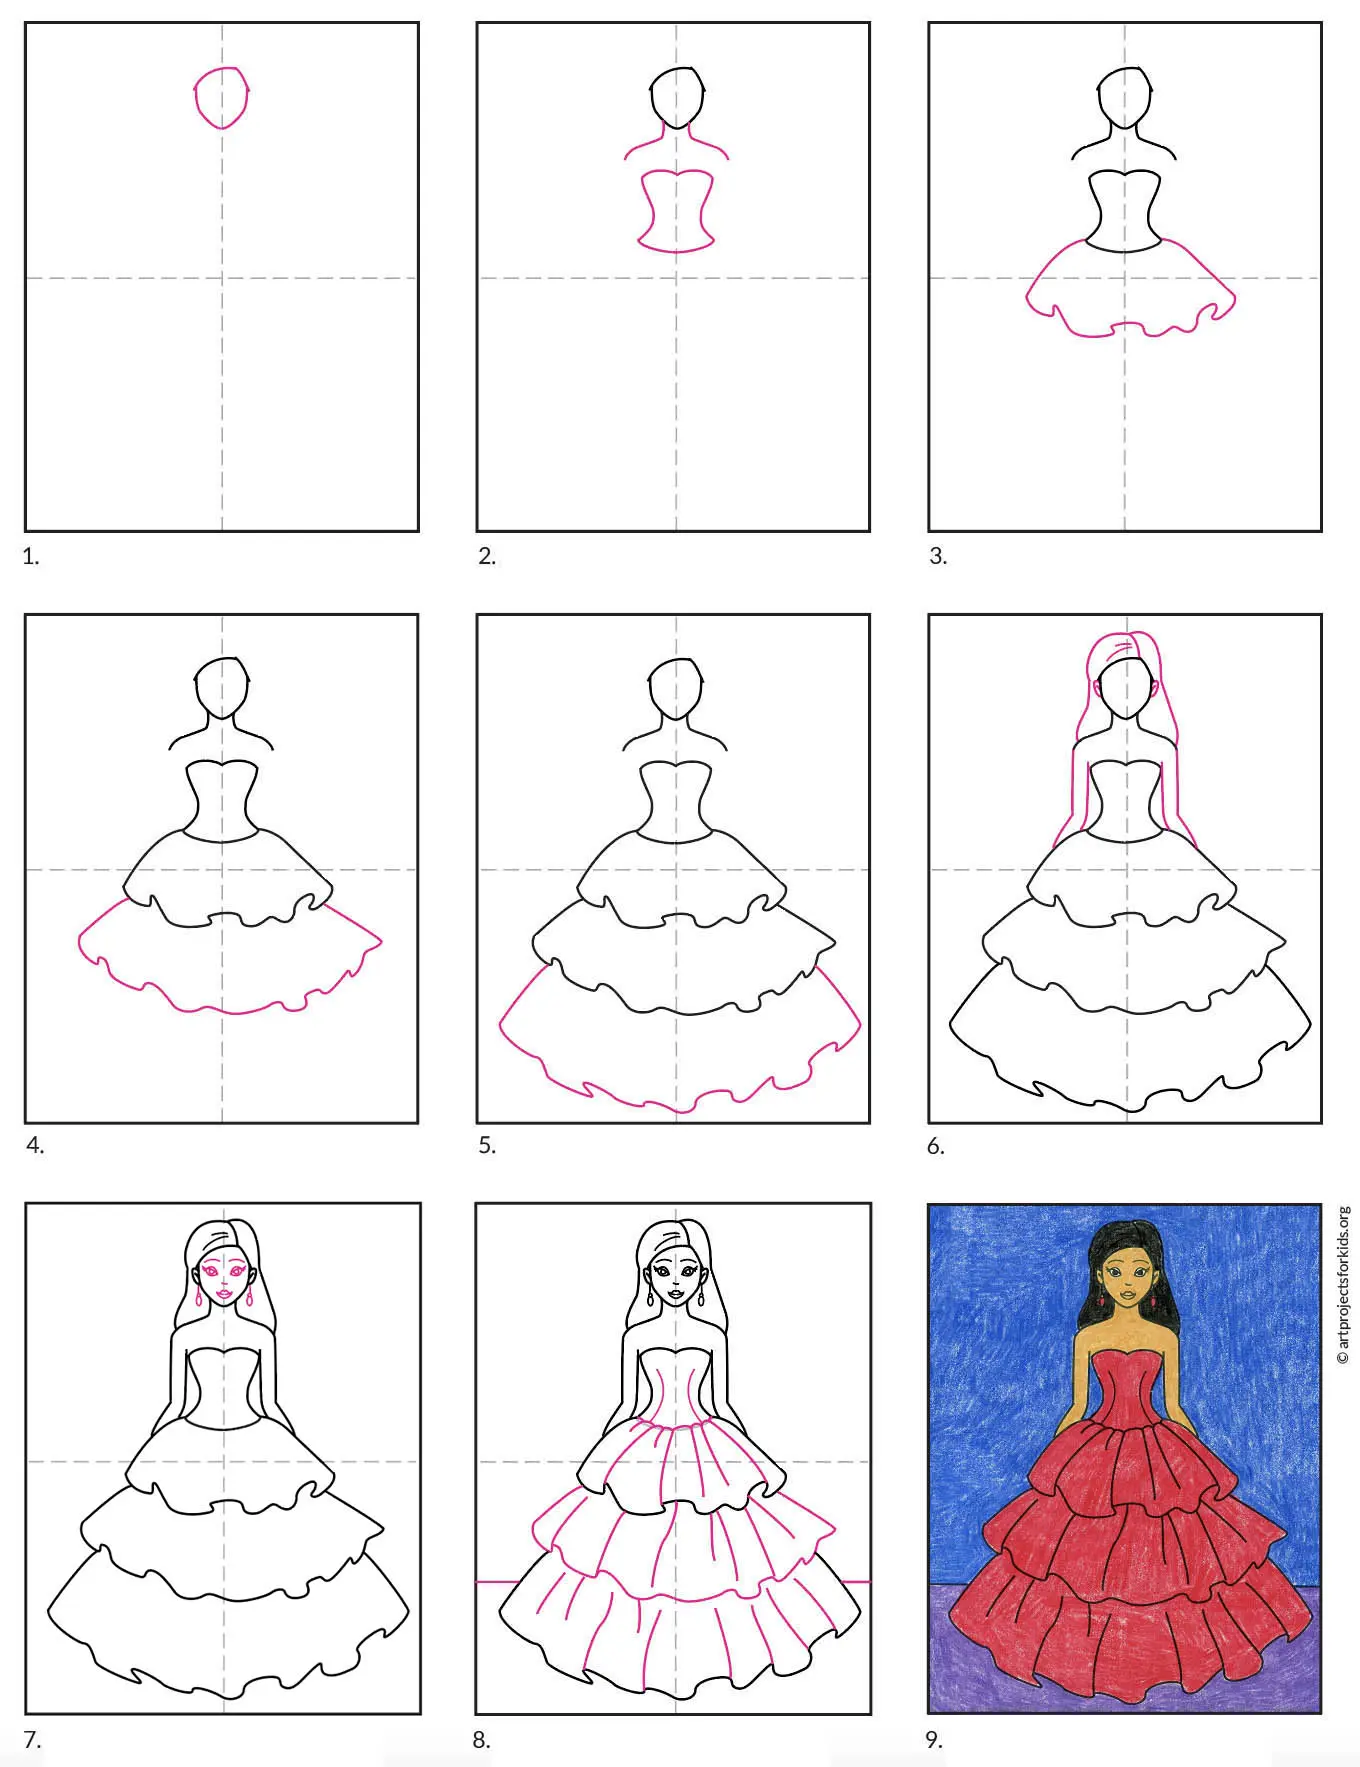
Creating your own dresses at home can be an incredibly rewarding experience. Not only does it allow you to express your personal style, but it can also be a fun and creative outlet. Whether you're a seasoned crafter or a total beginner, making your own garments might just become your new favorite hobby. In this post, we'll walk you through a simple DIY clothing tutorial for making your own dress. You won't need to have a degree in fashion design or a fancy sewing machine; just basic tools, some fabric, and a little bit of enthusiasm are all you really need!
Materials Needed

Before diving into the sewing process, it’s important to gather all the materials you’ll need. Having everything ready will make the process smoother and more enjoyable. Here’s a comprehensive list of what you’ll require:
- Fabric: Choose a fabric that feels good to you. Cotton is a great beginner-friendly option as it's easy to work with and breathable.
- Measuring Tape: Essential for taking accurate measurements of yourself and for the fabric.
- Scissors: A good pair of fabric scissors will help you cut your fabric cleanly.
- Sewing Machine (optional): If you have one, it will make sewing quicker. However, you can also sew by hand.
- Needles: If you're sewing by hand, make sure to have a variety of hand-sewing needles. If using a machine, have the appropriate needle for your fabric.
- Thread: Pick a thread that matches or complements your fabric.
- Pins: Used for holding your fabric together while you sew.
- Patterns (optional): You can buy or create your own patterns. Simplified patterns will ease your sewing experience.
- Iron: To press your fabric and seams as you go, which will result in a neater finish.
- Fabric Chalk or Marker: To mark cutting lines and the places where you’ll sew.
Now that you have all your materials ready, you're well on your way to making a lovely dress that’s uniquely yours!
Also Read This: How to Crop Images in Figma: A Quick Guide for Beginners
Choosing the Right Fabric

When embarking on your DIY dress-making journey, one of the most crucial steps is selecting the right fabric. The fabric you choose not only influences the look and feel of your dress but also affects the ease of sewing and the final fit. So, let’s dive into some essential tips to help you make the best choice!
- Consider the Season: Think about when you plan to wear your dress. For warmer weather, lightweight cotton or linen can be ideal, while heavier fabrics like wool or velvet work beautifully for cooler months.
- Check the Pattern: If your dress design features intricate patterns, choose a fabric that complements it. Solids can create a classic look, while prints can add a fun touch.
- Fabric Weight: Fabric weight matters! For flowy dresses, opt for lightweight materials, whereas structured designs might call for medium to heavyweight fabrics.
- Stretch vs. Non-Stretch: If your dress style is fitted, consider a fabric with some stretch, like jersey or spandex blends. On the other hand, cotton and linen are excellent for looser designs.
Lastly, don’t forget to feel the fabric! Touching and draping it against your body can vastly improve your understanding of how the fabric behaves and molded into your dress. Happy fabric hunting!
Also Read This: How to Trace Images on Photoshop for Beginners
Step-by-Step Instructions

Now that you’ve picked the perfect fabric, it’s time to roll up those sleeves and dive into the step-by-step process of making your dress. Don’t worry; I’ll guide you through it! Let’s break it down:
| Step | Instructions |
|---|---|
| 1. Gather Materials | You'll need fabric, scissors, sewing machine, thread, pins, and a pattern (if required). |
| 2. Prepare the Fabric | Pre-wash and iron your fabric to preempt any shrinkage and ensure a smooth surface. |
| 3. Cut the Pattern. | Lay your fabric on a flat surface. Pin the pattern pieces to the fabric and cut them out carefully. |
| 4. Pin the Pieces Together | Arrange the cut fabric pieces right sides facing and pin them together firmly. |
| 5. Sew | Using your sewing machine, stitch along the pinned edges. Don’t forget to backstitch at the start and finish for security! |
| 6. Hem the Edges | Finish the raw edges to prevent fraying, and hem the bottom and sleeves for a polished look. |
| 7. Try It On! | Once sewn, try on your dress and make any necessary adjustments for a perfect fit. |
And there you have it! Follow these simple instructions, and before you know it, you’ll have your very own handmade dress. Remember, practice makes perfect, and don’t hesitate to get creative and personalize your design!
Also Read This: Tips for Fast Uploading Videos to Dailymotion Without Errors
5. Customizing Your Dress

Every dress tells a story, and what better way to make your story unique than through customization? Once you’ve mastered the basics of making a dress, it’s time to sprinkle your personality onto it. Here are some fun ways to customize your creation:
- Fabric Paint: Use fabric paint to create unique patterns or designs. Stencils can help you get more professional-looking results, while freehanding allows for creativity.
- Embroidery: Adding embroidered patches, stitches, or motifs can significantly enhance the visual appeal. Consider stitching your initials or a small symbol that represents you.
- Ruffles and Layers: If you're looking for a flirty touch, add ruffles to the hemline or layers to the bodice. This can create movement and add depth to your design.
- Mixing Fabrics: Combine different fabrics to introduce texture contrast. Think about mixing cotton with lace or denim with chiffon for a chic look.
- Dyeing: If you have light-colored fabric, don’t hesitate to dye it. Whether a solid shade or a tie-dye pattern, this can completely transform the feel of your dress.
Remember, customization is all about expressing your individuality, so don’t shy away from experimenting with various designs and finishes. Your dress can be a canvas, so let your imagination run wild!
Also Read This: How to Center a Header Image in HTML
6. Tips for Success
Creating your own dress can be a fulfilling experience, but like any craft, it comes with its challenges. Here are some handy tips to ensure your DIY dress-making venture goes off without a hitch:
- Choose the Right Fabric: Fabrics like cotton and linen are great for beginners because they're easy to work with. Avoid slippery or stretchy fabrics until you gain more experience.
- Take Accurate Measurements: Your success hinges on precise measurements. Always refer to size charts and take your time measuring for a comfortable fit.
- Practice Stitching: Before jumping into your main project, practice on scrap fabric. This helps you get a feel for the machine and perfect your stitching techniques.
- Read the Patterns Thoroughly: Make sure to read all instructions and understand them fully before starting. This prevents you from making common mistakes.
- Be Patient: Crafting a dress takes time. Don't rush through it; enjoy each step and embrace the learning process!
With each dress you make, you’ll gain confidence and skill. So grab your supplies, put these tips into action, and unleash your inner designer!
How to Make Dresses at Home with a Simple DIY Clothing Tutorial
If you're looking to express your creativity and style, making dresses at home can be a rewarding and enjoyable experience. Whether you're a seasoned seamstress or a complete beginner, this simple DIY clothing tutorial will guide you through the process of creating a lovely dress from scratch.
Here’s a step-by-step guide to help you get started:
Materials Needed:
- Fabric (cotton, linen, or jersey are great options)
- Measuring tape
- Scissors
- Sewing machine
- Thread that matches your fabric
- Pins or fabric clips
- Pattern paper (for creating your dress design)
- Chalk or fabric marker
Steps to Make Your Dress:
- Choose Your Design: Sketch your desired dress style or find a pattern online.
- Take Measurements: Measure your bust, waist, and hips, and add extra fabric for seams.
- Create the Pattern: Use your measurements to create a dress pattern on pattern paper.
- Cut the Fabric: Lay your pattern on the fabric and cut out the pieces carefully.
- Sew the Dress: Begin by sewing the bodice and skirt pieces together, followed by the seams and hems.
- Add Finishing Touches: Add any embellishments or closures such as zippers or buttons.
It’s a fantastic project to enhance your sewing skills while crafting a unique wardrobe piece. Making dresses at home can save money and allows for customization not found in store-bought items. So gather your materials, unleash your creativity, and enjoy the process of making your own stylish dress!
Conclusion
With this simple DIY clothing tutorial, you can embark on your dress-making journey and create personalized outfits that reflect your style, making the process not only practical but also enjoyable.
 admin
admin


