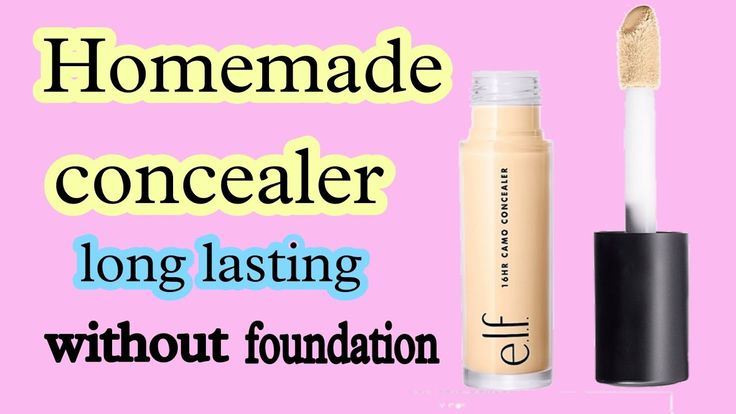
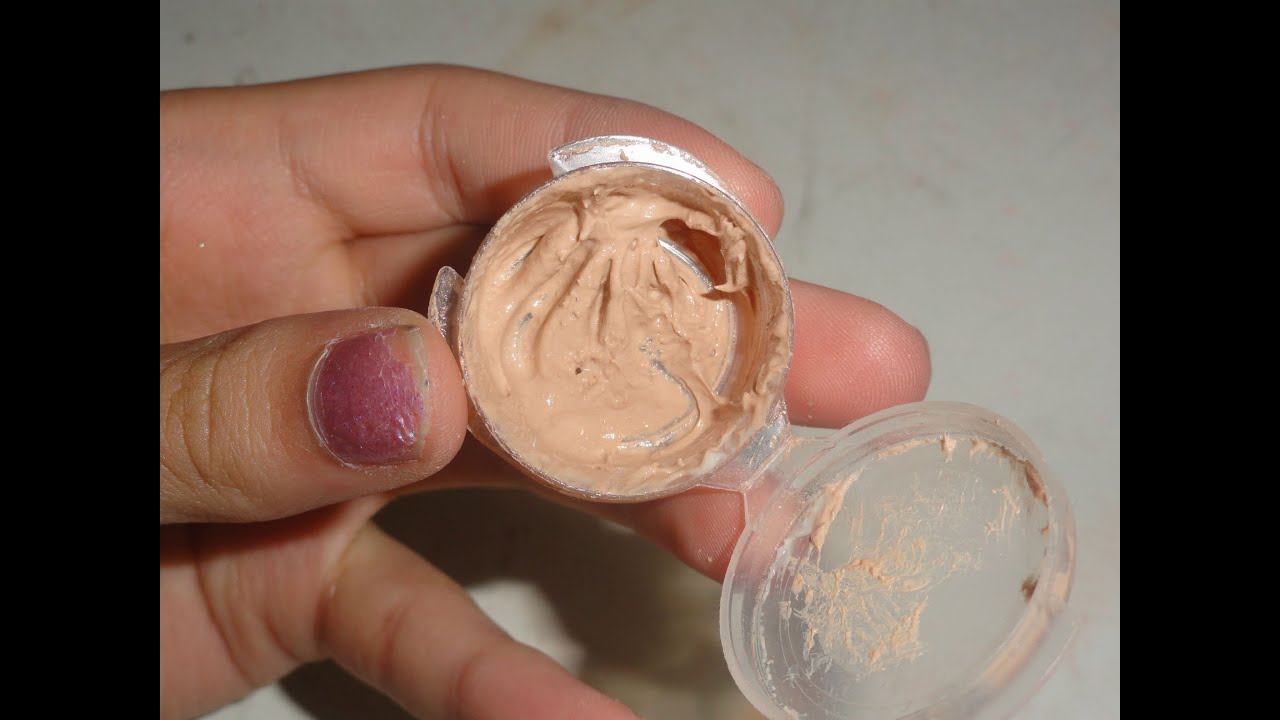
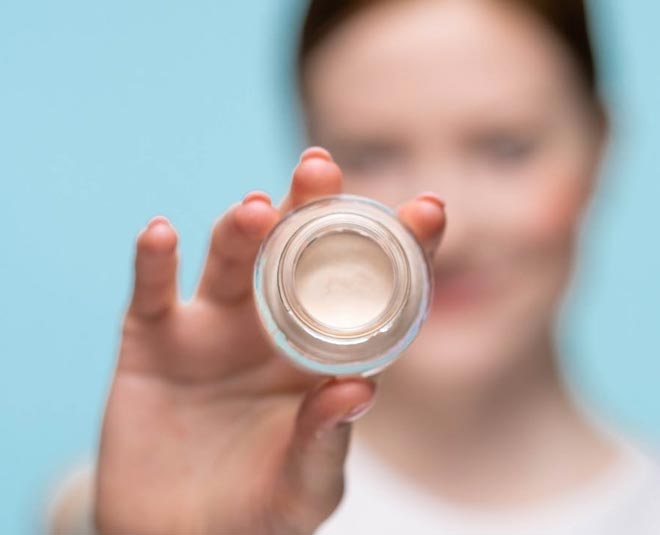
Today, we’re diving into an exciting DIY journey—making your own concealer at home! Whether you’re looking to cover up blemishes, dark circles, or any imperfections, homemade concealer can be a game-changer. It’s not just about saving money; it’s about using natural ingredients that are gentle on your skin. So, pour yourself a cup of tea and let’s get started!
Benefits of Homemade Concealer

Creating your own concealer brings a slew of benefits that store-bought options simply can’t compete with. Here are some compelling reasons to give it a try:
- Customizable Formulas: You can tailor your concealer to your specific skin type and needs. Want a thicker consistency? Or maybe you prefer a lighter touch? You’re in control!
- Natural Ingredients: Homemade concealer allows you to choose natural, skin-friendly ingredients, thereby avoiding harmful chemicals and allergens found in many commercial products.
- Cost-Effective: Why spend a fortune on beauty products? With basic ingredients you might already have at home, you can whip up a fantastic concealer for a fraction of the cost.
- Eco-Friendly: By making your own concealer, you're helping reduce waste from packaging and contribute to a more sustainable lifestyle.
- No Animal Testing: Many commercial cosmetics are still tested on animals. By crafting your own, you ensure your beauty regime aligns with ethical standards.
In addition to these benefits, making your own concealer can be a fun and rewarding creative outlet. You might find yourself experimenting with different colors and textures until you discover your perfect match!
3. Ingredients Needed

Making your own concealer at home can be a rewarding and fun experience! You get to control what goes into it, ensuring that you're using natural, skin-friendly ingredients. Here’s what you’ll need:
- Coconut oil – This serves as a moisturizing base that won't clog your pores.
- Cocoa powder – It adds color to your concealer and can be adjusted based on your skin tone.
- Shea butter – This ingredient is fantastic for hydration and gives your concealer a creamy texture.
- Arrowroot powder or cornstarch – This helps to set the concealer and gives it the right consistency. You can choose based on your preference.
- Essential oils (optional) – A drop or two of lavender or tea tree oil can enhance the scent and provide additional skin benefits.
- A small container – Make sure you have a jar or tin to store your homemade concealer.
Before you begin, ensure your workspace and tools are clean to avoid introducing any impurities to your creation. The beauty of making your own concealer is that you can tailor the ingredients to suit your skin type and needs, ensuring a perfect match and minimal irritation.
4. Step-by-Step Instructions

Now that you have all the ingredients gathered, let’s get down to the fun part—making your concealer! Follow these step-by-step instructions:
- Melt the base: In a small double boiler, combine 1 tablespoon of coconut oil and 1 tablespoon of shea butter. Heat gently until melted, stirring occasionally.
- Mix in color: Once the base is melted, remove it from the heat. Slowly mix in cocoa powder, starting with 1 teaspoon. Keep adding until you reach your desired shade.
- Add the setting agent: Next, stir in 1 tablespoon of arrowroot powder or cornstarch. This will help set the concealer and make it long-lasting.
- Customize (optional): If you’d like, add a couple of drops of essential oil to give your concealer a pleasant scent and add some skin benefits.
- Transfer to container: Carefully pour the mixture into your small container. Let it sit at room temperature until it solidifies completely.
And voilà! You’ve made your own concealer at home. It's as simple as that! Remember to do a patch test on your skin before applying it to your face to ensure there are no allergic reactions. Enjoy your natural, homemade beauty product!
Tips for Best Results
Making your own concealer at home can be a rewarding experience, but to achieve the best results, there are some key tips you should keep in mind. Here’s how to create that perfect coverage:
- Choose the Right Ingredients: Select natural ingredients that suit your skin type. For dry skin, opt for oils like almond or coconut. If you have oily skin, consider using beeswax or shea butter for a lighter formula.
- Color Matching: A huge factor in successful concealer application is ensuring the color matches your skin tone. To determine your perfect shade, mix a small amount of concealer on the back of your hand and check it in natural light.
- Test Different Textures: Experiment with the thickness of your concealer. If you prefer a heavier coverage, add more foundation. For a lighter finish, a splash of moisturizer can help.
- Apply with the Right Tools: Use clean fingers or makeup brushes for application. For targeted areas like under the eyes or blemishes, a small brush will give you more precision.
- Set Your Concealer: After applying, set your concealer with a light dusting of translucent powder. This helps prevent creasing and ensures your makeup lasts longer throughout the day.
Lastly, practice makes perfect! The more you use your homemade concealer, the more you'll understand how it works with your skin and how to get the best results.
How to Store Your Homemade Concealer
Proper storage of your homemade concealer can significantly affect its shelf life and performance. Follow these guidelines to keep your creation fresh and effective:
- Use an Airtight Container: Store your concealer in a small, airtight container. Glass jars or small plastic pots work well. This helps prevent air exposure and contamination.
- Keep It Cool: Ideal storage temperatures will help your concealer maintain its consistency. Consider keeping it in a cool, dark place, away from direct sunlight and humidity.
- Label and Date: If you make different shades or batches, be sure to label each container with the date and shade name. This helps you keep track of freshness and makes it easier to choose the right one when you need it.
- Check Before Use: Always inspect your concealer before use. If you notice any change in color, smell, or texture, it’s best to discard it and create a new batch.
- Short Shelf Life: Since homemade products lack preservatives, aim to use your concealer within 2-4 weeks for best results. If you’re not using it regularly, you might want to consider making smaller batches.
By taking the time to store your concealer properly, you’ll not only improve its longevity but also enhance your makeup routine!
How to Make Concealer at Home
Creating your own concealer at home is not only a cost-effective solution, but it also allows you to use natural ingredients that suit your skin type. By following a few simple steps, you can craft a personalized concealer that covers blemishes, dark circles, and other imperfections.
Here are the ingredients commonly used to make homemade concealer:
- Coconut Oil: Moisturizes the skin and provides a smooth application.
- Cocoa Powder: Offers a natural pigment to match your skin tone.
- Shea Butter: Provides hydration and has anti-inflammatory properties.
- Arrowroot Powder or Cornstarch: Acts as a thickening agent.
- Essential Oils (optional): For scent and added skin benefits, such as lavender or tea tree oil.
Here's a simple recipe to make your own concealer:
| Ingredient | Measurement |
|---|---|
| Coconut Oil | 1 tablespoon |
| Shea Butter | 1 tablespoon |
| Cocoa Powder | 1/2 teaspoon (adjust to desired color) |
| Arrowroot Powder | 1/2 teaspoon |
| Essential Oil (optional) | 2-3 drops |
To make the concealer, simply melt the coconut oil and shea butter together in a double boiler. Once melted, remove from heat and mix in the cocoa powder and arrowroot powder until well blended. If desired, add a few drops of essential oil for fragrance. Allow the mixture to cool and solidify, then store it in a small container.
With this easy DIY concealer, you can match your specific skin tone and enjoy a product free from harsh chemicals.
Conclusion: Making concealer at home is a fun and rewarding experience that empowers you to customize your makeup products while ensuring they are composed of natural, skin-friendly ingredients.


