Have you ever wanted to make your own stylish clutch? Well, you’re in the right place! Making a clutch bag at home is not only fun but also allows you to express your personal style. With just a few materials and a bit of creativity, you can create a unique accessory that complements any outfit. Whether you’re preparing for a night out or want a chic bag for daily use, this DIY project is perfect for both beginners and seasoned crafters. Let’s dive into the exciting world of clutch making!
Materials Needed for Your DIY Clutch
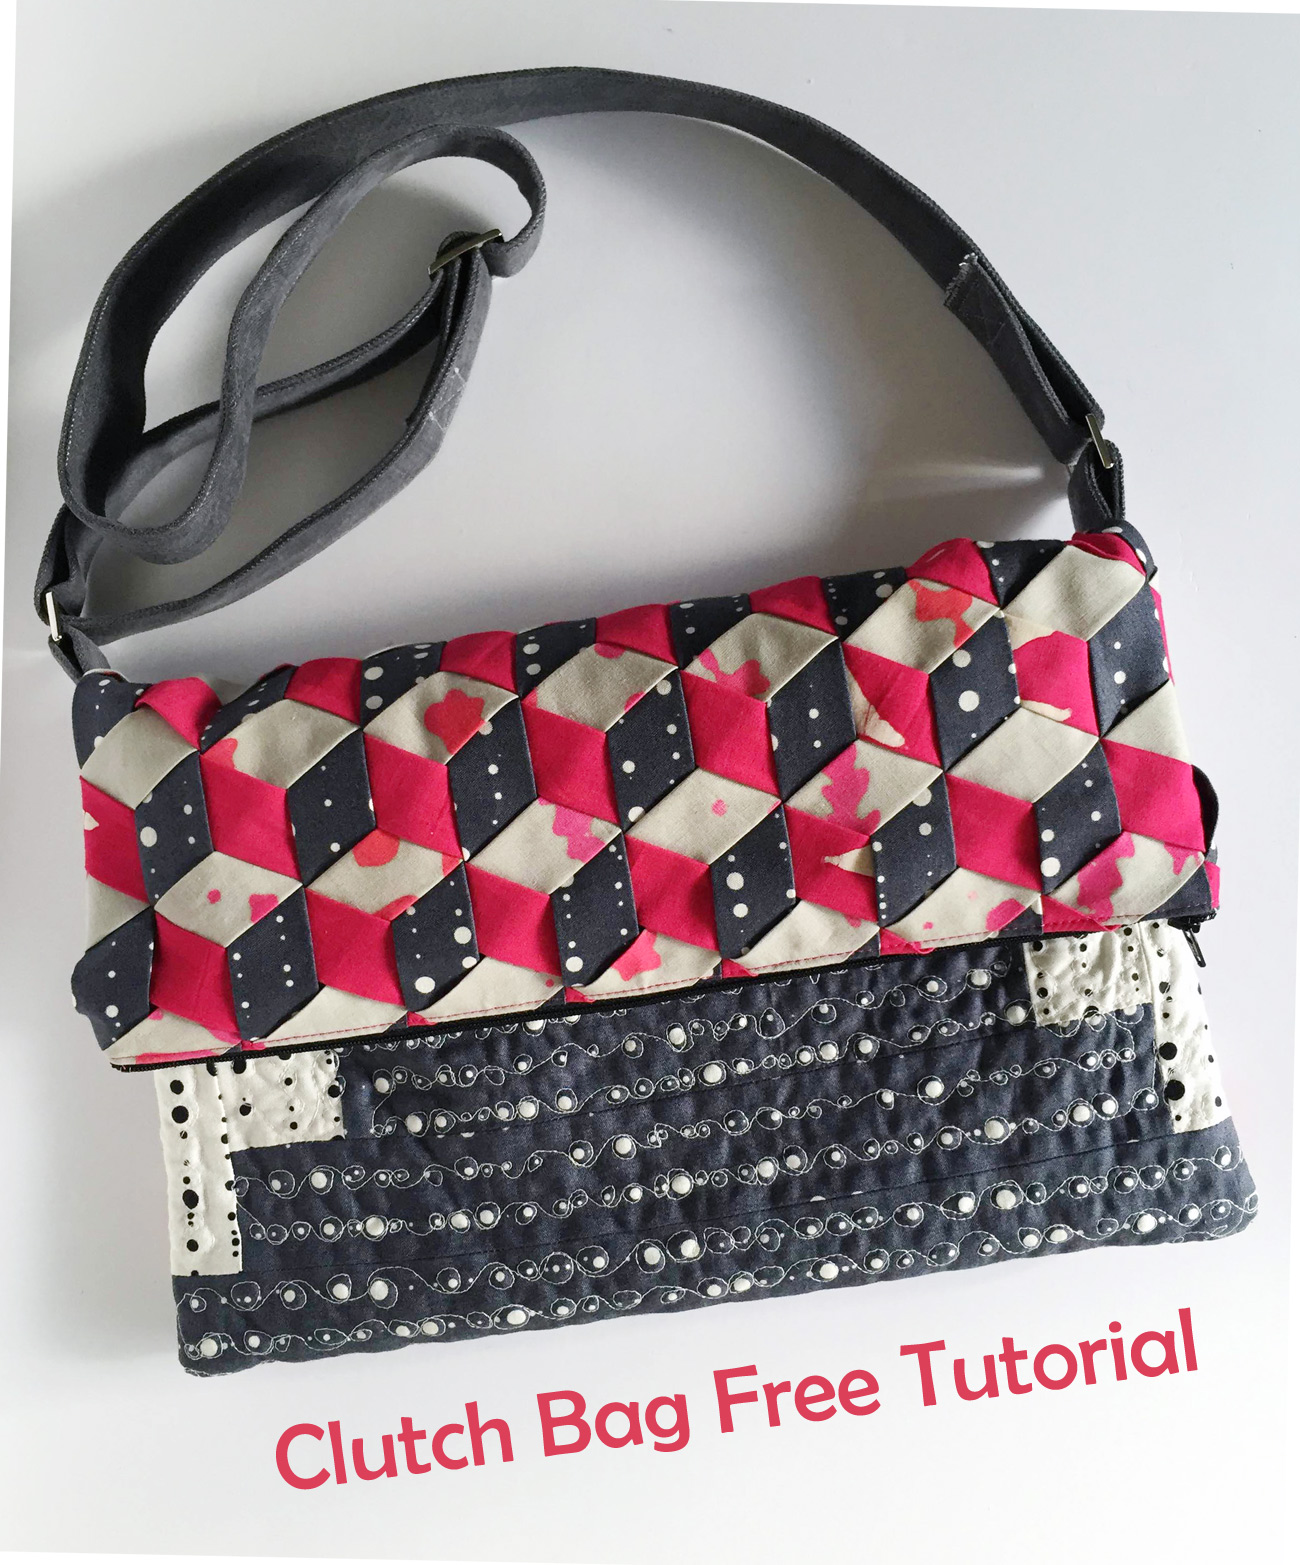
Before we start sewing, let’s gather all the materials you’ll need for your DIY clutch. Here’s a handy list to make sure you’re fully equipped:
- Fabric: Choose a fabric that reflects your style—cotton, linen, or even faux leather work great.
- Interfacing: This adds structure to your clutch. Fusible interfacing is a popular choice for beginners.
- Zipper: A zipper closure keeps your belongings secure. Opt for a 9-inch zipper for a standard clutch size.
- Sewing machine: While you can sew by hand, a machine makes the process quicker and neater.
- Scissors: Sharp fabric scissors are essential for clean edges.
- Measuring tape: For precise measurements, ensuring your clutch is just the right size.
- Chalk or fabric marker: Use these to mark your fabric before cutting.
- Pins: These will hold your fabric pieces together while you sew.
- Iron: Pressing your fabric ensures crisp seams and a polished finish.
Once you have all your materials ready, you’re on your way to crafting a stunning clutch! Don’t forget to choose colors and patterns that resonate with you, as this will make your clutch truly one-of-a-kind. Ready to get started? Let’s move on to the next steps in our DIY journey!
Also Read This: Is Dailymotion Safe for Kids? Protecting Young Viewers from Harmful Content
3. Step-by-Step Guide to Creating Your Clutch
Ready to dive into the world of DIY fashion? Let’s get started on creating your own fabulous clutch! Follow these simple steps, and you’ll have a stylish accessory in no time.
- Gather Your Materials: Before you begin, make sure you have everything you need. Here’s a quick checklist:
- Fabric (cotton, linen, or faux leather)
- Lining fabric
- Interfacing for structure
- Scissors
- Sewing machine or needle and thread
- Magnetic snap or zipper for closure
- Measuring tape
- Chalk or fabric marker
Also Read This: DIY Paper Bracelets Fun Craft Ideas on Dailymotion
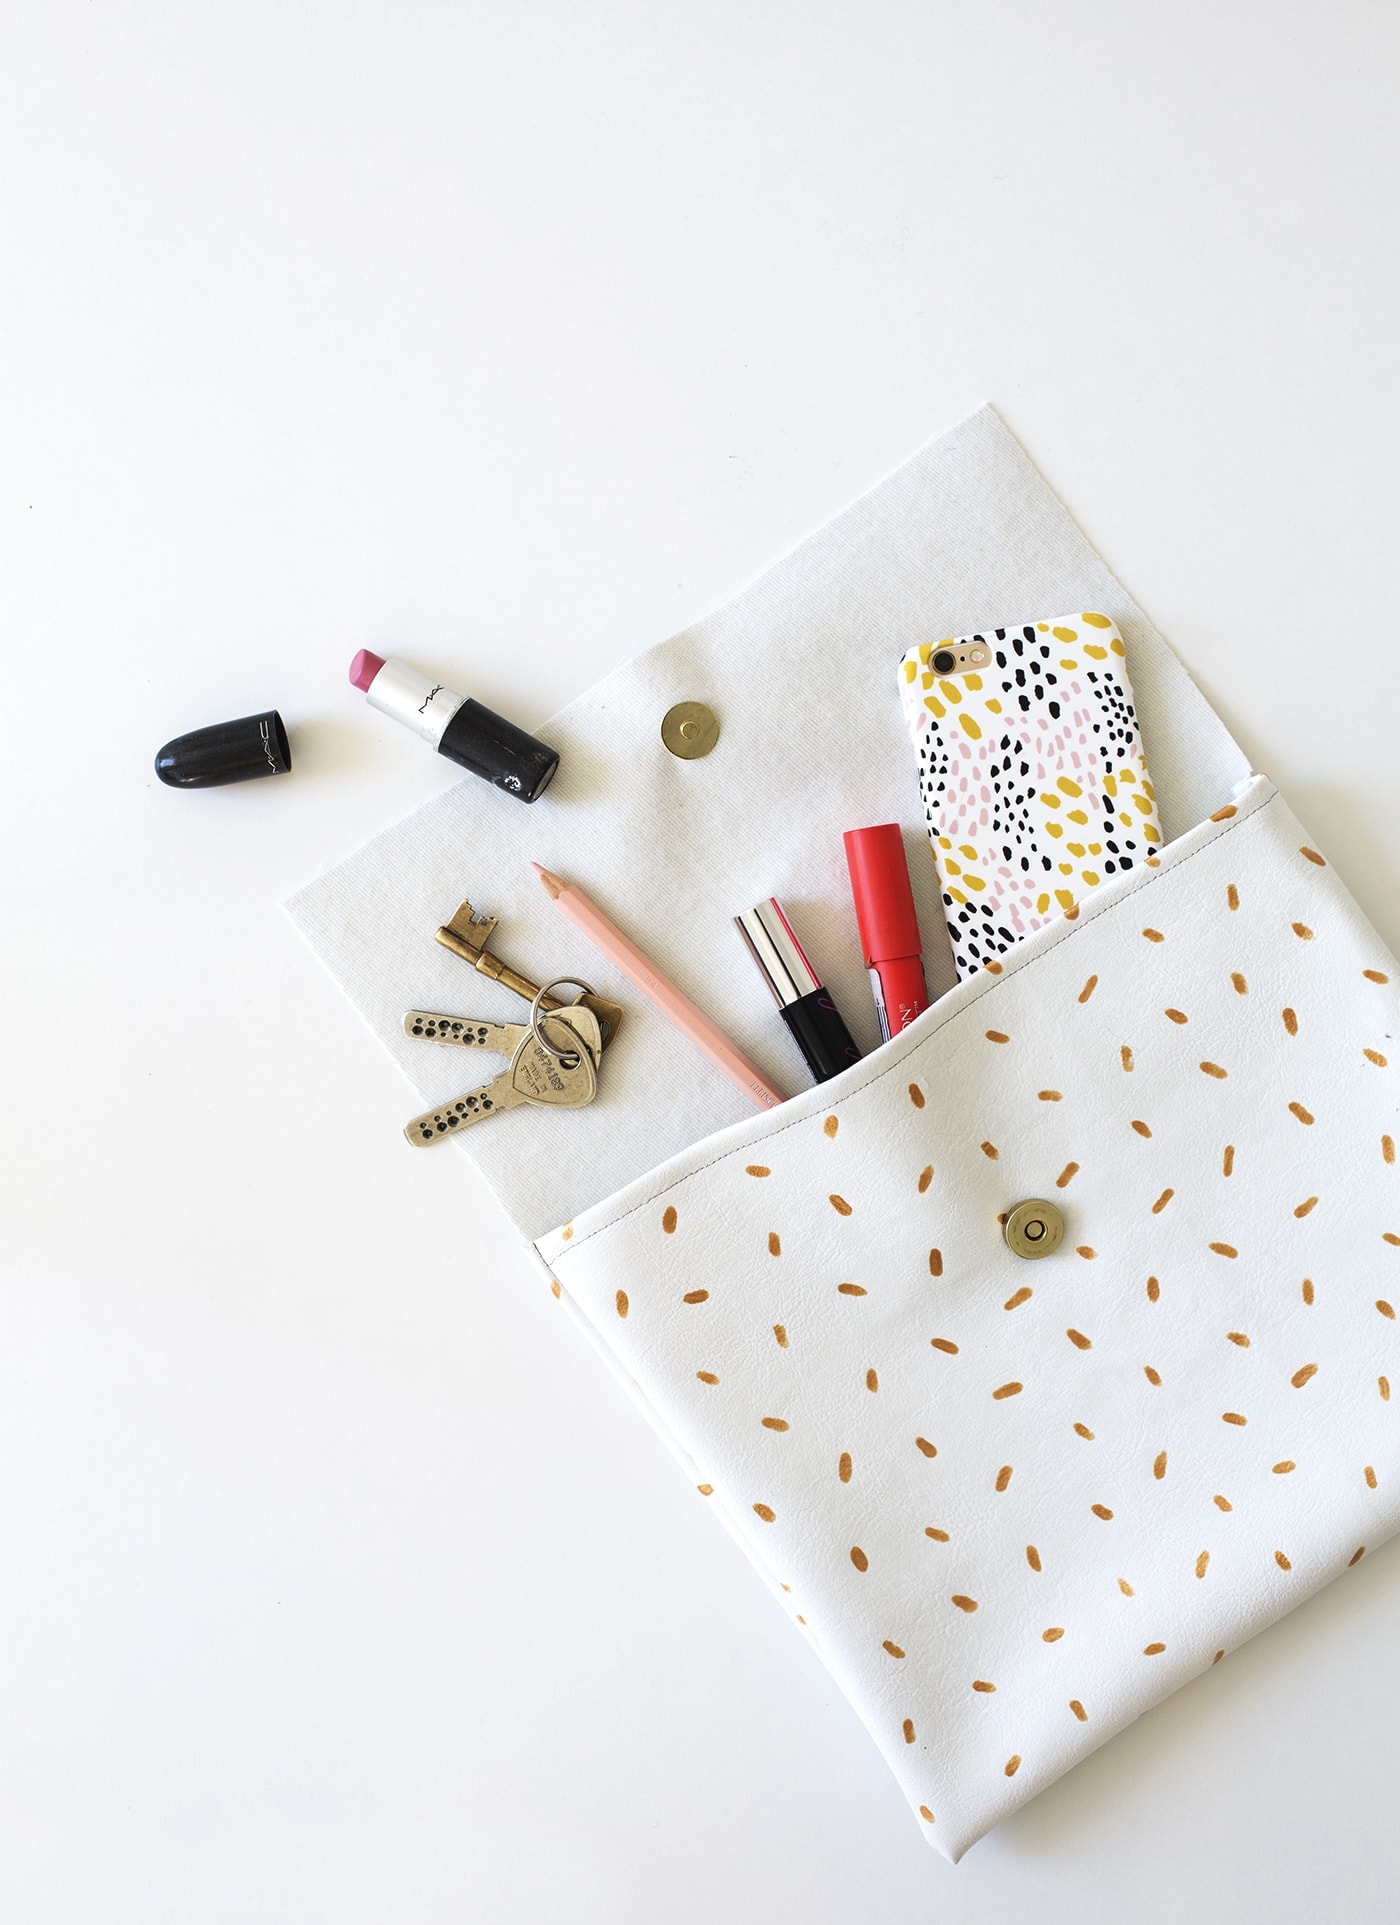
4. Tips for Customizing Your Clutch Design

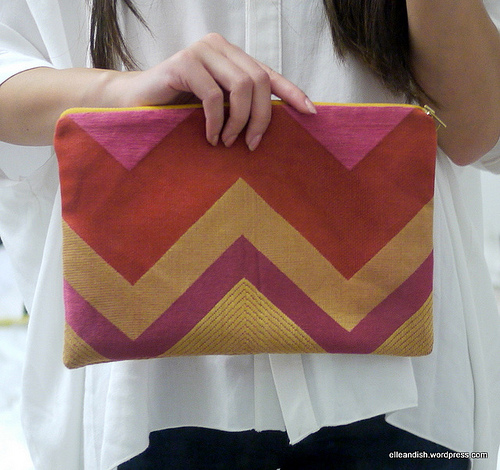
Now that you’ve crafted your clutch, why not make it truly yours? Customization is what makes DIY projects so special! Here are some creative ideas to personalize your clutch:
- Choose Unique Fabrics: Instead of plain colors, consider using patterned fabrics or even upcycling old garments. Vintage fabrics can add character and charm!
- Add Embellishments: Get creative! Sew on beads, sequins, or patches to give your clutch a unique flair. You could even add a pop of color with a contrasting fabric trim.
- Experiment with Shapes: Instead of a standard rectangle, try a rounded or geometric shape. You can make your clutch stand out by altering the traditional design.
- Personalize with Monograms: Use fabric paint or embroidery to add your initials. This small touch can make a big impact and make your clutch feel even more personal.
- Change the Hardware: Swap out the standard closure for something more stylish, like a decorative button or a funky clasp. It’s these small changes that can transform your clutch into a statement piece.
Remember, the beauty of DIY fashion lies in your ability to express yourself. Don’t be afraid to take risks and try new ideas. Your clutch should reflect your personality and style, so let your creativity shine!
Also Read This: How to Create a Movable Paper Robot with Dailymotion’s Creative Craft Guide
5. Showcasing Your Finished Clutch
Congratulations on crafting your very own clutch! Now that you’ve put in all the hard work, it’s time to show it off. Here are some fun ways to showcase your finished piece:
- Social Media: Snap some high-quality photos of your clutch from different angles. Try natural lighting—it's the best for highlighting the textures and colors of your fabric! Share your creation on platforms like Instagram or Pinterest, and don’t forget to use relevant hashtags like #DIYFashion and #HandmadeClutch.
- Fashion Shows: If you’re feeling bold, consider hosting a mini-fashion show at home. Invite friends or family over, and let them model your clutch along with their outfits. This not only showcases your work but also creates a fun, interactive experience!
- Online Communities: Join DIY fashion forums or Facebook groups where you can share your clutch. Engaging with like-minded enthusiasts can lead to valuable feedback and inspiration for your next project.
- Local Craft Fairs: If you’re up for a little adventure, look for local craft fairs or markets. Setting up a booth can be a great way to showcase your clutch among other handmade goods and meet fellow crafters.
Whichever method you choose, remember to highlight the unique features of your clutch. Did you use a specific technique or a rare fabric? Share that story! People love to connect with the narrative behind handmade items.
6. Conclusion and Encouragement to Share Your Creations
Creating your own clutch is not just about the finished product; it’s about the journey you took to get there. From selecting the perfect fabric to stitching the last seam, every step is a testament to your creativity and skill. Now that you’ve completed your project, I encourage you to take pride in your work!
Here are a few reminders as you wrap up this DIY adventure:
- Document Your Process: Taking pictures during your crafting process can be incredibly rewarding. Not only can you look back and appreciate how far you’ve come, but these images can also inspire others!
- Stay Inspired: Keep exploring different styles and techniques. The world of DIY fashion is vast, and there’s always something new to try. Consider making matching accessories or trying out new patterns.
- Inspire Others: Don’t hesitate to share your creations with friends and family. You never know who might be inspired to start their own DIY project after seeing your work!
Finally, remember that every artist starts somewhere. Your first few projects might not turn out exactly as you envisioned, and that’s okay! Embrace the learning process, and soon enough, you’ll find your own unique style. So, go ahead—show off your clutch, inspire others, and keep creating!
 admin
admin


