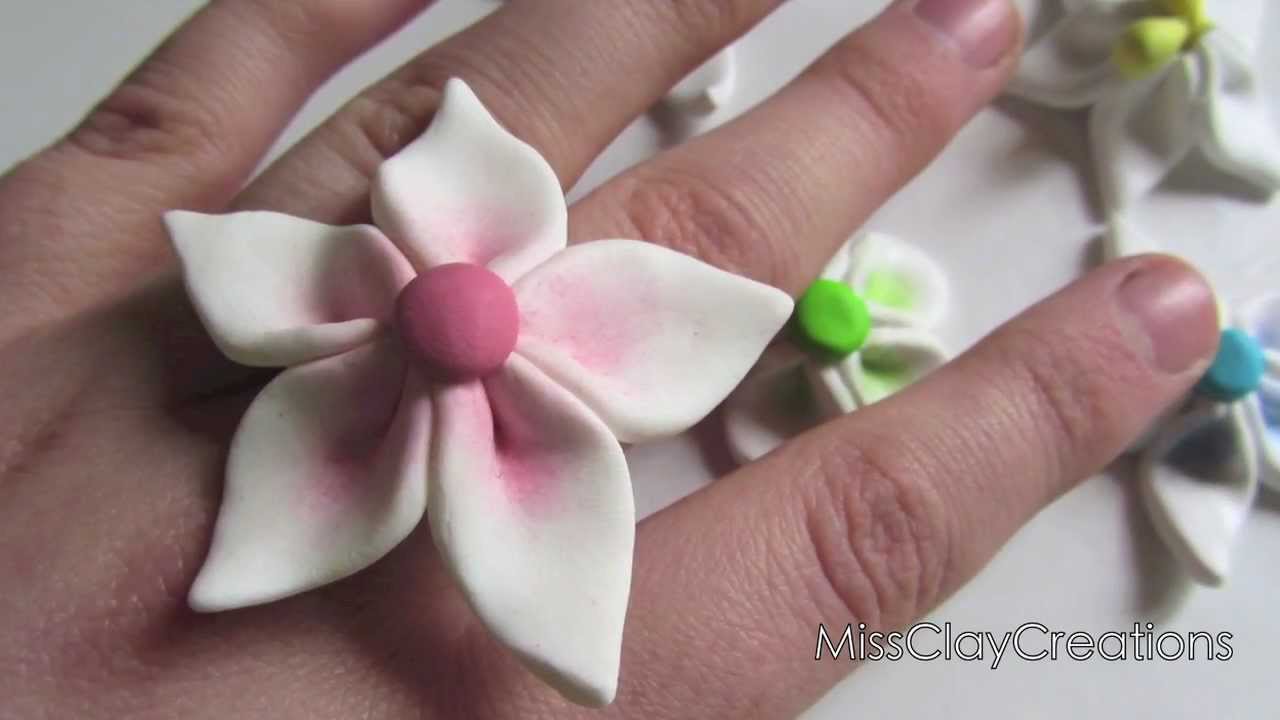
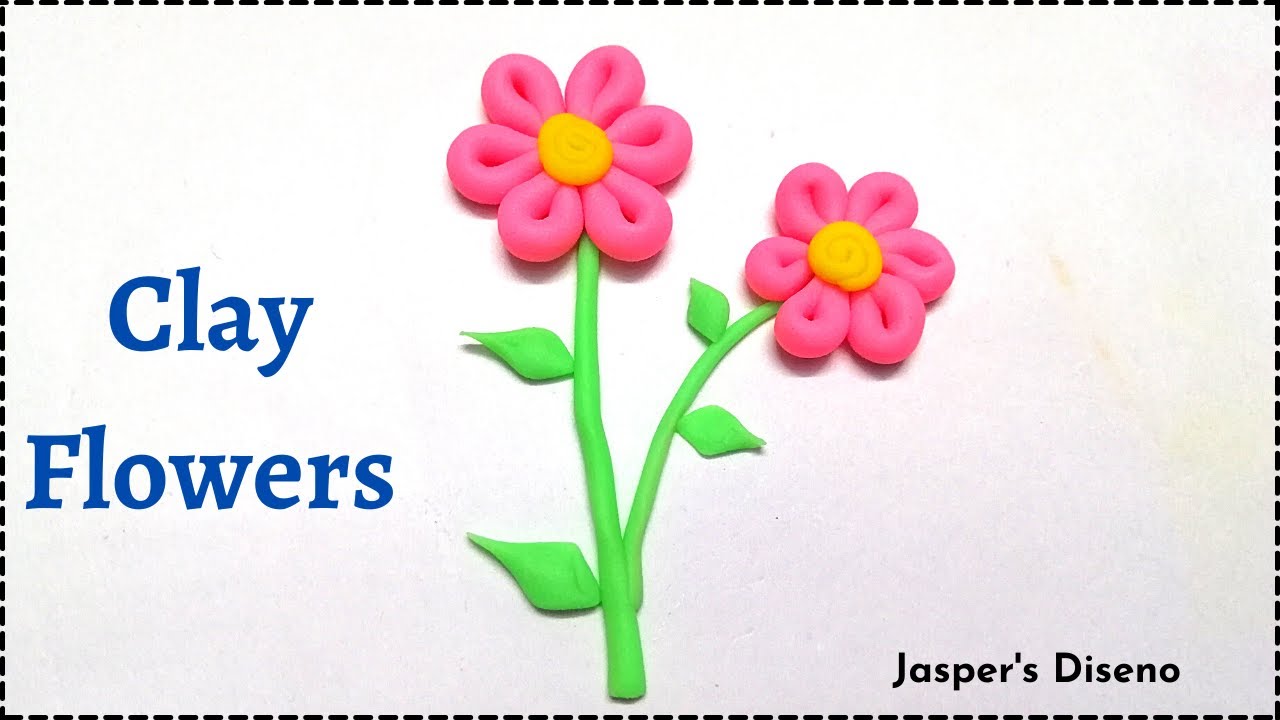
Making clay flowers is not just a delightful craft; it’s an opportunity to unleash your creativity and enjoy a bit of relaxation. Whether you’re a seasoned crafter or a beginner looking to try your hand at something new, clay flower making offers endless possibilities. Picture vibrant daisies, delicate roses, and whimsical lilacs, all crafted by your own hands. It’s a joyful process that allows you to express your artistic flair while providing a satisfying, tangible result. Let’s dive into the wonderful world of crafting clay flowers and discover how rewarding this hobby can be!
Materials Needed for Clay Flowers
Before you roll up your sleeves and start crafting those beautiful flowers, you’ll need to gather a few essential materials. Here’s a handy list to ensure you have everything you need to get started:
- Polymer Clay: Choose a variety of colors to make different types of flowers.
- Clay Tools: This includes a rolling pin, cutters, and sculpting tools to shape your flowers precisely.
- Work Surface: A clean, flat surface where you can easily work on your clay.
- Parchment Paper: Use it to bake your creations without sticking.
- Oven: A toaster oven or regular oven to bake the polymer clay according to the instructions.
- Wire and Floral Tape: Useful for creating stems and adding structure to your flowers.
- Paints and Brushes: For adding details and enhancements to your finished flowers.
Now that you have your materials lined up, it’s time to let your imagination bloom! The beauty of clay flower making lies in the ability to manipulate and combine these elements into stunning creations. Happy crafting!
Also Read This: Ultimate Guide to Downloading Videos from Dailymotion
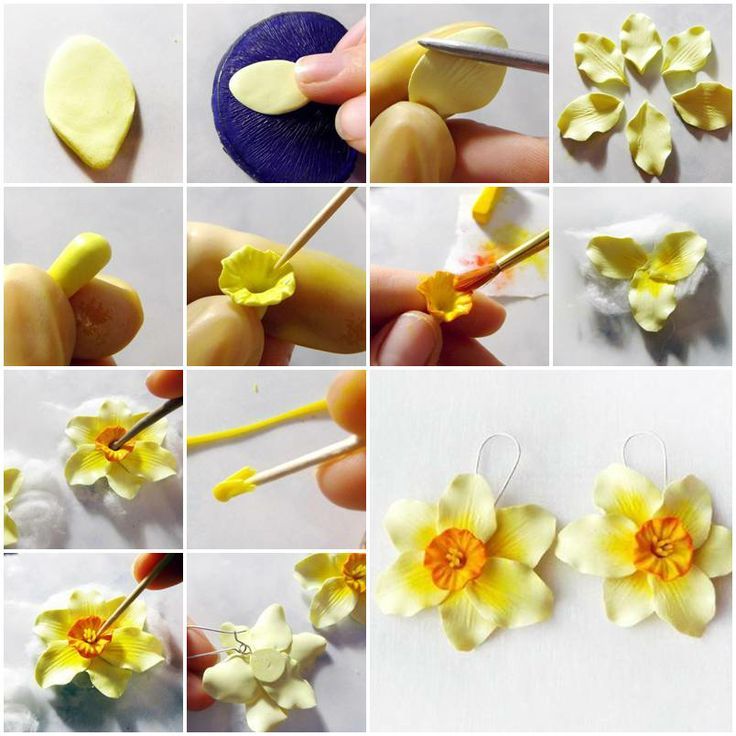
3. Step-by-Step Guide to Creating Clay Flowers
Creating clay flowers is a delightful way to express your creativity! Here’s a simple step-by-step guide to help you get started:
- Gather Your Materials: Before diving in, make sure you have everything you need. Here’s a quick list:
- Air-dry clay or polymer clay
- Clay tools (rolling pin, sculpting tools, and a craft knife)
- Paints or markers (for decorating)
- Floral wire and tape (for stems)
- A clean workspace
Also Read This: What Really Killed the Dinosaurs on Dailymotion – Watch the Fascinating Documentary
4. Tips and Tricks for Perfecting Your Clay Flowers
Want to take your clay flower game to the next level? Here are some handy tips and tricks to keep in mind that will help you refine your skills!
- Moisture Matters: If you're using air-dry clay, keep it covered when not in use to prevent drying out. You can also use a bit of water to keep it workable.
- Practice Makes Perfect: Don't worry if your first few attempts aren't perfect. The more you practice, the better you’ll get!
- Use Reference Images: Look up pictures of real flowers to inspire your designs. This will help you understand the shapes and colors you want to replicate.
- Experiment with Colors: Don’t shy away from using unexpected colors. Nature offers a range of beautiful hues, and using these can make your flowers pop!
- Invest in Quality Tools: Using the right tools can make a big difference. A set of good sculpting tools can help you achieve more intricate designs.
- Patience is Key: Allow your flowers to dry completely. Rushing this step might lead to cracks in your creation!
- Join a Community: Engage with other clay artists online! Platforms like Dailymotion have wonderful DIY communities where you can share ideas and gather feedback.
Enjoy the process! The real fun lies in letting your imagination run wild and creating unique pieces of art!
Also Read This: Daria Clips and Availability on Dailymotion
5. Finishing Touches and Display Ideas
Once you've shaped your beautiful clay flowers, it’s time to add those final flourishes that make them truly shine! Here are some easy and fun finishing touches you can apply:
- Coloring: If you haven’t painted your flowers yet, consider using acrylic paints or watercolors to give them a vibrant look. Don't be shy to mix colors for a unique effect!
- Add Details: Use a fine brush or toothpick to paint the centers of the flowers, or add small dots and lines to mimic natural textures.
- Sealing: For a lovely finish and added durability, apply a clear sealant. This not only protects your flowers but also gives them a glossy look!
- Wire Stems: If you want your flowers to stand, attach wire to the base for stems. A little floral tape can help secure the flowers to the wire, making them easy to arrange.
Now let’s talk display ideas! How you present your clay flowers can make all the difference:
| Displaying Suggestions | Description |
|---|---|
| Vases | Fill a charming vase with your flowers, creating a centerpiece for your dining table or desk. |
| Wall Decor | Attach your flowers to a decorative canvas as a stunning wall hanging. |
| Gift Wrapping | Use your flowers to embellish gift packages or greeting cards for a personal touch. |
By considering these finishing touches and display ideas, you’ll certainly elevate your clay flower project from simple to stunning!
6. Conclusion and Additional Resources
Congratulations on your journey through crafting clay flowers! We hope you’ve had a blast exploring your creativity and learned some new skills along the way. Crafting isn't just about creating items; it’s also about enjoying the process and expressing yourself.
If you’re eager to dive deeper into the world of clay crafting, here are a few resources that might pique your interest:
- Online Tutorials: Check out platforms like YouTube or Dailymotion for visual guides that can offer tips on techniques you might not have tried yet.
- Crafting Blogs: Websites dedicated to DIY projects often have extensive guides and community support, perfect for those looking to expand their skills.
- Books on Polymer Clay: A trip to your local library or bookstore can uncover a treasure trove of books filled with project ideas and detailed instructions.
Before you go, remember that every flower you create is an expression of your unique style. Don’t hesitate to experiment and make your projects truly your own. Happy crafting, and may your creativity continue to bloom!
 admin
admin


