Welcome to the delightful world of homemade chocolate! If you've ever wondered what it takes to create your own sweet treats right in your kitchen, you're in for a treat—literally! Making chocolate at home is not just a fun activity but also a way to customize flavors, add unique ingredients, and experiment with textures.
Whether you're looking to impress guests, make thoughtful gifts, or simply indulge your sweet tooth, this guide will walk you through the process step-by-step. And don't worry if you're a beginner; with a little patience and practice, you'll be crafting delicious chocolate bars, truffles, or even flavored ganaches in no time. Plus, we've included video instructions to help you along the way!
Essential Ingredients for Making Chocolate
Before diving into the chocolate-making process, it's important to gather all the essential ingredients you'll need. While chocolate may seem like a simple treat, the quality of your ingredients can make all the difference in the final product. Here’s what you’ll need to get started:
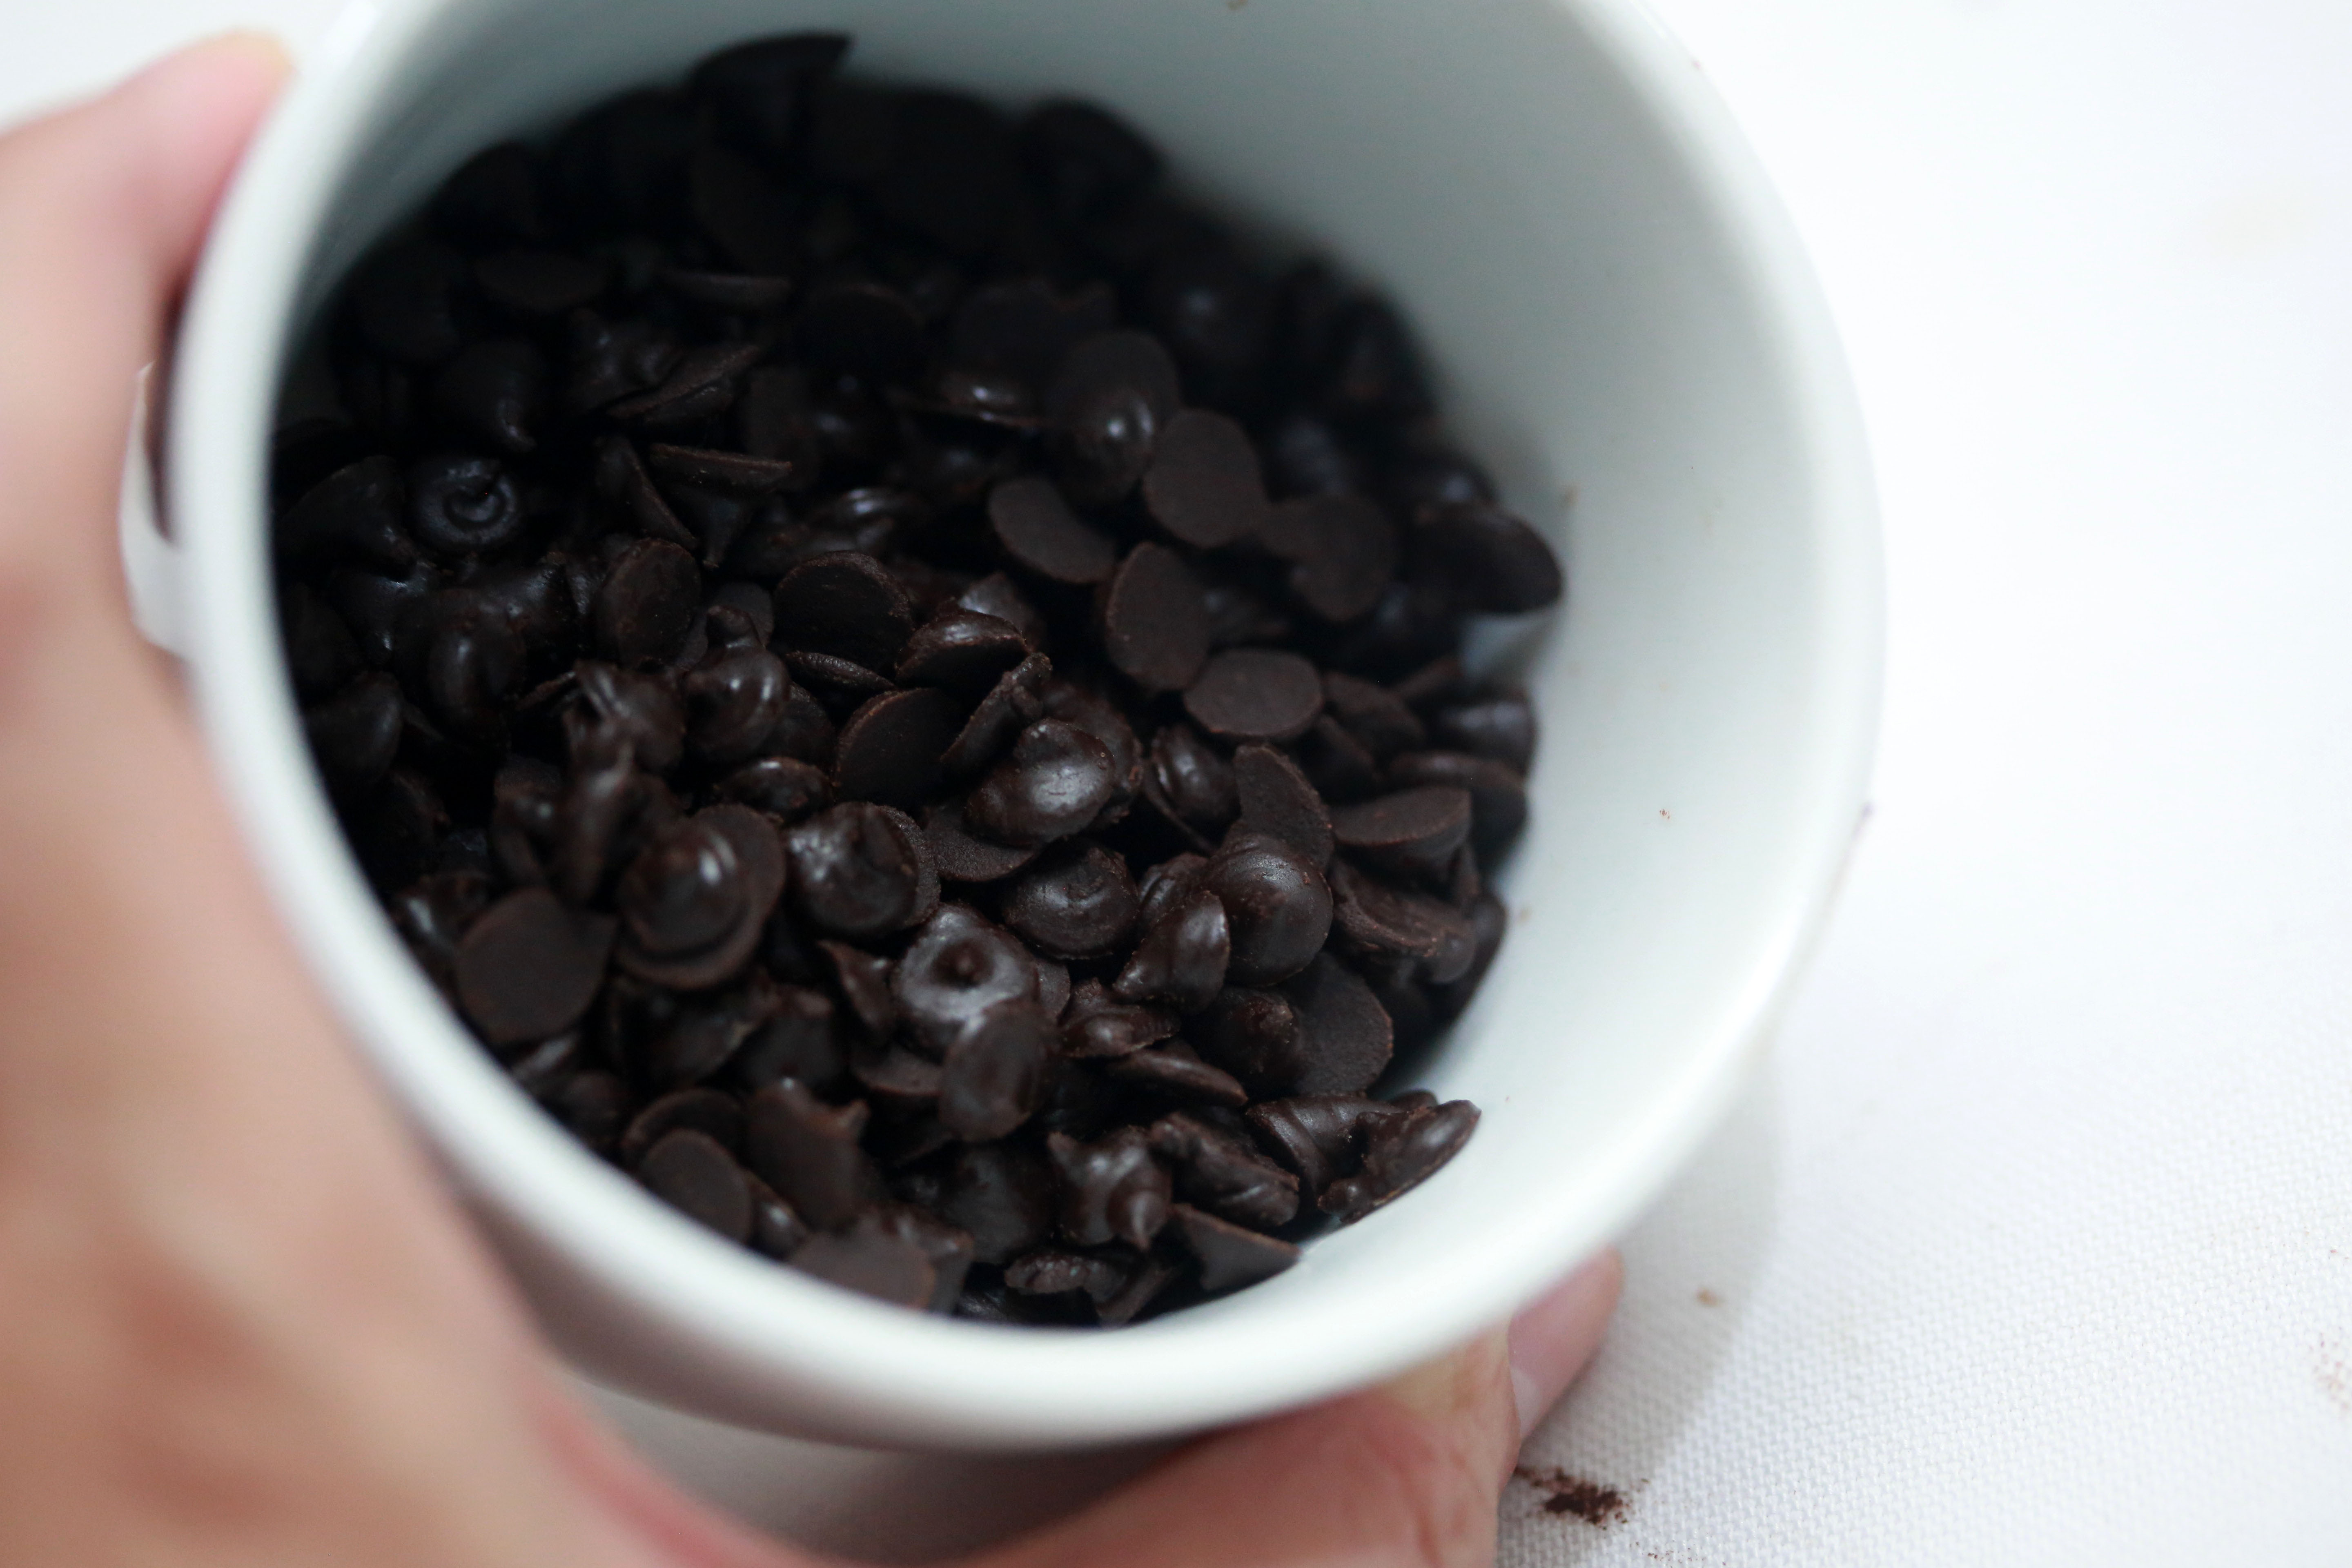
- Cocoa Beans or Cocoa Nibs: The heart of your chocolate! You can use whole cocoa beans, which you'll need to roast and grind, or cocoa nibs for a quicker option.
- Cocoa Butter: This is the fat extracted from cocoa beans. It adds smoothness and richness to your chocolate. Look for high-quality, food-grade cocoa butter.
- Sweetener: Sugar is the most common choice, but you can opt for alternatives like honey, maple syrup, or stevia to suit your dietary preferences.
- Milk Powder (for Milk Chocolate): If you're aiming for that creamy, sweet flavor of milk chocolate, milk powder is a must. Choose whole, skim, or even dairy-free alternatives.
- Flavorings & Add-Ins: This is where your creativity shines! Consider adding vanilla extract, sea salt, nuts, dried fruits, or even spices like cinnamon or chili powder for a unique twist.
Here’s a simple table to summarize the essential ingredients for making different types of chocolate:
| Type of Chocolate | Essential Ingredients |
|---|---|
| Dark Chocolate | Cocoa beans/nibs, cocoa butter, sweetener |
| Milk Chocolate | Cocoa beans/nibs, cocoa butter, milk powder, sweetener |
| White Chocolate | Cocoa butter, milk powder, sweetener (no cocoa solids) |
Having the right ingredients is key to producing chocolate that not only tastes great but also has the texture and mouthfeel you love. Remember, the journey of chocolate-making is as rewarding as the end result, so take your time, enjoy the process, and let your taste buds be your guide!
Also Read This: A Complete Guide to Curling Hair Using a Straightener on Dailymotion
3. Tools and Equipment Needed for Chocolate Making
Before diving into the delicious world of chocolate-making, it's essential to gather the right tools and equipment. Having everything ready will make your experience smoother and more enjoyable. Here’s what you need:
- Double Boiler: This is crucial for melting chocolate gently without burning it. If you don’t have a double boiler, you can create one by placing a heatproof bowl over a pot of simmering water.
- Digital Scale: Accurate measurements are key in baking and chocolate making. A digital scale ensures you're using the precise amount of chocolate and ingredients.
- Thermometer: A candy thermometer or a food thermometer will help you monitor the temperature of your chocolate, particularly during tempering, which is vital for achieving that glossy finish and perfect snap.
- Spatula: A rubber spatula is ideal for stirring and scraping down the sides of your bowls. It helps ensure that every bit of chocolate is melted evenly.
- Chocolate Molds: If you want to create bars or shapes, investing in chocolate molds will be necessary. They come in various designs, from simple squares to fun shapes!
- Baking Sheets or Parchment Paper: For spreading your chocolate, a flat surface is essential. Baking sheets lined with parchment paper will help in easy removal and clean-up.
- Storage Containers: After making your chocolate, you’ll want to store it properly. Airtight containers keep your chocolate fresh and prevent it from absorbing any unwanted odors.
With these tools at your ready, you’re set for a fun and rewarding chocolate-making adventure. Don’t worry if you can’t find everything on the list immediately. You can still start with the basics and expand your collection as you become more serious about your chocolate creations!
Also Read This: A Deep Dive into the History of A&E Biography Wrestling Legends and More on Dailymotion
4. Step-by-Step Instructions for Making Chocolate at Home
Let’s get to the fun part: making your very own chocolate! Follow these simple steps to create a delightful treat that will impress your friends and family (or keep it all for yourself). Are you ready? Let’s go!
Step 1: Gather Your Ingredients
Before you start melting, make sure you have all your ingredients ready. For basic homemade chocolate, you will need:
- 1 cup of cocoa butter - This is the fat used to create a rich texture.
- 1 cup of cocoa powder - The primary flavor of your chocolate.
- ¾ cup of powdered sugar - For sweetness (adjust to taste).
- 1 teaspoon of vanilla extract - For a hint of flavor.
- Pinch of salt - To enhance the flavors.
Step 2: Melt the Cocoa Butter
Using your double boiler setup, gently heat the cocoa butter until it's completely melted. Stir occasionally to ensure even heating. Make sure to keep the heat low to avoid burning.
Step 3: Mix in the Cocoa Powder
Once the cocoa butter is melted, gradually sift in the cocoa powder while stirring. This helps prevent clumps and gives you a smooth mixture. Keep stirring until everything is well combined.
Step 4: Add Sugar and Flavorings
Now, transfer the mixture from the heat source and add the powdered sugar, vanilla extract, and a pinch of salt. Stir until everything is blended beautifully, and don't be afraid to taste as you go—make adjustments as needed!
Step 5: Temper Your Chocolate (If Desired)
To get that shiny finish and snap, you might want to temper your chocolate. Pour about two-thirds of your chocolate onto a marble surface or a cool baking sheet, and use a spatula to spread it. Stir it around until it cools to about 82°F (28°C) before returning it to the remaining warm chocolate. Bring the mixture back up to around 88°F (31°C) to ensure it’s tempered.
Step 6: Pour and Set
Now, pour the tempered chocolate into your molds or spread it out on a parchment-lined baking sheet. Add any toppings you like, such as nuts, sea salt, or dried fruits. Let it cool at room temperature or in the fridge until it hardens.
Step 7: Enjoy!
Once your chocolate is set, pop it out of the molds or break it into pieces if you used a baking sheet. Enjoy your homemade creation, and share with friends if you can resist the temptation!
And there you have it—a simple, step-by-step guide to making chocolate at home. Don’t forget to experiment with flavors, types of chocolate, and toppings to make each batch uniquely yours!
Also Read This: Ultimate Guide to Skating for Beginners on Dailymotion
5. Video Tutorial on Chocolate Making
If you’re a visual learner, you’re in luck! I’ve put together a video tutorial that walks you through each step of the chocolate-making process. It’s perfect for those who prefer to see the magic happen in real-time. In the video, you'll find:
- Ingredients and equipment breakdown.
- Step-by-step guidance on melting and tempering chocolate.
- Tips on adding flavors and fillings.
- How to mold and store your homemade chocolate.
Watching the video will not only clarify the steps, but it will also help you pick up those little nuances that can make all the difference. Plus, you'll see just how easy and fun chocolate making can be! So, grab your ingredients, and let's get started. You can find the video linked below:
[Insert Video Link Here]
Don't forget to pause the video whenever you need to catch up or review something. Making chocolate should be a fun experience, and a little flexibility goes a long way. Feel free to re-watch specific sections as you become more comfortable with the process. Happy chocolate crafting!
Also Read This: Master the Art of Applying Kajal to Your Eyes with Video Tutorials on Dailymotion
6. Tips for Perfecting Your Homemade Chocolate
Now that you have the basics down and have seen the tutorial, let's dive into some tips that can elevate your chocolate-making game. These insider tricks will help you achieve that perfect, glossy finish and delicious taste that will impress everyone!
- Use Quality Ingredients: The flavor of your chocolate largely depends on the ingredients. Choose high-quality cocoa beans or chocolate bars, pure vanilla extract, and fresh additives like nuts or dried fruits.
- Mind the Temperature: When melting chocolate, keep an eye on the temperature. Temperatures above 120°F (49°C) can destroy the cocoa butter, leading to a grainy texture. Aim for a melting temperature of around 110°F (43°C).
- Properly Temper Your Chocolate: This step cannot be skipped if you want that beautiful snap and shine. After melting, cool it down to about 82°F (28°C) and then gently reheat it back to around 88°F (31°C). This process stabilizes the cocoa butter crystals.
- Experiment with Flavors: Don’t shy away from getting creative! Add a pinch of sea salt, a dash of espresso powder, or a hint of orange zest to elevate your chocolate's flavor profile.
- Use Silicone Molds: They’re flexible, making it easier to pop out your chocolate creations without damage. Plus, they come in various fun shapes and sizes!
- Store Properly: After you’ve made your chocolate, store it in a cool, dry place, away from strong odors. It’s best to keep home-made chocolate in an airtight container to maintain its quality.
You might not get it perfect the first time, and that's completely okay! Chocolate making is a delightful mix of science and art, so enjoy the process and don't hesitate to adjust your methods as you learn more about what works for you. Happy chocolate making, and may your kitchen always be filled with delicious aromas!
Also Read This: How to Make a Real Gun at Home
7. Variations to Try: Flavoring Your Chocolate
Making chocolate at home is a fantastic creative outlet, and one of the best parts is the chance to experiment with flavors! Here are some delicious variations to enhance your homemade chocolate:
- Sea Salt: A sprinkle of flaky sea salt on top of your chocolate can elevate its flavor profile by adding a savory contrast to the sweetness.
- Spices: Consider adding a pinch of cinnamon, chili powder, or even cardamom for a warm, spicy kick. These spices pair wonderfully with dark chocolate.
- Extracts: Vanilla extract is a classic addition, but you might also enjoy almond, orange, or peppermint extract. Just a few drops can make a big difference!
- Nuts and Seeds: Chopped almonds, hazelnuts, or even pumpkin seeds can add a delightful crunch and extra nutrition to your chocolate.
- Dried Fruits: Bits of dried cherries, cranberries, or apricots can introduce a chewy texture and natural sweetness that complements the chocolate.
If you’re feeling adventurous, you can also try some unusual combinations!
- Lavender and Honey: This pairing adds a floral note that's subtle yet sophisticated.
- Matcha: For a healthful twist, mix in some matcha powder for a unique flavor and a pop of green color.
- Espresso or Coffee: Adding finely ground coffee or espresso powder can deepen the flavor of your chocolate, especially if you’re making dark chocolate.
Mix and match these flavors to discover your personal favorites. Remember, the key here is to start small; you can always add more, but it's hard to take flavors out once they’re in!
Also Read This: How to Do Ribbon Work Embroidery on Dailymotion
8. Common Mistakes to Avoid When Making Chocolate
Even the most seasoned chocolatiers encounter hurdles when making chocolate at home. To help you navigate the process smoothly, here are some common mistakes to watch out for:
- Not Tempering Properly: Tempering chocolate is essential for achieving that beautiful sheen and satisfying snap. If you skip this step or rush it, you may end up with chocolate that becomes dull or has a poor texture.
- Using the Wrong Type of Chocolate: Make sure you're using high-quality chocolate. Cheaper chocolate can have fillers or low cocoa content that affect taste and consistency.
- Overheating the Chocolate: Chocolate is sensitive to heat! Always melt it at a low temperature, either using a double boiler or in short bursts in the microwave. Burnt chocolate is a disaster!
- Poorly Measuring Ingredients: If you're adding flavorings, be precise. Too much of a strong extract can overpower your chocolate. Invest in a good set of kitchen scales if you can!
- Skipping Quality Control: Taste your chocolate mixture before it sets! If it’s not sweet enough or needs more flavor, adjust now while you still can.
By being aware of these common pitfalls, you can save time, ingredients, and frustration. Remember, practice makes perfect! Don't get discouraged if things don't go perfectly the first time around. With a little perseverance and these tips, you’ll be crafting homemade chocolate like a pro in no time!
Conclusion: Enjoying Your Homemade Chocolate Creations
Congratulations on crafting your very own chocolate! Now that you've successfully completed the process, it's time to indulge in your delicious creations. Here are some tips and ideas to fully enjoy your homemade chocolate:
- Tasting Experience: Start by breaking off a small piece and letting it melt on your tongue to fully appreciate the flavors and textures.
- Pairing: Consider pairing your chocolate with:
- Fruits such as strawberries, oranges, or bananas.
- Nuts like almonds, hazelnuts, or pecans for added crunch.
- Red or white wine to enhance the experience.
- Experiment: Use your chocolate to create delicious desserts, such as:
- Chocolate-covered fruits
- Mousses and puddings
- Homemade chocolate bars with your favorite fillings
- Gift Ideas: Wrap your chocolate in decorative packaging as thoughtful gifts for friends and family.
Remember to store your chocolate properly in a cool, dry place to maintain its quality. Whether you savor a piece yourself or share with loved ones, your homemade chocolate is sure to bring joy. Enjoy your delicious journey in the world of chocolate-making and keep experimenting with flavors and techniques!
 admin
admin


