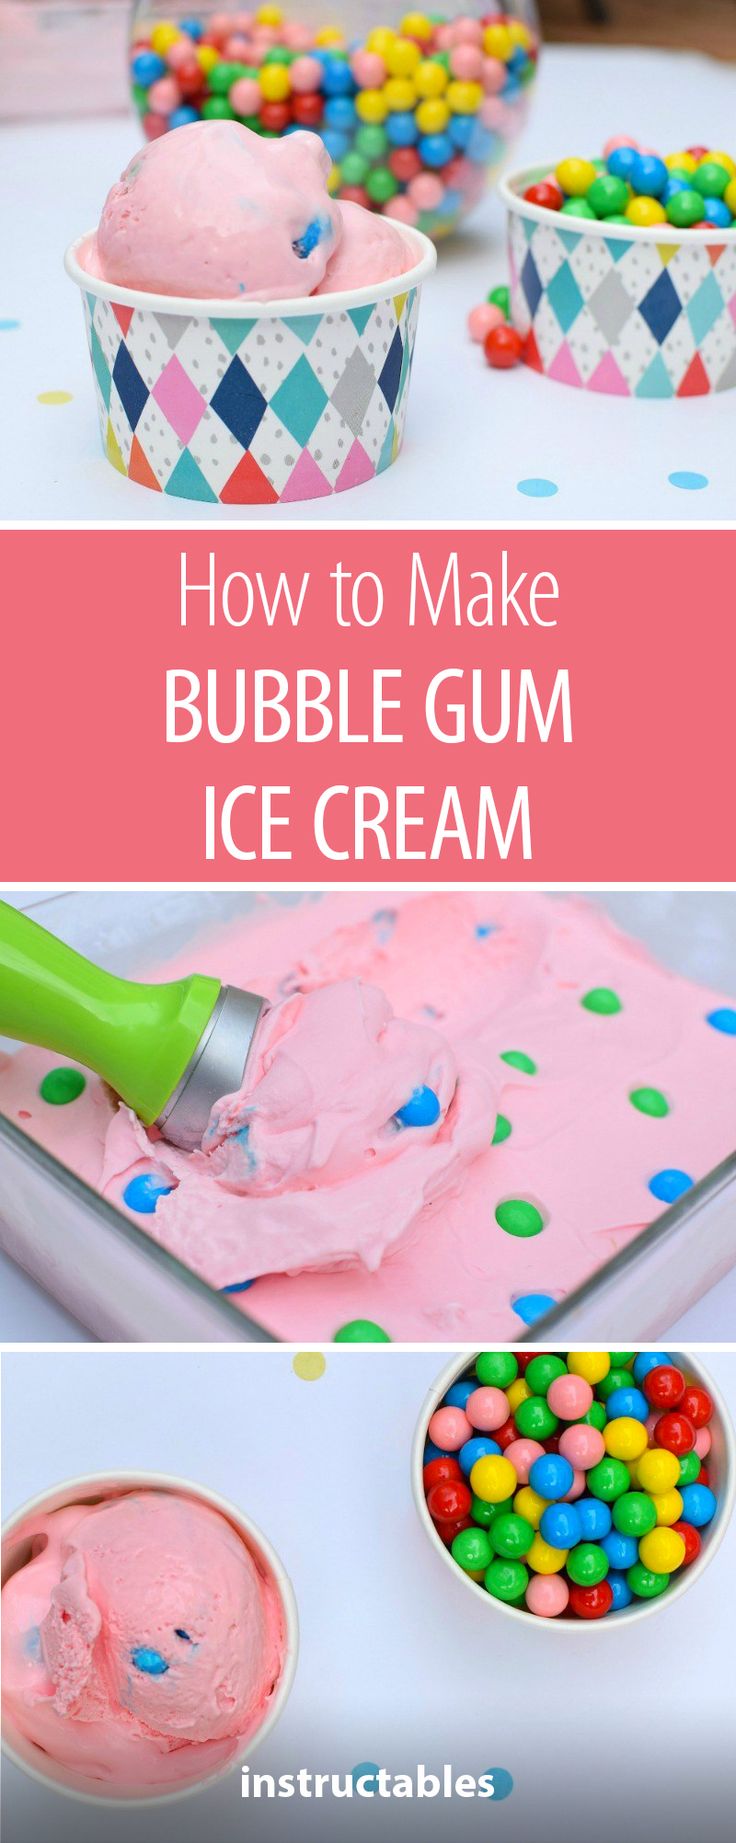
Have you ever chewed a piece of bubble gum and thought to yourself, “Wouldn’t it be fun to make this at home?” Well, you’re in luck! Making bubble gum at home is not only a fun and creative activity but also a perfect way to impress your friends and family. Plus, you get to enjoy a fresh batch of your favorite flavors without any of those store-bought additives. So let’s dive into this easy step-by-step guide on how to create your own homemade bubble gum!
Necessary Ingredients for Bubble Gum
Before you roll up your sleeves and get started, let’s gather all the ingredients you’ll need. Making bubble gum is a straightforward process, but having the right components is crucial for achieving that perfect chewy texture and flavor. Here’s a handy list of what you’ll need:
- Gum base: This is the main ingredient that gives bubble gum its chewiness. You can purchase gum base online or at specialty candy shops.
- Sweetener: Choose between powdered sugar, corn syrup, or liquid sweeteners. They help balance out the flavor and texture.
- Flavoring: This is where you can get creative! Use flavor oils or extracts like peppermint, cinnamon, or fruit flavors. Look for food-grade flavorings for the best results.
- Coloring: Optional, but a few drops of food coloring can make your gum visually appealing. Choose colors that match your flavor!
- Citric acid: This optional ingredient adds a tangy twist. It’s fantastic for sour flavors and enhances the overall taste.
- Powdered sugar (for dusting): To prevent the gum from sticking together, you’ll need some powdered sugar at the end of the process.
Now that we have our ingredients ready, it’s time to explore the exciting process of how to blend them together to create delicious, homemade bubble gum. Remember to have fun with it! You can experiment with different flavors and colors, making each batch uniquely yours. Get ready to bubble away!
Also Read This: How Far Is Tattoo Far? Watch the Show on Dailymotion
3. Tools Required for Making Bubble Gum
Before diving into the fun of making bubble gum, it’s essential to gather all the necessary tools. A well-prepared kitchen can be the difference between a successful batch of gum and a sticky mess! Here’s what you’ll need:
- Double Boiler: This is crucial for melting the gum base without burning it. If you don’t have one, you can easily create a makeshift double boiler using a heatproof bowl placed over a saucepan of simmering water.
- Measuring Cups and Spoons: Precision is key in candy making. Make sure you have a good set of measuring tools to get your ratios just right.
- Stirring Spoon: A strong spatula or spoon is ideal for mixing your ingredients thoroughly.
- Silicone Mat or Parchment Paper: Once your gum is ready, you'll need a surface to work on. A silicone mat prevents sticking and makes cleanup a breeze.
- Kitchen Scale: While measuring cups are great, a scale helps ensure you get precise amounts, especially with the gum base.
- Storage Container: After making your gum, you'll want a container to store it in to keep it fresh. An airtight jar or a resealable plastic bag works perfectly.
Having these tools at your fingertips will not only streamline the process but also enhance your overall bubble gum making experience. Plus, it makes cleaning up after the fun a lot easier!
Also Read This: How to Make a Tie with Paper: Fun DIY Craft Tutorial on Dailymotion
4. Step-by-Step Instructions to Make Bubble Gum
Now that you have all your tools and ingredients ready, let’s get down to the nitty-gritty of making your own bubble gum. Follow these simple steps, and soon you’ll be blowing your very own bubbles!
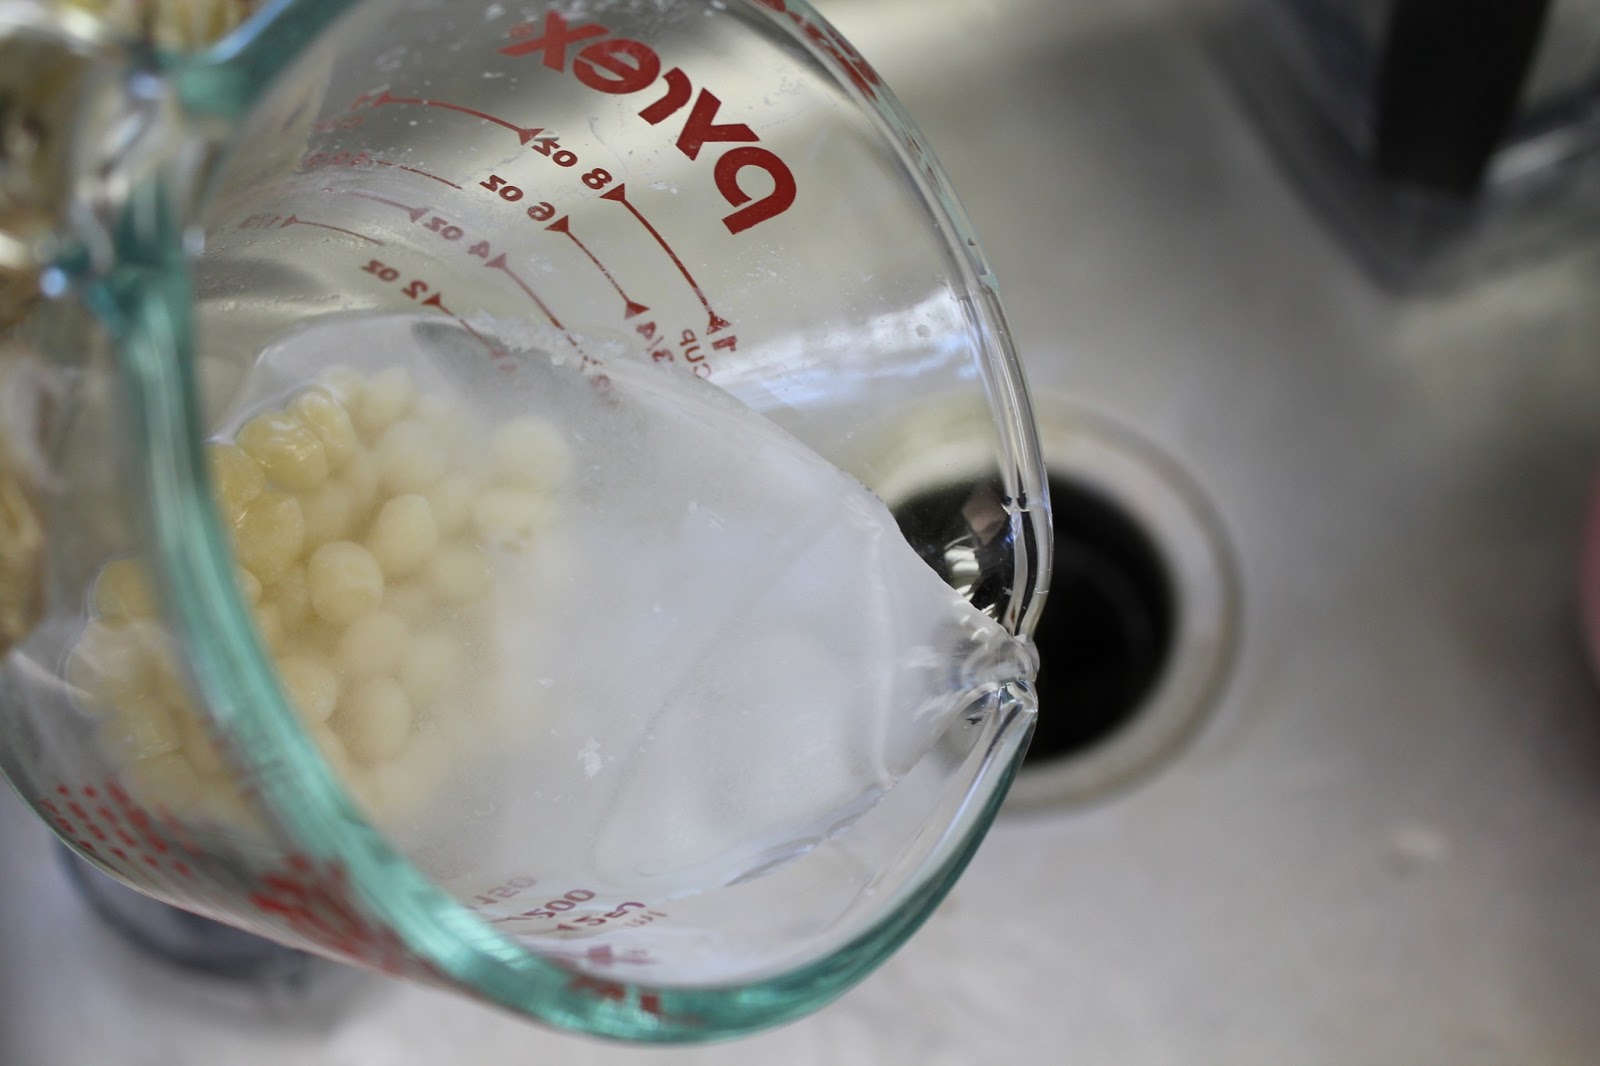
- Prepare the Double Boiler: Fill the bottom pot of your double boiler with water and bring it to a gentle simmer. Place the top pot or bowl on top, ensuring it doesn’t touch the simmering water to avoid scorching the gum base.
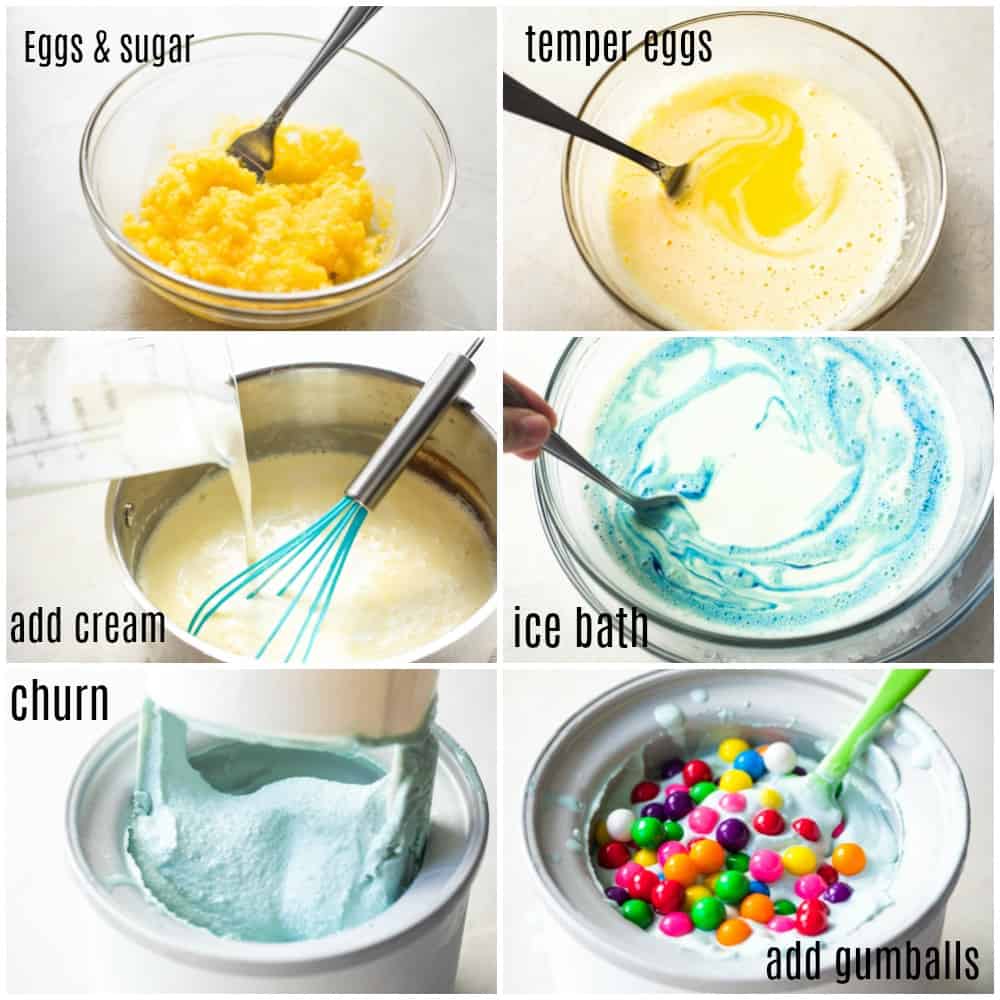
- Melt the Gum Base: Add your gum base into the top part of the double boiler. Stir gently until it melts completely, which should take about 5 to 10 minutes.
- Add Corn Syrup: Once the gum base is melted, add in the corn syrup. This will help give your gum that chewy texture we all love. Stir well until fully combined.
- Introduce Powdered Sugar: Slowly add the powdered sugar to the mixture while stirring continuously. This can get a bit thick, so be patient as you mix it in—about 1 cup at a time.
- Add Flavoring and Color: Now comes the fun part! Add a few drops of your chosen flavor extract and food coloring if desired. Stir well. The mixture should become a cohesive dough-like texture.
- Knead the Gum: Once mixed, transfer the gum onto your silicone mat. Let it cool slightly, then knead the gum with clean hands. Aim for a smooth, elastic consistency.
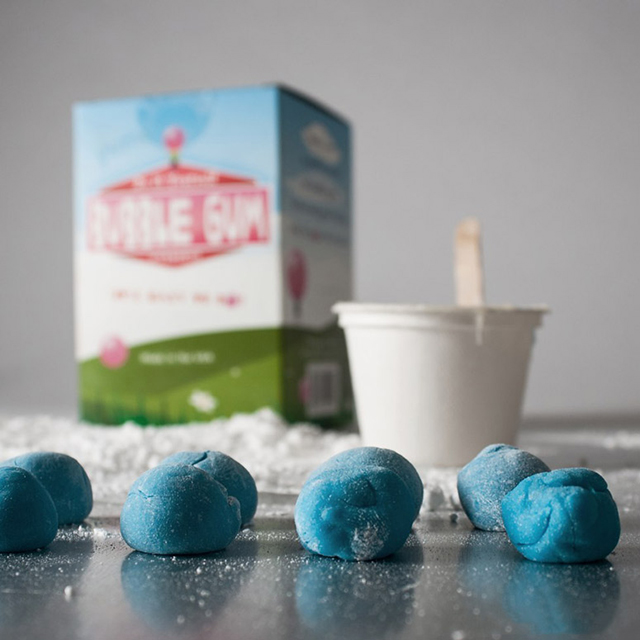
- Shape and Store: After kneading, you can shape it into small balls, sticks, or whatever your heart desires. Once shaped, allow the gum to sit for at least 15 minutes to firm up before storing it in your airtight container.
And voila! You’ve just created your very own bubble gum! Enjoy your delicious creations, and feel free to experiment with different flavors and colors. Happy chewing!
Also Read This: Learn How to Do a Manicure at Home in Urdu with Dailymotion Videos
5. Tips for Perfecting Your Bubble Gum Recipe
Making *bubble gum* at home can be a delightful experience, especially when you discover how to make it just right. Here are some handy tips to take your bubble gum-making skills to the next level:
- Choose the Right Base: The foundation of your gum is essential. Natural gum bases like chicle or similar products are preferred for authenticity and chewiness. If you can't find them, look for packaged gum base at craft or specialty stores.
- Experiment with Flavors: While classic flavors like strawberry and watermelon are popular, don’t hesitate to get creative. Try out mint, cinnamon, or even spices like ginger for a unique twist!
- Control the Texture: The right consistency is vital. If your gum is too soft, add a little more gum base. If it’s too hard, try incorporating a bit more corn syrup or glycerin. Finding that sweet spot may take a few tries!
- Use Quality Sweeteners: Sugar and corn syrup are traditional, but consider using honey or agave syrup for a different flavor profile. Sweeteners not only affect taste but also help bind the ingredients.
- Don’t Skimp on Kneading: Proper kneading is crucial for developing the right chewiness. Spend several minutes working your gum until it feels smooth and pliable.
- Allow Enough Time for Flavoring: After mixing your ingredients, let your bubble gum rest for at least 20-30 minutes. This allows the flavors to blend perfectly, enhancing the overall taste.
Finally, always remember to have fun during the process! Making bubble gum is all about experimenting, so keep a positive mindset and enjoy the journey.
Also Read This: How to Download Dailymotion Videos Online: Step-by-Step Tutorial
6. Common Mistakes to Avoid When Making Bubble Gum
Like any craft, making homemade bubble gum can come with its own set of challenges. Here are a few common mistakes to watch out for, so you can enjoy a successful gum-making experience!
- Skipping the Gum Base: One of the most crucial components of bubble gum is the gum base. Attempting to make gum without it can result in a sticky mess instead of a chewy treat. Always ensure you have a proper gum base before starting!
- Inadequate Mixing: If you don't mix your ingredients thoroughly, you might end up with uneven flavor and texture. Use a sturdy spoon or your hands—just be sure everything is well combined.
- Overcooking the Mixture: Cooking your gum base too long can make it hard and difficult to chew. Follow cooking times closely, and take it off the heat as soon as it’s melted and combined.
- Ignoring Safety Precautions: When melting sugar, it can get extremely hot. Always use appropriate utensils and avoid touching the mixture until it has cooled enough to be handled safely.
- Forgetting to Test Flavors: It can be tempting to throw in lots of flavors, but less is more. Start with small amounts and taste as you go to achieve the best balance.
- Not Storing Properly: Once your gum is made, store it in an airtight container to prevent it from drying out. If it hardens, you can try warming it slightly to regain some pliability.
Avoiding these common pitfalls can make a significant difference in the quality of your homemade bubble gum. With practice, patience, and a little creativity, you’ll be popping perfect bubbles in no time!
Also Read This: Behind the Scenes of Red Bull Production on Dailymotion
7. Storing Your Homemade Bubble Gum
Now that you’ve created your own delicious bubble gum, it’s important to store it properly to maintain its freshness and flavor. Here are some easy tips to help you with the storage:
- Wrap it Up: Each piece of bubble gum should be wrapped individually in wax paper or parchment paper. This will help prevent them from sticking together and losing their shape. You can even get creative and use colorful paper for fun!
- Airtight Containers: Once wrapped, store your gum in an airtight container. This will keep moisture out and help your gum retain its all-important chewiness. Small glass jars or plastic containers with secure lids work perfectly.
- Cool and Dry Place: The ideal storage location for your homemade bubble gum is a cool, dry place away from direct sunlight. Heat can cause your gum to become sticky and lose its nice texture. A cupboard or pantry works great!
- Fridge vs. Room Temperature: While your bubble gum can be stored at room temperature, if you live in a particularly humid environment, you may want to consider refrigerating it. However, bringing it back to room temperature before chewing will enhance its stickiness and enjoyment.
- Keep an Eye on It: Homemade bubble gum doesn’t have the same preservatives as store-bought versions, so it’s best to consume it within 1-2 weeks for the best taste and texture. If your gum starts to harden or lose its flavor, it’s time to make a new batch!
By following these simple storage tips, you'll be able to enjoy your bubbly creation at its best. Plus, the excitement of making and sharing your own bubble gum can last well beyond the initial creation!
8. Conclusion and Additional Resources
And there you have it—your easy step-by-step guide to making bubble gum at home! It’s a fun, engaging process that not only allows you to enjoy a nostalgic treat but also gives you the satisfaction of crafting something delicious from scratch.
As a quick recap, we covered:
- Gathering the right ingredients.
- Preparing the gum base.
- Flavoring your gum.
- Shaping and cooling it.
- Making fabulous bubbles!
- Storing it properly.
Before you run off to create your bubble gum masterpiece, here are some additional resources to help you dive deeper into the world of candy-making:
- Candy Making Resource - A comprehensive site filled with tips and recipes for various types of candies.
- Candy Making Supplies on Amazon - Find all the tools and ingredients you need to start your candy-making adventures.
- Homemade Bubble Gum Tutorials on YouTube - Watch videos for visual guidance and creative ideas!
Whether you’re planning to impress your friends with your new skills or just looking to satisfy your craving, making your own bubble gum is a sweet activity that can be enjoyed by everyone. So gather your supplies, roll up your sleeves, and get ready for some bubbly fun! Happy chewing!
 admin
admin


