Making bracelets at home with thread is a delightful and creative way to express your artistic side. Whether you want to craft adorable gifts for friends or simply indulge in a soothing hobby, bracelet-making can be incredibly rewarding. With just a few simple materials and a little patience, you can create stunning pieces that reflect your style. In this post, we'll explore everything you need to know to get started, including the basic materials, techniques, and tips for making beautiful thread bracelets.
Materials Needed

Before you dive into your bracelet-making adventure, you’ll need to gather a few essential materials. Here’s a handy checklist to ensure you have everything at your fingertips:
- Thread: Choose from various types of thread such as embroidery floss, macramé cord, or yarn. Each type will create a different texture and appearance.
- Scissors: A sharp pair of scissors is crucial for cutting your thread to the desired lengths.
- Tape or Clip Board: This helps to secure your bracelet while you're working on it, preventing any tangling as you braid or knot.
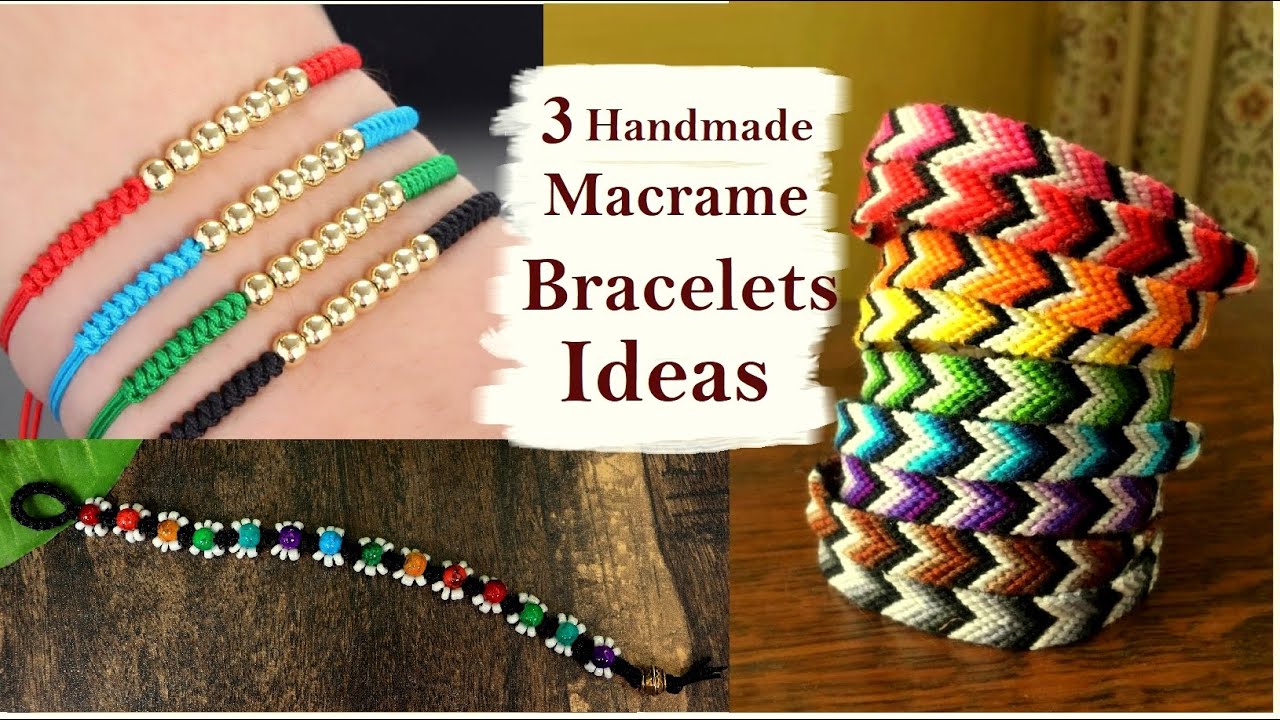
- Beads (optional): Add some flair with colorful beads. You might want to choose beads that complement your thread colors.
- Measuring Tape: To ensure your bracelet fits perfectly, measure your wrist or the recipient's wrist beforehand.
- Needle: If you're using thicker thread or beads, a needle can help thread the beads onto your string more easily.
- Ruler: For measuring thread lengths accurately, a ruler will come in handy.
Gather these materials, and you’ll be all set to start creating beautiful thread bracelets that can elevate your accessory game or make great heartfelt gifts. Happy crafting!
3. Step-by-Step Instructions

Making bracelets at home with thread can be an enjoyable and rewarding experience. Follow these step-by-step instructions to create your very own threaded bracelet!
- Gather Your Materials: Before diving in, ensure you have everything you need. You’ll require:
- Colorful threads (embroidery thread works great!)
- Scissors
- A tape/wax paper to hold your bracelet while you work
- A ruler for measuring the length
- Optional: beads, charms, or other decorative elements
- Measure and Cut the Threads: Decide on the length of your bracelet. A common length is about 6-8 inches. Cut 3-5 strands of thread (around 24-30 inches each) depending on how thick you want your bracelet to be.
- Secure the Threads: Align your threads and tie a knot at one end, leaving about an inch or two for the knot. Secure the knotted end to a flat surface using tape or place it under a weight so it doesn’t move around.
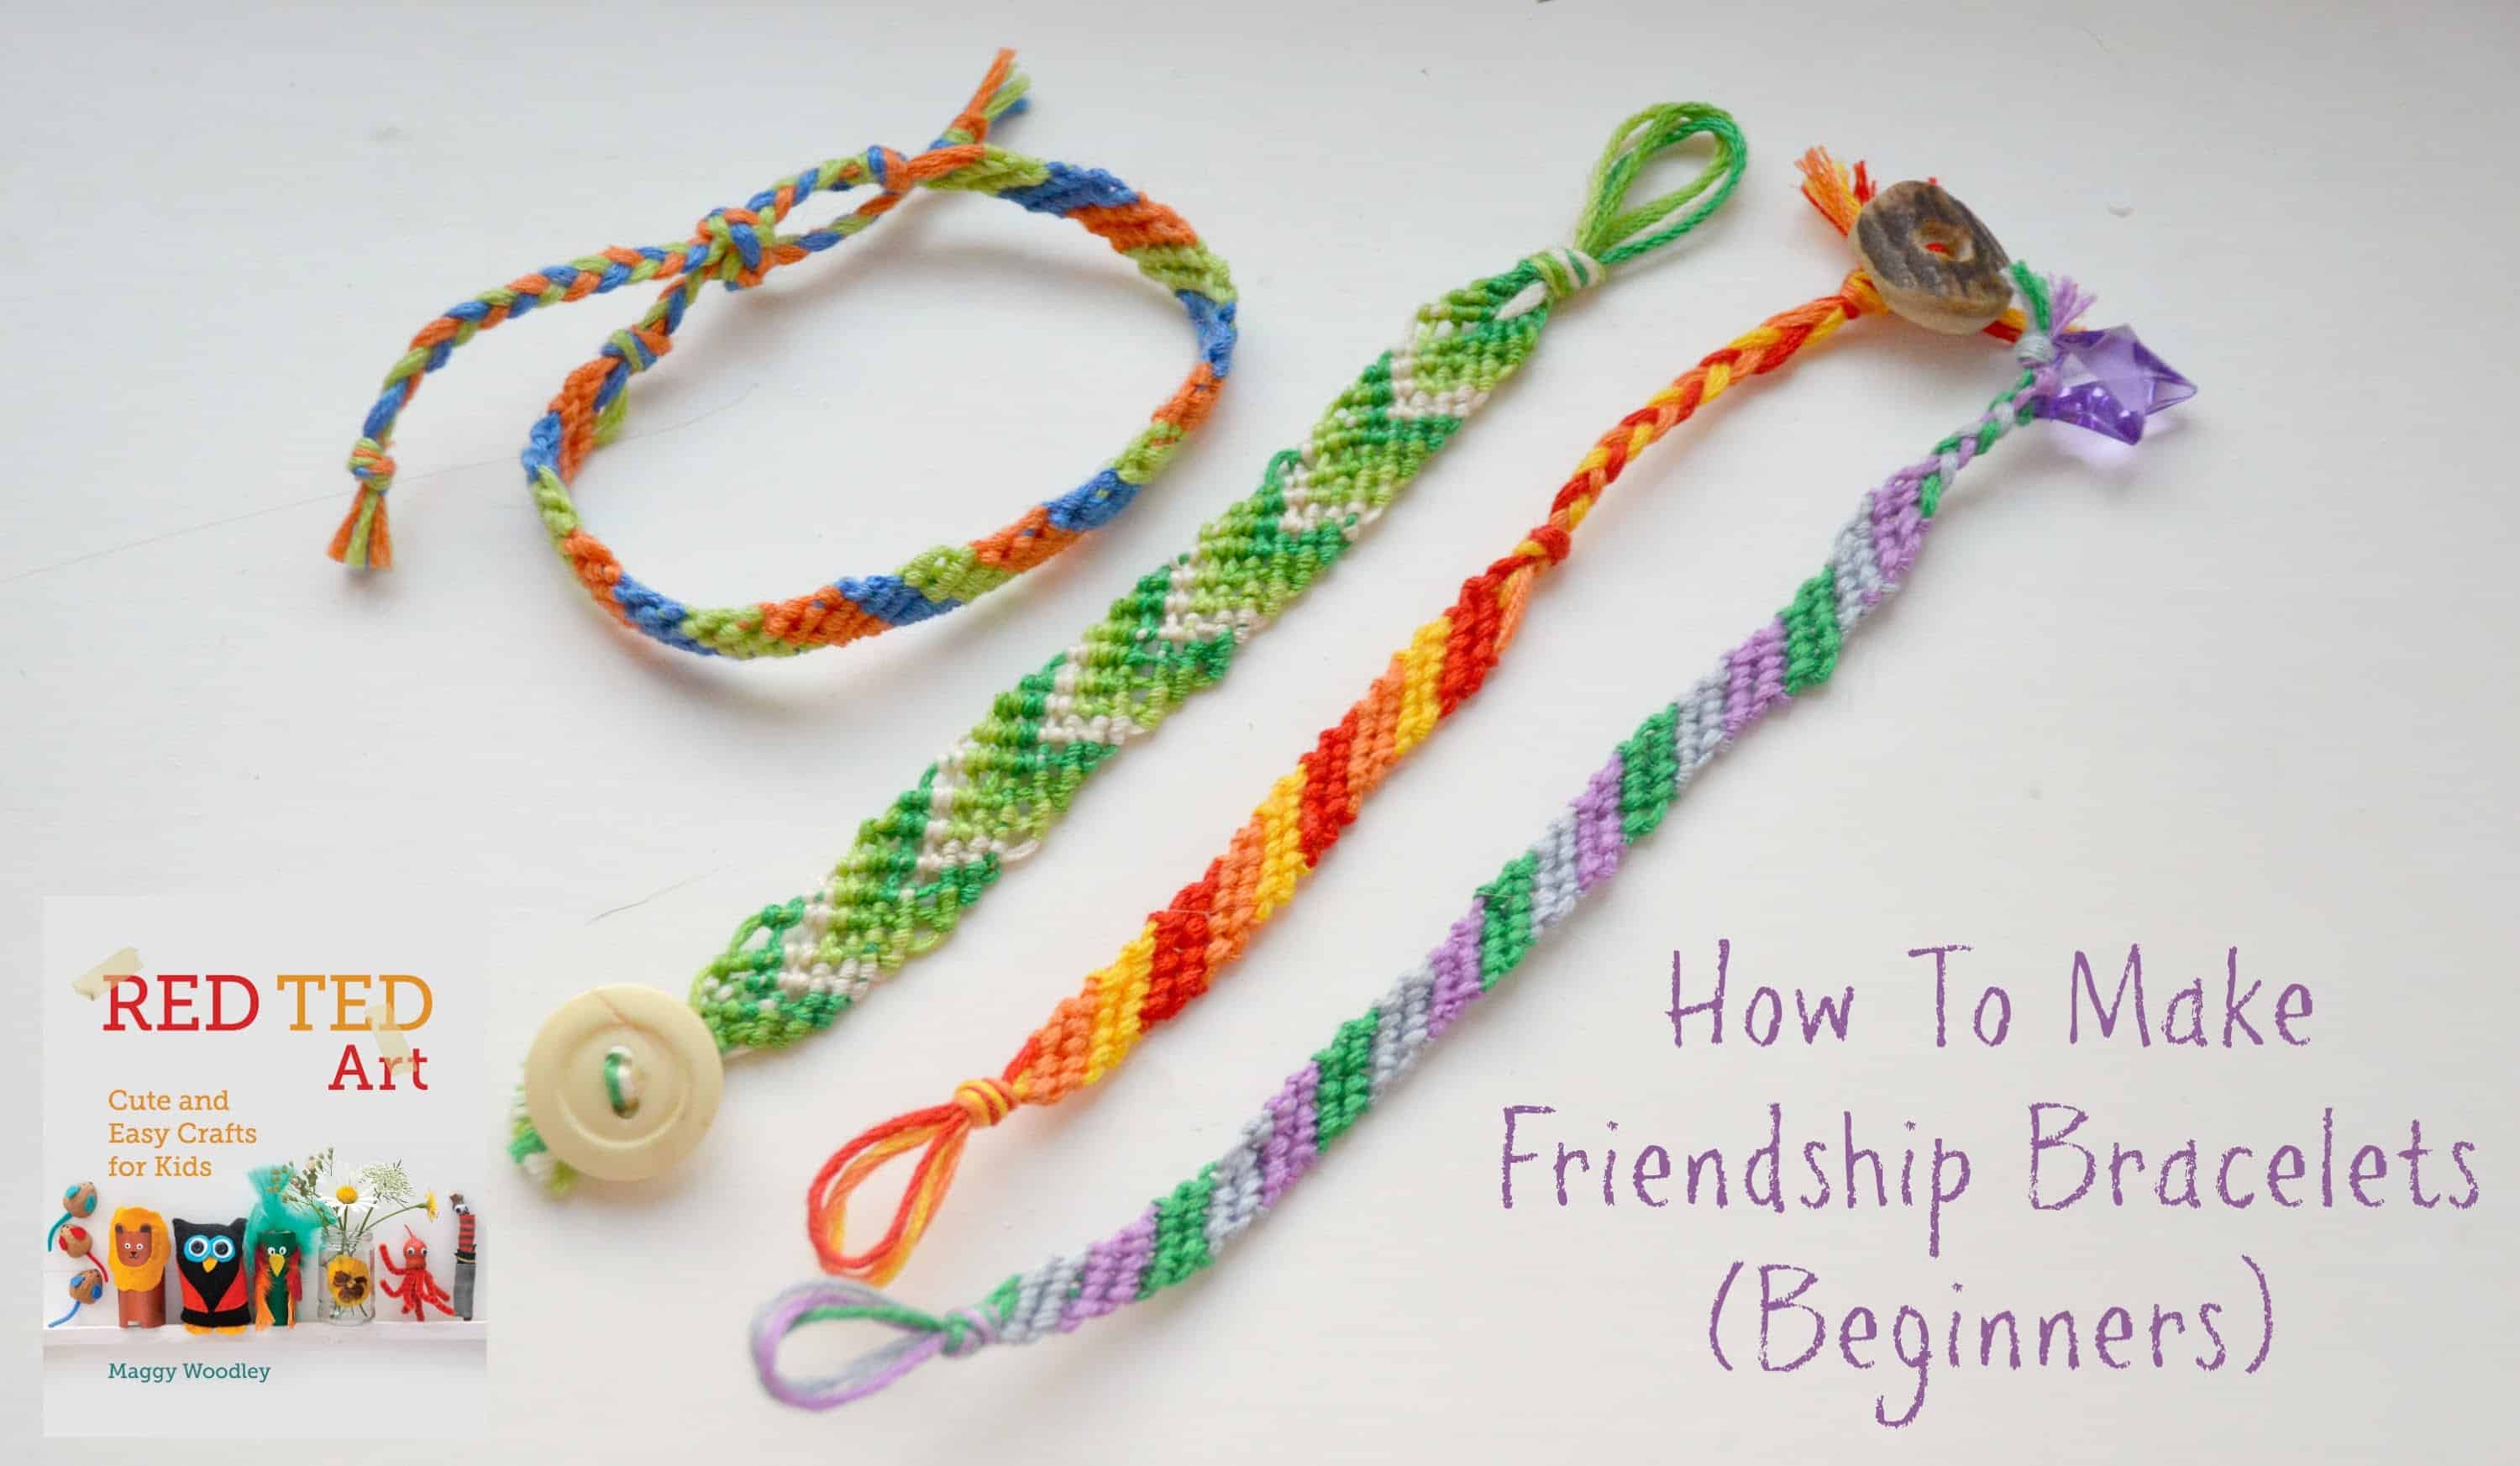
- Start Braiding or Knotting: Choose your method! For a simple braid, separate your threads into three sections and start braiding. For knotting, learn basic patterns like the square knot, which is easy and visually appealing!
- Add Beads or Charms: If you want to incorporate beads or charms, simply thread them onto your strands as you work. This can add personality and flair to your bracelet!
- Finish Your Bracelet: Once you reach your desired length, tie a secure knot at the end. Lastly, trim any excess thread and your bracelet is ready to wear or gift!
4. Tips for Creating Unique Designs

If you want your bracelets to stand out, here are some handy tips to unleash your creativity:
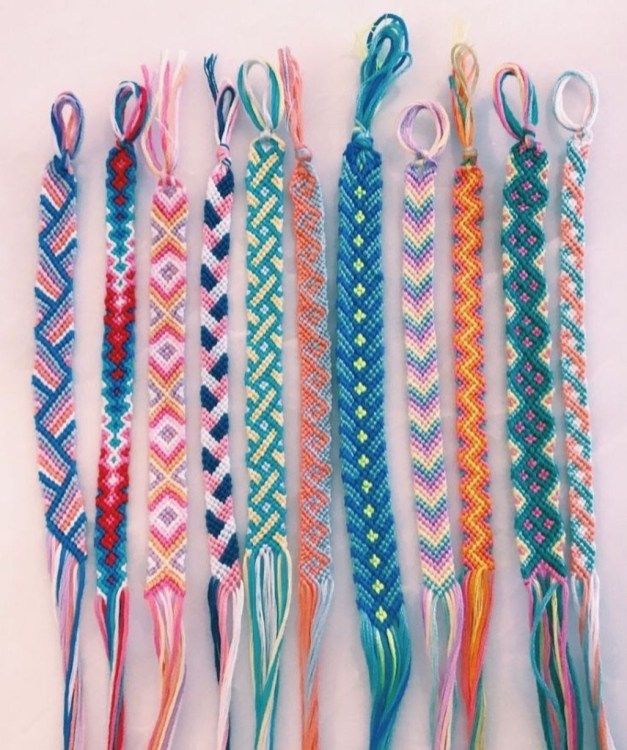
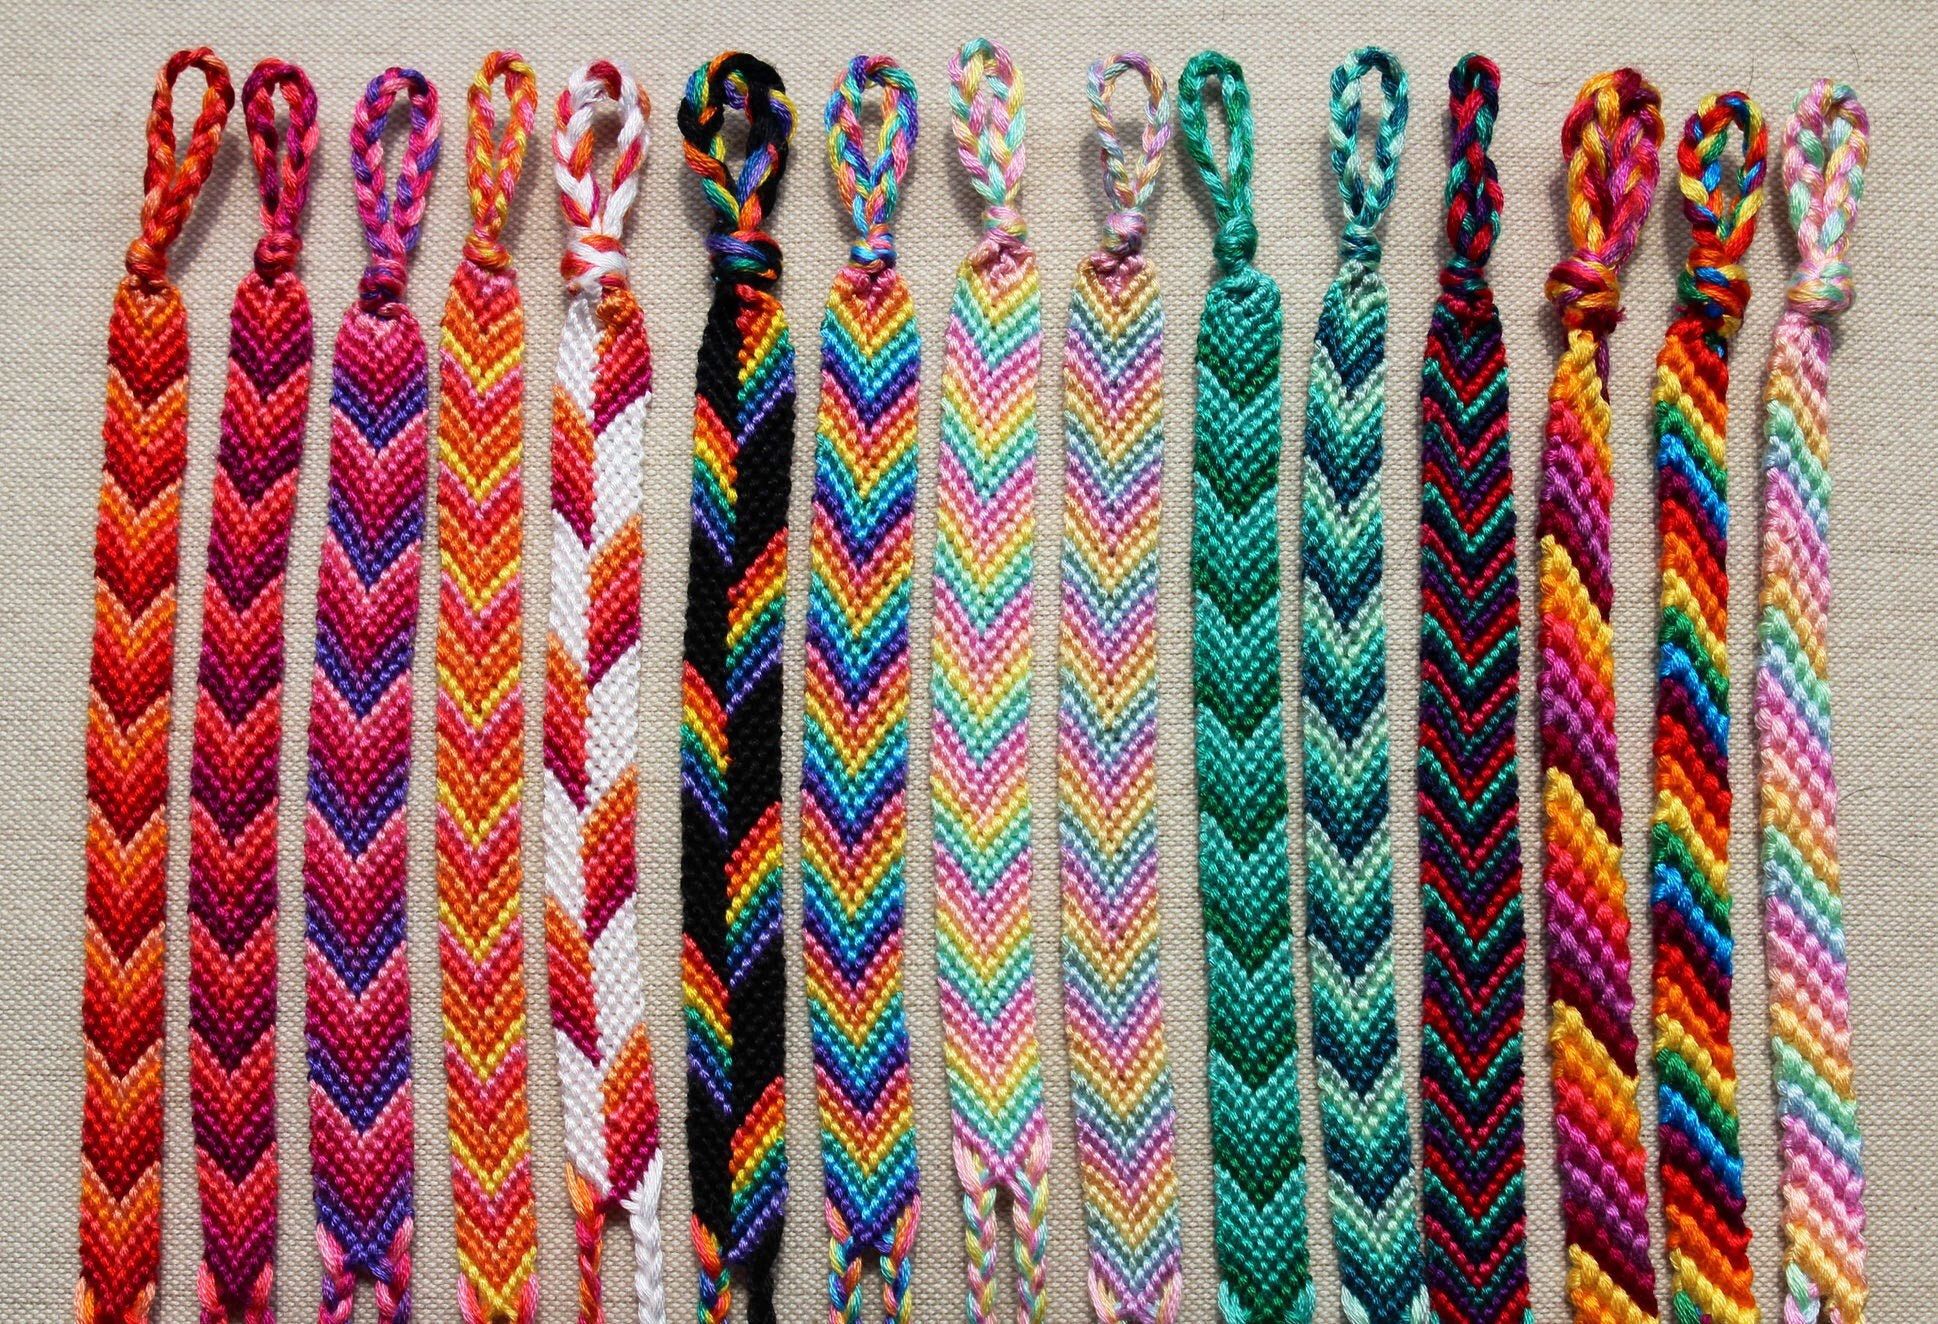
- Experiment with Colors: Don’t hesitate to mix and match colors! For instance, using complementary colors can create a striking effect, while analogous colors provide a more harmonious look.
- Incorporate Patterns: Learn and try different knotting patterns such as the spiral, chevron, or even a twisted design. Each one has its unique aesthetic!
- Use Different Thicknesses of Thread: Mixing thick and thin threads can add texture and an interesting visual element to your bracelet. Play around with different types to see what you like best!
- Add Personal Touches: Consider including personal charms or themes that reflect your style or personality. Whether it’s initials, favorite symbols, or meaningful colors, these touches make your bracelet one-of-a-kind.
- Take Inspiration from Nature: Look around you for design inspiration. Nature’s colors, patterns, and textures can provide endless ideas. You might find a great color scheme in a sunset or a cool pattern in a leaf!
- Practice Makes Perfect: Ultimately, don't be afraid to experiment! The more techniques and designs you try, the more unique and creative your bracelets will become. Plus, it's all about having fun!
Remember, every bracelet tells a story—make yours personal and unique!
5. Frequently Asked Questions

Making bracelets at home with thread can be a fun and fulfilling activity! If you’re just getting started, you might have some questions bouncing around in your mind. Let's dive into a few frequently asked questions to help clear things up.
- What type of thread should I use?
You can use a variety of threads such as embroidery floss, nylon thread, or cotton thread. Embroidery floss is popular due to its softness and vibrant colors, while nylon is more durable if you plan on making bracelets that will last longer.
- Do I need any special tools?
Not really! Most of the time, all you need are scissors to cut your thread, and maybe a ruler to measure the lengths. For some techniques, you may want to have a clipboard or tape to hold your work in place.
- How long should I cut the thread for my bracelet?
A good rule of thumb is to cut your thread at least 3-4 times the length of the wrist you’re making it for. Bracelets can twist and knot, so having extra length gives you some leeway.
- Can I incorporate beads into my thread bracelets?
Absolutely! Beads can add personality and flair to your design. Just make sure the hole in your beads is big enough for your chosen thread to pass through.
- How do I secure the ends of my bracelet?
You can either tie a knot, use a clamshell bead tip, or attach a clasp for a more polished look. Just make sure that everything is tightly secured so it doesn’t fall apart during wear!
6. Conclusion
And there you have it—making bracelets at home with thread is not just easy, but it can also be a delightful and engaging activity! Whether you’re crafting for yourself or creating unique gifts for friends and family, the possibilities are absolutely endless.
By exploring different techniques and incorporating your favorite colors and materials, you can produce truly one-of-a-kind pieces that express your creativity. Remember, practice makes perfect, so don’t get discouraged if your first attempts don’t turn out exactly as you envisioned.
So grab some thread, maybe a few beads, and let your creativity flow! You’ll be amazed at what you can create with a bit of thread and your imagination. Happy crafting!
 admin
admin


