Celebrating a friend's birthday is a special occasion, and what better way to show your love than with a personalized DIY birthday card? Crafting your own card adds a personal touch that store-bought cards often lack. It allows you to express your creativity and share heartfelt sentiments in a unique way. In this guide, we’ll explore the joy of making birthday cards and provide you with a list of materials to get started!
Introduction to DIY Birthday Cards
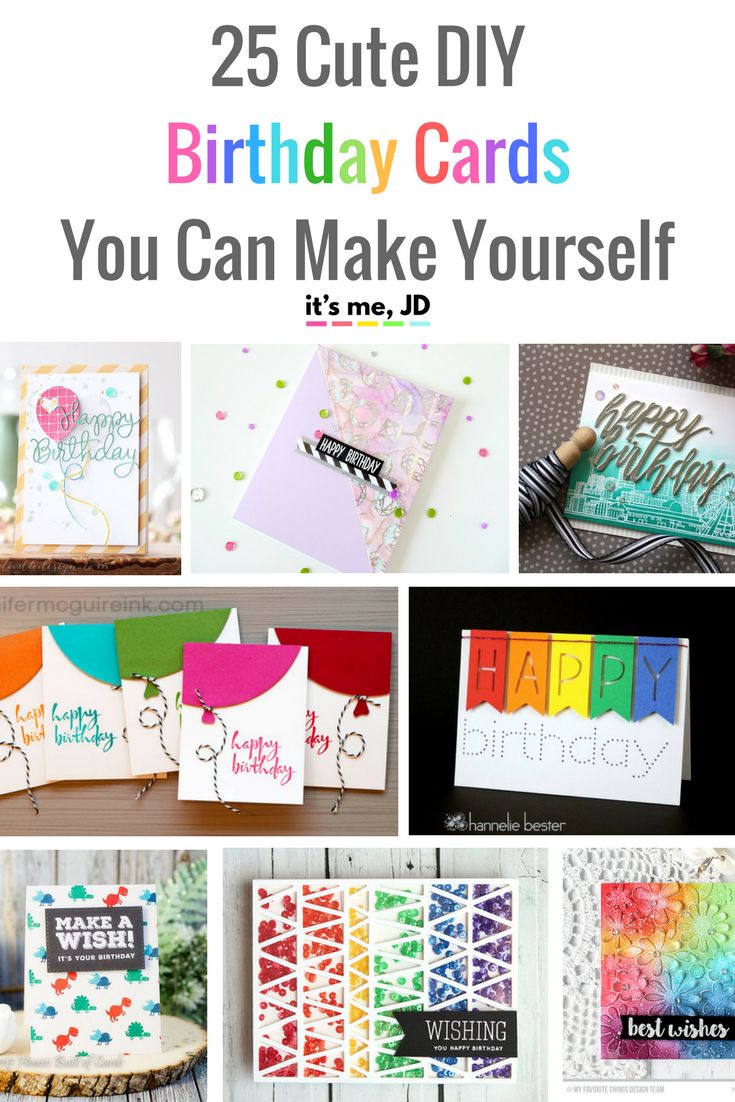
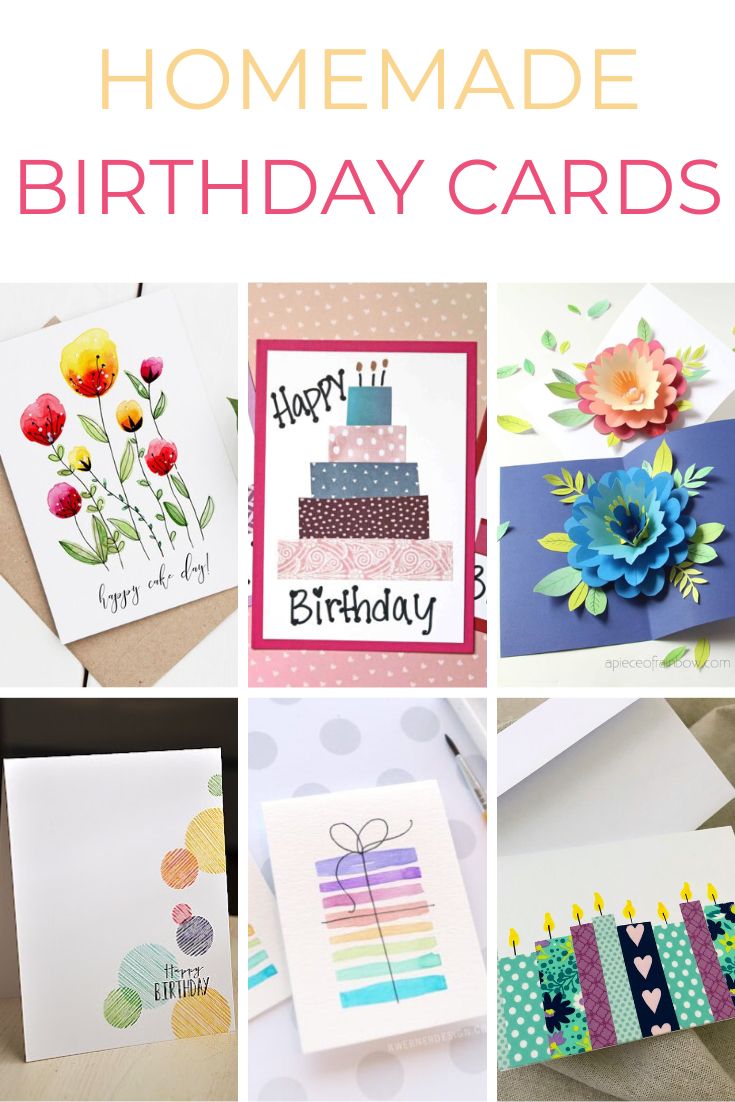
Making your own birthday cards can be a delightful and rewarding experience. Think about it: the joy of crafting something unique that reflects your friend’s personality and your relationship! Whether you’re a seasoned artist or just starting, DIY cards are accessible and fun.
To kick things off, consider the type of card you want to create. Do you want something whimsical, elegant, or humorous? The options are endless! Here are a few ideas to get those creative juices flowing:
- Pop-up Cards: Surprise your friend with a 3D element that pops out when they open the card!
- Watercolor Designs: Use watercolors for a soft, artistic touch.
- Collage Cards: Combine pictures, magazine cutouts, and other materials for a vibrant look.
Don't worry if you're not an expert in arts and crafts; the beauty of DIY cards lies in their charm and authenticity. Plus, your friends will appreciate the time and effort you put into creating something just for them. As you craft, let your style shine through. Add little details like doodles, stickers, or even a personal poem. The goal is to make it meaningful!
Remember, it’s not about perfection. It’s about love, creativity, and the joy of sharing. So grab those supplies, put on your favorite tunes, and let’s make some memories together!
Also Read This: Finding the English Dubbed Version of Popular Shows on Dailymotion
Materials Needed for Crafting Birthday Cards
Now, let’s gather our supplies! The beauty of making birthday cards is that you don’t need a ton of fancy materials. Here’s a list of essentials to help you get started:
- Cardstock Paper: This will be your base. Choose colors that resonate with your friend's personality!
- Colored Markers or Pens: For writing messages and adding decorative touches.
- Glue or Double-Sided Tape: Perfect for attaching elements like photos or embellishments.
- Scissors: Essential for cutting paper and creating interesting shapes.
- Embellishments: Think stickers, glitter, ribbons, or washi tape to add flair!
- Stamps: Use rubber stamps for cute designs or sentiments.
- A Ruler: Helpful for making straight lines and measuring sections.
- Emotional Imagination: This one’s crucial! Your creativity is your best tool.
Optional items that can really elevate your card include:
- Watercolors: For a beautiful, artistic background.
- Patterned Paper: To create unique layers and textures.
- Photo Prints: Personalize with photos of your memorable moments together.
Once you have all your materials, you’re ready to unleash your creativity! The process of crafting a birthday card can be just as enjoyable as giving it. So gather your friends, share ideas, and make it a fun group activity. Happy crafting!
Also Read This: Essential Guide to Playing Videos on Dailymotion for Beginners
3. Step-by-Step Instructions for Creating Unique Birthday Cards
Ready to unleash your creativity? Making birthday cards is not just fun; it's a heartfelt way to show your friends how much you care. Follow these simple steps to create your own unique cards:
- Gather Your Materials: You'll need:
- Cardstock or thick paper
- Markers, colored pencils, or paints
- Stickers, washi tape, or decorative paper
- Scissors and glue
- Envelopes
- Draw a fun illustration or doodle
- Use stickers to create a themed design
- Layer different papers for a textured look
- "Happy Birthday! May this year bring you endless joy!"
- "Cheers to another year of adventures together!"
- "Wishing you love, laughter, and all your dreams come true!"
And voilà! You have your unique birthday card ready to brighten someone's special day. Now, let’s dive into some creative ideas for personalizing your cards to make them even more memorable!
Also Read This: How to Hide Folders on Windows 7 for Privacy
4. Creative Ideas for Personalizing Your Birthday Cards
Personalization is key when it comes to making birthday cards that truly resonate. Here are some fun and creative ideas to add a personal touch:
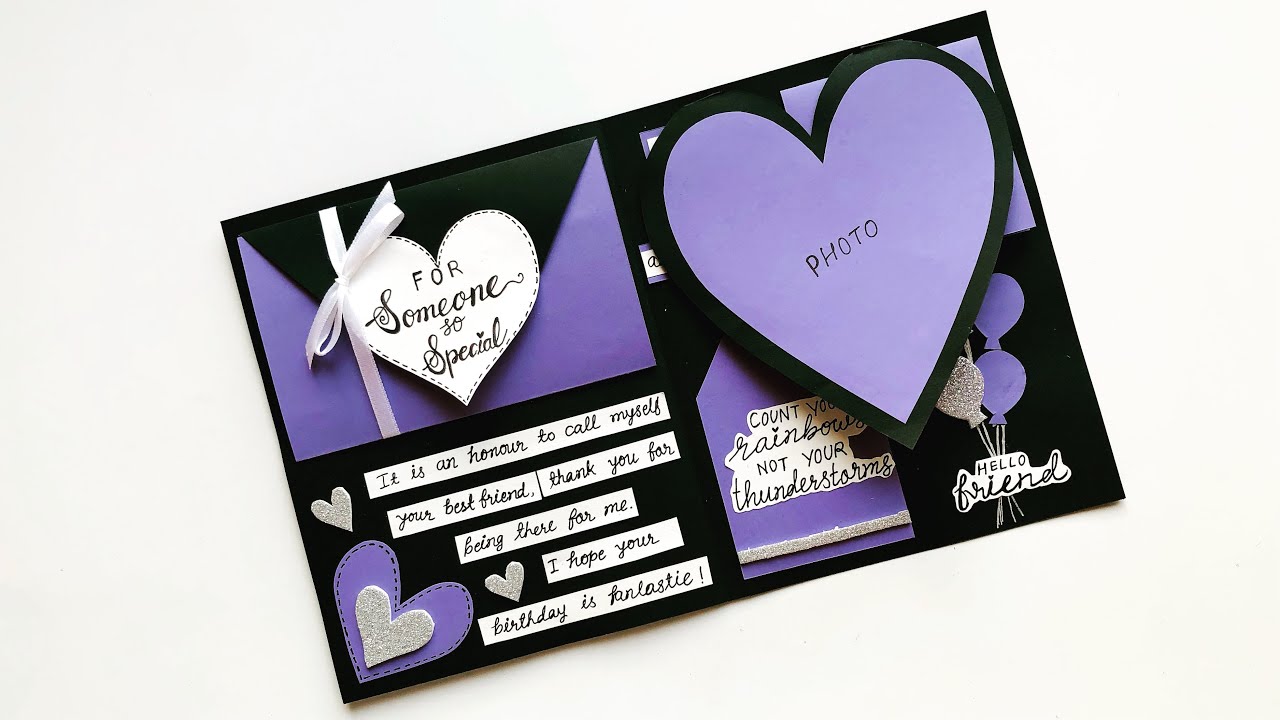
- Incorporate Inside Jokes: Think back to all the laughs you’ve shared. A funny reference can make your card feel special and intimate.
- Add a Photo: If it’s a close friend, why not add a snapshot of the two of you? It could be from a memorable trip or just a silly selfie!
- Include a Handwritten Poem: Even if you aren’t a poet, a few heartfelt lines about your friendship will be cherished.
Here’s a quick table of ideas for inspiration:
| Personalization Idea | Description |
|---|---|
| Handmade Pop-Ups | Create a pop-up feature inside your card, like a cake or balloons, for a fun surprise! |
| Themed Cards | Base your card design on their favorite color, hobby, or movie. It shows you pay attention! |
| Quotes & Lyrics | Incorporate their favorite song lyrics or quotes that remind you of them. |
Remember, the goal is to convey your love and appreciation. No matter how you personalize it, your effort will surely bring a smile to their face. Now, grab your supplies and let your creativity flow—you’re all set to make some unforgettable birthday cards!
Also Read This: How to Build a Helicopter with a Motor at Home: Watch on Dailymotion
5. Using Digital Tools to Enhance Your Card Design
In today’s tech-savvy world, there’s no need to stick solely to traditional methods when creating birthday cards. Digital tools can take your card design to the next level, making the process fun and efficient!
First off, let’s talk about some popular design platforms like Canva and Adobe Spark. These user-friendly applications come loaded with templates, graphics, and fonts, allowing you to customize your card effortlessly. Imagine adding vibrant backgrounds, playful illustrations, or even your favorite photos in just a few clicks!
Here are a few tips on how to utilize these digital tools effectively:
- Choose the Right Template: Start by selecting a birthday card template that resonates with the recipient’s personality. Whether it’s whimsical, elegant, or humorous, the right base will set the tone.
- Incorporate Personal Touches: Add personal photos or custom messages to make the card uniquely yours. You could even use a funny picture of you and the birthday person to spark joy!
- Experiment with Fonts: Play around with different fonts for the card’s text. A mix of fun, bold text for headings and softer fonts for messages can create a visually appealing contrast.
- Use Graphics Wisely: Enhance your design with icons or illustrations that relate to the birthday person’s interests, like music notes for a music lover or balloons for a festive vibe.
Once you’ve finalized your design, don’t forget to save it in the right format! Most platforms allow you to download your creation in high-quality PDF or JPEG formats, making it easy to print or share digitally.
Lastly, if you’re feeling particularly adventurous, consider using software like Procreate or Photoshop for more advanced design capabilities. These tools can help you create stunning, one-of-a-kind artwork that can truly impress your friends!
Also Read This: The Ultimate Guide to Streaming on Dailymotion for Beginners
6. Tips for Making Cards with Kids
Creating birthday cards with kids can be an incredibly rewarding experience. Not only does it unleash their creativity, but it also gives you quality bonding time. Here are some fun tips to make the process enjoyable for little hands!
First and foremost, set up a creativity station. Gather all necessary materials such as colored paper, markers, stickers, glitter, and scissors. Lay everything out on a large table or floor space where kids can freely express themselves without worrying about spills or mess.
Here’s how to keep the fun flowing:
- Keep It Simple: Start with basic card shapes—folded rectangles or squares are perfect. This simplicity allows kids to focus on decorating instead of complicated folds.
- Encourage Free Drawing: Let them draw whatever comes to mind! They can doodle, make funny faces, or even create a landscape. The goal is to allow their imagination to run wild.
- Make It Interactive: Consider adding elements like pop-up features or pull tabs. Kids love surprises, and these interactive elements will make their cards memorable!
- Share Stories: As you craft together, encourage kids to share stories about the birthday person. This can inspire themes and designs, making the card even more heartfelt.
- Celebrate the Mess: Embrace the chaos! Glitter and paint can get everywhere, but that’s part of the fun. Have a cleanup plan in place, but let the kids dive into creativity without fear.
Once the cards are complete, take turns presenting them to each family member or friend. This way, kids can enjoy the excitement of giving their handmade creations. It’s a wonderful way to teach them the spirit of giving and the joy of celebrating others!
Also Read This: How to Make a Flower with Paper: Easy Crafting Tutorial on Dailymotion
7. Where to Share Your DIY Birthday Card Creations
Once you've crafted your unique birthday cards, the fun doesn’t stop there! Sharing your creations can be just as rewarding as making them. Here are some great places to showcase your DIY talents:
- Social Media: Platforms like Instagram and Pinterest are perfect for sharing your artistic endeavors. Create a special hashtag for your birthday cards or join crafting communities where you can post your designs. If you’re on Facebook, consider joining groups dedicated to card making or DIY crafts.
- Crafting Blogs: Many crafting enthusiasts share their projects online. Write a guest post or comment on existing blogs! Sharing your DIY card process can inspire others and offer new ideas.
- Local Craft Fairs: If you’re feeling adventurous, consider setting up a booth at local craft fairs or markets. This is a fantastic way to meet fellow crafters and share tips while displaying your birthday cards. Plus, you might sell a few!
- Workshops: Organizing a workshop can be a fun way to engage with your friends and community. Teach others how to make birthday cards, and share your techniques. This not only showcases your skills but also builds a sense of community.
- Online Marketplaces: Websites like Etsy allow you to sell your homemade cards. If you’ve created some extraordinary designs, why not turn your hobby into a little side business? You can even customize cards based on customer requests!
Don’t forget the power of word-of-mouth! Share your cards with friends and family and encourage them to spread the word. Who knows? Your DIY birthday cards might just become the next big trend among your circle!
8. Conclusion and Encouragement to Get Crafting
Creating DIY birthday cards is not just a fun activity; it’s also a heartfelt way to connect with friends and loved ones. Each card represents your personality, creativity, and the time you’ve invested into making someone feel special on their birthday.
So, as you wrap up your crafting session, remember:
- Don’t worry about perfection! The charm of handmade cards lies in their unique quirks.
- Experiment with different materials—glitter, ribbons, or even pressed flowers can add a beautiful touch.
- Most importantly, have fun! Crafting should be a joyful experience, so let your creativity flow.
Next time a friend’s birthday rolls around, you’ll be ready with a fabulous, personalized card that shows just how much you care. Now, grab those scissors, gather your supplies, and get crafting! You never know—you might just discover a new passion along the way!
 admin
admin


