Welcome to the world of paper ball crafts! If you're looking for a fun and simple way to get creative, making paper balls is an excellent choice. These lightweight, colorful little orbs can be used in various projects, from decorations to playful activities for kids. Best of all, they require minimal materials and can be completed in just a few steps. Whether you're a craft enthusiast or a beginner, this guide will show you how easy it is to create beautiful paper balls that can brighten up any space or event.
Materials Needed for Making Paper Balls
Getting started with paper ball crafting is super simple because you probably have most of the materials on hand right now! Here's a handy list of what you'll need:
- Paper: You can use any kind of paper—colored paper, old magazines, newspapers, or even plain printer paper. The choice is yours!
- Scissors: For cutting your paper to the desired size and shape.
- Glue: A good craft glue or a glue stick works perfectly for keeping your paper balls together.
- Pencil (optional): Useful for marking measurements on your paper if you're aiming for precision.
- String or ribbon (optional): Perfect for creating hanging decorations!
Now, let’s break down the materials in a bit more detail:
1. Paper: The base of your project. You can experiment with different textures and colors. For a vibrant look, try using magazines or multi-colored scrap paper. You can even use tissue paper for a softer appearance.
2. Scissors: A pair of sharp scissors will ensure clean cuts. If you're crafting with kids, consider using safety scissors for their safety.
3. Glue: You’ll need something strong enough to hold the shapes together without making them soggy. A glue stick is often best for paper. If you’re using heavier paper, consider liquid white glue, but be sparing to prevent messiness!
4. Pencil: If it's your first time making paper balls, using a pencil to draw circles or other shapes can help ensure uniformity in size, especially if you're creating multiples.
5. String or ribbon: If you want to turn your paper balls into hanging décor for parties or decorations, make sure you have some string or decorative ribbon handy!
With these materials gathered, you’re ready to dive into the world of crafting. The beauty of making paper balls lies in their versatility; you can alter their size, color, and texture depending on your preference. So gather your supplies, unleash your creativity, and let’s get crafting!
Also Read This: How to Make a Feather Braid: A Creative Hairstyling Tutorial on Dailymotion
3. Step-by-Step Instructions to Create Paper Balls
Creating paper balls is one of the simplest and most enjoyable crafts you can dive into, whether you’re a seasoned crafter or just starting out. Follow these easy steps to make your very own paper balls, and let your creativity shine!
What You’ll Need:
- Scrap paper or colored paper
- Scissors
- Glue or tape (optional)
- Ruler (optional)
- Pencil (optional)
Step 1: Gather Your Materials
Start by gathering all your materials in one place. This makes the process smooth and enjoyable. If you’re using scrap paper, any old magazines, newspapers, or even leftover wrapping paper will work perfectly!
Step 2: Cut Your Paper
Using your scissors, cut your paper into squares or circles. A size of about 4 inches by 4 inches works great, but you can go smaller or larger depending on your preference. Just remember, the bigger the paper, the larger the ball will be!
Step 3: Crumple the Paper
Take a piece of your cut paper and crumple it into a tight ball using your hands. This is where the fun begins! The more you scrunch it, the fluffier and more textured your ball will be. If you want to make several smaller balls, just repeat the crumpling process with multiple pieces of paper.
Step 4: Secure (Optional)
If you want your paper balls to hold their shape better, you can use a little glue or tape to secure the edges. Just apply a small amount to the edges of your crumpled paper and press gently until it holds. This step is entirely optional, especially if you enjoy the freeform style!
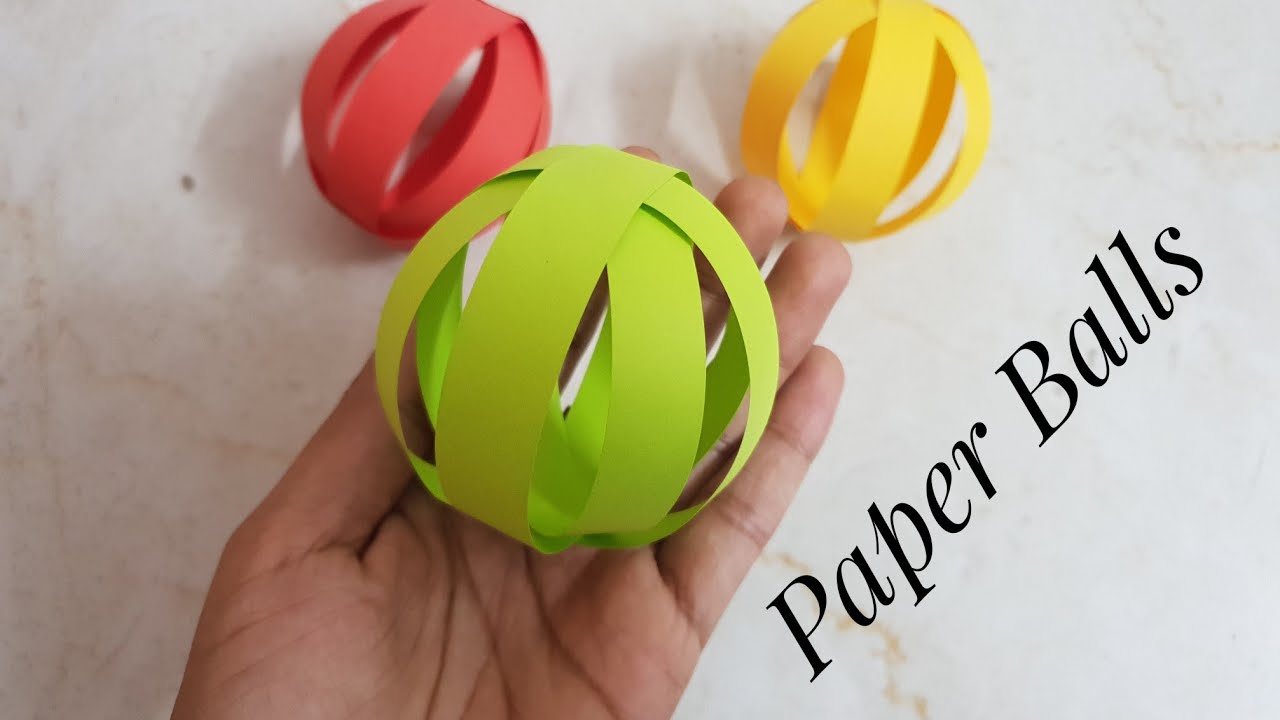
Step 5: Admire Your Work!
And voila! You have created your very own paper balls! Feel free to create multiple balls in various colors and sizes to create a visual feast.
Also Read This: How to Make Coffee in Coffee Maker: Easy Step-by-Step Guide on Dailymotion
4. Creative Ideas for Using Paper Balls in Crafts
Now that you’ve made some adorable paper balls, let’s explore how you can incorporate them into your crafting projects. The possibilities are endless, and you can get as creative as you want!
1. Paper Ball Garland
String your paper balls together to create a festive garland. Simply use some twine or string and poke a small hole through the center of each ball, threading them onto the string. This is a fantastic decoration for parties or holidays!
2. Fun Centerpieces
Use your paper balls to create a colorful centerpiece for your table. Take a small vase or bowl and fill it with your paper balls. It’s an easy way to add a pop of color and whimsy to any room!
3. Playful Decor
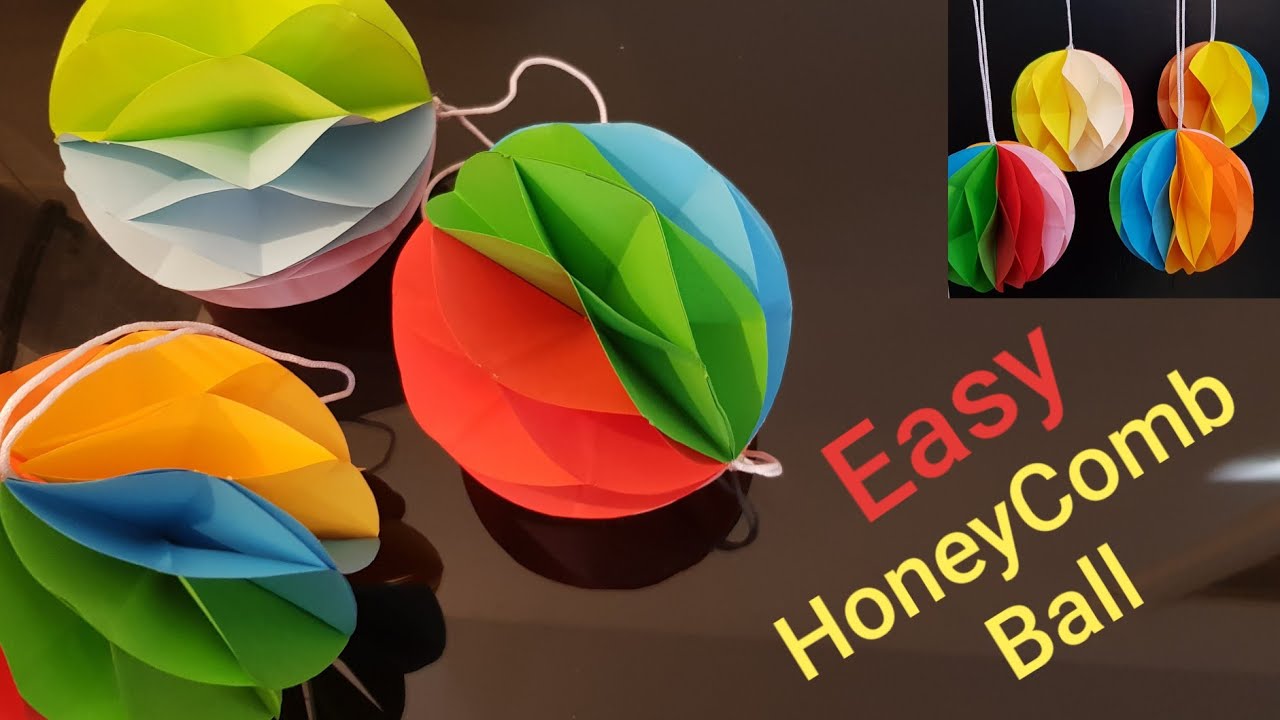
Hang your paper balls from the ceiling or on a wall to create a playful atmosphere. This is especially great for children’s rooms or play areas. Use different lengths of string to hang the balls at varying heights for a more dynamic look.
4. Seasonal Decorations
Change your paper balls seasonally! For instance, decorate your home with orange and black paper balls for Halloween or red and green for Christmas. You can even add glitter or paint to match the theme!
5. Learning Tools for Kids
For parents and teachers, paper balls can be educational. Use them for counting games, color recognition exercises, or even as markers in various activities. They’re soft, safe, and make learning fun!
As you can see, paper balls are more than just a simple craft! With a little imagination, you can transform them into beautiful and functional decorations, learning tools, or festive accessories for any occasion. So grab those scissors and get crafting!
Also Read This: How Phillip Hughes Died: Watch Documentaries on Dailymotion
5. Tips for Perfecting Your Paper Ball Technique
Making paper balls can be a delightful and satisfying craft for all ages! Whether you're creating decorations, toys, or just engaging in a fun activity, here are some tips to help you perfect your technique:
- Choose the Right Paper: Different types of paper yield different textures and sizes. For softer and fluffier balls, consider using tissue paper. For sturdier balls, plain copy paper or cardstock works well.
- Proper Folding: When folding, try to make your folds as crisp as possible. This not only ensures a neater final product but also helps your paper ball hold its shape better.
- Experiment with Sizes: You don’t have to stick to one size! Try varying the dimensions of the squares or rectangles you start with. Small paper squares create tiny balls that are fun for kids, while larger sheets can produce impressive, larger decor items.
- Density Matters: If you want a squishier ball, avoid pressing it too tightly when you're forming it. Conversely, for a firmer ball that keeps its shape, be sure to compress it just enough to hold everything together.
- Use a Tacky Glue: If you want to ensure your paper ball stays intact for a long time, don’t hesitate to use some glue to hold sections together. Just a dab in strategic areas can work wonders!
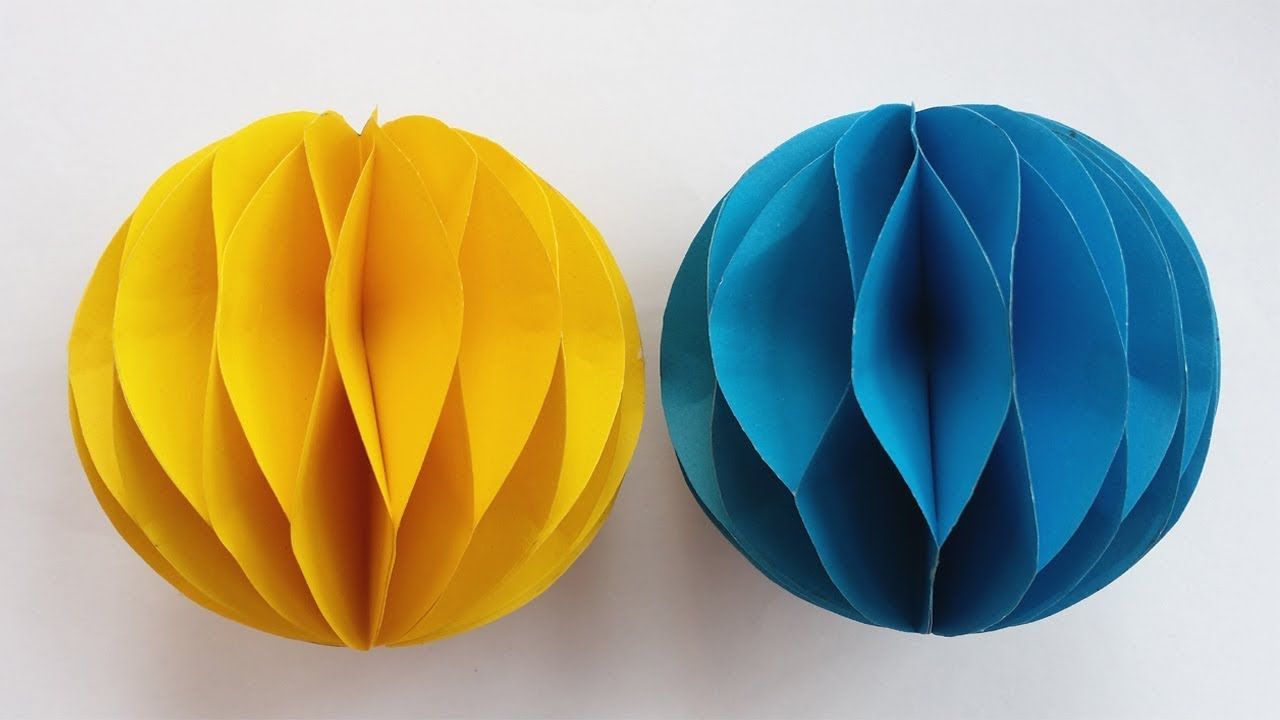
- Mix and Match Colors: Don’t be afraid to get creative with colors! Layering different colored papers can create beautiful, multicolored paper balls that really stand out.
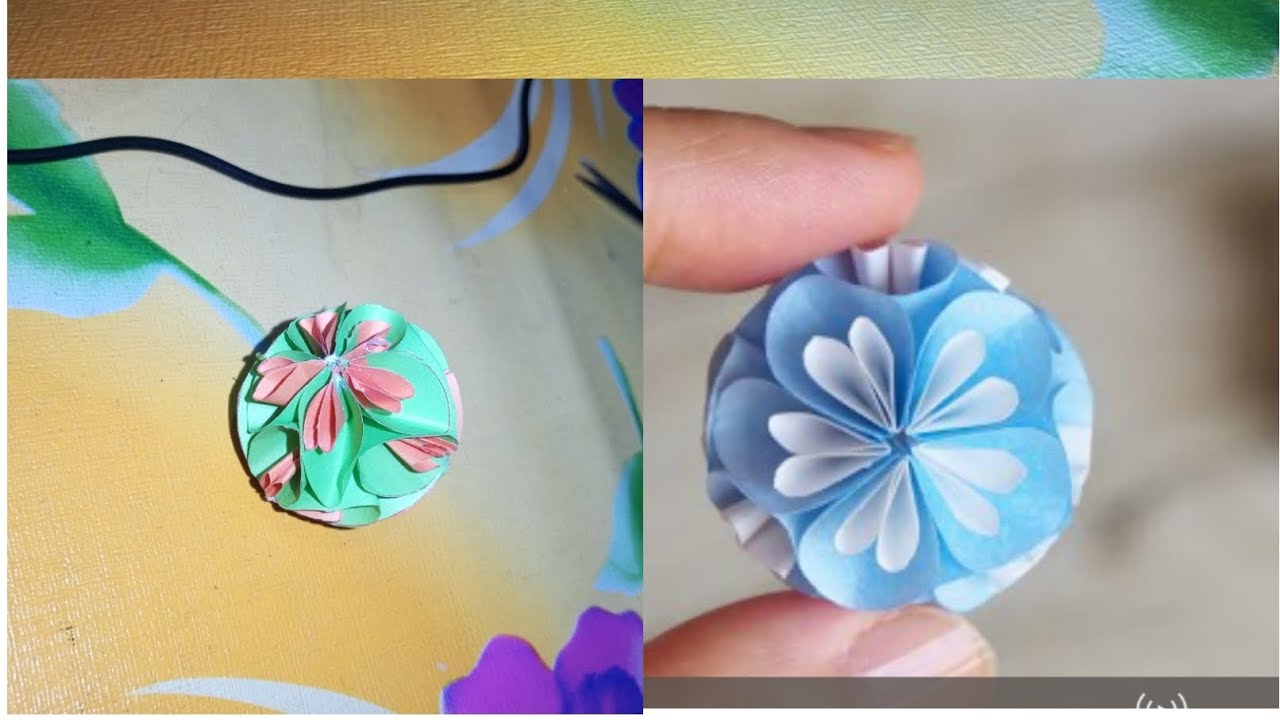
- Get Inspired: Use inspiration from nature or other crafts. Try mimicking the shapes of flowers or fruits. This will not only help you create unique designs but also give you the confidence to explore new ideas.
By following these tips, you'll find that making paper balls is not only simple but also incredibly fun. Whether you're looking to craft with kids, create decorations for a party, or just enjoy some alone time being crafty, perfecting your technique will enhance your overall experience.
6. Conclusion and Additional Resources for Paper Crafts
Congratulations! You now have a solid foundation for making paper balls and incorporating them into your crafting adventures. Remember, the beauty of crafting lies in its flexibility; there are no strict rules! Embrace your creativity and let your imagination run wild.
If you’re eager to expand your paper crafting skills, here are some excellent resources to explore:
- Online Crafting Communities: Websites like Craftster and Recycler offer forums where you can share your work and get inspired by others.
- YouTube Tutorials: Search for paper crafts on YouTube. There are countless tutorials that can guide you through more complex projects. Just type "paper crafts" into the search bar and find a series that suits your skill level.
- Craft Books: Local libraries or bookstores often have a dedicated section for craft books. Look for titles like "The Ultimate Paper Crafting Book" or "Creative Paper Crafts for Kids."
- Social Media Inspiration: Platforms like Pinterest and Instagram are goldmines for inspiration. Just look up hashtags like #PaperCrafts or #DIYPaperBalls.
Lastly, don’t forget to share your creations! Showcasing your work not only boosts your confidence but also inspires others to try their hand at this fun craft. Happy crafting!
 admin
admin


