Have you ever seen images in presentations that are perfectly circular and wondered how they’re made? In Google Slides, creating circular images is a simple yet effective way to enhance the visual appeal of your slides. A circular image can make your content look clean and professional, drawing attention to the key elements.
Google Slides doesn’t directly offer a "circular crop" feature, but with a few tweaks and built-in tools, you can easily transform any image into a circular shape. Whether you’re preparing a business presentation, a classroom project, or personal slides, learning this skill will take your designs to the next level.
Benefits of Using Circular Images in Presentations
Circular images can add a unique and polished touch to your presentations. They help in breaking the monotony of rectangular and square images while creating a modern and balanced look. Here’s why you might want to use them:
- Better Focus: Circular images naturally draw the viewer's eyes toward the center, making them great for emphasizing faces or logos.
- Space Efficiency: These images take up less space, allowing you to include more content on a slide without it looking cluttered.
- Aesthetic Appeal: Circles are symmetrical and pleasing to the eye, creating a professional design.
- Modern Look: They make your presentation stand out, reflecting current design trends.
By incorporating circular images, you not only improve the visual balance but also make your slides more engaging and memorable.
Also Read This: How to Become a Getty Images Photographer and Get Started
Preparing Your Image for Google Slides
Before you start creating circular images, it’s essential to have the right image prepared. Follow these steps to get ready:
- Choose the Right Image: Pick an image with a clear subject and minimal background clutter.
- Check the Resolution: Ensure the image has high resolution to avoid pixelation after cropping.
- Save in Compatible Format: Use commonly supported formats like JPEG or PNG.
- Consider Editing Beforehand: If needed, use a photo editor to enhance brightness, contrast, or remove unwanted elements.
Once your image is ready, upload it to Google Slides and you’ll be set to transform it into a perfect circular shape.
Also Read This: Unblurring a YouTube Video with Effective Techniques and Tools
Steps to Make an Image Circular in Google Slides

Creating a circular image in Google Slides is simpler than it seems. While there isn’t a direct “circle crop” tool, the shape and masking features make this possible. Follow these easy steps:
- Insert Your Image: Open your Google Slides presentation, go to the slide where you want the image, and use the “Insert” menu to add your image.
- Resize and Position: Adjust the image size and position it roughly where you want it on the slide.
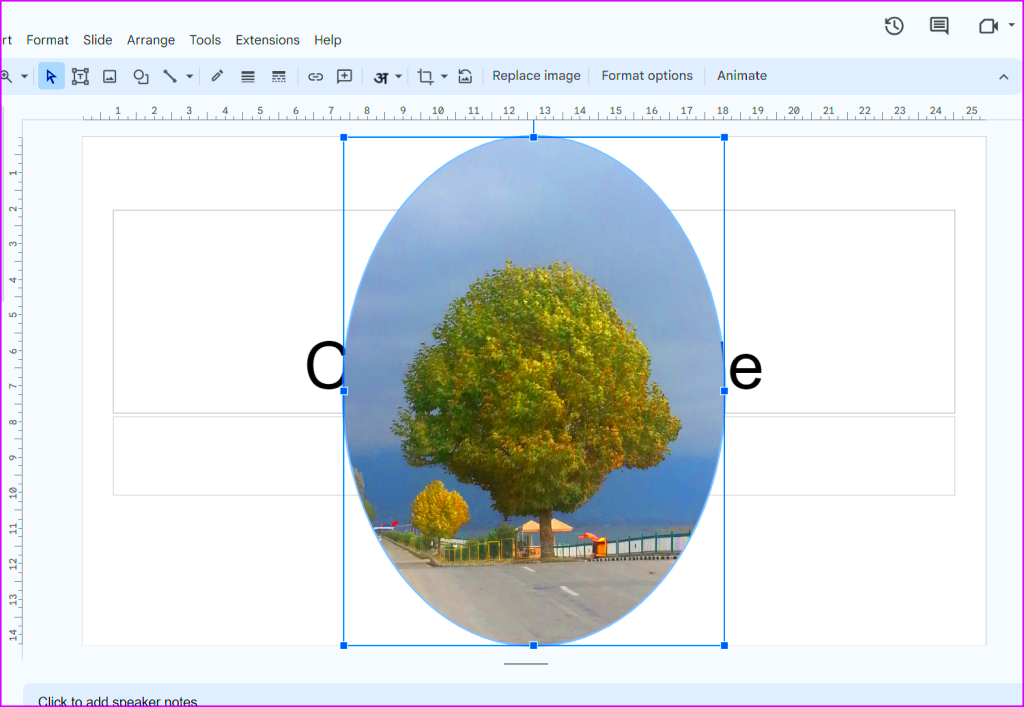
- Use the Masking Tool:
- Select the image and click on the small arrow next to the crop icon in the toolbar.
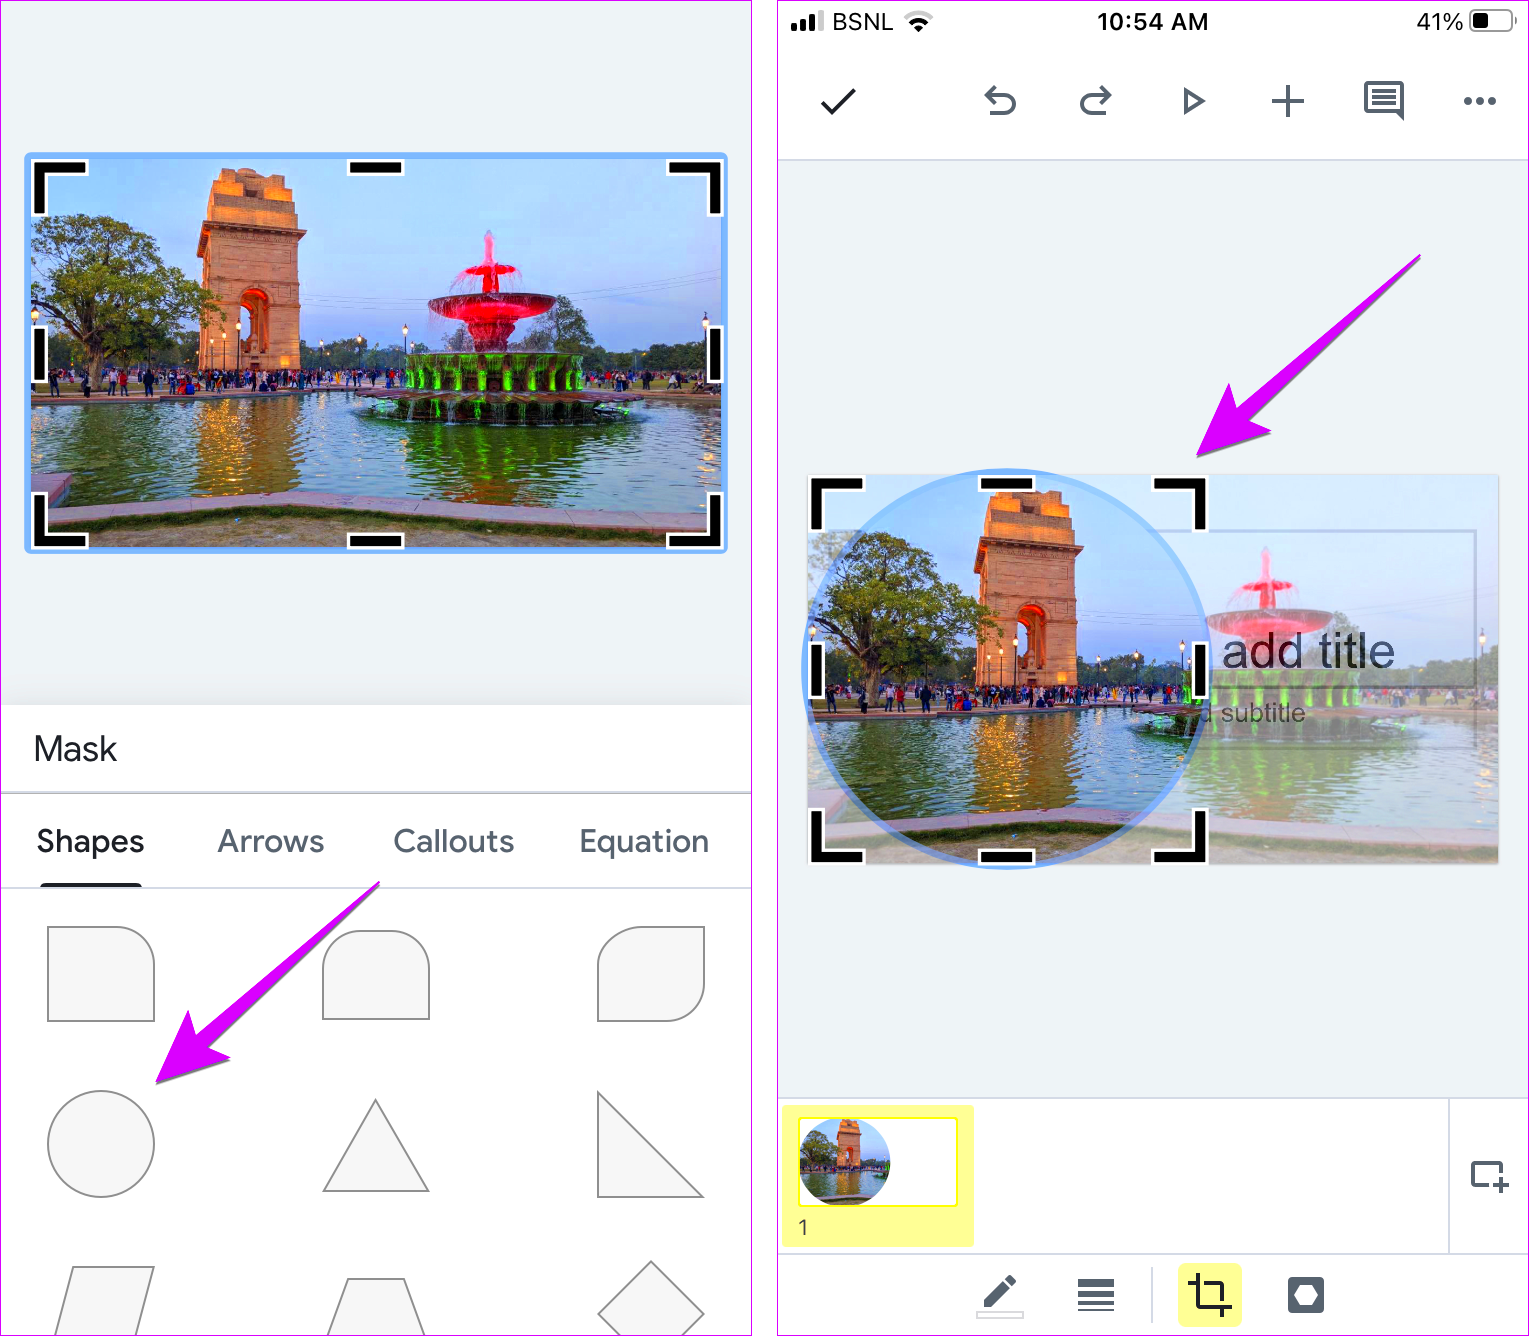
- From the dropdown menu, select “Shapes.”
- Choose the circular shape (it looks like a circle under the shape options).
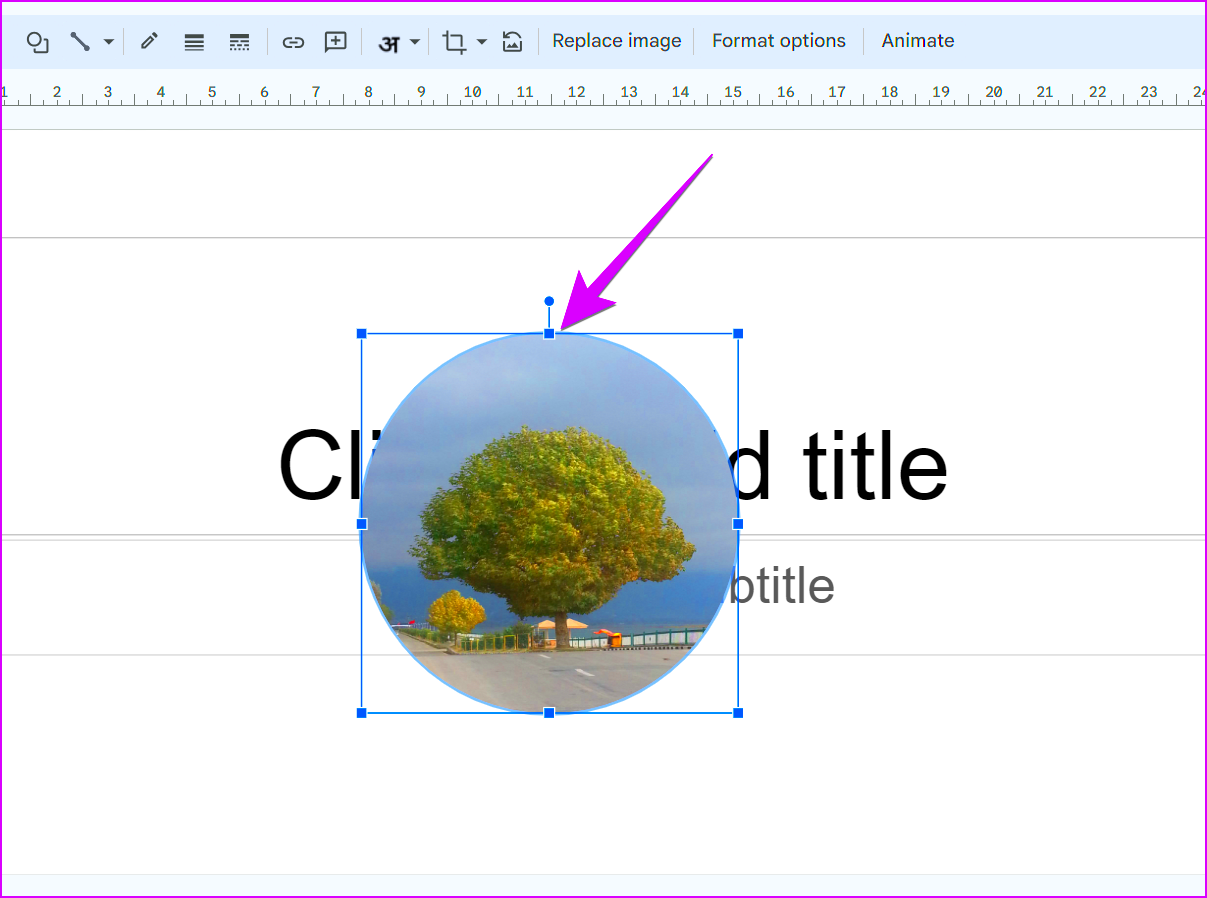
- Adjust the Circle: Drag the handles around the image to fit it neatly inside the circle. Make sure the subject of the image is centered.
- Add a Border (Optional): For a polished look, click the “Border color” option to add a border around the circle.
That’s it! You now have a circular image ready to enhance your slide design.
Also Read This: How to Insert Stock Photos into Adobe
Tips to Enhance Circular Image Design
While creating circular images is straightforward, there are ways to make them even more visually appealing. Here are some tips to consider:
- Choose Contrasting Colors: Use a border or background color that contrasts well with your image to make it stand out.
- Use Consistent Sizes: If you’re using multiple circular images, keep them the same size for a clean, uniform look.
- Pair with Text: Position circular images near concise text descriptions to provide context.
- Layer with Shapes: Place the circle over geometric shapes, such as rectangles or triangles, for a creative design effect.
- Apply Shadows or Reflections: Use the “Format Options” menu to add subtle shadows or reflections to give the image depth.
These small enhancements can make your circular images more dynamic and engaging, ensuring they capture your audience’s attention.
Also Read This: Adding Multiple Images to Your Instagram Story
Common Mistakes to Avoid
When working with circular images, it’s easy to make mistakes that can affect the final outcome. Watch out for these common pitfalls:
- Misaligned Subjects: Ensure the main subject of the image is centered within the circle, as off-center subjects can look awkward.
- Poor Resolution: Low-quality images can appear blurry or pixelated after cropping. Always use high-resolution images.
- Overcrowding the Slide: Avoid adding too many circular images on a single slide. It can make your design feel cluttered.
- Ignoring Slide Theme: Ensure the style of your circular images aligns with the overall presentation theme for a cohesive look.
- Overuse of Borders: While borders can enhance images, thick or overly bright borders may distract from the content.
By steering clear of these mistakes, you’ll ensure that your circular images enhance, rather than detract from, your presentation.
Also Read This: Making Circular Images in Google Slides
Frequently Asked Questions
Here are answers to some common questions about making images circular in Google Slides:
| Question | Answer |
|---|---|
| Can I make an image a perfect circle in Google Slides? | Yes, by using the masking tool and selecting the circular shape, you can create a perfect circular crop. |
| What if my image doesn’t look centered? | Use the drag handles to reposition the image within the circle. You can also zoom in or out to ensure proper alignment. |
| Can I add effects to circular images? | Yes, you can use the “Format Options” menu to add shadows, reflections, or adjust brightness and contrast. |
| Is it possible to revert back to the original shape? | Absolutely! Simply click the crop tool and choose “Reset,” and the image will return to its original form. |
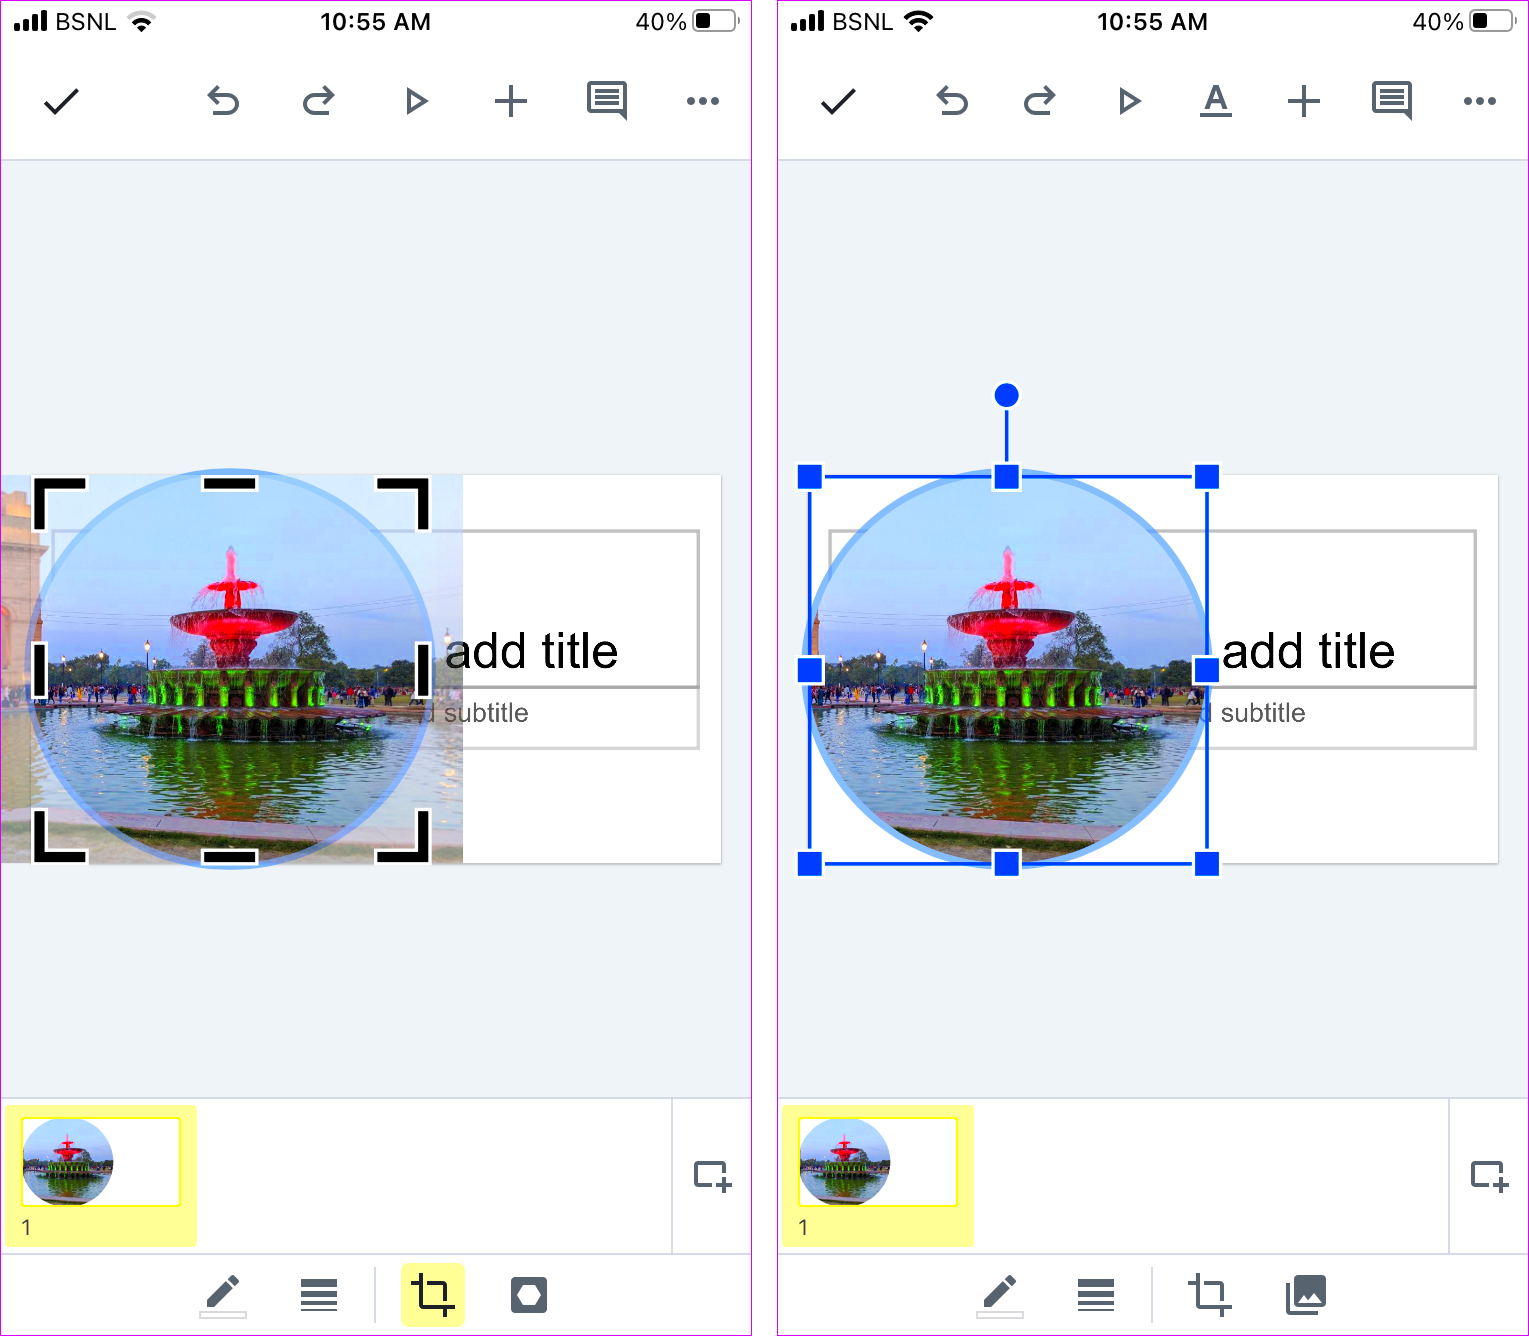
| Can I use this method on other Google Workspace tools? | Yes, the masking feature is also available in Google Docs and Google Drawings. |
If you have more questions, explore the Google Slides help center or experiment with the features to get comfortable with the process.
Conclusion
Making circular images in Google Slides is a simple yet impactful way to enhance your presentations. By following the steps and tips provided, you can create visually appealing slides that leave a lasting impression. Avoid common mistakes, and don’t hesitate to experiment with design elements to achieve the perfect look. Happy presenting!


