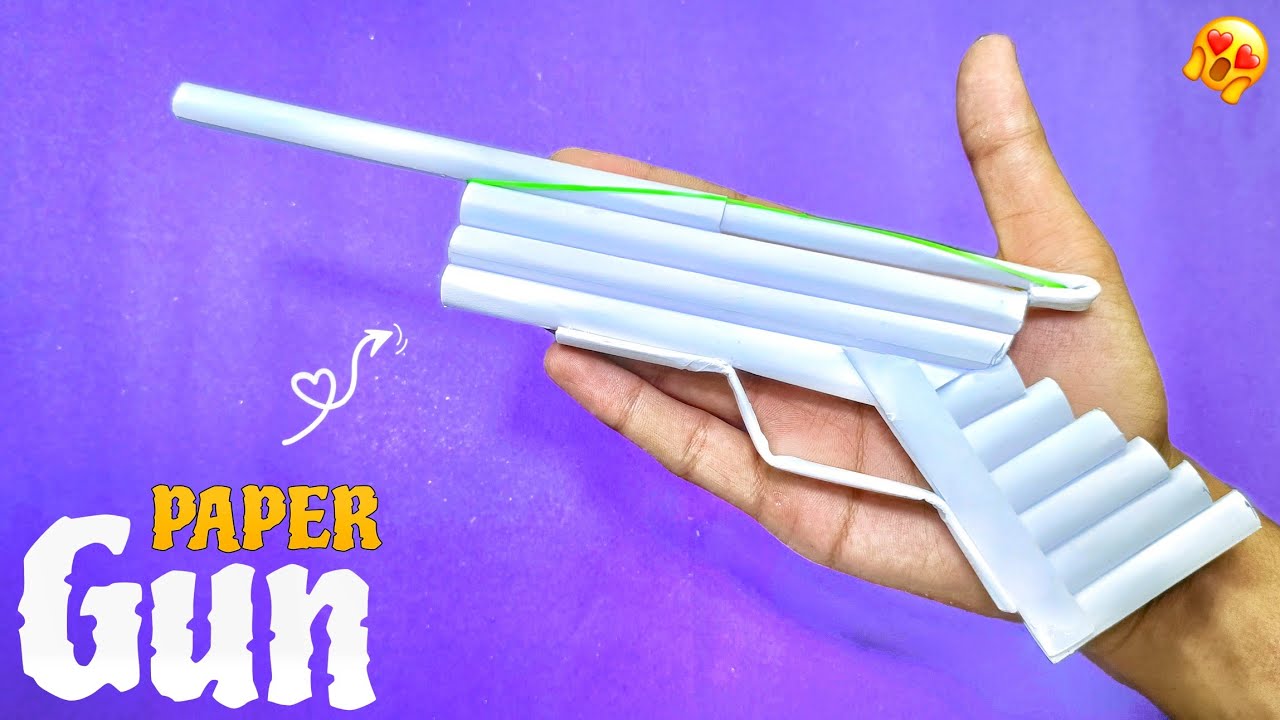
Welcome to the exciting world of paper gun crafting! If you’re looking for a fun and creative project that’s both entertaining and simple, you’ve come to the right place. This paper gun isn't just for show; it actually shoots! Perfect for kids and adults alike, crafting your own paper weapon can ignite your imagination and improve your dexterity. So, whether you want to impress your friends or just enjoy a hands-on activity, let's get started with this delightful DIY adventure!
Materials Needed for Your Paper Gun
Before we dive into the crafting process, let’s gather all the necessary materials. Having everything ready will make the building experience smoother and more enjoyable. Here’s what you’ll need:
- Paper: You can use regular printer paper, construction paper, or cardstock for added durability.
- Scissors: A good pair of scissors will help you cut the paper precisely.
- Tape or Glue: This will hold your paper pieces together. Tape is usually quicker, but glue can offer a stronger bond.
- A ruler: To measure and mark your cuts accurately, ensuring all parts fit together perfectly.
- A pencil: For marking your measurements before cutting.
- Rubber bands: These will be essential for creating the shooting mechanism.
- Small paper darts or ammo: You can make these from extra paper scraps or use small rolled-up pieces of paper.
Optional items that might enhance your experience:
- Markers or Paint: To decorate your paper gun and give it a unique look.
- Stickers: For personalizing your creation even further!
Gathering your materials is the first exciting step toward creating your very own paper gun. Make sure to find a comfortable workspace where you can spread out your materials and work without interruptions. Once you have everything ready, you’ll be all set to transform simple paper into an amazing shooting contraption. Let’s get crafting!
Also Read This: Adding Subtitles to Dailymotion Videos for Better Understanding
3. Step-by-Step Instructions to Make Your Paper Gun
Alright, let’s get crafting! Making your very own paper gun is not just fun, but it’s also a great way to unleash your creativity. You’ll be surprised at how simple it is. Grab your materials and let’s get started!
Materials Needed:
- 1 sheet of sturdy paper (like cardstock)
- Scissors
- Tape or glue
- A rubber band
- A pencil or pen for marking
Step 1: Prepare Your Paper
First, take your cardstock and cut it into a long rectangle. A size of about 10 inches by 4 inches works well. This will be the body of your paper gun.
Step 2: Create the Barrel
Next, cut another piece of paper into a strip that’s about 6 inches long and 1 inch wide. This will act as the barrel. Roll it up tightly and secure it with tape or glue.
Step 3: Assemble the Body and Barrel
Now, you need to attach the barrel to the body. Take the rolled-up barrel and tape it to the top side of your main paper rectangle. Make sure it's centered and secure.
Step 4: Adding the Trigger
To create a trigger, cut a smaller rectangle (about 3 inches long and 1 inch wide) from your remaining paper. Fold it in half and tape one end to the body of your gun. This will serve as your trigger!
Step 5: Attach the Rubber Band
Here’s where the fun begins! Take your rubber band and stretch it around the barrel of your gun. Ensure it’s tight enough to hold but not so tight that it’s difficult to pull back. This rubber band will provide the launching power!
Step 6: Create Your Ammunition
You can make your ammunition from smaller pieces of paper, about 1 inch square. Roll them up to form little balls. Make sure they’re light enough to shoot but sturdy enough to withstand a little tension.
Step 7: Test It Out!
Now that your paper gun is complete, it’s time to load it up! Place a paper ball in the barrel, pull back on the rubber band, aim, and release! Watch your creation in action!
Also Read This: Adding English Subtitles to Dailymotion Videos to Improve Accessibility for Viewers
4. Safety Tips When Using Your Paper Gun
While crafting is a blast, safety is key! Here are some essential tips to keep in mind when using your paper gun:
1. Aim Safely: Always aim your paper gun away from people and pets. While it’s just paper, you don’t want anyone to get hurt.
2. Use Soft Ammunition: Ensure that your paper balls aren’t too rigid. Softer ammunition will be safer for play, reducing the risk of injury.
3. Supervise Younger Kids: If you’re making this with younger children, it’s a good idea to supervise them during playtime. They might need help learning how to use the gun safely.
4. Avoid Using in Crowded Spaces: It's best to play with your paper gun in an open area where you have plenty of room to shoot without any hazards.
5. Repair Damage Promptly: If your paper gun gets damaged during play, fix it up before using it again to ensure it remains safe and fun.
By following these safety tips, you can enjoy your new paper gun without worry. So, gather your friends, and let the fun (and safe) shooting begin!
Also Read This: Comparing Dailymotion with Other Platforms for Hosting Informative Content
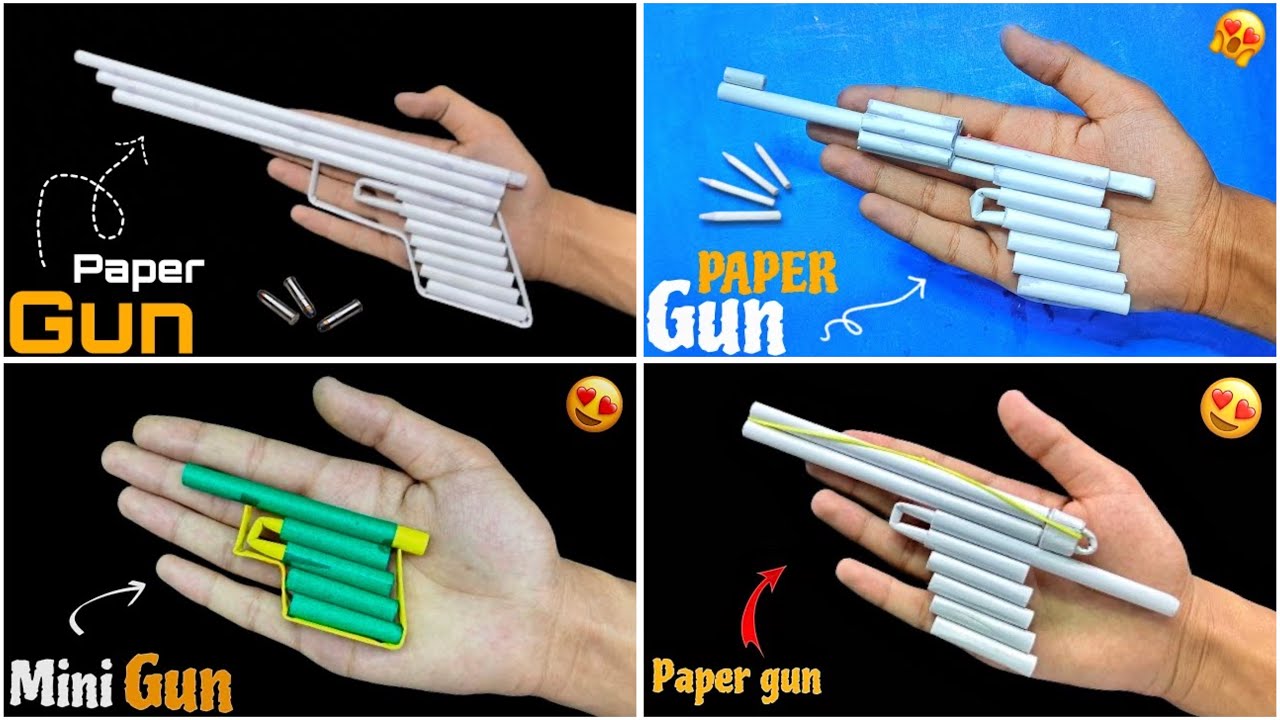
5. Creative Variations of Paper Guns
Now that you have mastered the basics of creating a simple paper gun, why not take your crafting skills to the next level? There are numerous creative variations you can try that will not only enhance your crafting experience but also make your paper guns more exciting!
1. Colorful Designs: One of the easiest ways to customize your paper gun is by using colored paper or markers. Instead of plain white paper, grab some vibrant colored sheets or even patterned paper. This can make your paper gun stand out and reflect your unique style!
2. Moving Parts: Want to add some mechanical flair? Consider creating a paper gun with moving parts! You can design a trigger that actually pulls back or a slide that moves when you 'shoot.' This added complexity will make your crafting session even more fun.
3. Themed Guns: How about designing themed paper guns? You could create a pirate pistol, a futuristic ray gun, or a medieval crossbow. Use your imagination! To make a pirate pistol, for instance, you could cut out a curved handle and add some gold paper for embellishments. For a futuristic ray gun, think shiny metallic colors and interesting shapes.
4. Accessories: Don’t stop at just the gun! You can create accessories like paper bullets or targets. Try making a mini target board out of cardboard and decorate it with fun designs. Challenge your friends to see who can hit the target from a distance!
5. Scale it Up: If you’re feeling adventurous, why not scale up your design? Create a life-sized version of your paper gun or even a giant one for a costume party or decoration. This will surely be a conversation starter!
By experimenting with these variations, you can create a whole collection of unique paper guns that reflect your personality and creativity. Remember, the only limit is your imagination!
6. Conclusion and Encouragement to Share Your Craft
Congratulations! You’ve successfully crafted a paper gun and explored some creative variations. Crafting isn't just about the final product; it's also about the joy of creating, learning, and expressing yourself. So, take a moment to appreciate your handiwork!
Here’s a little challenge: Once you’ve made your paper guns and explored the variations, consider sharing your creations with friends or on social media. You can inspire others to jump into the world of paper crafting! Post pictures of your designs, and don’t forget to share any unique variations that you’ve come up with.
To make it even more engaging, you could host a crafting session with friends or family. This way, everyone can try their hand at making their own paper guns, and you can all compare designs and ideas. Who knows—you might even spark a mini crafting competition!
Remember, crafting is not just about perfection; it’s about having fun and expressing yourself. So grab your paper, scissors, and glue, and let your creativity flow. Happy crafting!
 admin
admin


