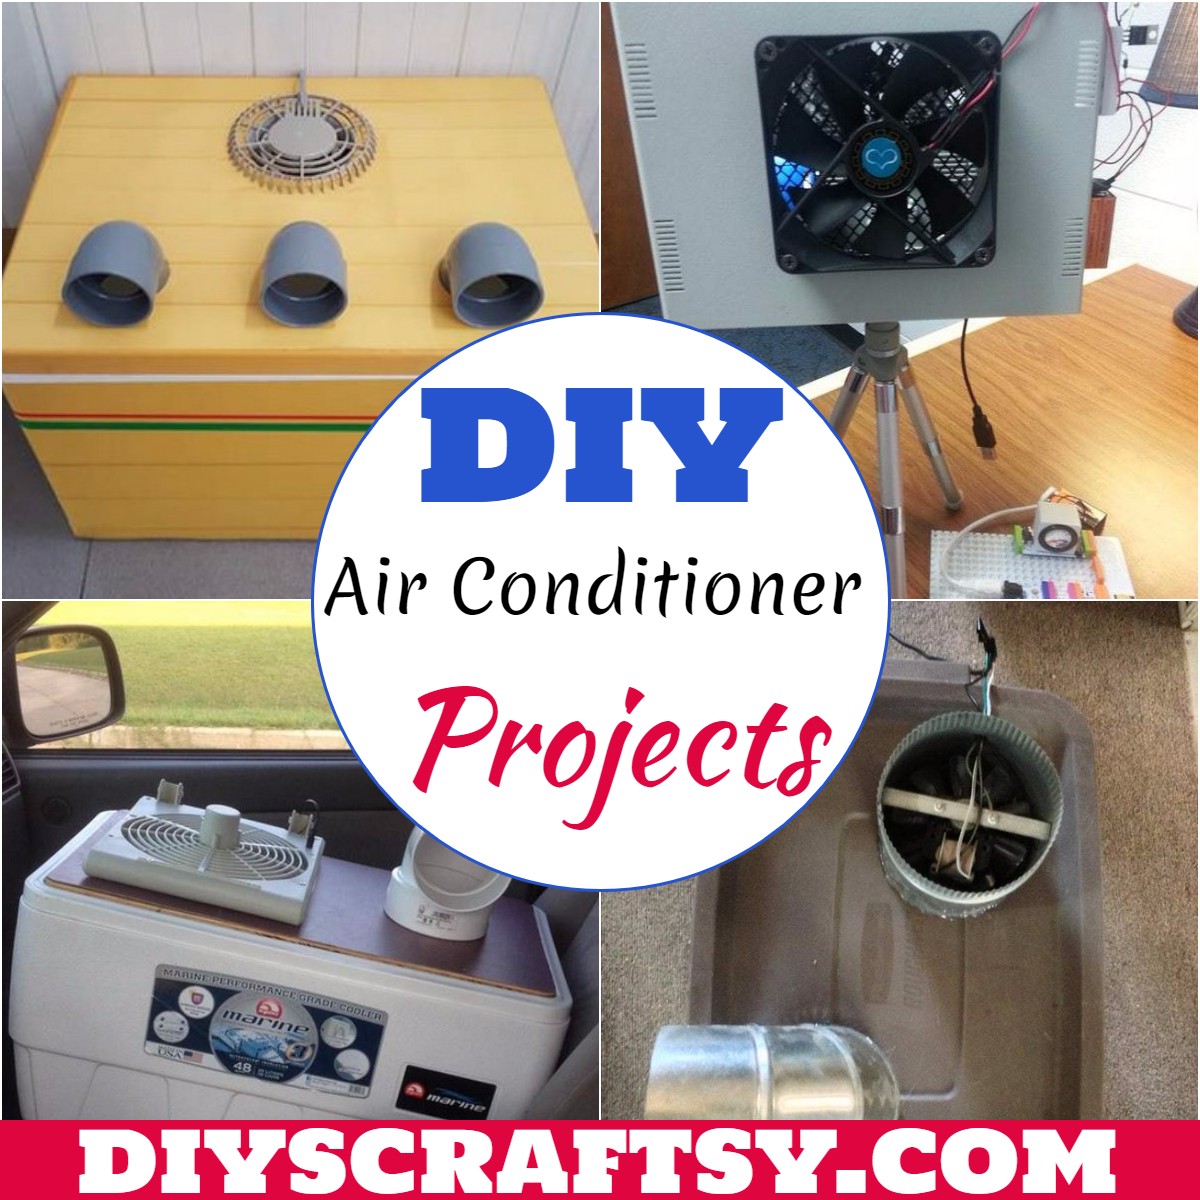
Are you feeling the heat this summer and looking for a way to cool down without breaking the bank? Building your own air conditioner could be the perfect solution! Not only is it a fun project, but it can also save you money on energy bills and provide a personalized cooling experience. In this blog post, we’ll explore the basics of DIY air conditioning and the numerous benefits of creating your own cooling system right at home. Let’s dive in!
Benefits of Building Your Own Air Conditioner

So, why bother with a DIY air conditioner when you can just buy a store-bought one? Here are several compelling reasons to consider taking the DIY route:
- Cost-Effective: Store-bought air conditioners can be quite expensive, both in terms of purchase price and energy consumption. By building your own, you can use materials you might already have at home or purchase inexpensive items, leading to significant savings.
- Energy Efficiency: DIY air conditioners often consume less energy than traditional models. This not only reduces your carbon footprint but can also lead to lower electricity bills.
- Customization: When you create your own air conditioning system, you can tailor it to your specific needs. Whether it’s the size of the unit or the design, you have complete control over how it fits into your living space.
- Learning Experience: Building your own air conditioner is a fantastic learning opportunity. It allows you to understand how cooling systems work and helps enhance your DIY skills. Plus, it’s a rewarding feeling to see something you made work effectively!
- Sustainability: DIY projects often promote recycling and reusing materials. By using parts you already have or opting for eco-friendly components, you’re contributing to a more sustainable lifestyle.
- Portable Solutions: Many DIY air conditioning options are portable, meaning you can move them easily from room to room. This flexibility allows you to cool down specific areas as needed, without having to waste energy on empty spaces.
Overall, the benefits of building your own air conditioner extend beyond just the cool air it provides. From cost savings to personal satisfaction, it’s a project that can enhance your summer experience while also being a fun and educational endeavor. Ready to start cooling off? Stay tuned for more details on how to construct your very own air conditioning system!
Also Read This: How to Make Bracelets at Home with Creative Craft Ideas
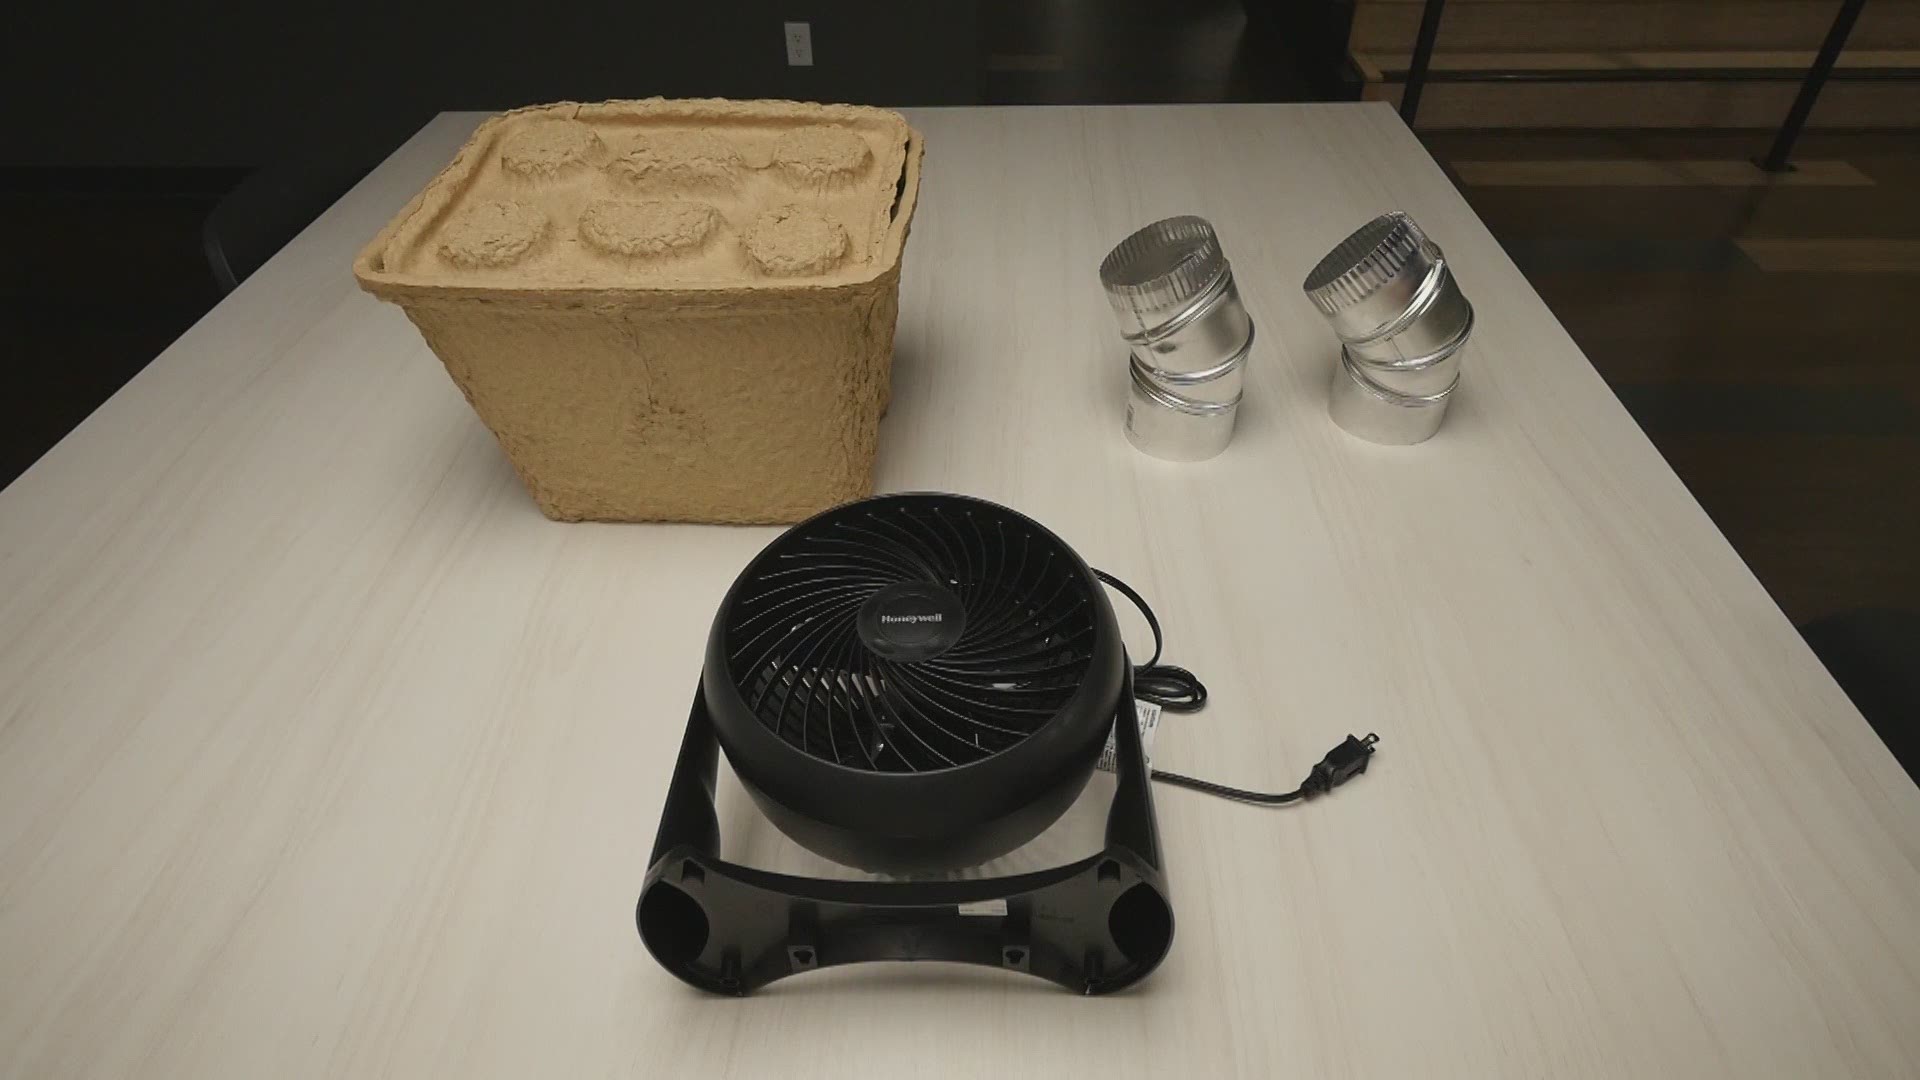
3. Materials Needed for a Homemade Air Conditioner
Before diving into the DIY journey of building your very own air conditioner, it’s crucial to gather all the necessary materials. This project is not only simple but also cost-effective, allowing you to beat the heat without breaking the bank. Here’s what you’ll need:
- Styrofoam Cooler: This will act as the body of your air conditioner, helping to retain the cold air.
- Small Fan: A portable fan is essential for blowing the cool air from the cooler into your space.
- Ice Packs or Ice: Depending on availability, you can use refrozen ice packs or simply ice cubes, which will chill the air.
- PVC Pipe or Tubing: This will help direct the cool air from the cooler to where you need it most.
- Drill/Boring Tool: You’ll need this to make holes for the fan and tubing.
- Zip Ties or Duct Tape: Perfect for securing any loose parts or edges.
- Safety Goggles: Always wear these for eye protection while drilling.
Gathering these materials will put you on the right path to creating a simple yet effective air conditioning system. Now, let’s move on to the fun part—building your air conditioner!
Also Read This: Is It Legal to Download Dailymotion Videos for Personal Use? Exploring Fair Use
4. Step-by-Step Guide to Creating Your Air Conditioner
Building your own air conditioner might seem intimidating, but with the right materials and a bit of patience, you can have it ready in no time. Let’s break it down into straightforward steps:
- Prepare Your Cooler: Start by taking your Styrofoam cooler and drill a hole on one side, just large enough for your fan to fit snugly. If you're using a drill, wear your safety goggles!
- Install the Fan: Insert the small fan into the hole you just created. Ensure that the fan blades are facing inward, as this will push the air from inside the cooler out into the room.
- Add the Tubing: On the opposite side of the cooler, drill another hole to insert your PVC pipe or tubing. This will channel the cool air directly where you need it. Make sure it fits tightly to avoid any air leaks.
- Load Ice: Now it’s time to add your ice packs or ice cubes into the cooler. If you’re using ice cubes, you might want to put them in a plastic bag to minimize the mess.
- Seal It Up: Use zip ties or duct tape to secure the fan and tubing in place. Make sure everything is sealed tightly to prevent warm air from entering.
- Plug It In: Plug in your fan and switch it on. You should feel the cool air blowing out of the tubing almost immediately. Adjust the positioning of the tubing to direct the air towards your preferred spot.
- Monitor and Maintain: Keep an eye on the ice levels! Replace the ice as needed to keep the air flowing cool. You can experiment with how much ice you need based on your local climate.
There you have it! Your homemade air conditioning system is now ready to help combat those blistering summer days. Enjoy the refreshing cool breeze, and feel free to share your results or any tweaks you made to improve the design!
Also Read This: Step-by-Step Guide to Making Pizza in a Pan
5. Tips for Maximizing Cooling Efficiency
Now that you've embarked on your DIY air conditioner journey, let’s talk about how you can make it work even better. After all, the goal is to keep your space comfortable without breaking the bank on electricity costs. Here are some practical tips to help you maximize the cooling efficiency of your homemade unit:
- Use Ice Wisely: The type and amount of ice you use can significantly affect cooling efficiency. Instead of regular ice cubes, consider filling a large plastic container with salt water and freezing it. Saltwater ice melts slower than regular ice, providing a longer cooling effect.
- Positioning is Key: Make sure your DIY air conditioner is placed in a strategic location. Ideally, it should be in a room with good airflow or where you spend the most time. Avoid placing it near direct sunlight or heat sources, as this will reduce its effectiveness.
- Seal Cracks and Gaps: Before you turn on your homemade air conditioner, take a moment to inspect your room. Look for cracks, gaps, or leaks around windows and doors that might let cool air escape. Use weather stripping or caulking to seal these areas and improve cooling efficiency.
- Utilize Fans: Combine your DIY air conditioner with fans. Positioning a fan near your DIY unit will help circulate cool air more widely throughout the room. Ceiling fans or oscillating fans can aid in distributing the cooler air evenly.
- Limit Heat Sources: Reduce the amount of heat generated in the space while using your air conditioner. Turn off unnecessary lights, unplug electronic devices that aren't in use, and try to avoid cooking indoors when possible. This will keep the environment cooler and help your air conditioner do its job.
By taking these simple steps, you’ll be able to enjoy a more comfortable living space even on the hottest days. Efficient air conditioning means not only a cooler room but also a more cost-effective system!
Also Read This: How to Change Video Quality on Dailymotion App: A Quick Tutorial
6. Common Mistakes to Avoid When Building a DIY Air Conditioner
Building a DIY air conditioner can be a fun and rewarding project, but it also comes with its share of potential pitfalls. To help you achieve the best results, here are some common mistakes to avoid:
- Overlooking Airflow: One of the biggest mistakes is not considering airflow. If your cooling unit is blocked or placed in a cramped area, the air won’t circulate properly. Make sure there’s enough space around your unit for air to flow freely.
- Using the Wrong Materials: Choosing the wrong type of fan or container can have a significant impact on performance. Use a fan that provides ample airflow and a container that can effectively hold and transfer cold. Avoid using flimsy materials that might not withstand the cold and moisture.
- Neglecting Maintenance: Like any appliance, your DIY air conditioner will benefit from regular maintenance. Clean the fan and container regularly to avoid mold and bacteria buildup in moist environments. Not doing so can lead to unpleasant odors and reduced cooling efficiency.
- Ignoring Size: Ensure your DIY air conditioner is scaled appropriately for the size of the room. An underpowered unit won't cool effectively, while an oversized one can lead to increased humidity levels.
- Using Too Much Ice: While it might seem like more ice equals more cooling, too much ice can block airflow and hinder efficiency. Stick to the recommended amounts and experiment to find the right balance for your setup.
Avoiding these common mistakes will set you up for success with your DIY air conditioner. Learning as you build and adjusting your approach will not only improve performance but may also lead to innovative ideas for future projects. Happy cooling!
Also Read This: Easy Steps for Stitching a Dhoti Salwar at Home Using Dailymotion
7. Alternative Cooling Methods for Hot Days
While your DIY air conditioner can work wonders, sometimes, you might want to explore additional ways to beat the heat. Here are some alternative cooling methods that can complement your home cooling efforts:
- Fans: Ceiling fans or box fans can help circulate air and create a wind-chill effect. Try placing a bowl of ice in front of a fan to enhance the cooling effect!
- Evaporative Cooling: If you live in a dry climate, you might want to consider an evaporative cooler, or swamp cooler. They function by pulling in hot air, passing it over water-soaked pads, and blowing out cooler, moist air.
- Shade and Insulation: Don’t forget about your windows! Use blinds, curtains, or window films to block out sunlight during the hottest parts of the day. Insulating your home can also prevent cool air from escaping.
- Cool Showers: Taking a cool shower can lower your body temperature, making you feel significantly more comfortable.
- Indoor Plants: Adding indoor plants not only purifies the air but can also help with humidity control, making the environment feel cooler.
- Fans on Ice: Place a bowl of ice in front of a fan to create a DIY air-conditioning effect. It's a quick fix that can drop the temperature in a small space.
- Cross-Ventilation: Open windows on opposite sides of your home to create a cross-breeze. This method can naturally cool down your space by allowing air to flow through.
Remember, while these methods might not replace a full air conditioning unit, they can easily complement your DIY air conditioner. Combine a few of these strategies to maximize your comfort on those sweltering days!
8. Conclusion: Enjoy a Cooler Home with Your DIY Air Conditioner
Congratulations on taking the plunge into the world of DIY air conditioning! Setting up your own cooling system can be both fulfilling and economical. By harnessing basic principles of physics, you can create a comfortable oasis right in your home!
Your new DIY air conditioner isn’t just a project; it's a step toward beating the heat efficiently and creatively. As you explore alternative cooling methods and smart techniques to keep your space cool, you'll find that comfort can be achieved without breaking the bank.
As the temperatures rise, keep in mind these tips:
- Regularly maintain and clean your DIY unit to ensure optimal performance.
- Combine your DIY air conditioner with other cooling methods for maximum comfort.
- Stay hydrated and consider your body's needs during high heat days.
- Be mindful of your energy consumption and seek out eco-friendly methods wherever possible.
So, whether you're lounging in front of your fan on a hot summer day or enjoying the cool air from your newly built AC unit, just know that you've made a wonderful investment in your home comfort. Here's to a cooler, more comfortable summer!
 admin
admin


