Creating a volcano model is not just a fun craft—it's an exciting way to learn about geology and the forces of nature that shape our planet! Whether you're a student working on a school project, a teacher looking to engage your class, or just someone curious about earth science, building a volcano model can ignite your interest. In this guide, we'll take you through everything you need to know to create an impressive and educational volcano model that simulates eruptions and gives you a hands-on experience with volcanic activity.
Materials Needed for Your Volcano Model
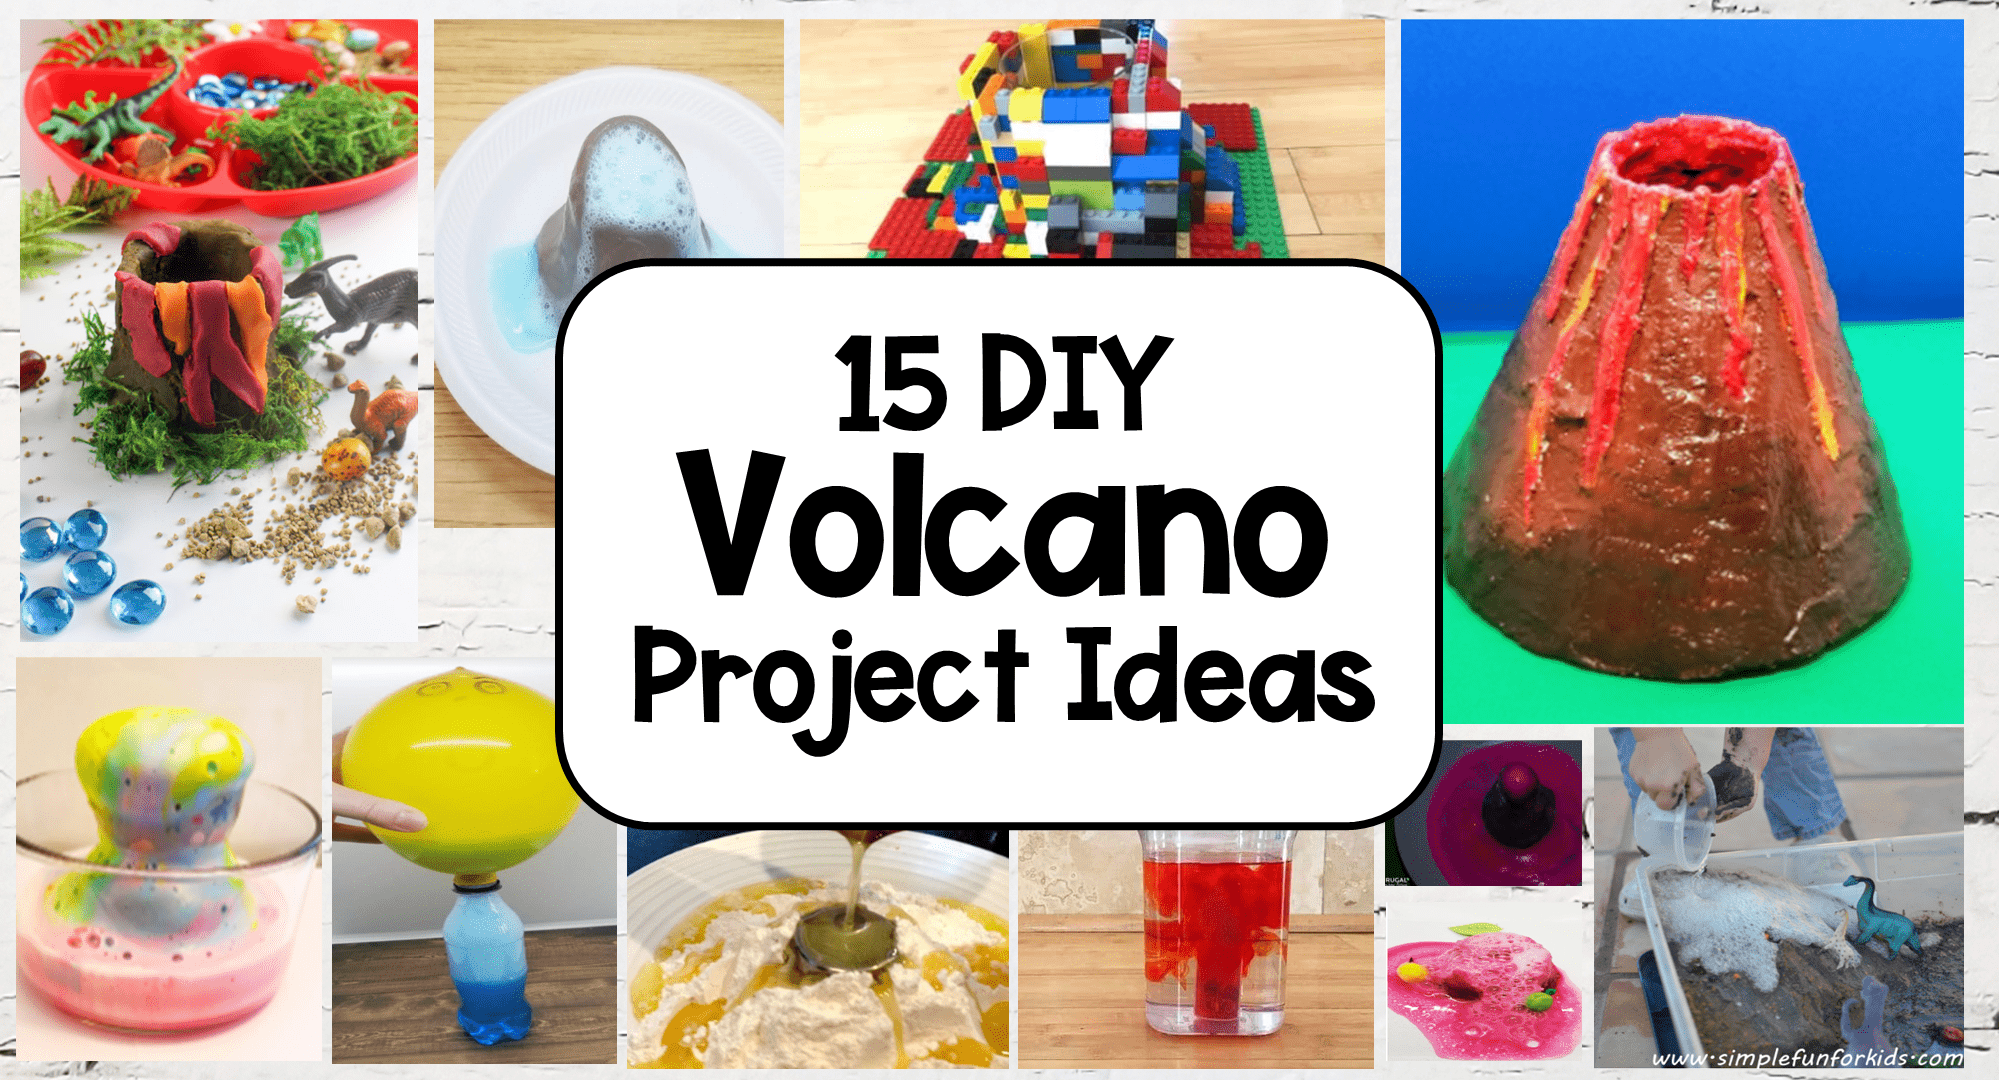
Before diving into the construction phase of your volcano model, let’s gather the materials you'll need. The good news? Many of these are likely items you already have at home. Here’s a simple checklist to get you started:
- Base for Your Volcano: A sturdy surface to build on, such as a piece of cardboard, a plastic plate, or a baking sheet.
- Modeling Clay or Play-Doh: This will form the structure of the volcano. Choose brown or gray for a realistic look, or get creative with colors!
- Plastic Bottle: A small bottle (like a water or soda bottle) to serve as the volcano's "vent." This is where the eruption will come from!
- Vinegar: This will act as the acidic component in your volcanic eruption.
- Baking Soda: The reaction with vinegar will create an exciting fizz that simulates lava!
- Food Coloring: To really bring the eruption to life, add red or orange food coloring to mimic molten lava.
- Water: This can be used in the eruption process to create steam-like effects.
- Optional Add-Ons: Consider using small rocks, craft foam, or even toy dinosaurs to enhance your volcano scene!
With these materials in hand, you're well on your way to creating a stunning volcano model. Each item plays a vital role: the base supports the structure, the clay forms the mountain, and the vinegar and baking soda work together to create that awe-inspiring eruption effect. Now that we have everything we need, let's get ready to bring the earth's fiery powers to life in your very own model volcano!
Also Read This: Best Way to Download Audio from Dailymotion in MP3 or WAV Format Using this Amazing Tool
3. Step-by-Step Instructions for Building the Volcano
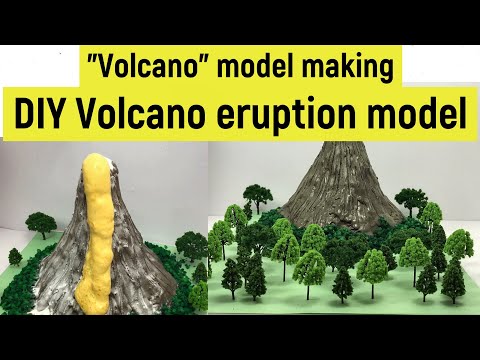
Building a volcano model can be a fun and engaging project that sparks curiosity and creativity. Let’s dive into the step-by-step instructions to create a fantastic volcano!
- Gather Materials: You’ll need some basic supplies to begin your volcano. Here’s a handy list to get you started:
- A plastic bottle or a small container (this will be the volcano’s core)
- Cardboard or a large plastic sheet (for the base)
- Newspapers or paper mache (for constructing the volcano shape)
- Paint (brown, green, or any color you like for decoration)
- Vinegar, baking soda, and food coloring (for the eruption)
- Glue or tape (to secure your materials)
And just like that, you’ve built your very own volcano model! This is a great way to understand volcanic activity, and it’s sure to impress anyone who sees it!
Also Read This: How to Make Chocolate Lava Cake in Microwave: Quick Recipe on Dailymotion
4. Tips for Painting and Decorating Your Volcano Model
Now that you have your volcano shape ready, it’s time to paint and decorate it to bring your creation to life! Here are some tips to help make your volcano visually stunning.
- Choose Natural Colors: When selecting paint, go for earthy tones like browns, blacks, and greens. This will give your volcano a realistic look, as most volcanoes are covered in ash and vegetation. Add splashes of orange or red around the crater for a lava effect!
- Create Texture: To make your volcano look more realistic, consider using different techniques. A sponge can help you create a pockmarked surface, while a brush can provide finer details. Mixing sand with paint can also add texture. Just remember—volcanoes are not smooth!
- Add Small Details: Once you have the base colors down, think about adding in details. You could use small stones to represent rocks or bits of green fabric for trees. Miniature figures of people or animals can add an interesting touch too!
- Sealing Your Work: If you want to ensure that your volcano model lasts a long time, consider sealing it with a clear coat once your paint dries. This will provide some protection against minor damage and fade.
- Interactive Decorations: Make your volcano more engaging by adding interactive elements. Think about using LED lights inside the volcano’s crater to illuminate it during eruptions. This adds a visual effect that can impress anyone who views your model.
- Incorporate Nature: If you have access to a garden or park, consider collecting real stones or small twigs to enhance your volcano. Incorporate natural elements for a more authentic landscape around your volcano.
Remember, painting and decorating your volcano model is all about expressing yourself! Don’t be afraid to let your creativity run wild and make your volcano unique to you.
Also Read This: Master Dandiya Dance Steps with Simple Tutorials on Dailymotion
5. Creating the Eruption Effect
Now comes the exciting part—making your volcano erupt! This is where your model transforms from a simple project into a thrilling visual experience that showcases the power of volcanic eruptions. There are several ways to create an eruption effect, but we'll focus on the classic baking soda and vinegar method. It's safe, easy, and oh-so-fun!
Here's what you'll need:
- Baking soda
- Vinegar
- Food coloring (red and orange work great for lava effect)
- A small cup or container (this will hold your 'lava')
- A tray or large surface to contain any mess
Follow these steps to create a realistic eruption:
- Place your volcano model on a tray or in a designated area to catch any spills.
- Using your small cup, add a few tablespoons of baking soda into it. This is the base for your eruption.
- Pour in some food coloring to give your 'lava' a fiery look. A mix of red and orange will simulate molten lava beautifully.
- In a separate container, measure out some vinegar. This is what will trigger the eruption!
- When you're ready, pour the vinegar into your baking soda cup slowly. Stand back and watch the eruption happen!
The chemical reaction between the baking soda (a base) and vinegar (an acid) will create carbon dioxide gas, which will bubble and spill over, mimicking lava flowing from a volcano. You can experiment with different amounts of baking soda and vinegar to adjust the size and intensity of your eruption. Try adding more baking soda for a more dramatic effect!
This eruption is not just visually stunning, but it also teaches about the real-life processes of volcanic eruptions in a fun, hands-on way. Just keep some towels handy for cleanup—the last thing you want is a sticky mess!
Also Read This: Mastering the Controls: How to Operate a Toy Helicopter
6. Additional Ideas for Volcano Model Enhancements
Your volcano model is already looking fantastic, but why stop there? Here are some creative enhancements you can add to take it to the next level:
1. Texturing the Volcano
Add some realistic textures to your volcano. You can use materials like:
- Sand: Sprinkle sand on the sides of your volcano for a rough texture that simulates rocky terrain.
- Paint: Use acrylic paints to add layers of color, mimicking the natural shades of a volcanic landscape.
- Foam or Clay: Use these materials to create ridges and valleys on your volcano for a more dynamic look.
2. Creating a Mini Landscape
Surround your volcano with a mini landscape! Consider adding:
- Miniature trees: Use small plastic trees or craft them from green paper.
- Animals: Add little figurines of animals that might inhabit the region, or even small dinosaurs for a prehistoric vibe!
- Rivers: Paint or use blue paper to create rivers flowing away from the volcano.
3. Educational Labeling
Help viewers learn more about volcanoes by adding labels. You can use:
- Sticky notes: Write facts about volcanoes and stick them around your model.
- Printed labels: Use your computer to create professional-looking labels.
With these enhancements, your volcano model will not just be a project but an educational experience! Have fun getting creative and don’t hesitate to personalize your model with your own ideas and flair. Happy erupting!
Conclusion and Final Thoughts on Volcano Modeling
Creating a volcano model can be a rewarding and educational experience for learners of all ages. It not only enhances your understanding of volcanic structures and eruptions but also fosters creativity and collaboration. Here are some key takeaways from our volcano modeling project:
- Hands-On Learning: Building a volcano model engages multiple senses and encourages active participation.
- Understanding Science: Through this project, you gain insights into geological processes such as tectonic movements and magma flow.
- Creativity and Expression: Designing your volcano allows for artistic expression through colors, materials, and unique design choices.
- Collaboration Opportunities: This project can be a wonderful group activity, promoting teamwork and shared learning.
When constructing your model, consider incorporating the following elements to enhance its educational value:
| Element | Description |
|---|---|
| Base | Use cardboard or a sturdy surface to provide a solid foundation. |
| Volcano Structure | Utilize clay or paper mache to shape the volcano, reflecting its actual size and slope. |
| Interactive Features | Incorporate elements like baking soda and vinegar to demonstrate eruptions. |
| Labeling | Include labels for various parts of the volcano to reinforce learning. |
Ultimately, a volcano model serves as an effective educational tool that brings geological concepts to life. Embrace the learning journey, and don't forget to have fun while experimenting with your creation!
 admin
admin


