Are you ready to unleash your creativity and add a unique touch to your outfits? Making a paper tie is a fantastic DIY craft that’s both fun and easy to do! Whether you’re planning a party, dressing up for a themed event, or just looking for a clever arts and crafts project, a paper tie is a perfect choice. In this tutorial, we’ll guide you through the steps to create your very own stylish paper tie. So gather your materials, get comfy, and let’s get crafty!
Materials You Will Need
Before you dive into crafting your paper tie, it’s essential to gather all the materials you’ll need. The good news? Most of them are likely already lying around your house! Here’s a handy list to get you started:
- Colored Paper: You can use construction paper, scrapbooking paper, or any type of colored paper that you like. Be creative with patterns!
- Scissors: A good pair of scissors will help you cut your paper with precision.
- Glue or Tape: You’ll need something to hold your paper pieces together. Glue sticks or double-sided tape work well.
- Pencil: For sketching out your tie shape before you cut.
- Ruler: This will help you measure your paper accurately.
- Markers or Crayons: Grab some for adding embellishments or designs to your tie.
- Optional Accessories: Stickers, stamps, or any other decorative items you’d like to use.
Once you have your materials, you’re all set to create a paper tie that showcases your personality! Remember, the beauty of this craft lies in its versatility. You can mix and match colors and patterns, or even incorporate a special message or theme that reflects your style. Ready to get started? Let’s move on to the crafting steps in our next section!
Also Read This: How to Lose Belly Fat Fast with the Best Dailymotion Workout Routines
3. Step-by-Step Instructions
Creating your own paper tie is not just a fun craft, but it's also a fantastic way to unleash your creativity! Let's dive into the step-by-step instructions to make your unique paper tie. Gather your materials and let's get started!
Materials You'll Need:
- Colored paper or wrapping paper
- Scissors
- Glue or double-sided tape
- Pencil
- Ruler
- String or ribbon (optional for ties)
- Decorative items (stickers, markers, etc.)
Step 1: Choose Your Paper
Start by selecting the paper you want to use. Bright colors, bold patterns, or even metallic papers can make your tie stand out. Consider using wrapping paper for its vibrant designs!
Step 2: Measure and Cut
Use your ruler to create a triangle outline on the back of your chosen paper. The top of the triangle should be about 3 inches wide and the bottom about 6 inches long. The height should be around 9 inches.
Once you have your triangle drawn, grab your scissors and carefully cut it out.
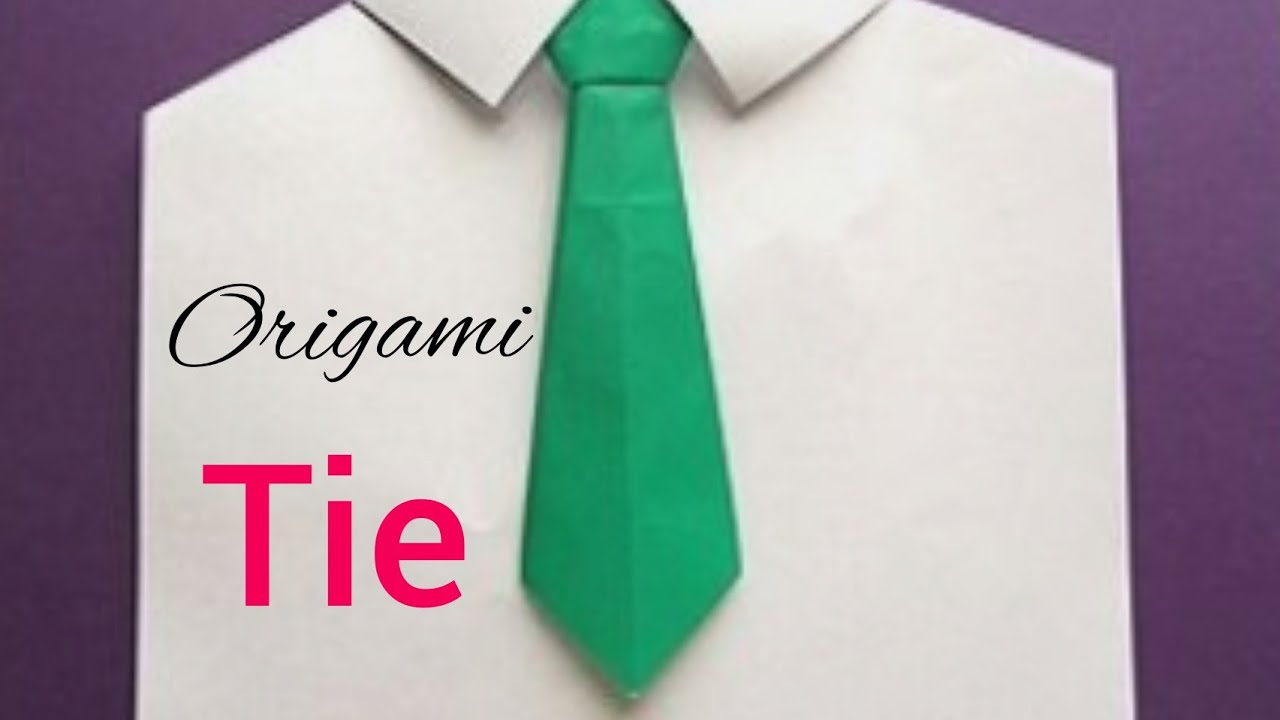
Step 3: Fold the Tie
Now it’s time to bring the tie shape to life! Start by folding the tie in half lengthwise, with the pattern-side facing in. This will give you a more structured look. Next, unfold it and fold each side toward the center crease until they meet, creating the familiar tie shape.
Step 4: Create the Knot
To make the knot, take the upper tip of the triangle and fold it down towards the middle. Then, take one side of the tie and wrap it around the knot. Secure it with glue or tape. This step is crucial to ensure your tie maintains its shape and looks polished!
Step 5: Add Personal Touches
Let your creativity flow! You can add stickers, draw patterns, or even write a cute message on your paper tie. If you're making this for a specific occasion, feel free to personalize it further!
Step 6: Display Your Tie
If you'd like to use the tie as a decoration, think about attaching a string or ribbon to hang it up. Alternatively, use a small clip to attach it to clothing. The possibilities are endless!
Also Read This: How to Make Flying Paper Lanterns on Dailymotion
4. Creative Variations for Your Paper Tie
Now that you have the basic paper tie down, let’s explore some creative variations to make your paper ties even more unique. Transforming the basic design can add a personal flair that’s perfect for any occasion!
1. Themed Ties:
For special events, consider creating ties that align with a theme. For example:
- Birthday Parties: Use fun colors and patterns that match the birthday theme.
- Holidays: Choose seasonal colors or prints, like red and green for Christmas or pastels for Easter.
2. Textured Ties:
Why not add some texture? Use materials like:
- Foil for a shiny effect.
- Textured paper for a more sophisticated look.
- Fabric scraps glued onto paper for a tactile tie!
3. 3D Elements:
Add dimension by incorporating 3D elements. You could:
- Fold sections of the tie to create peaks.
- Add small paper flowers or embellishments that pop off the surface for a whimsical touch.
4. Personalization:
Write names, quotes, or even draw fun doodles on your tie to make it extra special. You can also consider:
- Including photographs or cut-outs of someone's favorite things.
- Using stamps to add an artistic flair.
Crafting your own paper tie opens a world of possibilities. Whether you're gearing up for a fun event or just want to personalize your accessories, these creative variations allow you to express yourself in a colorful and imaginative way. Happy crafting!
Also Read This: Effortless Guide to Uploading URLs on Dailymotion and YouTube
5. Tips for Making Your Paper Tie Stand Out
Now that you have your paper tie crafted, let’s talk about how to make it really shine! Whether you’re using it as a fun accessory or a unique gift, these tips will ensure your paper tie won't just blend into the background.
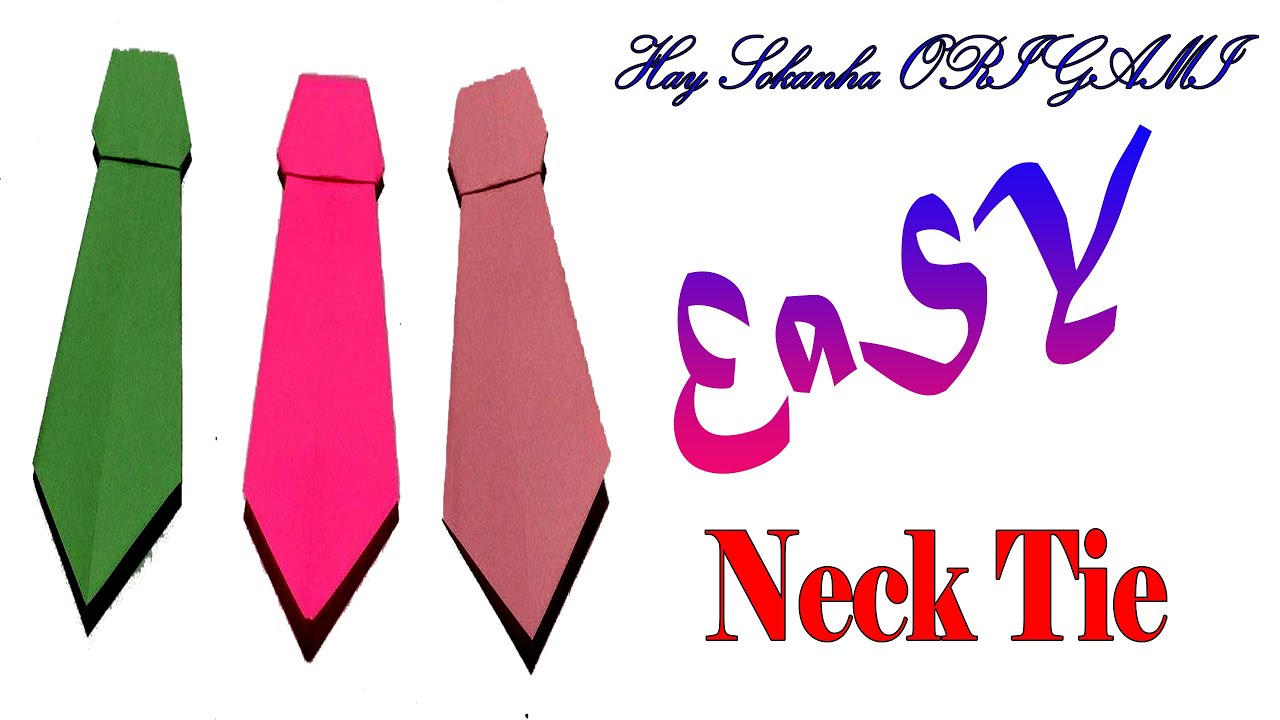
- Choose Bold Colors: Don’t shy away from bright and bold colors! Using vivid patterns or colors can make your tie pop. Think stripes, polka dots, or even florals. The more eye-catching, the better!
- Add Texture: Adding texture can elevate your paper tie from basic to brilliant. Consider using patterned paper, adding layers, or incorporating materials like fabric or washi tape for extra flair. You can even crumple the paper before assembling it to create an interesting texture.
- Personalize It: Make your tie unique by personalizing it. You can add your initials, a small drawing, or even a cute message. This personal touch not only makes it special but also reflects your personality.
- Experiment with Shapes: While classic ties have a standard shape, don’t be afraid to get creative! Try asymmetrical designs or playful variations like a bow tie shape. This tweak can make your paper tie stand out from the traditional look.
- Use Accessories: Consider adding small embellishments such as buttons, stickers, or even glitter for a dazzling effect. Accessories can really bring your paper tie to life!
- Mix and Match Patterns: If you’re feeling adventurous, try combining different paper patterns. A striped tie with polka dot accents can make for a fun and quirky contrast.
Remember, the goal is to express yourself and have fun with this project! Your creativity is the limit, so let it shine through your paper tie design.
Also Read This: How to Clean Your Face in Adobe Photoshop 7.0: Detailed Steps for Beginners on Dailymotion
6. Ideas for Using Your Paper Tie
Your creative paper tie is not just a fun craft; it can be used in a variety of ways that will surprise and delight both you and those around you. Here are some inventive ideas for putting your paper tie to good use:
- Dress Up Gifts: Use your paper tie to decorate gift packages! It’s a fantastic way to add a personal touch to any present, especially for occasions like birthdays or holiday events. Just tie it around your gift box or bag for a charming look.
- Party Decor: Why not create a whole bunch of paper ties to use as decorations for a party? You can hang them as a garland, or even use them as table centerpieces. They’ll add a whimsical touch and serve as a conversation starter!
- Personalized Cards: Attach a mini paper tie to your greeting cards for birthdays, graduations, or thank-you notes. It’s a small detail that adds a lot of character and shows you care about the presentation.
- Photo Props: Use your paper tie as a fun prop for photo booths at parties or events. It can encourage silly poses and create memorable photos. Plus, it’s much lighter than traditional props!
- Costume Accessories: Are you heading to a themed event or costume party? Your paper tie can be a unique addition to your outfit! Pair it with a button-up shirt for a cheeky look or even use it in a creative costume that plays on the concept of formal wear.
- Classroom Activities: If you’re a teacher or working with kids, have them create their own paper ties as a fun art project. It’s an excellent way to encourage creativity and can also tie into lessons about shapes, colors, and design.
As you can see, your paper tie can have many uses beyond just being a fun craft project. So, let your imagination go wild and think of even more innovative ways to incorporate this delightful creation into your life!
Conclusion and Encouragement to Share Your Creations
Congratulations on successfully creating your very own paper tie! Not only is this DIY craft a fun way to express your creativity, but it also allows you to personalize each tie to match your unique style. Here are a few things to remember as you wrap up your project:
- Show Off Your Work: Don’t hesitate to showcase your paper ties on social media. We love to see what you've come up with!
- Get Creative: Experiment with different patterns, colors, and embellishments. The only limit is your imagination.
- Involve Friends and Family: Share this craft tutorial with loved ones and host a tie-making party! It's a great way to bond and create memories together.
*Remember*, crafting is all about having fun, so enjoy the process! If you felt inspired by this project, consider creating more paper crafts or even venturing into other DIY projects. Don't forget to take pictures of your finished paper ties and tag us, or share them with your friends. We can’t wait to see your beautiful creations! Your artistic flair not only adds to the joy of crafting but also inspires others to join in on the fun. Happy crafting!
 admin
admin


