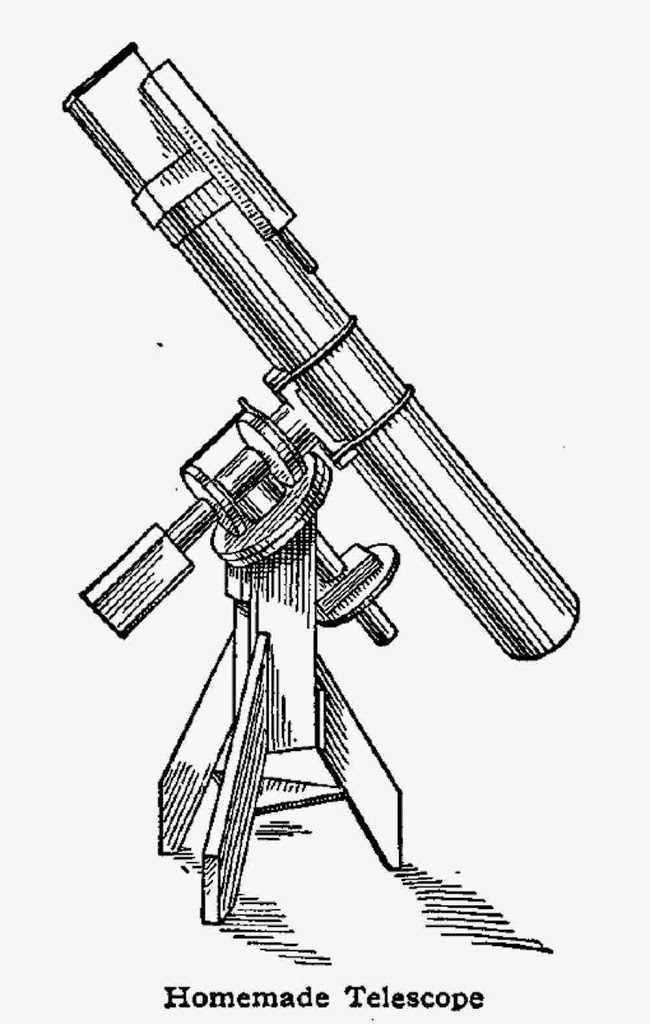
Have you ever gazed at the stars and wondered what lies beyond? Creating your own telescope at home is not only an exciting DIY science project, but it's also a fantastic way to spark curiosity about astronomy. Whether you're a beginner or a seasoned stargazer, building a telescope can be a rewarding experience. Plus, it’s a fun way to spend time with family or friends while learning about the universe. So, let’s dive into what you’ll need to get started!
Materials Needed
Before you embark on your telescope-building adventure, gather the following materials. Most of these items can be found around your home or at a local craft or hardware store:
- Two Lenses:
- Convex lens (objective lens) - around 50-100mm in diameter
- Eyepiece lens - smaller, around 20-30mm
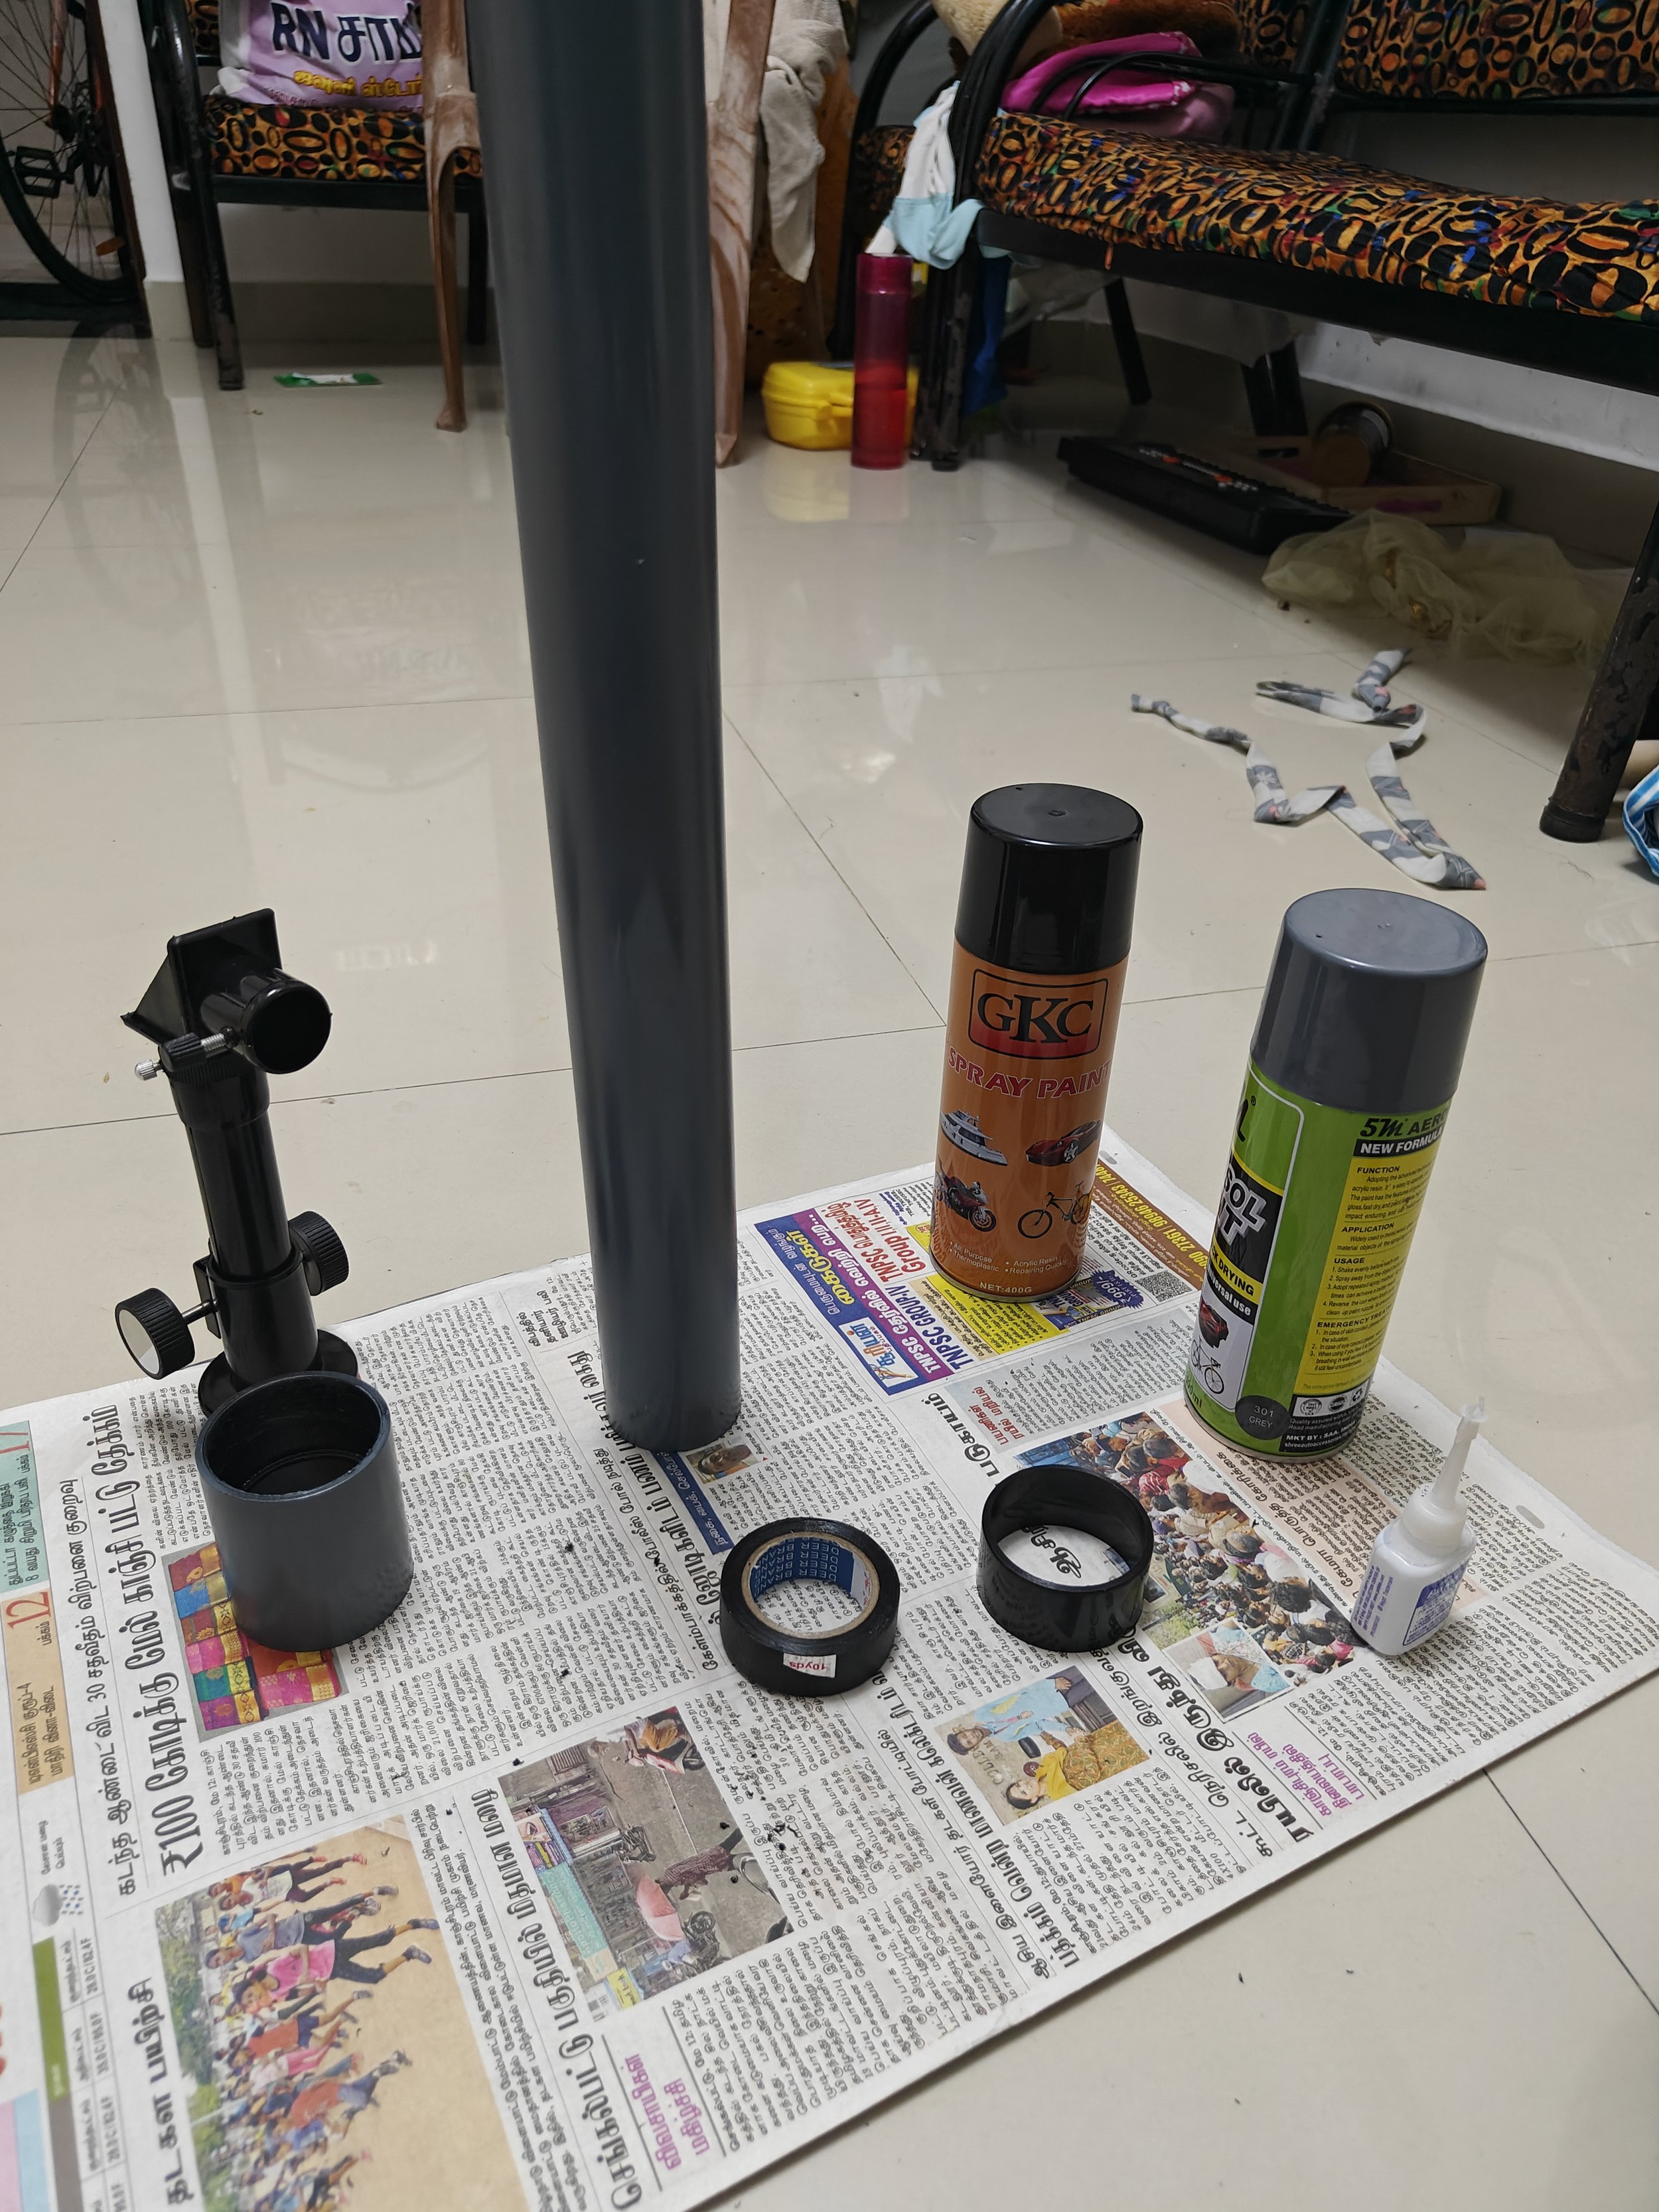
- Cardboard Tubes:
- One large tube (like a poster tube) for the main body
- One smaller tube (like a toilet paper roll) for the eyepiece
- Duct Tape: For securing the lenses and tubes together.
- Scissors: To cut the cardboard tubes to the desired lengths.
- Ruler: For measuring dimensions accurately.
- Compass: To help with making circular cuts for lens fittings.
- Black Paint or Paper: To line the inside of the tubes, reducing glare and improving image quality.
- Tripod or Stand: Optional, but helpful for stabilizing your telescope during use.
Gathering these materials is the first step toward making your telescope. Feel free to get creative with the design and find alternative items that could work! For instance, if you don’t have a large cardboard tube, you can use a plastic container or anything similar that can hold the lenses securely. Once you have everything, you’re ready to move on to the assembly phase. Stay tuned for more on how to put it all together!
Also Read This: How to Watch Members-Only Videos on YouTube for Free
3. Step-by-Step Instructions
Creating a telescope at home is not only a fun DIY project, but it also sparks curiosity about the universe! Here’s a simple set of step-by-step instructions to guide you through the process:
- Gather Your Materials: You’ll need:
- Two lenses (one convex for the objective lens and one concave for the eyepiece)
- A cardboard tube (like a mailing tube or a sturdy paper towel roll)
- Glue or tape
- A ruler
- Scissors
- A small piece of cardboard (to hold the eyepiece)
- Black paint or paper (to prevent internal reflections)
Congratulations! You’ve just built your own telescope. It might take a bit of tweaking and fine-tuning, but that’s all part of the fun!
Also Read This: Guide to Uninstalling YouTube from Your Devices
4. Tips for Optimal Viewing

To make the most of your new homemade telescope, here are some handy tips for optimal viewing:
- Choose the Right Time: Nighttime is obviously best for stargazing. However, make sure the moon isn’t too bright, as it can wash out fainter stars.
- Find a Dark Spot: Light pollution can hinder your view. Try to find a location away from city lights. State parks or rural areas are fantastic choices.
- Stabilize Your Telescope: Even a slight shake can blur your view. Set your telescope on a stable surface or use a tripod if you have one. A steady hand or a makeshift support can work wonders!
- Be Patient: Take your time when trying to focus on different objects. Sometimes, shifting your telescope slightly can reveal details you missed at first.
- Use Apps for Guidance: There are fantastic stargazing apps available for smartphones that can help you locate planets, stars, and constellations. They can make your viewing experience more enjoyable!
- Keep a Journal: Document your observations! Write down what you see, the dates, and any cool facts you discover. It’ll be great to reflect on your stargazing adventures.
With these tips, you’re all set to explore the night sky through your homemade telescope. Happy stargazing!
Also Read This: The Ultimate Guide to Downloading Videos on Dailymotion in Simple Steps
5. Exploring Beyond the Basics
Once you’ve mastered the art of building a basic telescope, it’s time to delve deeper and explore some exciting modifications and enhancements. This is where your creativity truly comes into play! Here are a few ideas to take your homemade telescope to the next level:
- Adding a Focusing Mechanism: A simple focusing mechanism can greatly enhance your viewing experience. Consider using a sliding tube or a rack and pinion system that allows you to fine-tune the focus of your images. This can be achieved by attaching a small gear mechanism to the eyepiece, allowing for smooth adjustments.
- Upgrading Your Lenses: Experimenting with different lenses can yield wonderful results. Try using a higher quality glass lens or even experimenting with magnifying glasses. The typical 50mm or 100mm lenses can provide differing levels of clarity and magnification, so don’t hesitate to mix and match!
- Creating a Stable Base: A sturdy tripod can make a world of difference. You can either purchase one or create your own using materials like wood or PVC pipes. A stable base will help you track celestial bodies more easily and prevent shaky images.
- Adding Filters: Solar filters are essential if you want to view the sun safely. You can create one using a solar film or specialized filter glass. This allows you to observe solar phenomena like sunspots or solar eclipses without damaging your eyes.
- Digital Enhancements: For the tech-savvy DIYer, consider adding a smartphone holder or a webcam to your telescope. This allows you to capture images and videos of your findings, making it easier to share your discoveries with friends and family.
Each of these modifications will not only increase your telescope’s functionality but also deepen your understanding of optical principles. Don’t be afraid to think outside the box and innovate as you go along. Remember, the journey of discovery is just as important as the destination!
6. Conclusion
Creating a telescope at home is more than just a fun DIY project; it’s a gateway to the wonders of the universe. From the initial planning stages to the final assembly, each step is filled with opportunities for learning and exploration. You’ll develop a new appreciation for the stars while enhancing your problem-solving skills and creativity.
As you gaze up into the night sky, you’ll find that your homemade telescope opens up a world of possibilities. Whether it's observing the craters of the moon, tracking the rings of Saturn, or identifying constellations, every glimpse through your telescope is a new adventure. And the best part? You’ve done it all yourself!
So, gather your materials, invite a friend or family member for some quality bonding time, and start building. Remember that science is all about curiosity, experimentation, and a bit of trial and error. Who knows? You might inspire others to join in on the fun, turning your backyard into a mini observatory!
Happy stargazing!
 admin
admin


