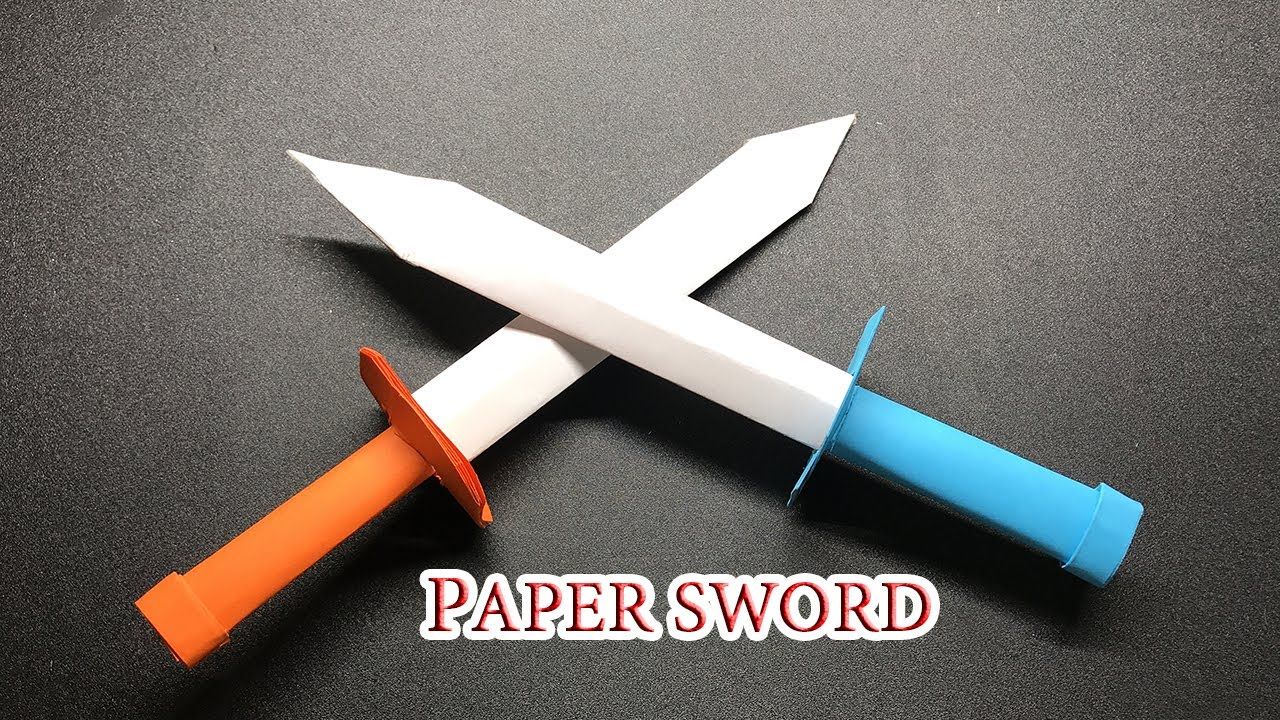
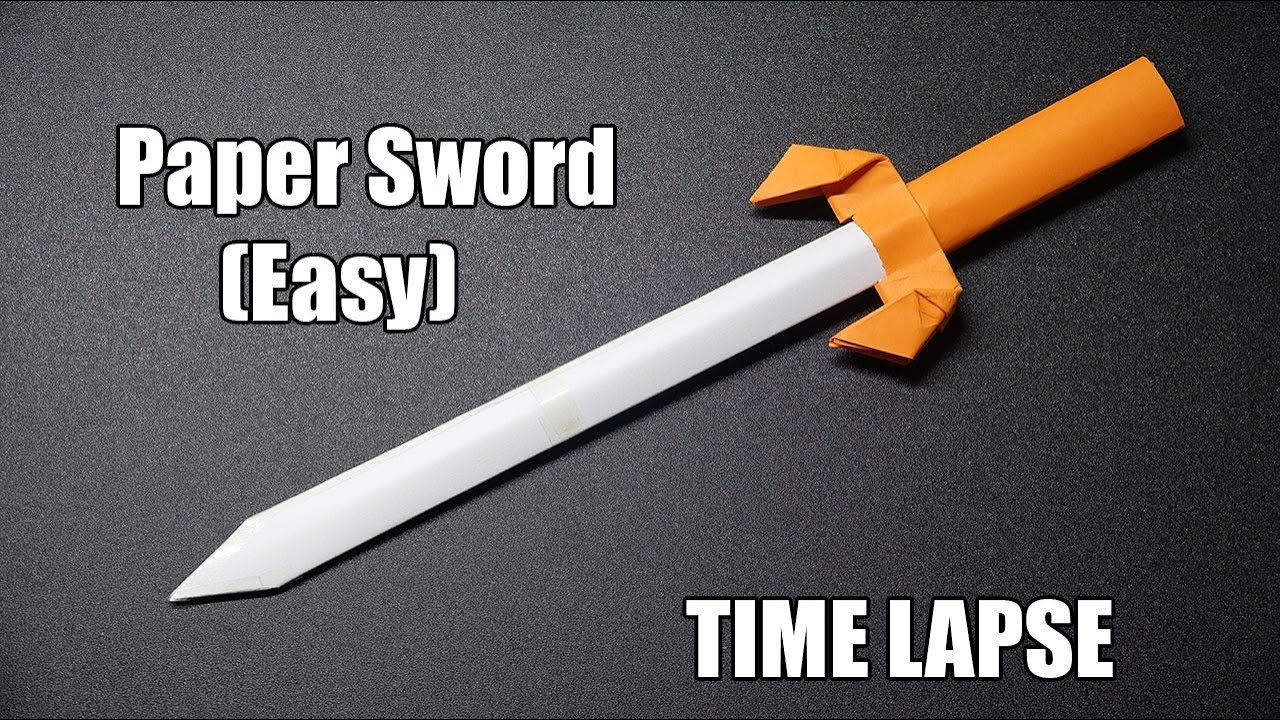
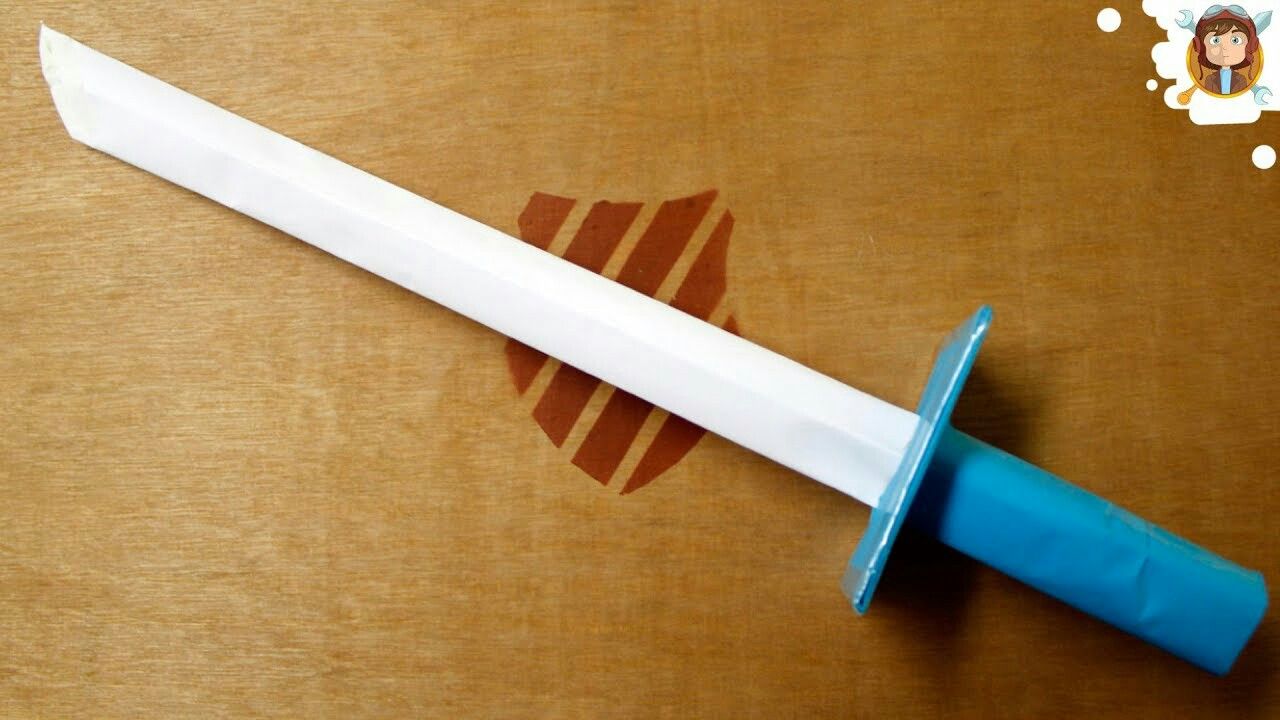
Are you looking for a fun and creative project that can unleash your inner warrior? Making a paper sword is a fantastic DIY craft that anyone can try, whether you’re a child or just a kid at heart! Not only is it a great activity for parties or playtime, but it also promotes creativity and motor skills. Plus, the materials are simple and inexpensive, making it accessible for everyone. So, let’s dive into how you can craft your very own strong paper sword!
Materials Needed

Before you start your crafting journey, gather all the materials you’ll need for this exciting project. Here’s a handy list to help you get organized:
- Heavyweight Paper or Cardstock: This will be the main component of your sword. It's essential to choose sturdy paper to ensure your sword is strong enough for some playful battles.
- Scissors: A good pair of scissors will help you cut out the shapes accurately.
- Ruler: To measure and keep your sword parts proportional. A straight edge can also help with cutting clean lines.
- Pencil: Use this for sketching your sword design before cutting. It’s okay to make mistakes here!
- Glue or Tape: You’ll need this to assemble the pieces together. Hot glue works well if you want a stronger bond, but regular school glue or tape will also do the trick.
- Markers or Paint: Customize your sword with colors and designs! Let your imagination run wild.
- Optional Decorations: Think of things like stickers, glitter, or even aluminum foil for a shiny finish!
Now that you have everything ready, you can embark on the exciting task of making your very own paper sword! Let's get crafting!
Step-by-Step Instructions

Creating a paper sword is not only a fun craft but also a fantastic way to unleash your creativity. Let’s break this down into manageable steps!
- Gather Your Supplies:
You’ll need the following materials:- Cardstock or thick paper (the sturdier, the better!)
- Scissors
- Glue or tape
- Markers or colored pencils for decoration
- Ruler
- Pencil
- Design Your Sword:
Use the ruler and pencil to sketch your sword's shape on the cardstock. A basic sword shape can be around 30 inches long and 5 inches wide at its widest point, tapering down toward the tip. - Cut It Out:
Carefully cut along the lines you’ve drawn. Make sure you have both the blade and the handle. If you want to go fancy, you can create a separate piece for the hilt! - Make the Handle:
For better grip, you can add an extra piece of cardstock around the handle area. This could be a rectangle just slightly longer than the width of your sword. - Strengthen Your Blade:
To add extra durability, consider cutting out two blade shapes and gluing them together. This will give your sword extra strength! - Decorate:
Once everything is glued and secure, feel free to personalize your sword. Use markers or colored pencils to add designs, patterns, or even a name!
And there you have it! In a few simple steps, you’ve transformed paper into a fantastic DIY sword ready for play or display.
Tips for Strengthening Your Paper Sword

While a paper sword is fun to create, ensuring it's sturdy enough for some action is crucial. Here are some handy tips to make your sword even stronger!
- Choose Quality Material:
Start with thick cardstock or even lightweight cardboard. The thickness will significantly impact your sword’s durability. - Layering is Key:
As mentioned earlier, cut two identical shapes for the blade and glue them together. This added layer will enhance strength and prevent bending. - Reinforce Vulnerable Areas:
Pay special attention to the handle and tip of the sword. You can wrap these sections with additional strips of paper to reinforce them. - Use Reinforcement Tape:
Clear packing tape or duct tape can provide extra support. Wrap some around the handle and along the blade edges for best results. - Keep It Dry:
Moisture can weaken your paper sword. Store it in a dry place and avoid using it in damp conditions to maintain its integrity. - Handle with Care:
Encourage gentle play. Even a strong paper sword can be damaged with rough handling, so let your sword be a source of fun, not frustration!
By following these tips, your paper sword will not only look great but can also stand up to playful dueling or be displayed as a creative masterpiece!
Creative Design Ideas
When it comes to making your paper sword stand out, creativity is key! You can personalize your sword with various design ideas that reflect your unique style. Here are some fun ways to jazz up your paper sword:
- Colorful Patterns: Use colored markers, paints, or decals to create intricate patterns on your sword. Think stripes, polka dots, or even flames! You can also try a gradient effect for a more eye-catching look.
- Themed Designs: Base your design on your favorite movie, video game, or book. For instance, you could create a sword inspired by "Star Wars" or "The Legend of Zelda." Print out images, cut them out, and attach them to your sword for an engaging theme.
- Embellishments: Go wild with glue! Attach glitter, sequins, or rhinestones to add some sparkle. You can also use yarn or fabric scraps to create a decorative handle.
- Personalized Name: Make your sword truly your own by adding your name or a fun title at the base of the blade. You can write in fancy cursive or use stickers for easy application.
- Glow-in-the-Dark: For a thrilling effect during nighttime play, consider adding glow-in-the-dark paint! Imagine your sword glowing in the dark—it adds a magical touch!
Each of these creative ideas can help you customize your paper sword. So grab your supplies and let your imagination run wild!
Conclusion and Final Thoughts
Creating a paper sword is not just about the final product but also the journey you take while making it. Whether you’re crafting alone or with friends and family, this DIY project offers endless fun and creativity. It's a fantastic way to express your artistic side while honing your crafting skills.
When you finally hold that finished sword in your hands, remember that it symbolizes your hard work and creativity. Plus, it’s a great prop for playtime adventures, parties, or cosplay! Here are a few final tips to keep in mind:
- Practice Safety: Always use scissors carefully, and supervise younger children during the crafting process.
- Experiment: Don’t be afraid to try new designs or materials. The more you experiment, the more unique your sword will be.
- Have Fun: Remember, this is a fun project. Enjoy the process, and don’t stress about making it perfect.
So gather your materials, get creative, and make a paper sword that would make any knight proud! Happy crafting!
 admin
admin


